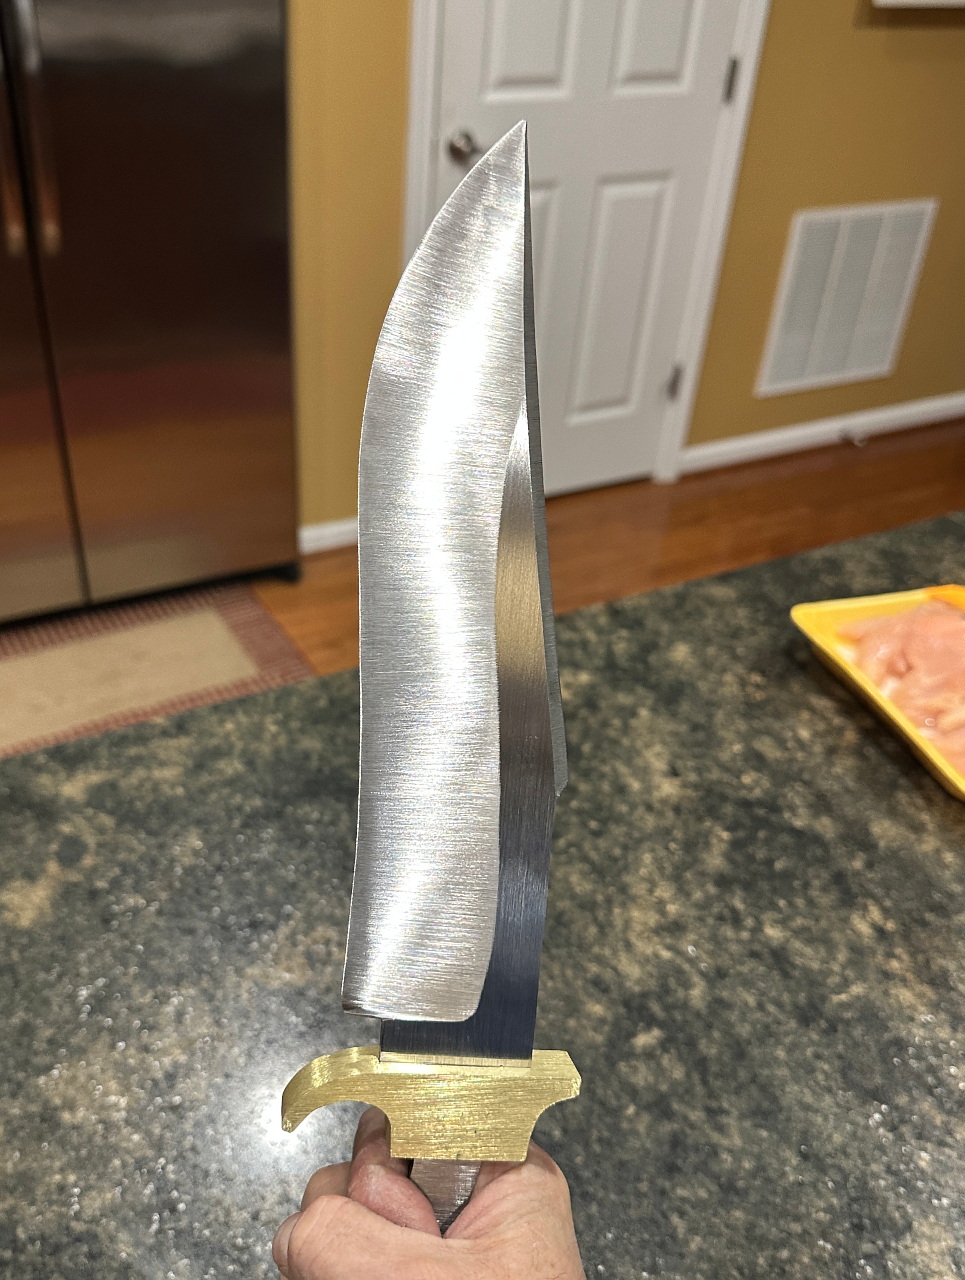
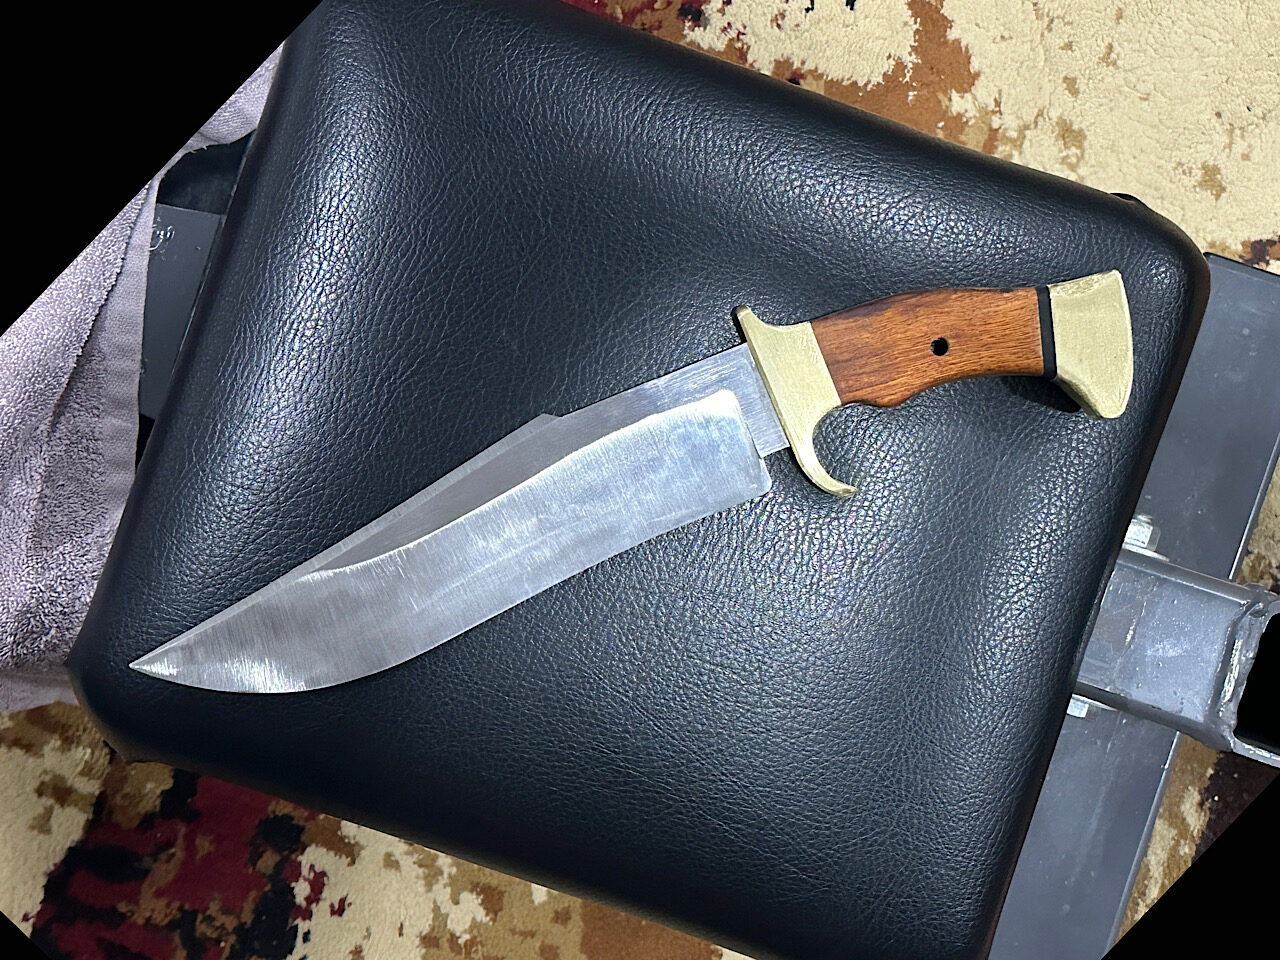
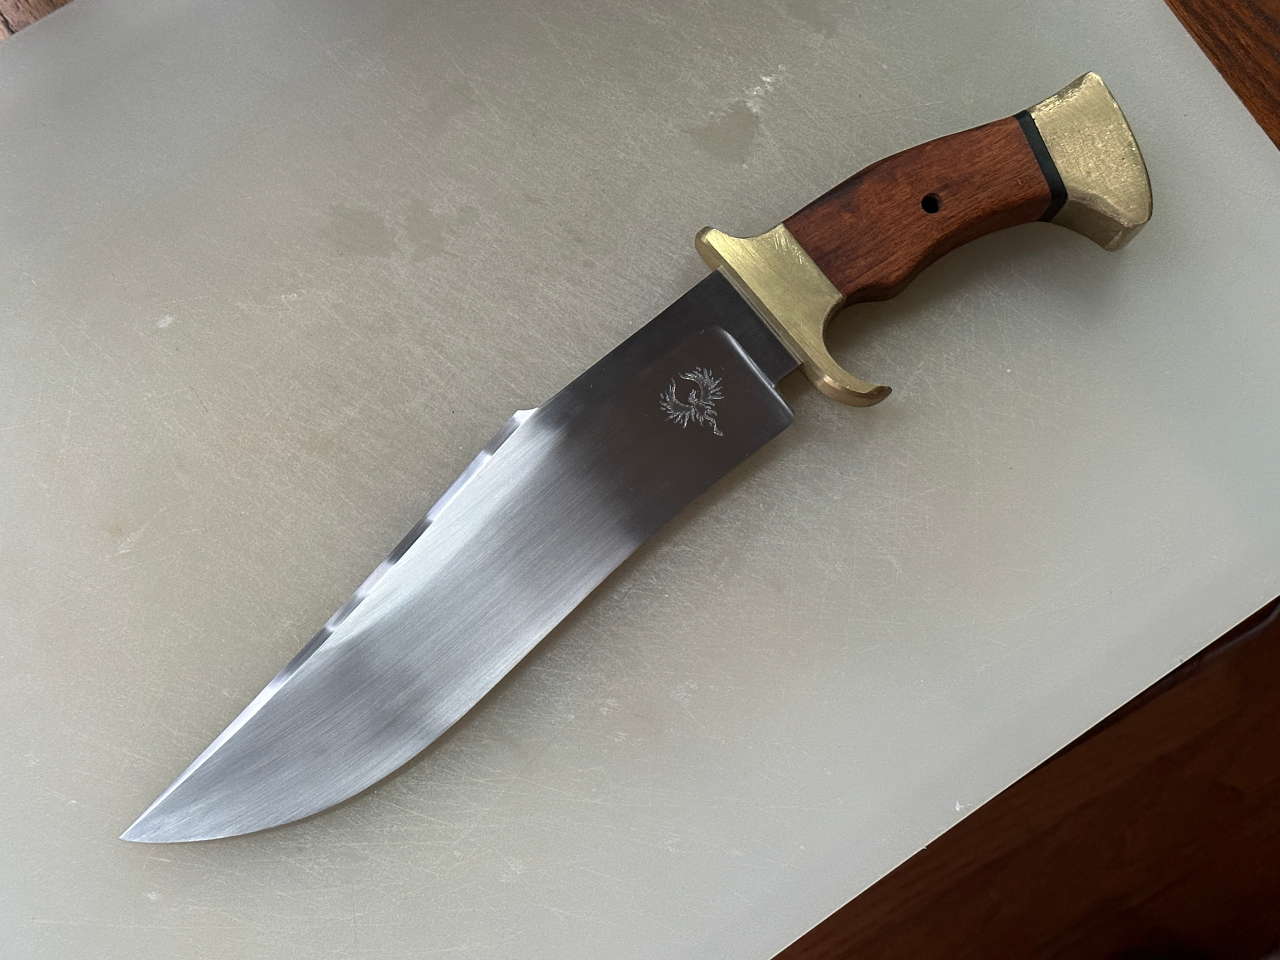
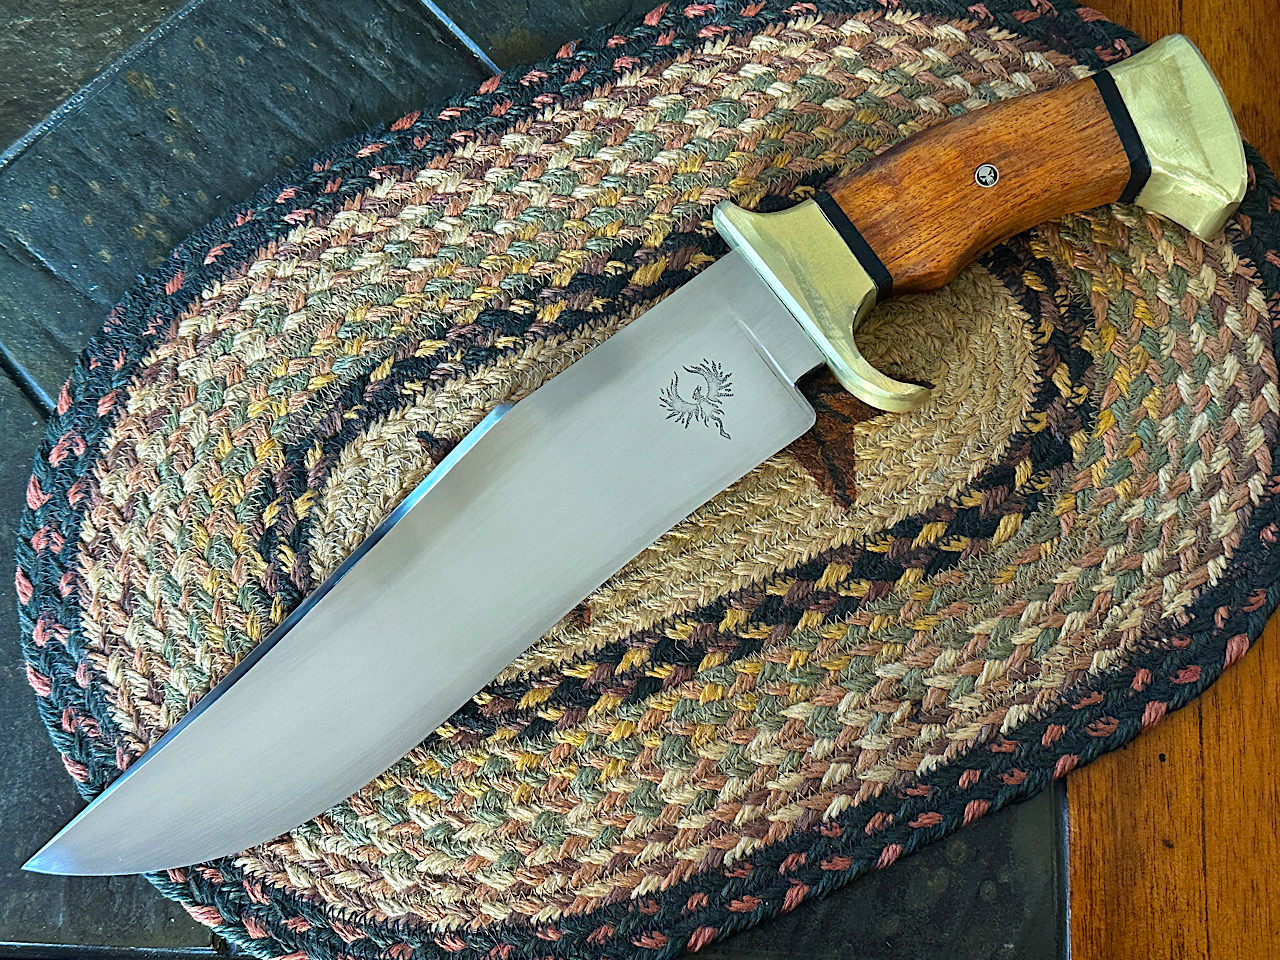
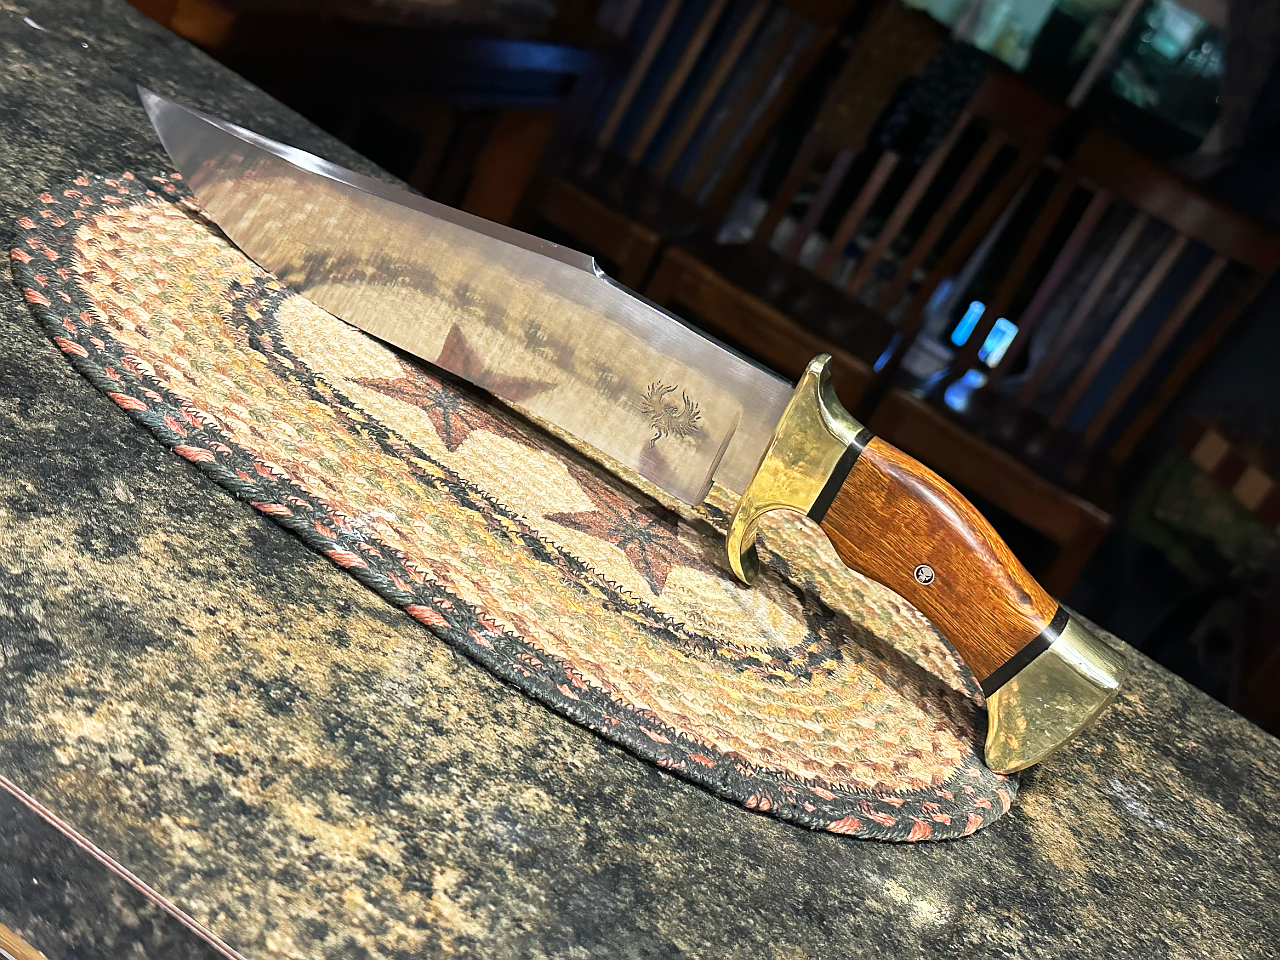
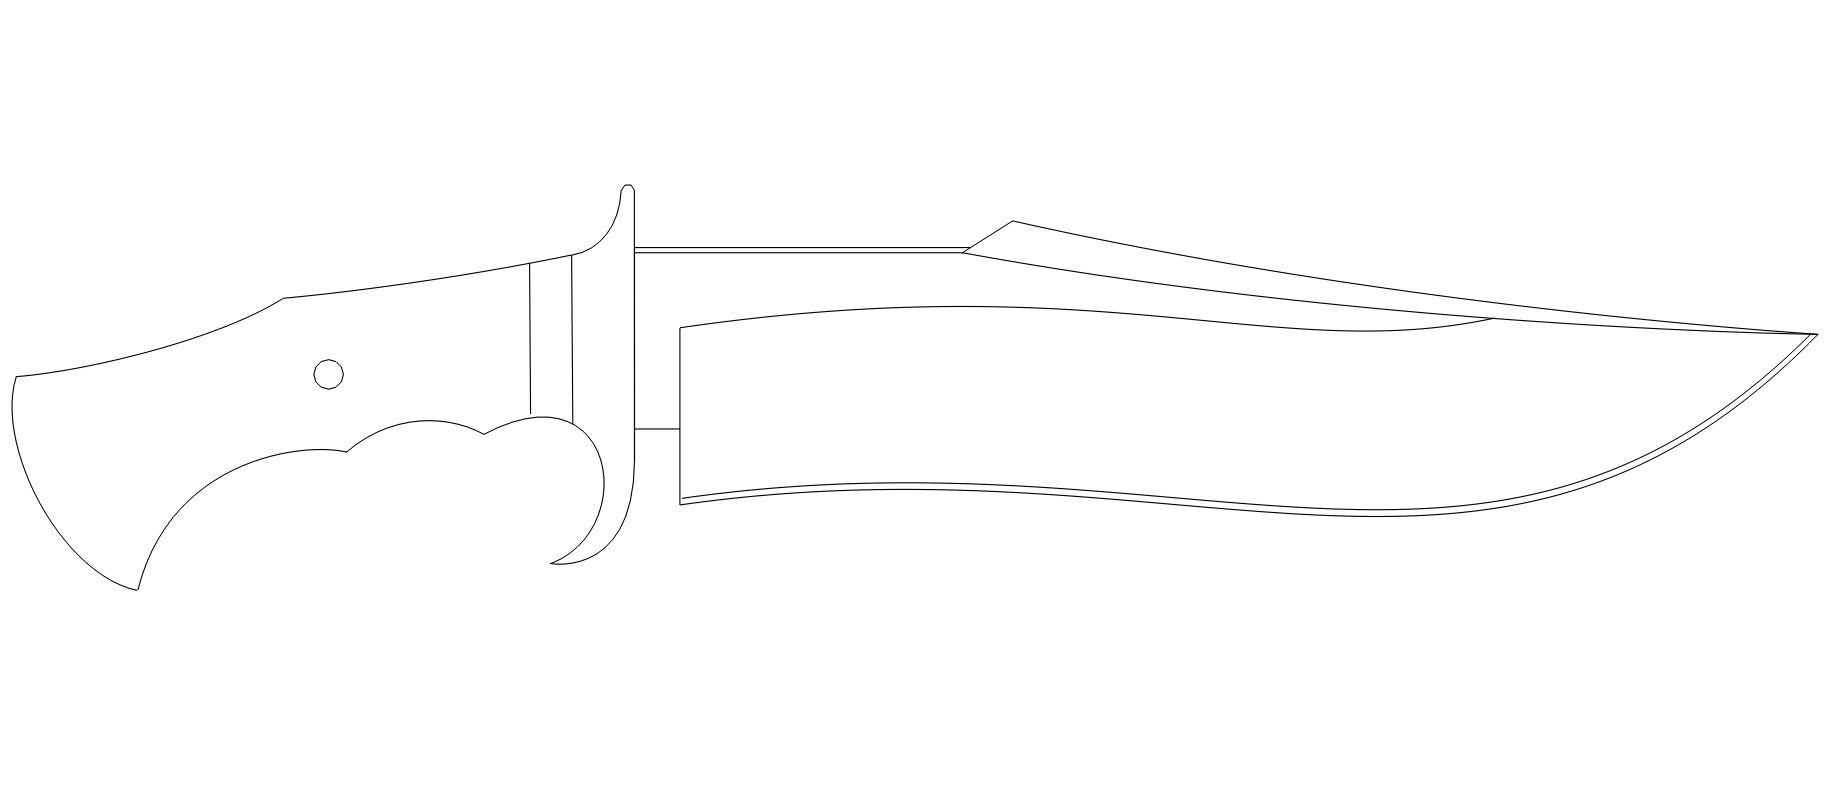
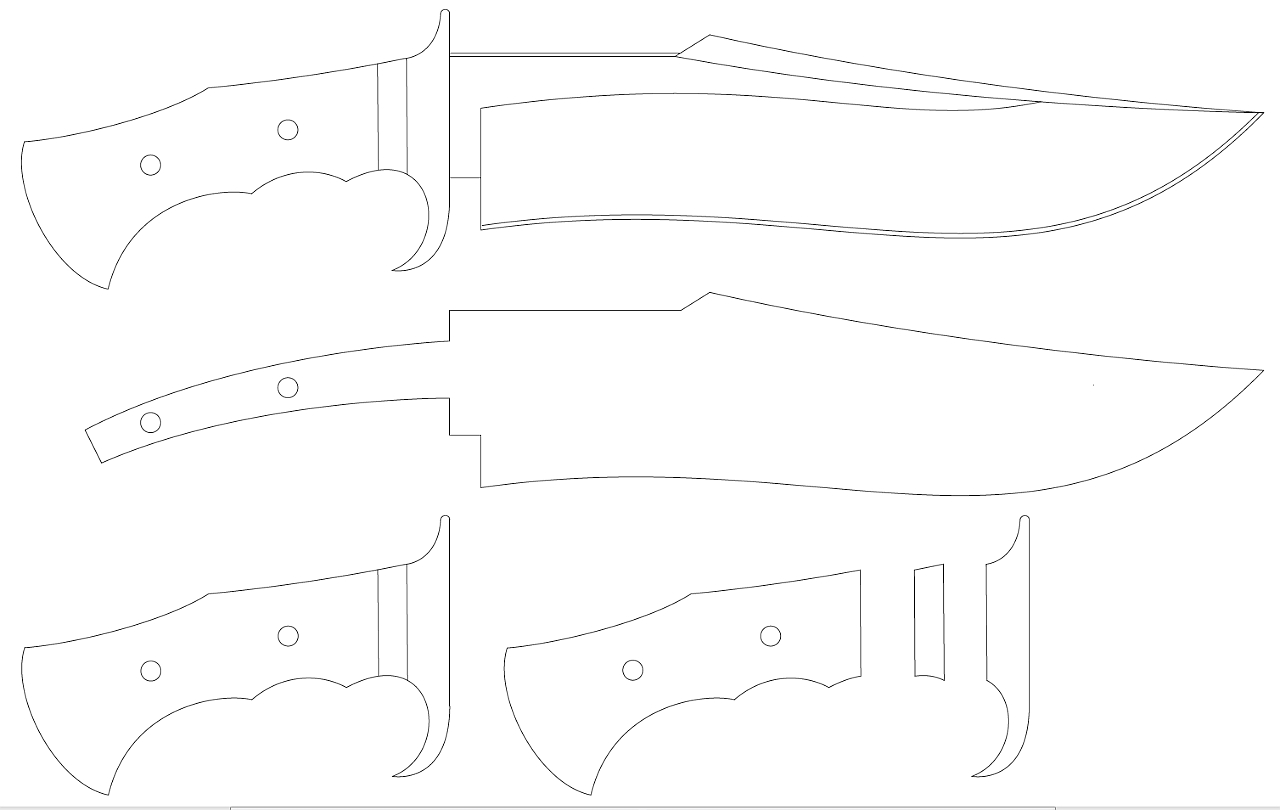
The Coatesville Toothpick!
So named by my friend, Pastor Randell Stafford of the Kanto Christian Church of Yokohama Japan
He has a shared interest in various wood and metal-working crafts and has made a few knives himself. Truthfully, and as you might expect from his vocation, his blades were kitchen and utility type blades, not like this big, scary offering, but I showed him my design and some progress pics and he jokingly dubbed it “The Coatesville Toothpick”. Of course I had no choice but to adopt the name 🙂
1/4″ thick spine, 10″ blade, 1095 high carbon steel.
This is a prototype from plain carbon steel just to work through the shape and grind before making one from Damascus. It will be every bit as tough, but more plain looking
Ultimately I’ll do this in damascus, but I want to do one with plain, high carbon first to practice to improve the outcome on the much more time consuming damascus.
Assuming I dont fuck it up, it’ll still be a sweet knife. Just not damascus.
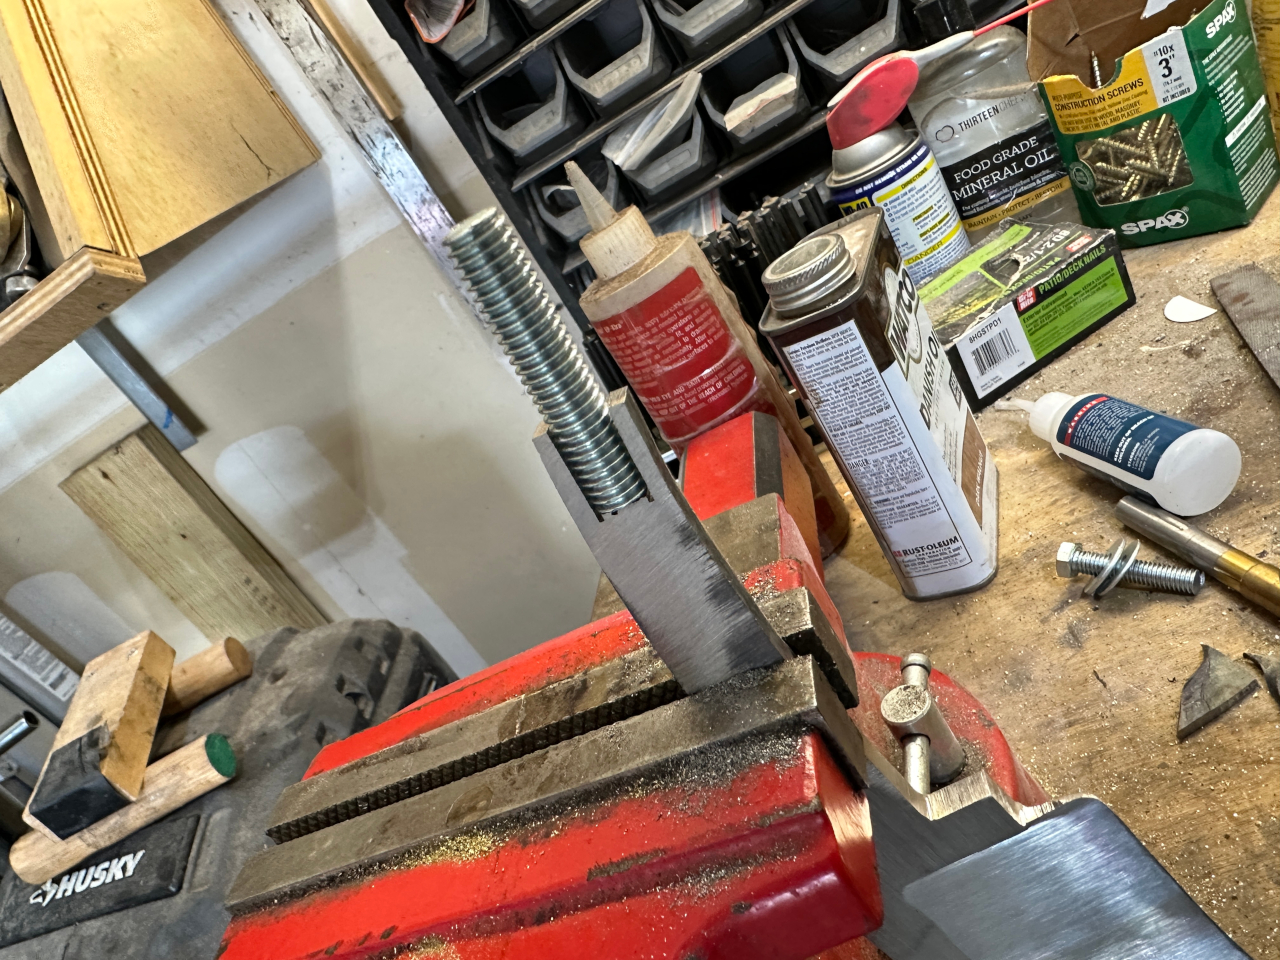
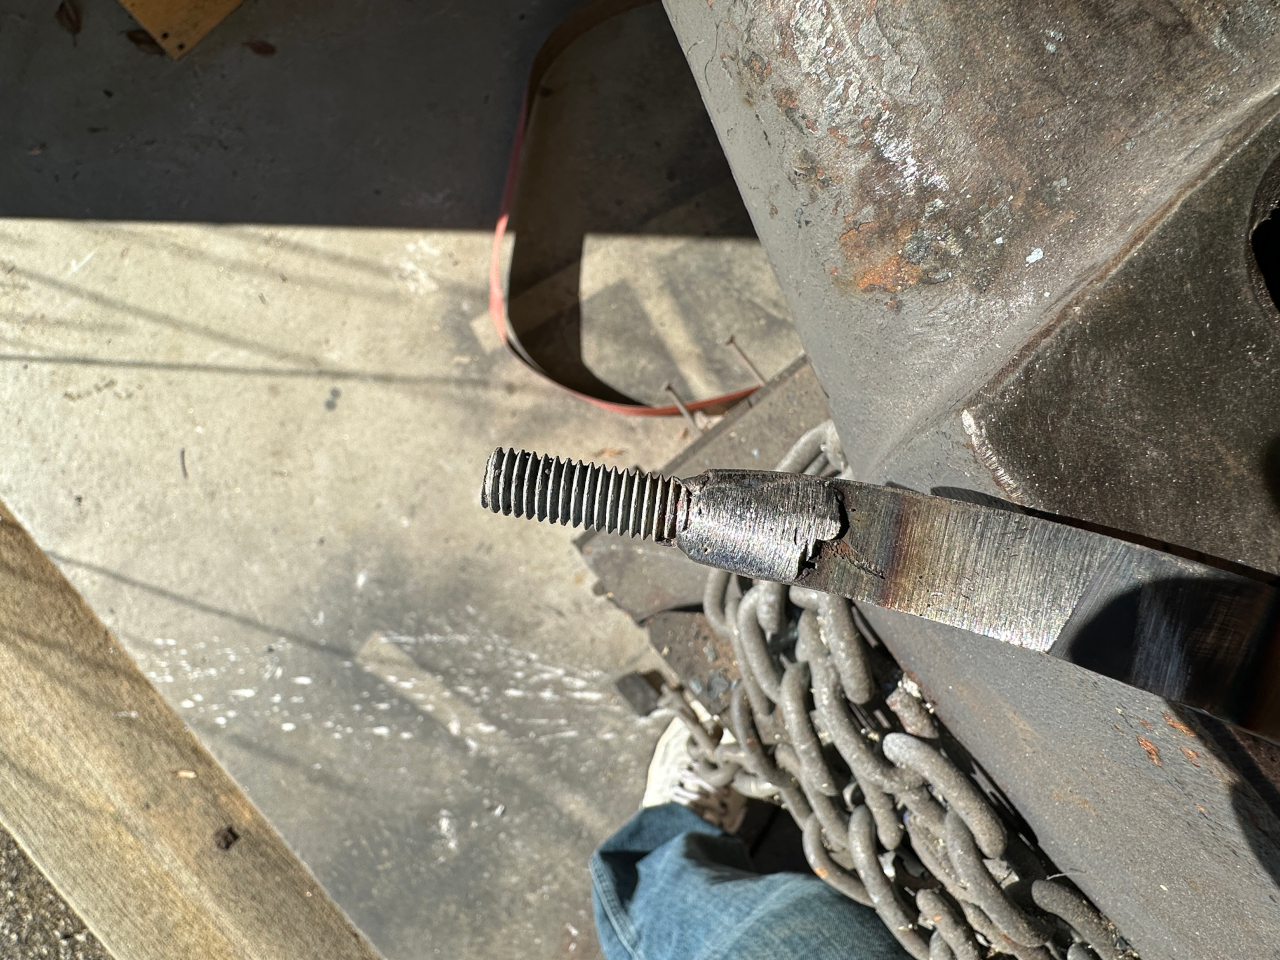
So, this will be more “stock removal” than forging, but the only stock I have thats 2.5″ wide is also 3/8″ thick. The finished blade will be 1/4″ and frankly I dont feel like grinding a full 1/8″ of hardened steel off a blade this large, so I’ll still get a bit of forging in on this by forging the 3/8″ stock down to just over 1/4″ using my hydraulic press.
Forging down the thickness lengthened the original piece by 4″, so now its too long and ill just cut off the excess with a saw.
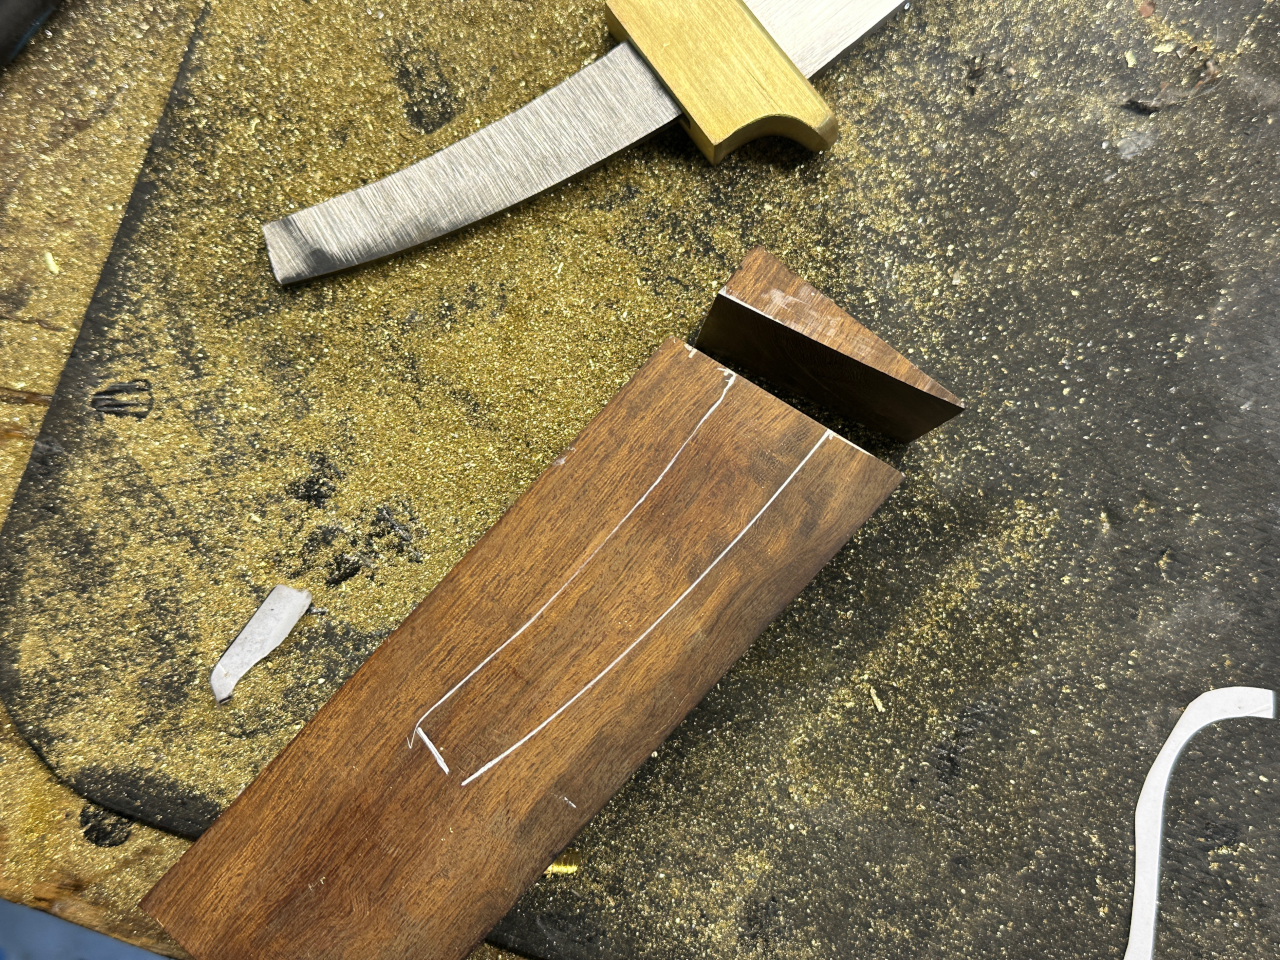
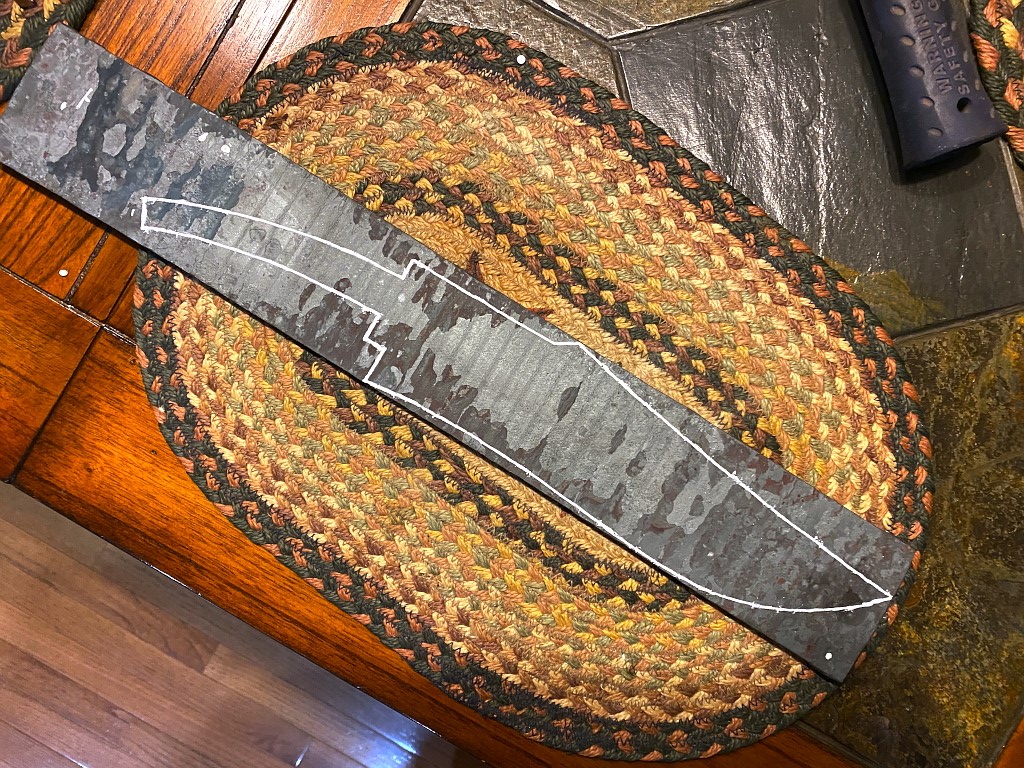
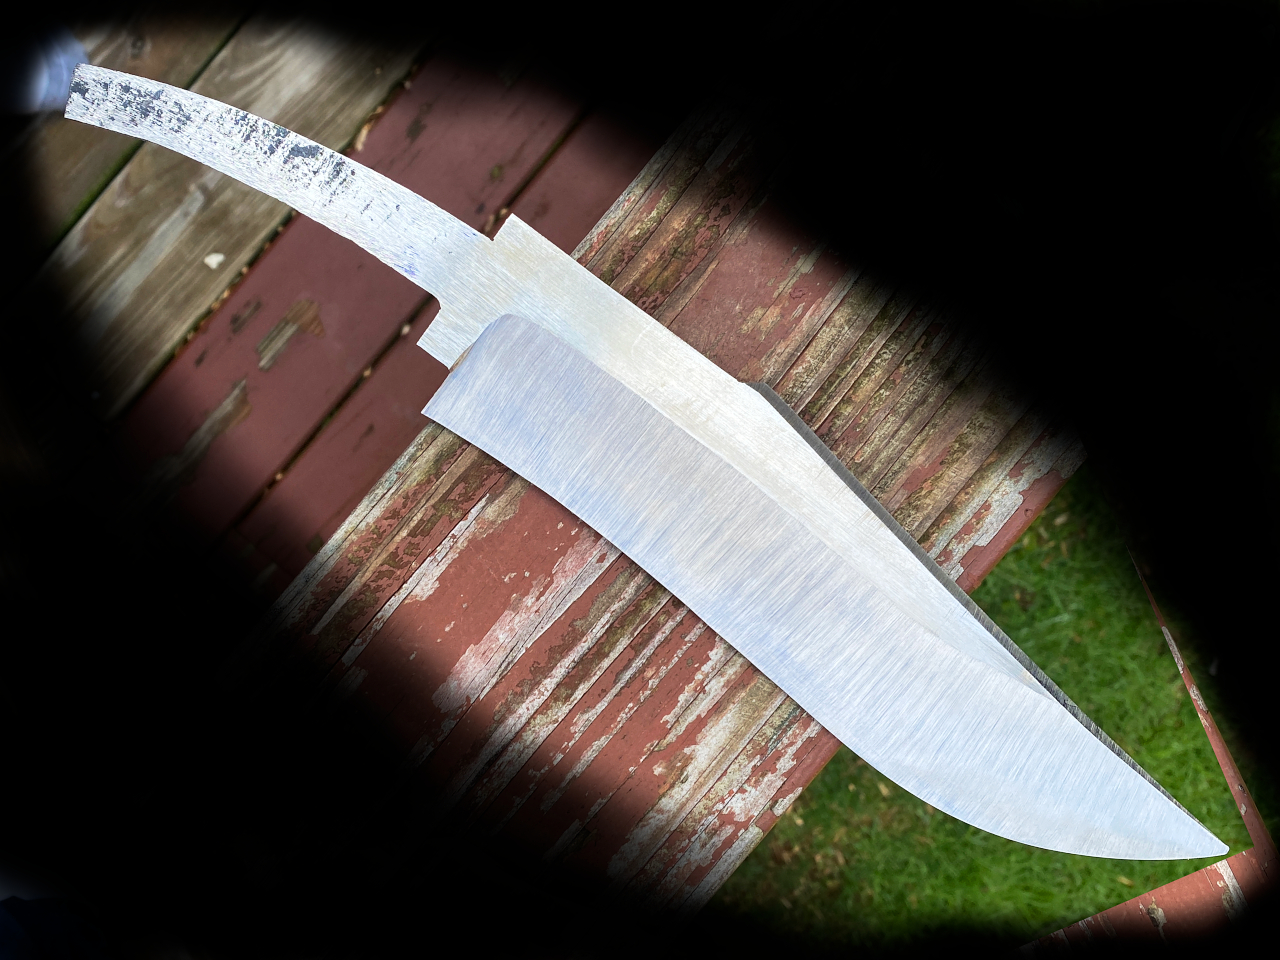
Here I’ve traced out the profile of the blade on the billet
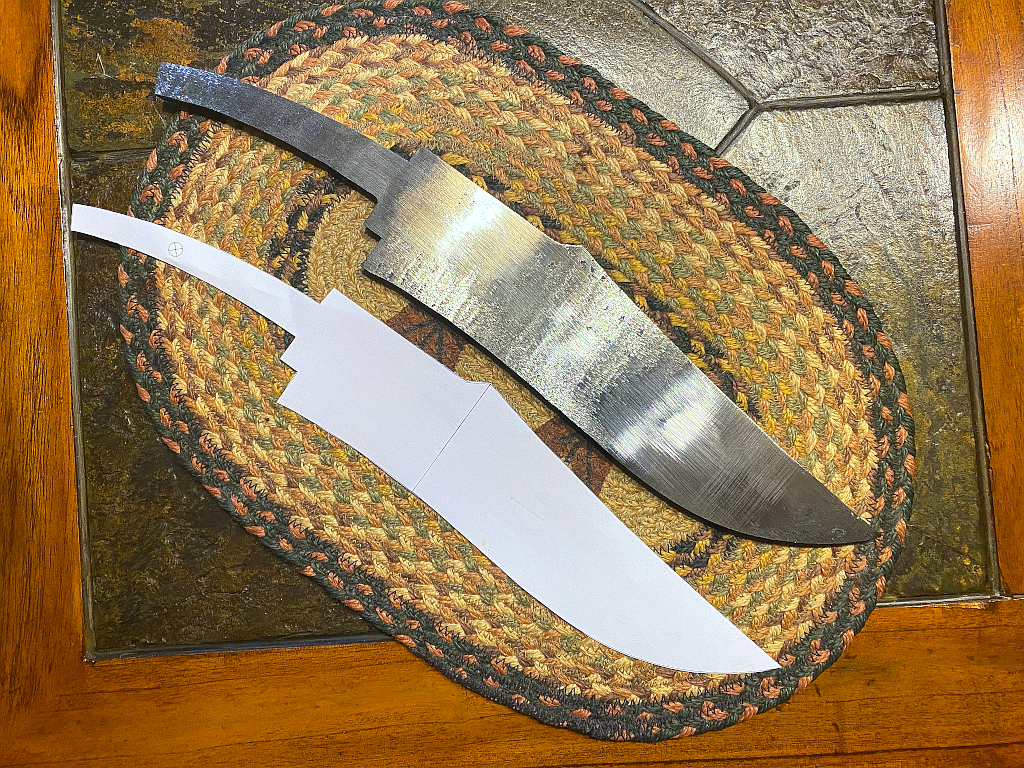
Roughly profiled and most of the forge scale ground off. Its still a bit oversized in all dimensions, and of course no bevels have been ground. Its just over 1/4″ thick
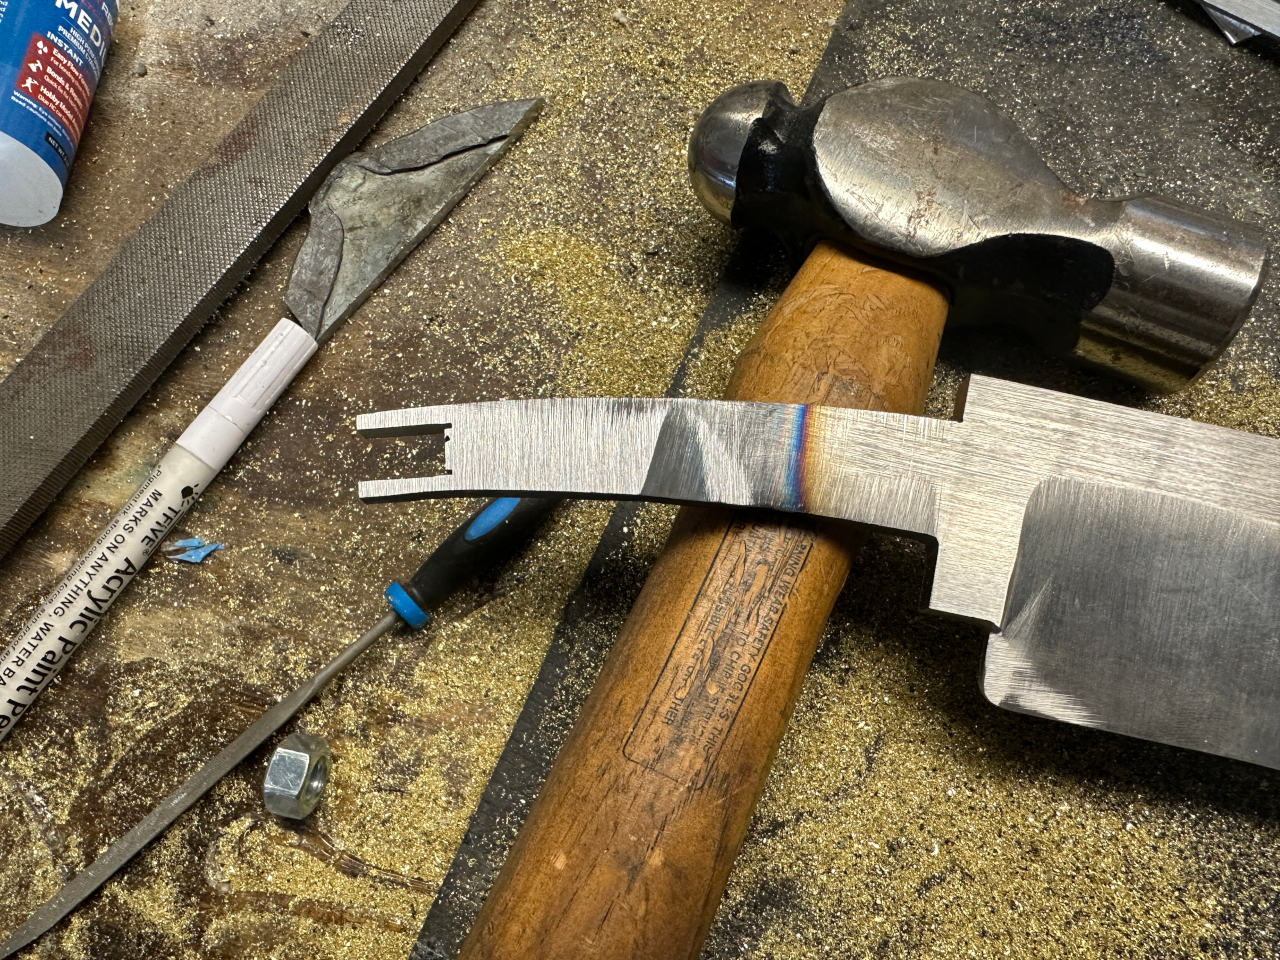
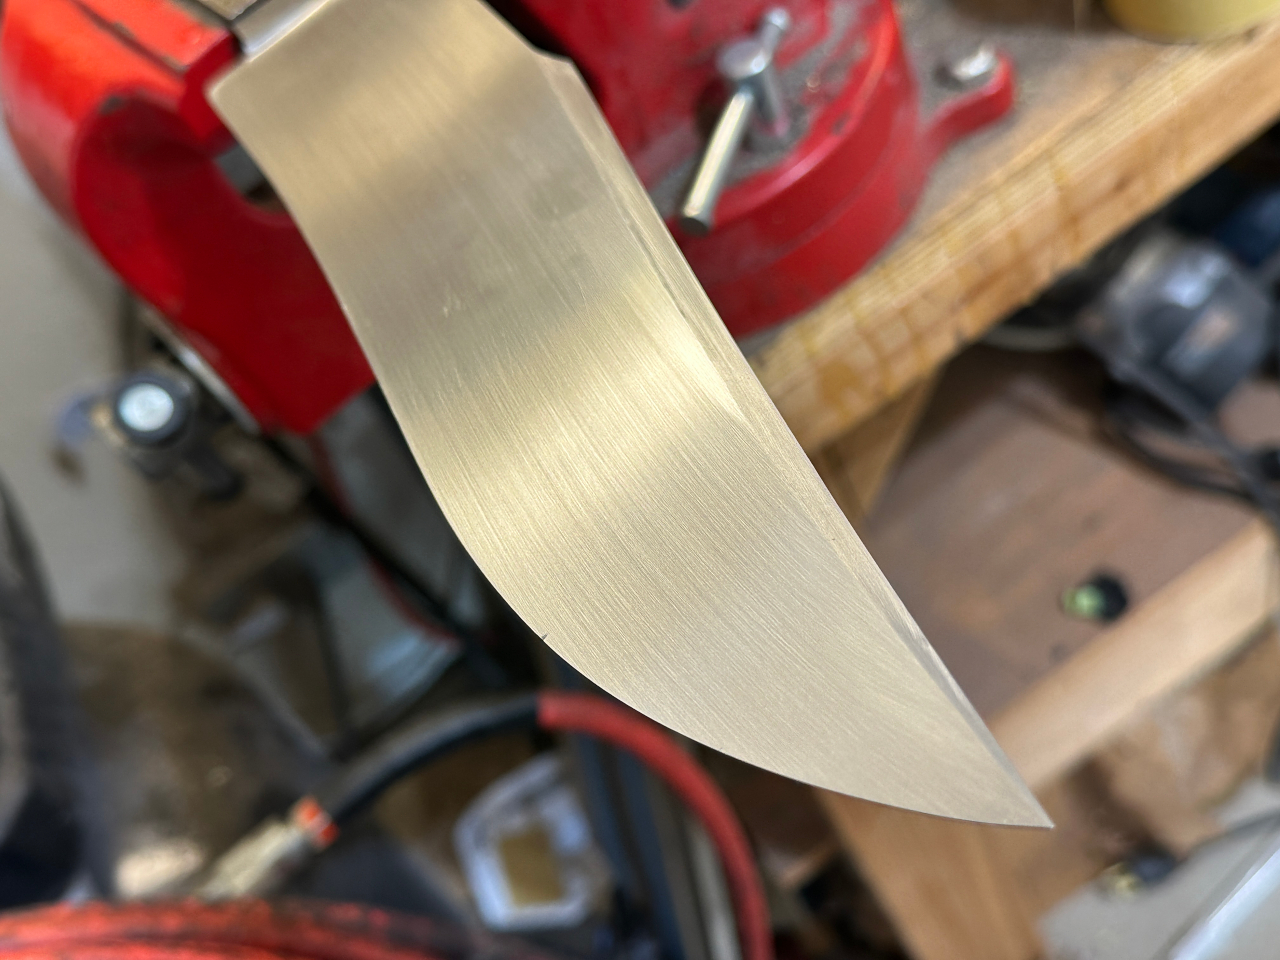
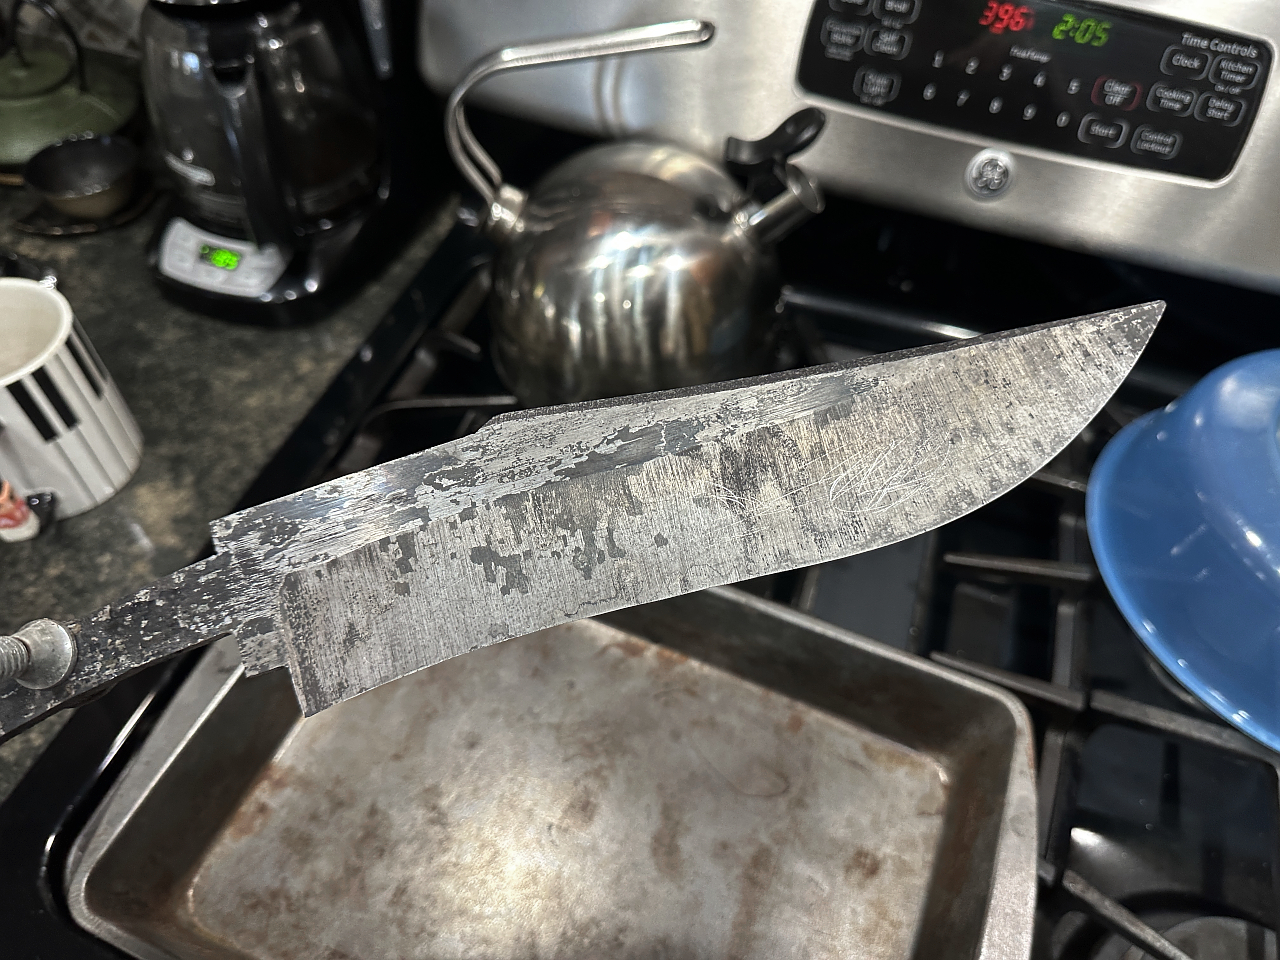
Here I’ve ground in the bevels and the false edge on the top of the clip point. This is a very rough grind. After the heat treatment this will be refined and cleaned up a lot. the edge is also still quite thick and not even a little bit sharp.
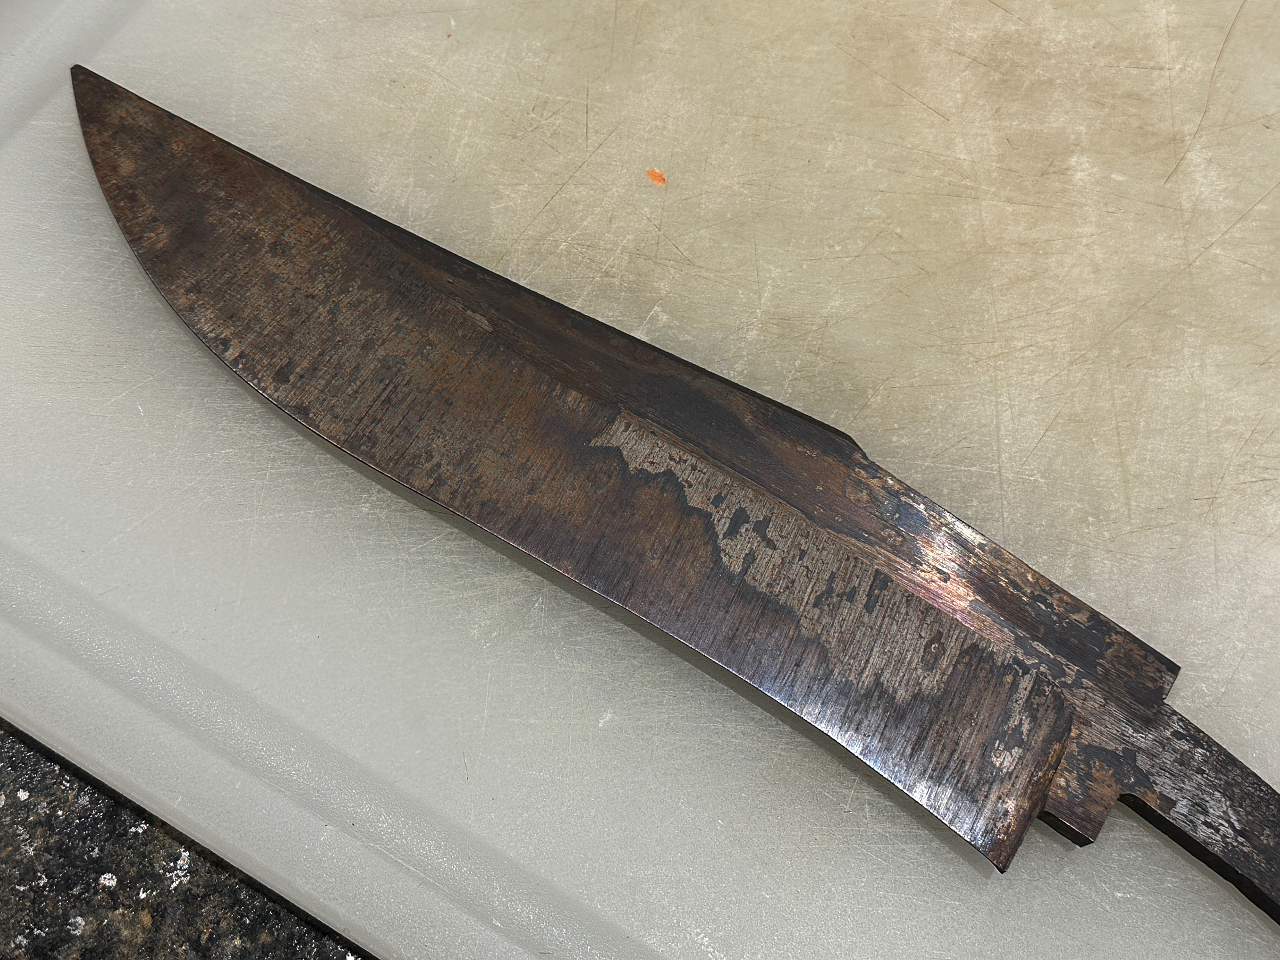
Here is the blade after hardening. It skated a 65 HRC file so I’m calling it a success 🙂
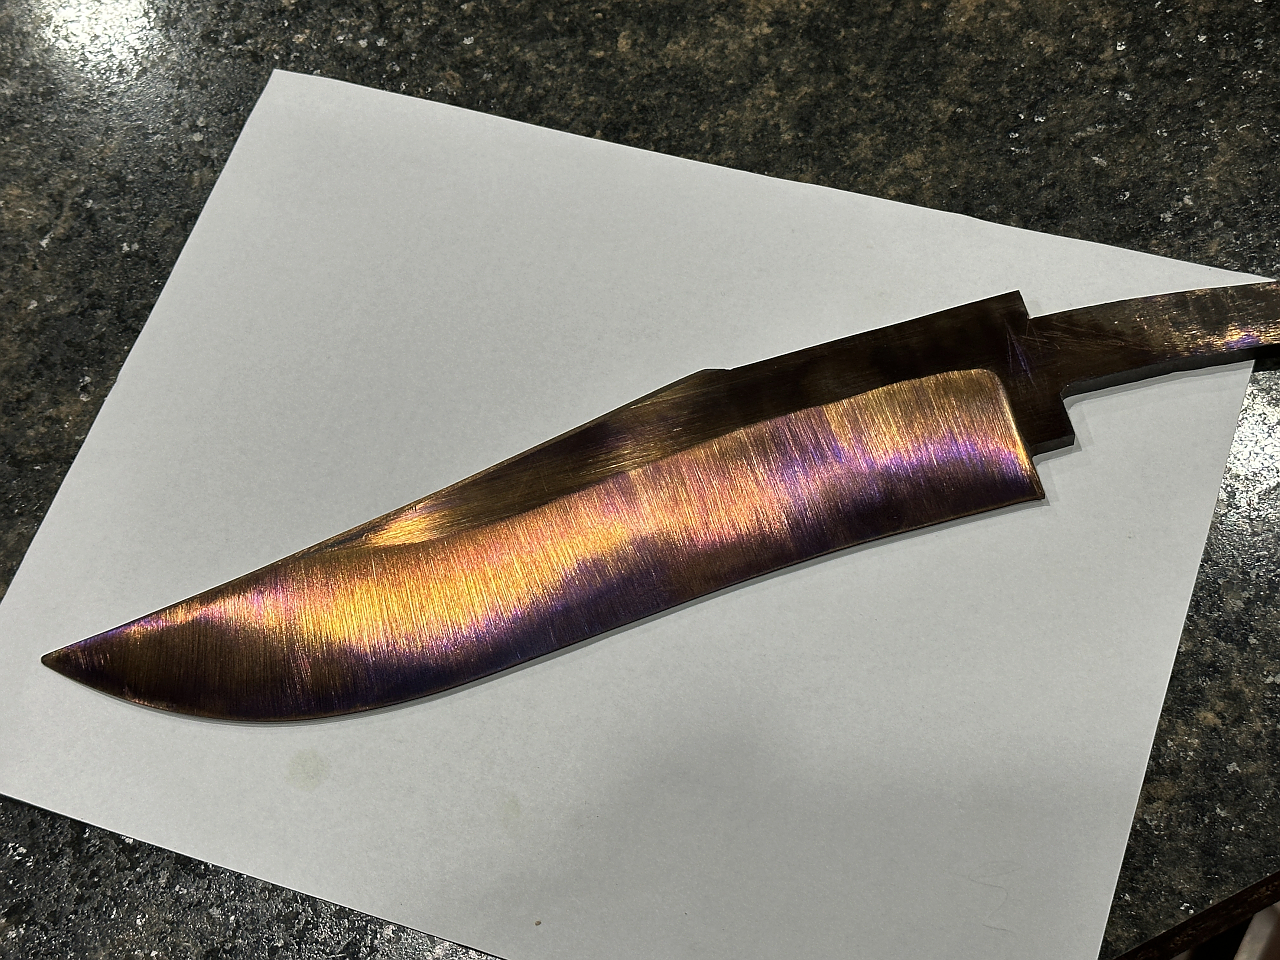
Here it is after 2 tempering cycles, 2 hours each at 400 F.
After grinding off the decarb I found it was still over 60 HRC, which is a bit too hard for this type of knife that could possibly get hard use, so I did a 3rd tempering cycle of 2 hours at 425 F. and we wound up around 58 which is better. Some might even go as low as 55-57, but this is also a very thick blade so I think we are good leaving it at 58.
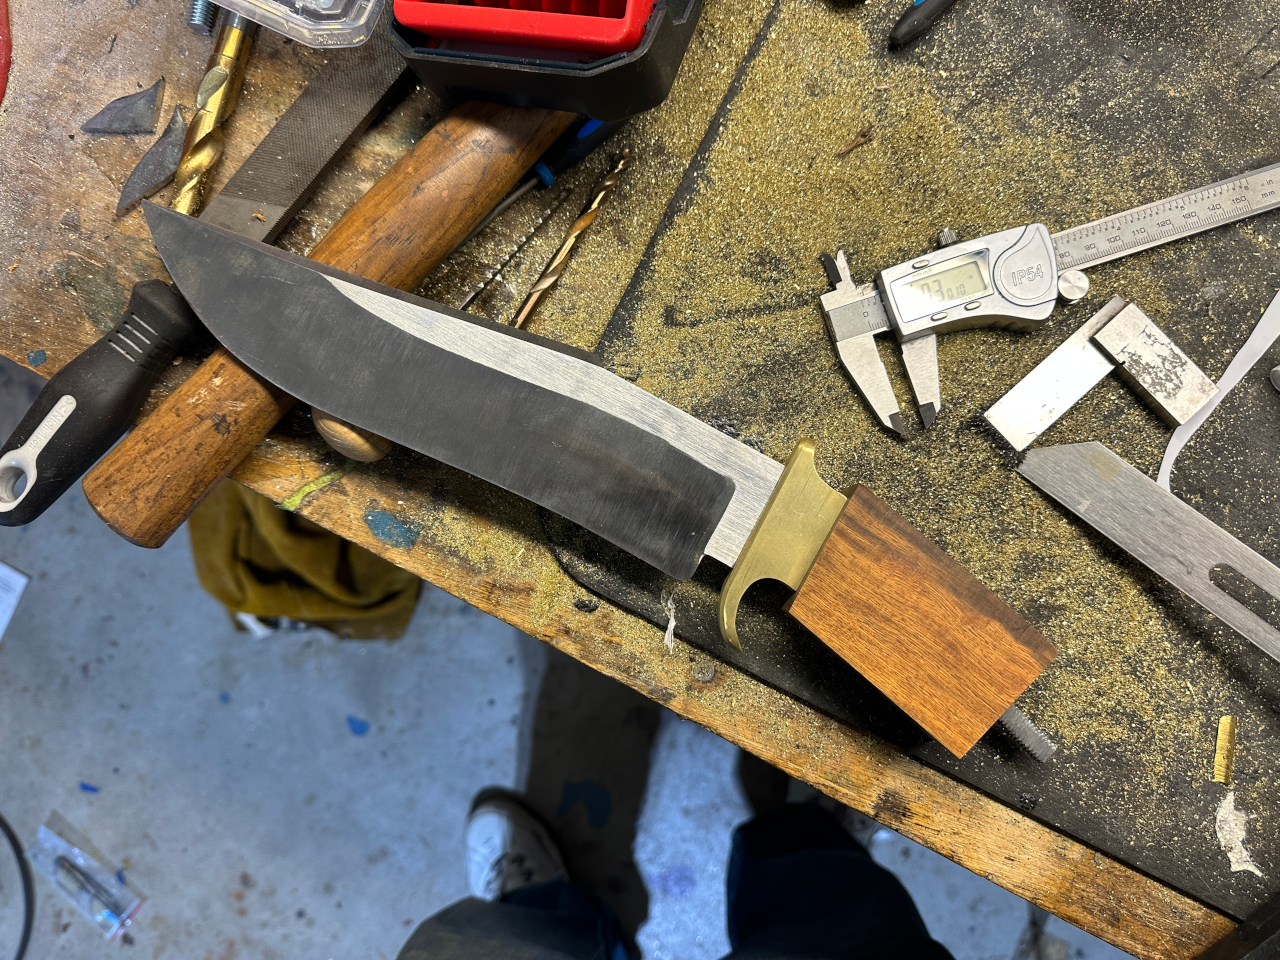
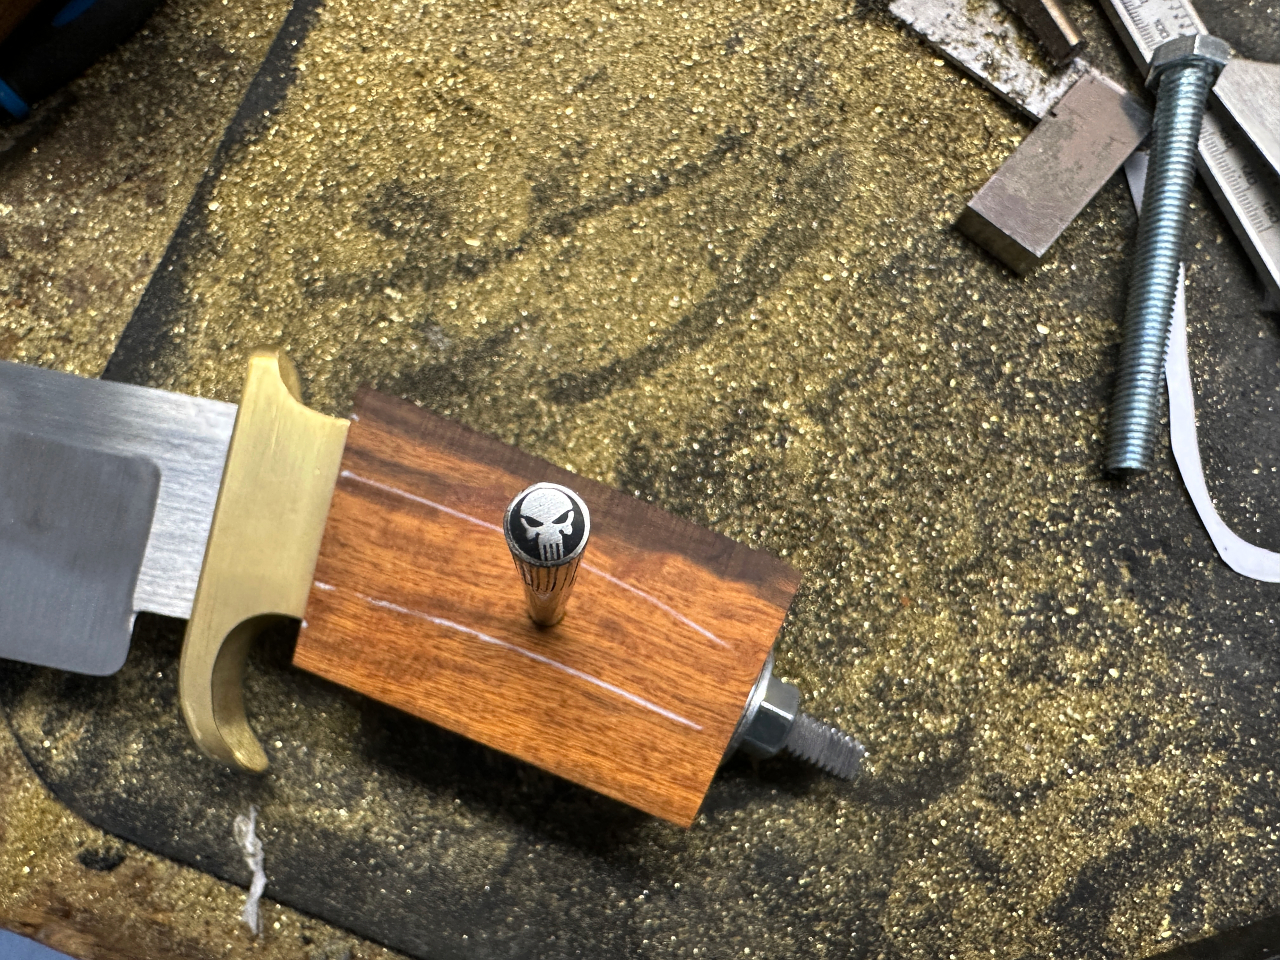
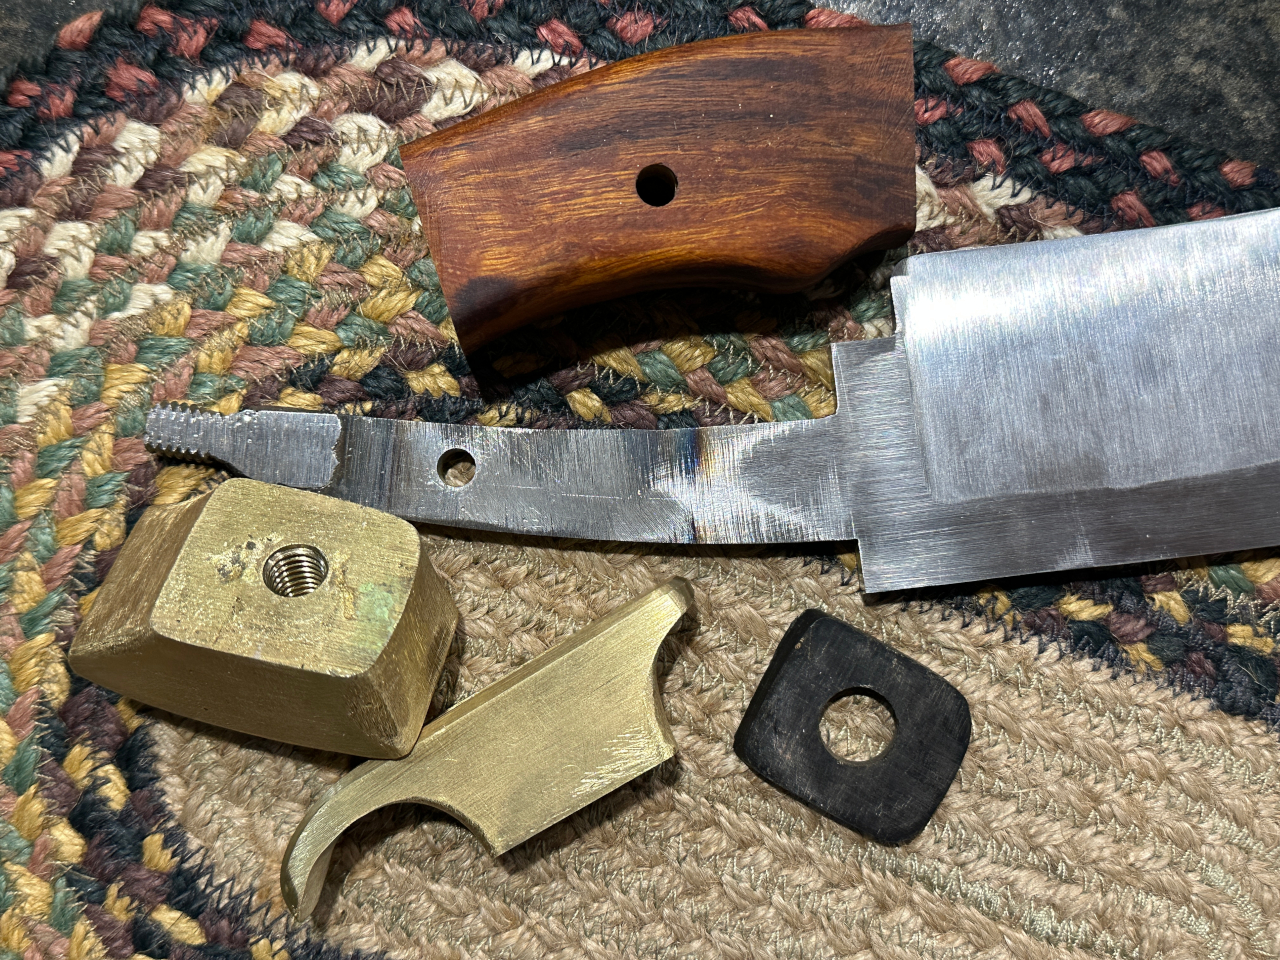
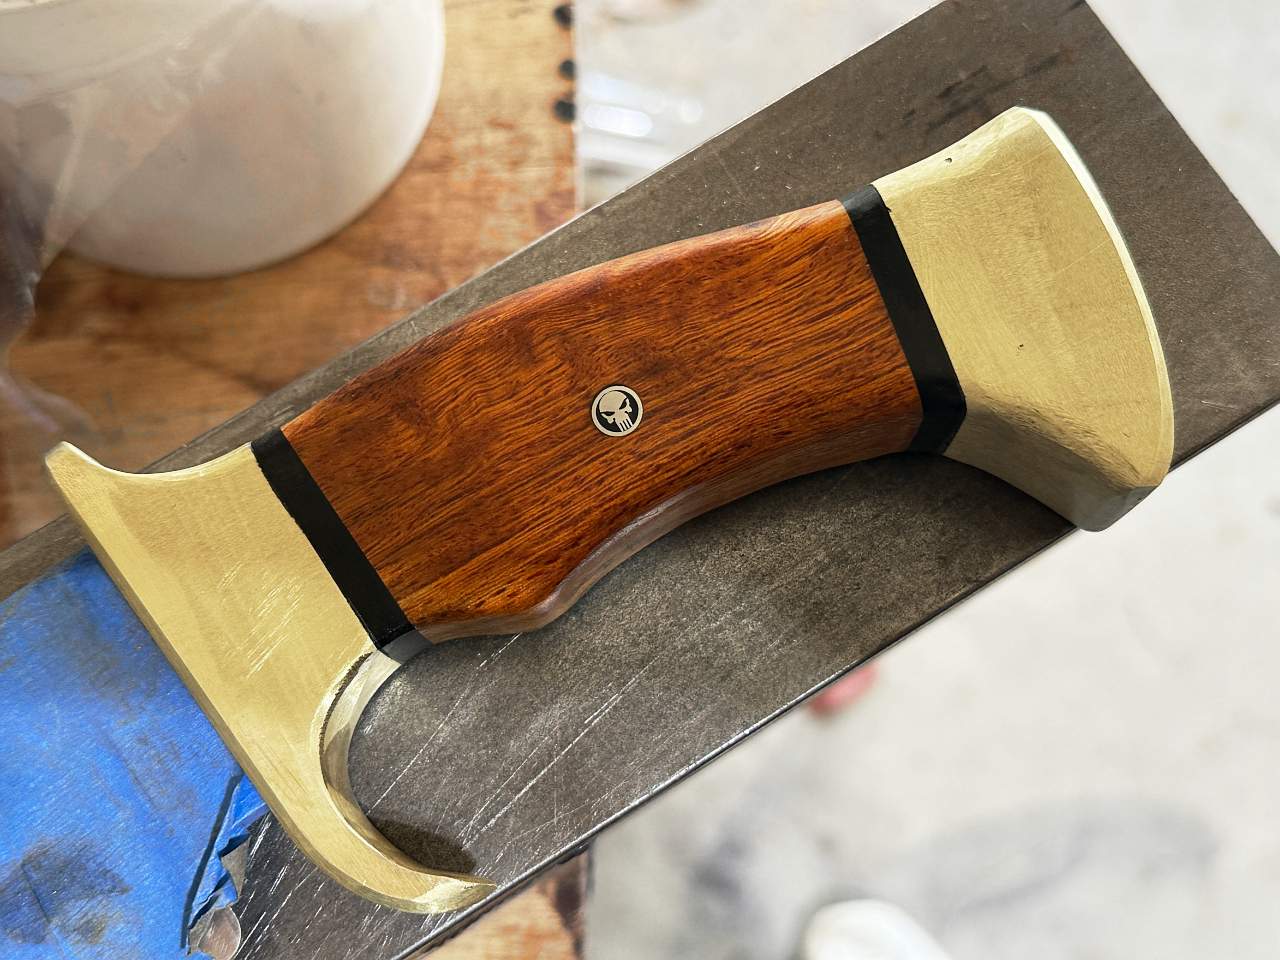
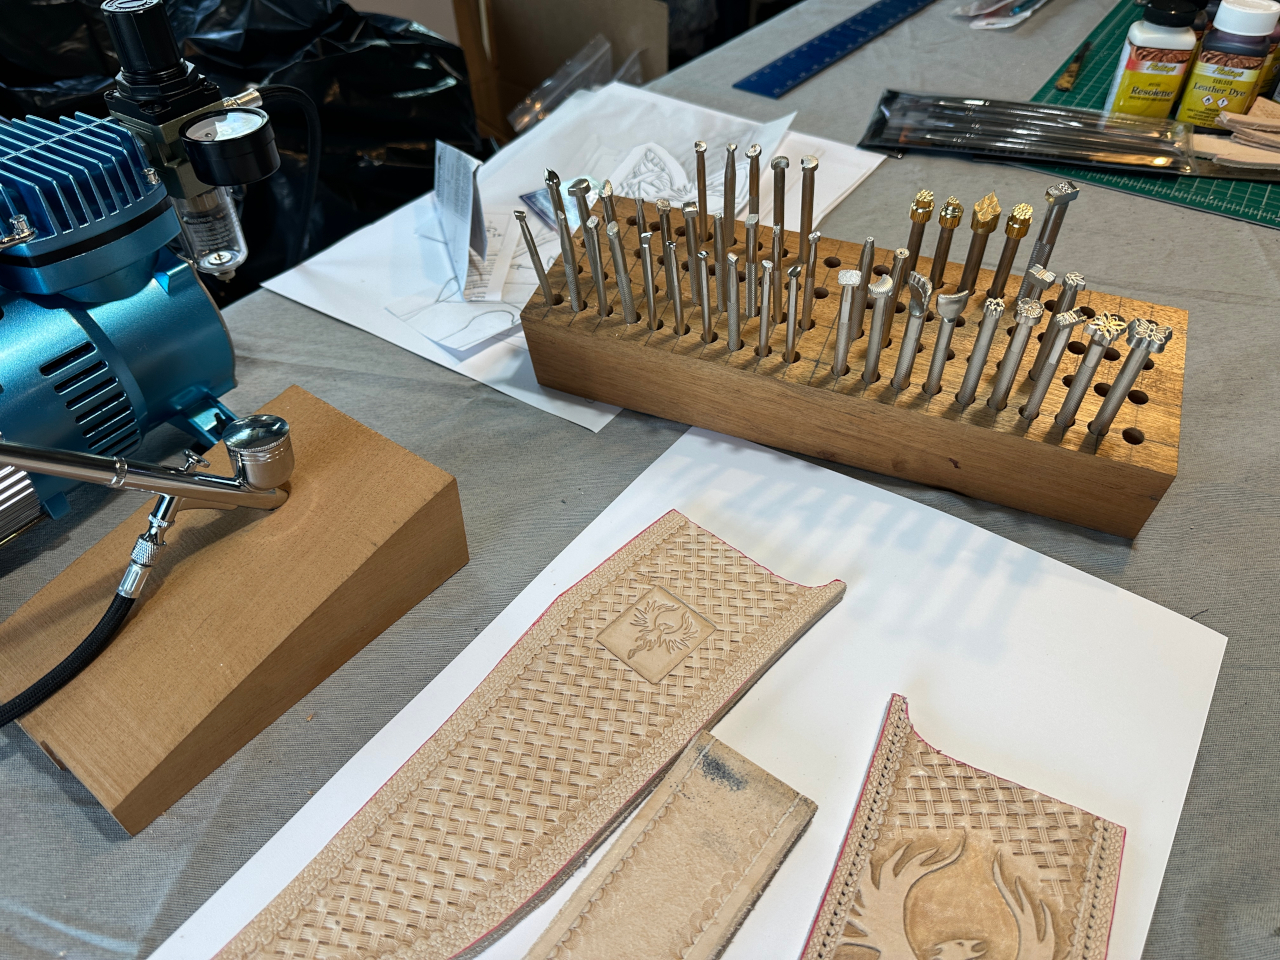
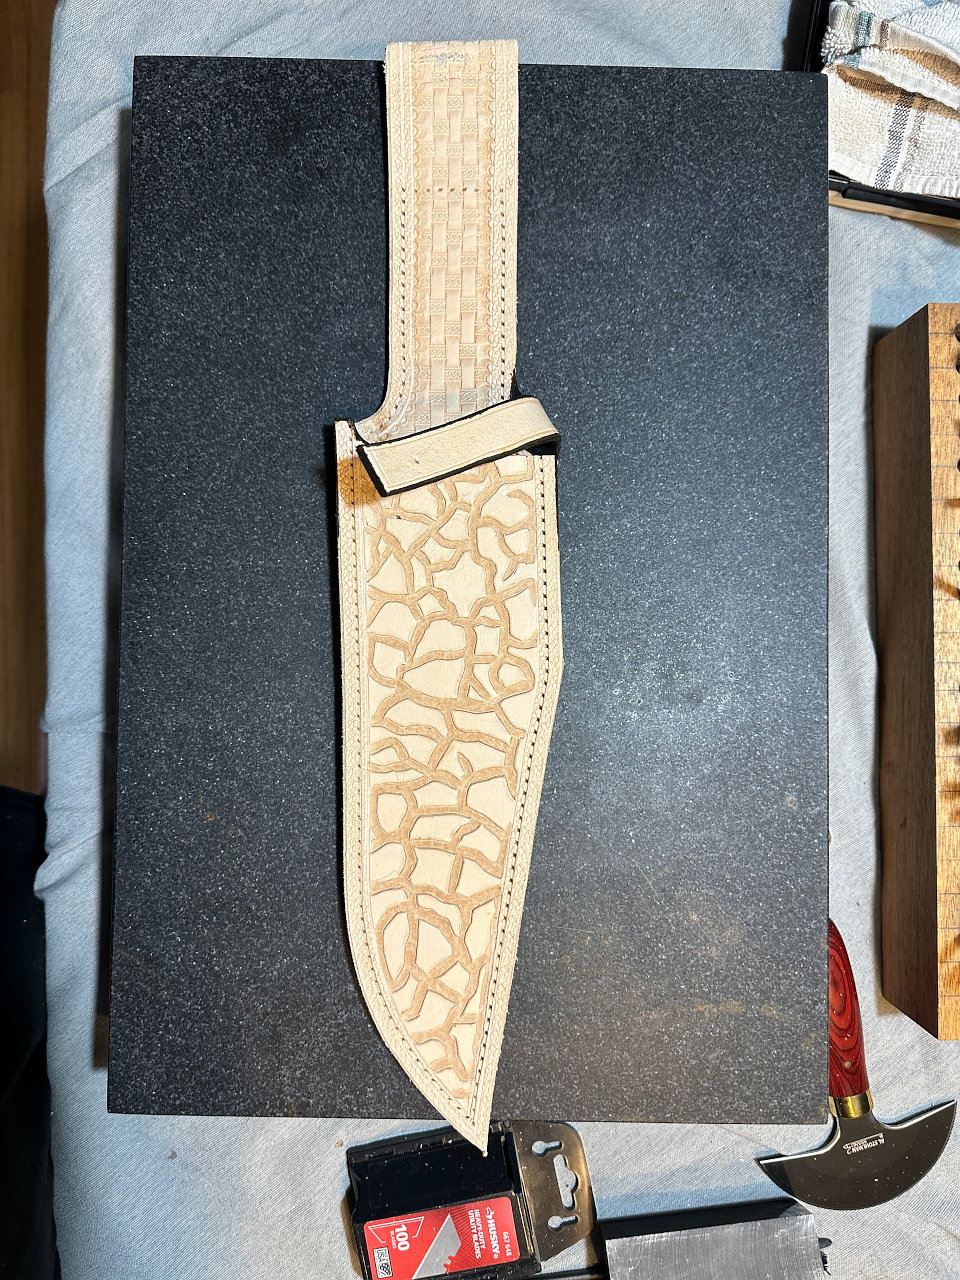
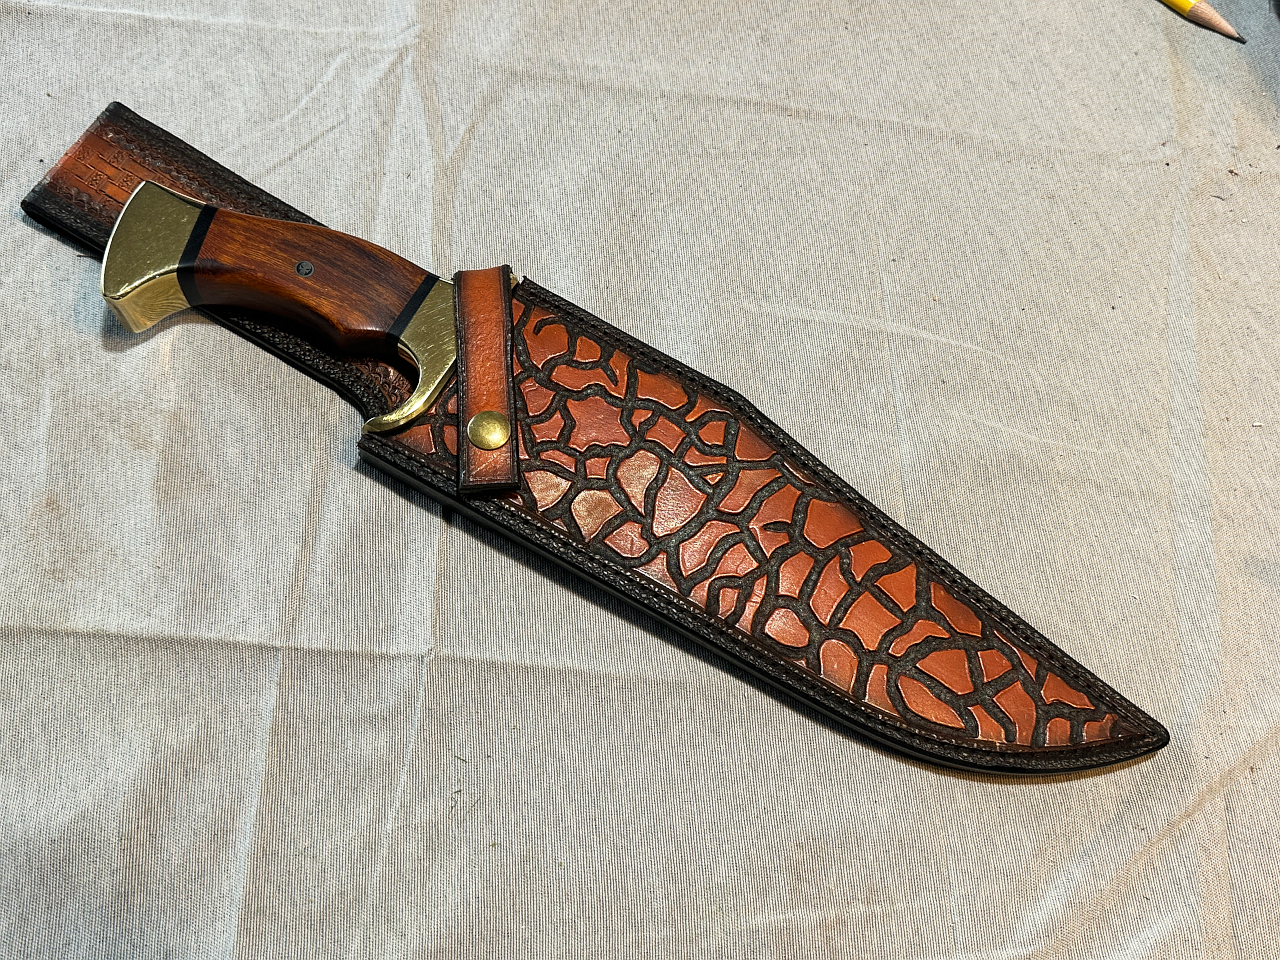
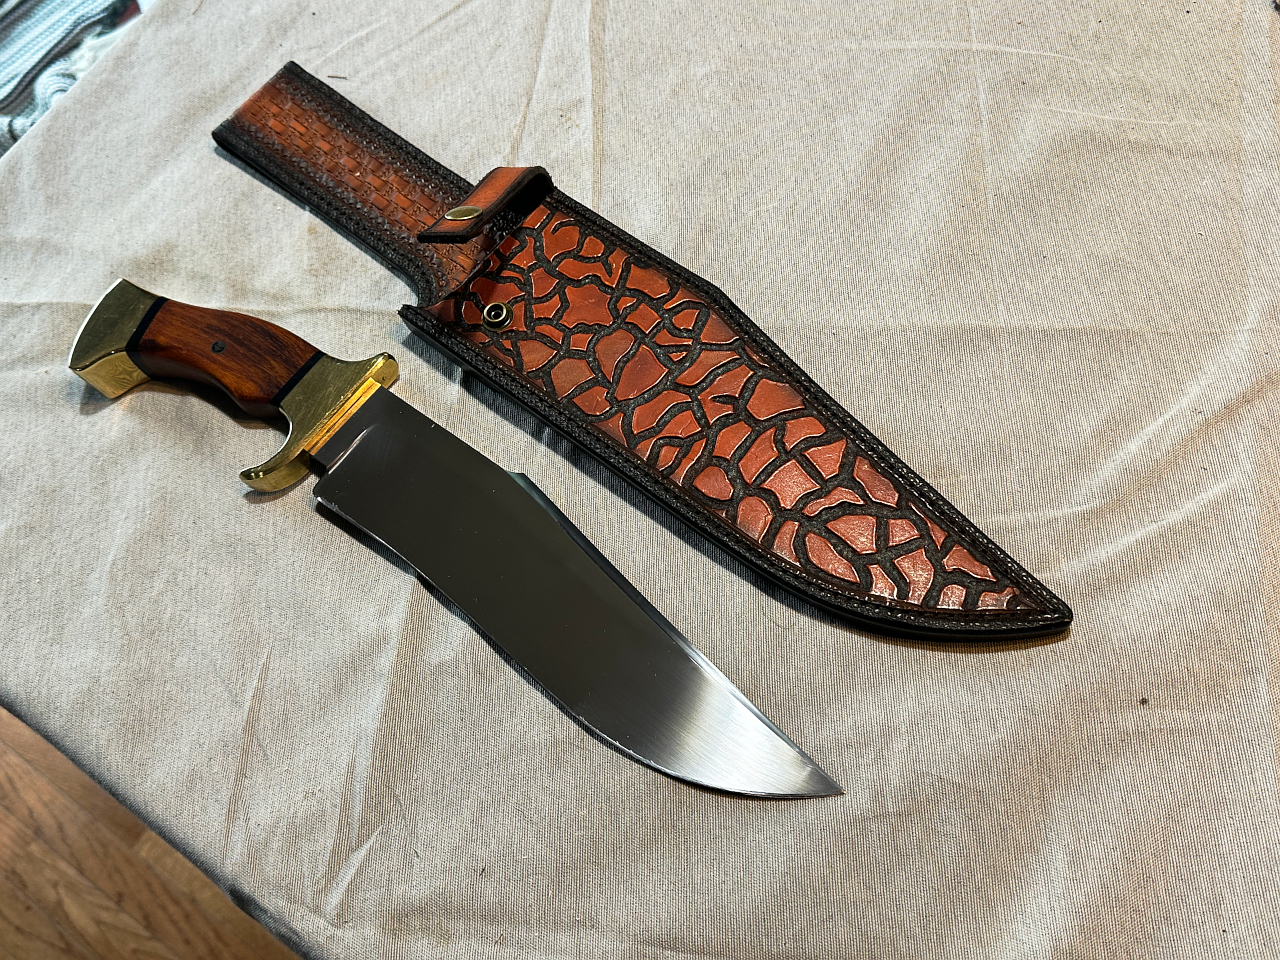
Next we need to make the guard and pommel.
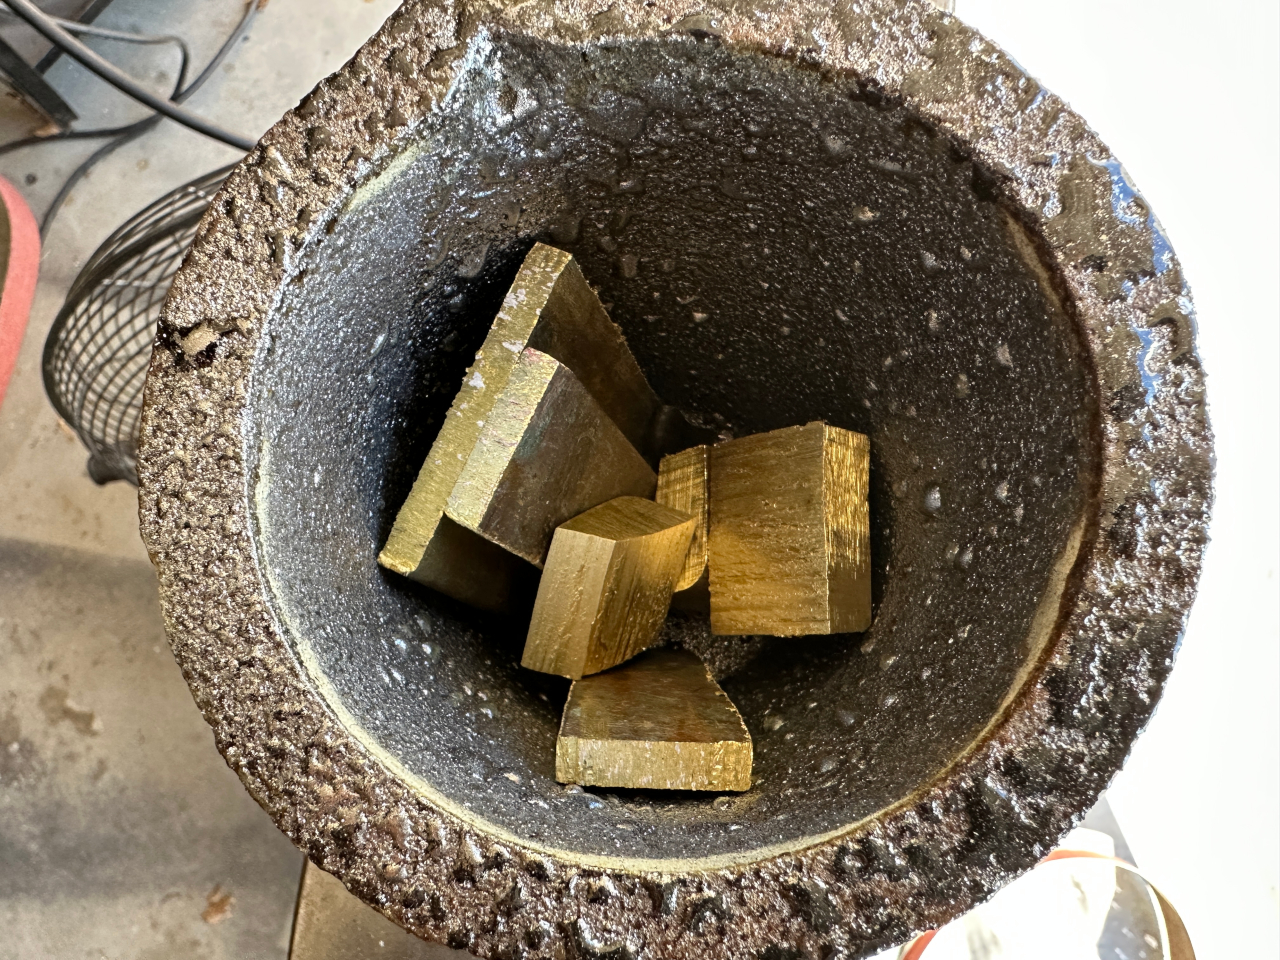
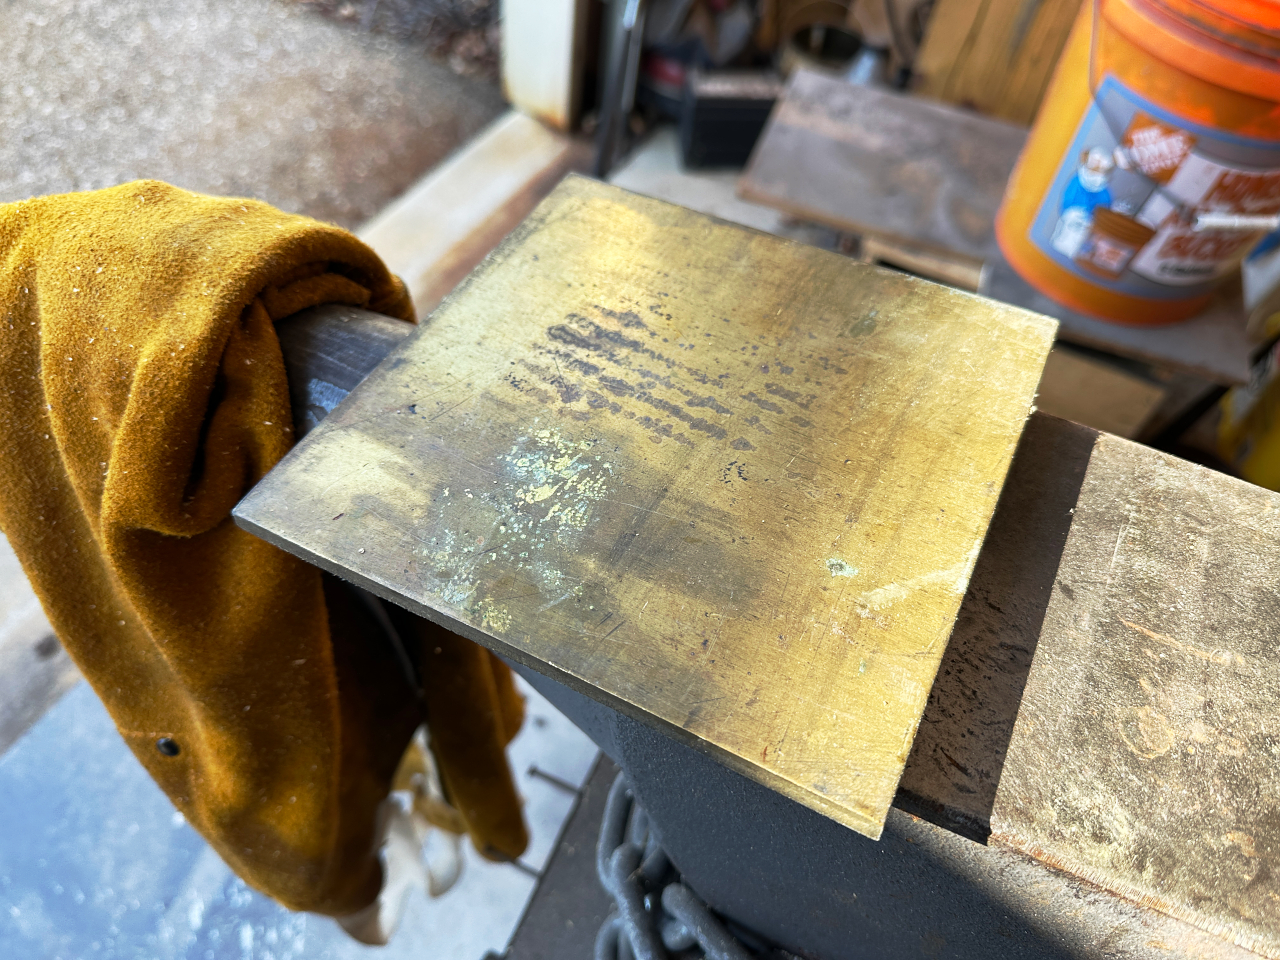
I decided to use brass for this since its not damascus and I wanted to get a little more contrast in the look.
I had a large amount of brass donated by a friend in the form of a stack of these thick brass tiles, but they arent thick enough to form a guard so this is an opportunity to try a bit of casting.
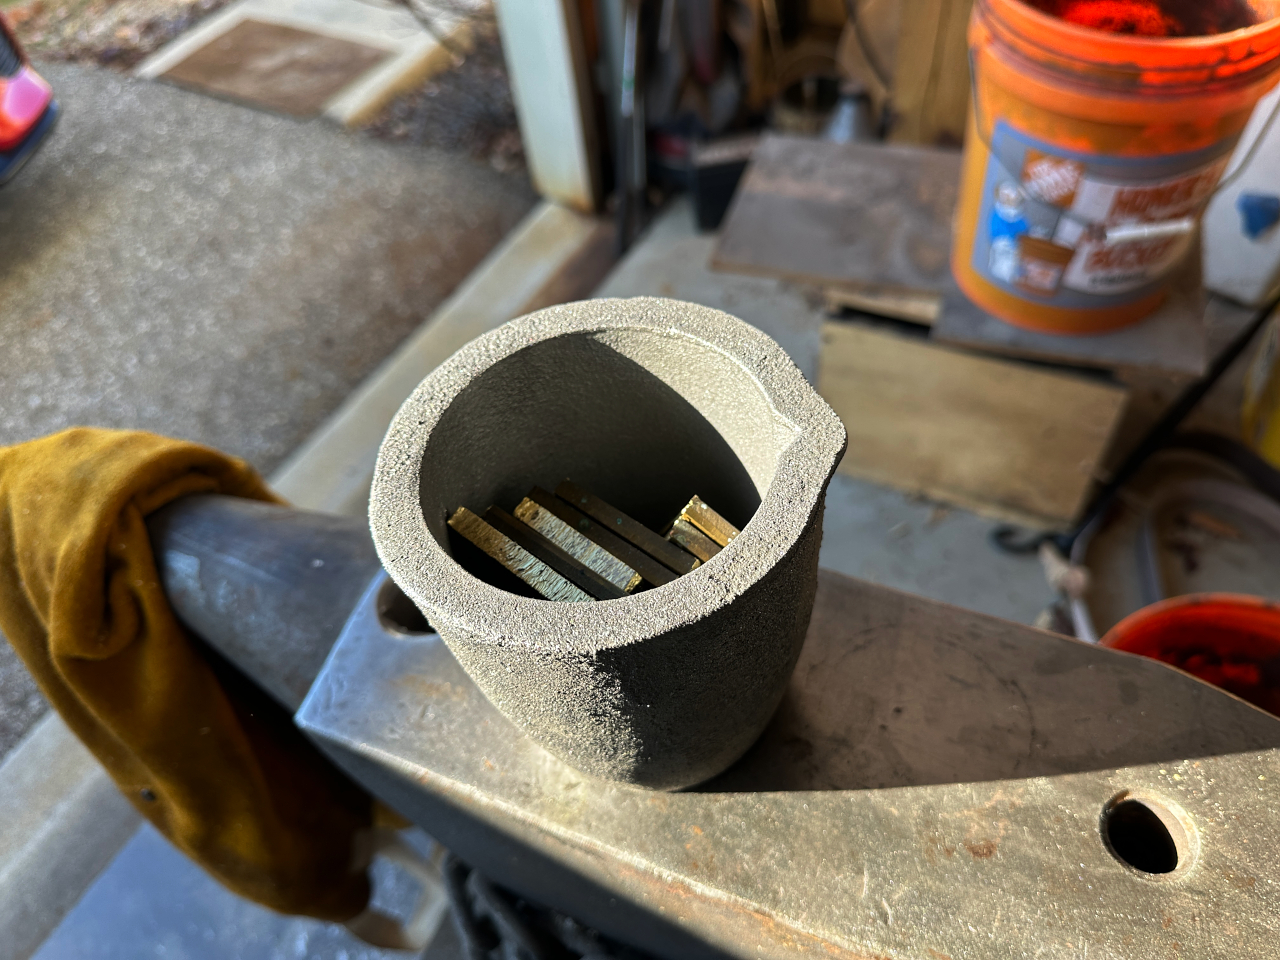
First I cut the tile up into smaller pieces that can fit into the crucible
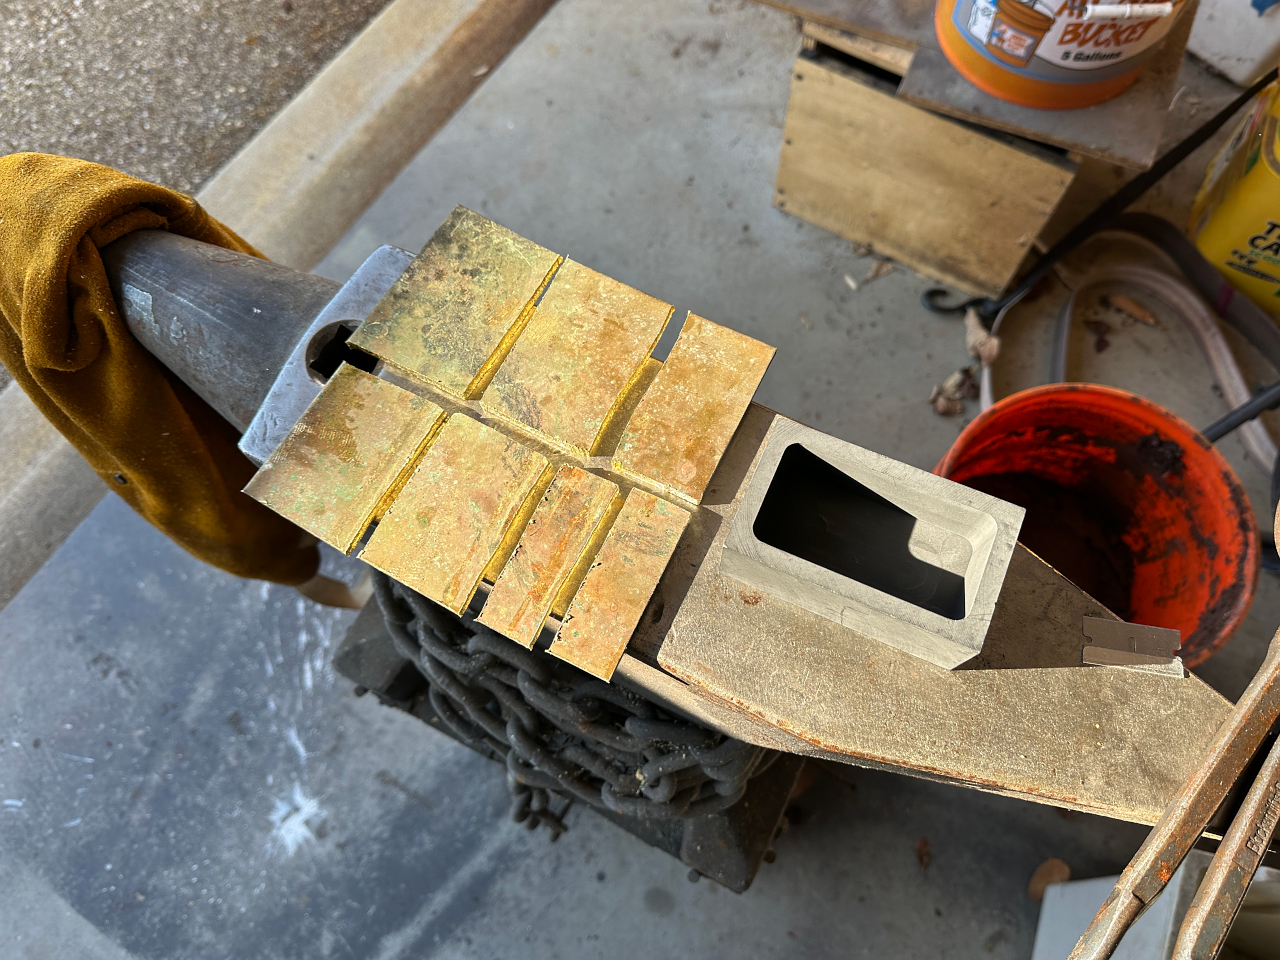
I only used about half and the whole tile was a lot more than necessary. I had a small ingot mold so I only wanted to cast as much as was needed to form one ingot.
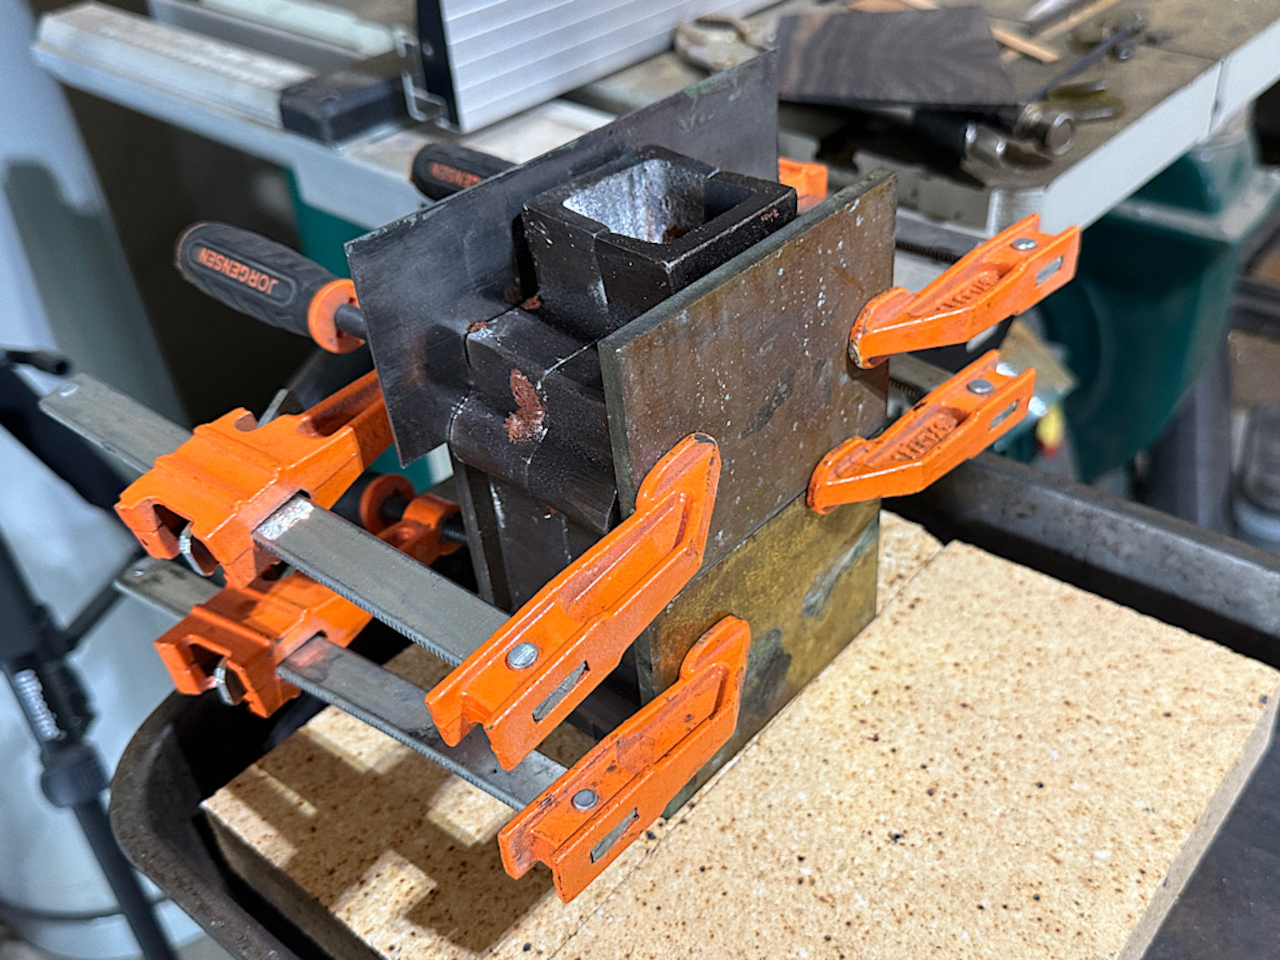
I also had to make a couple tools. A purpose made set of tongs to handle the crucible, and a shallow ladle for scooping off any dross from the melted brass
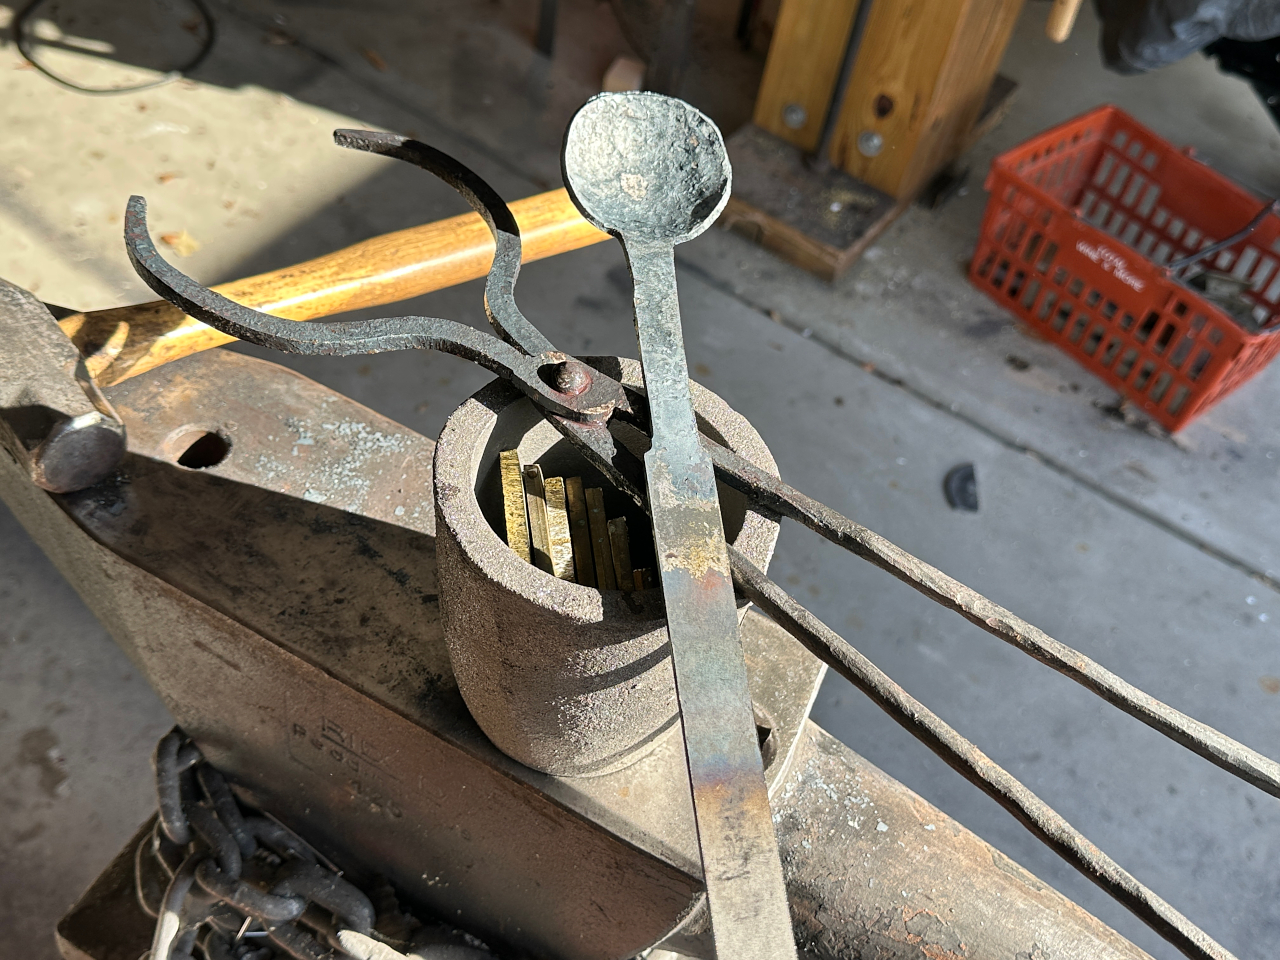
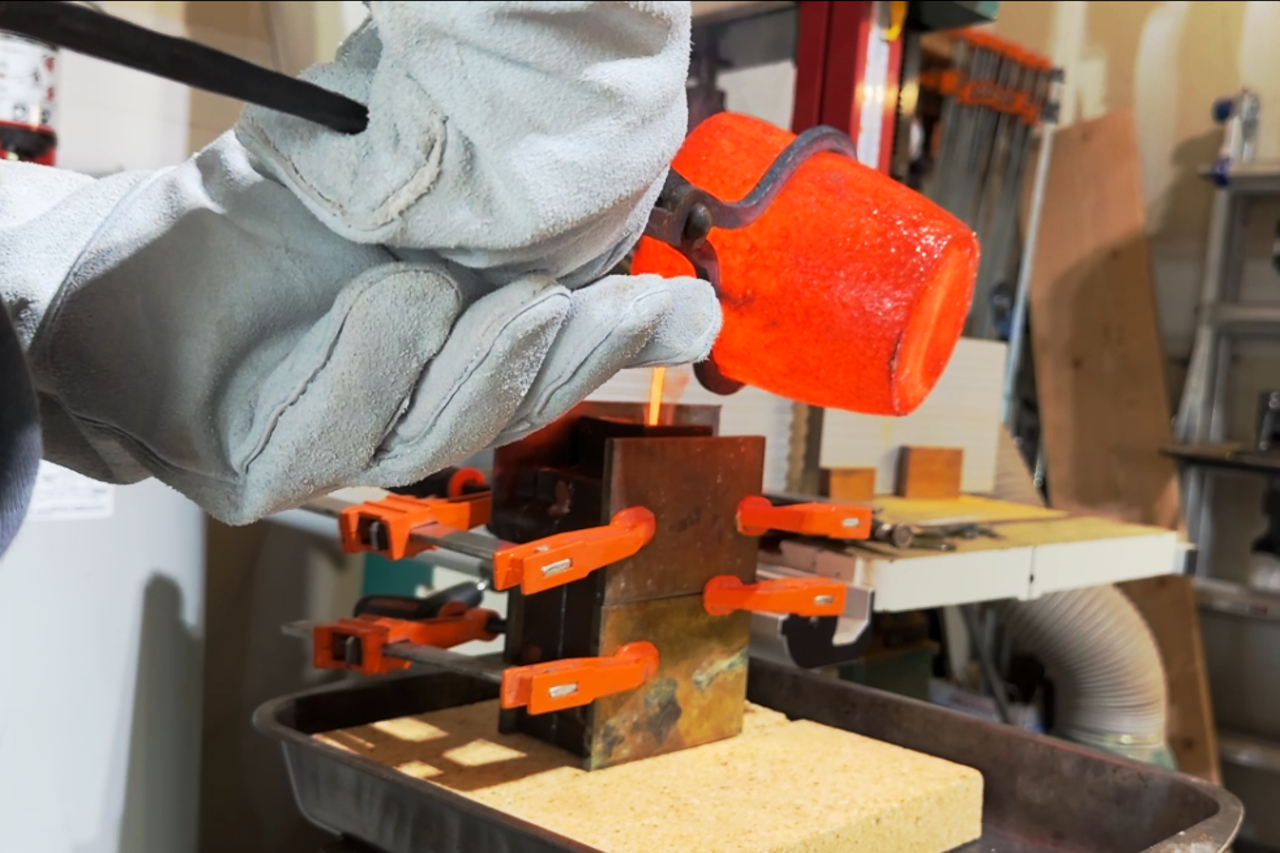
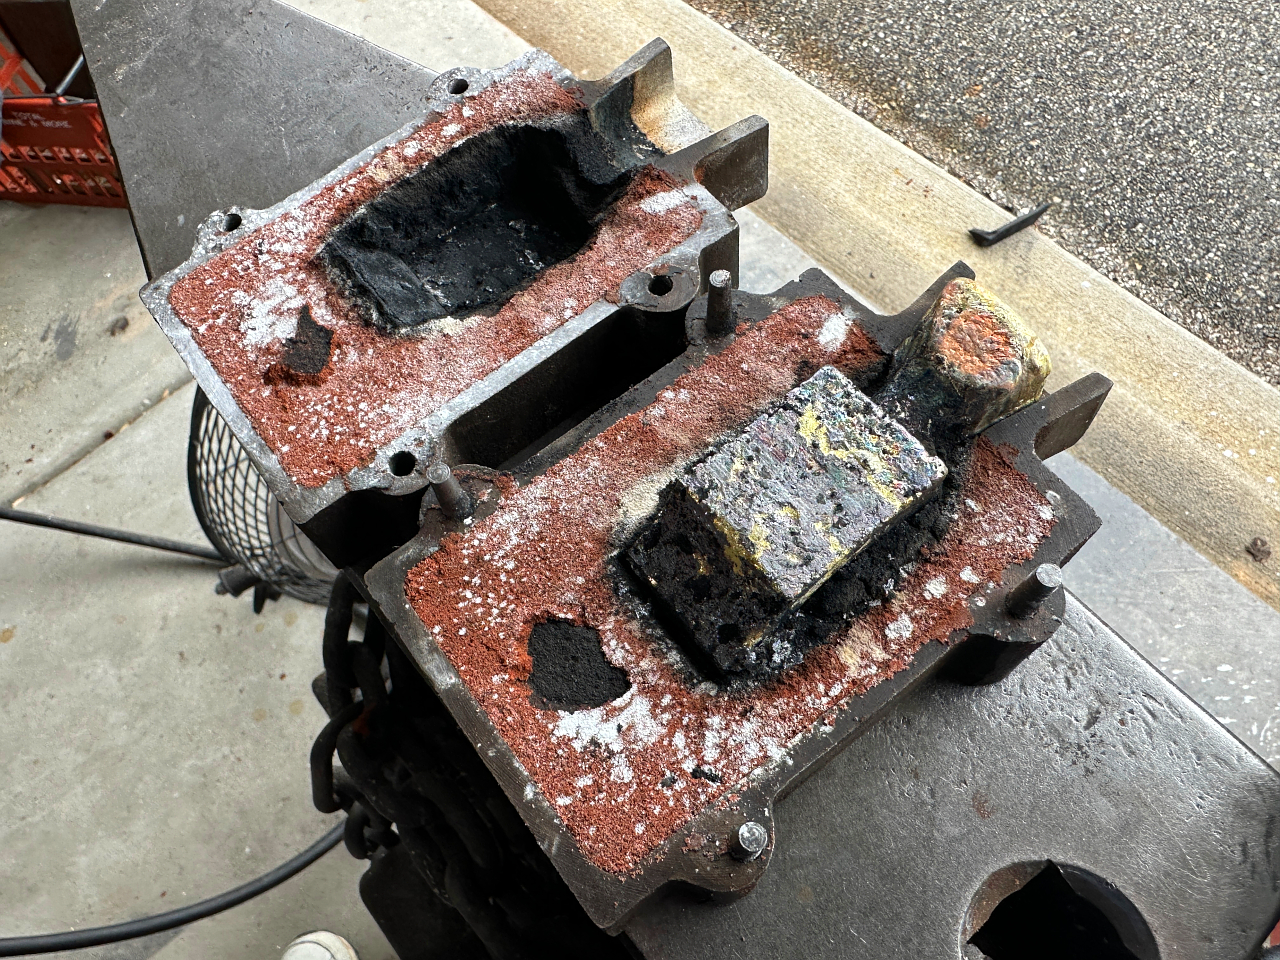
As this was my first effort melting and casting any metal, I didnt take pictures because I wanted to focus 100% on the task. This pic was immediately after removing the crucible from the kiln and pouring the brass into the mold to the left of the still glowing crucible,
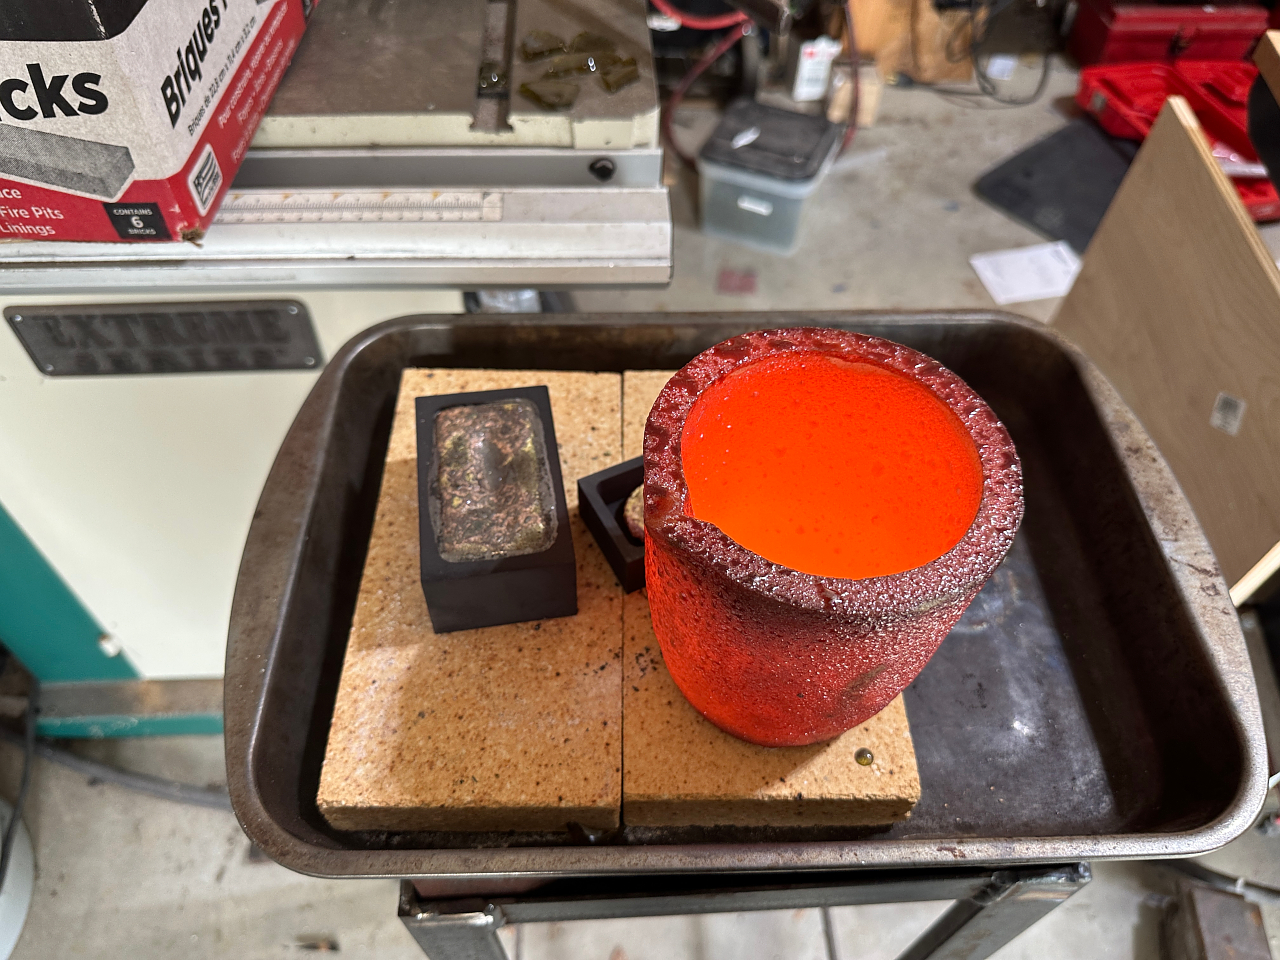
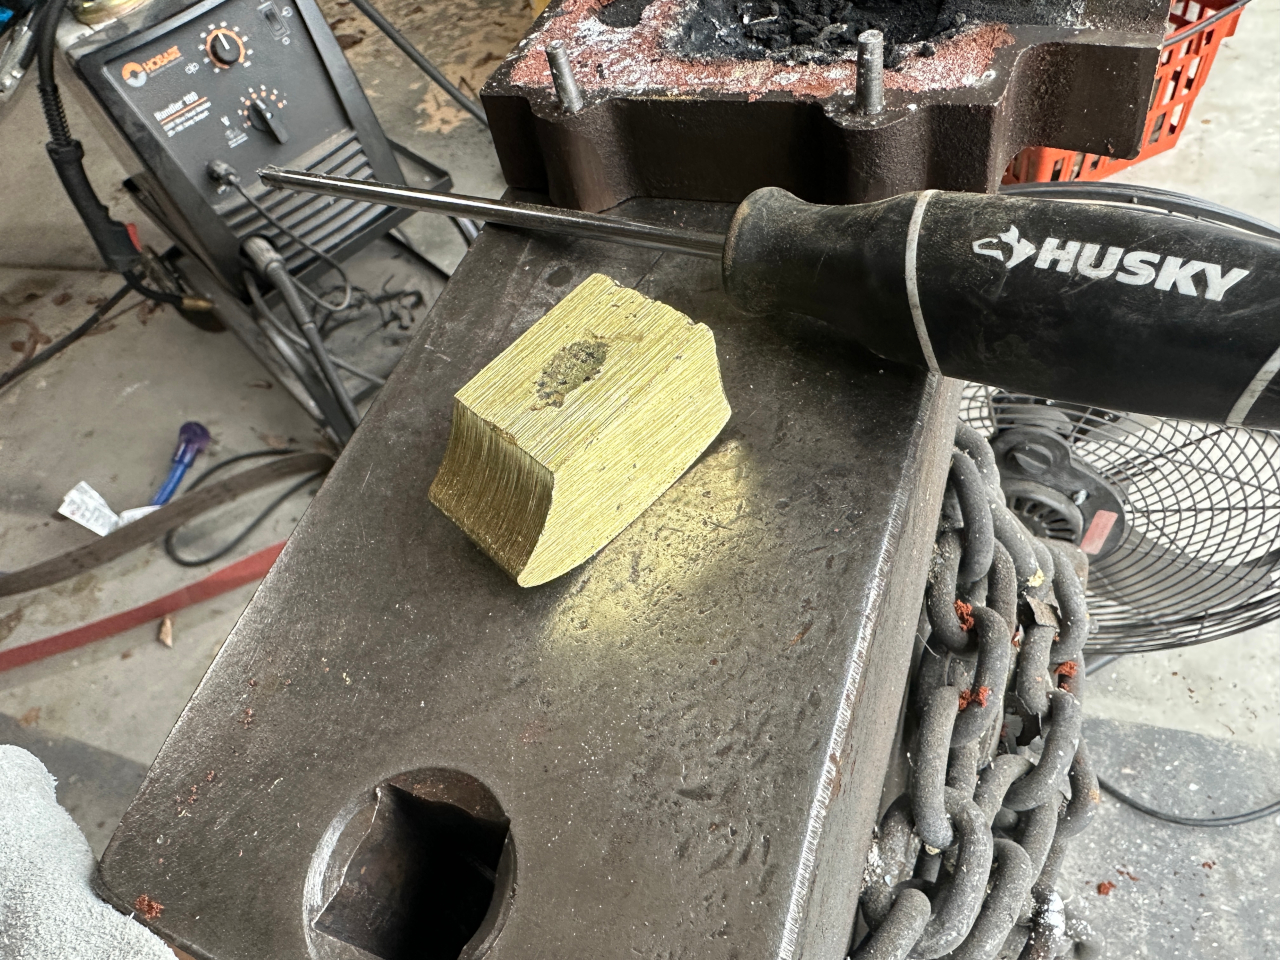
Once it was fully cooled I removed the ingot from the mold and ground it flat and clean
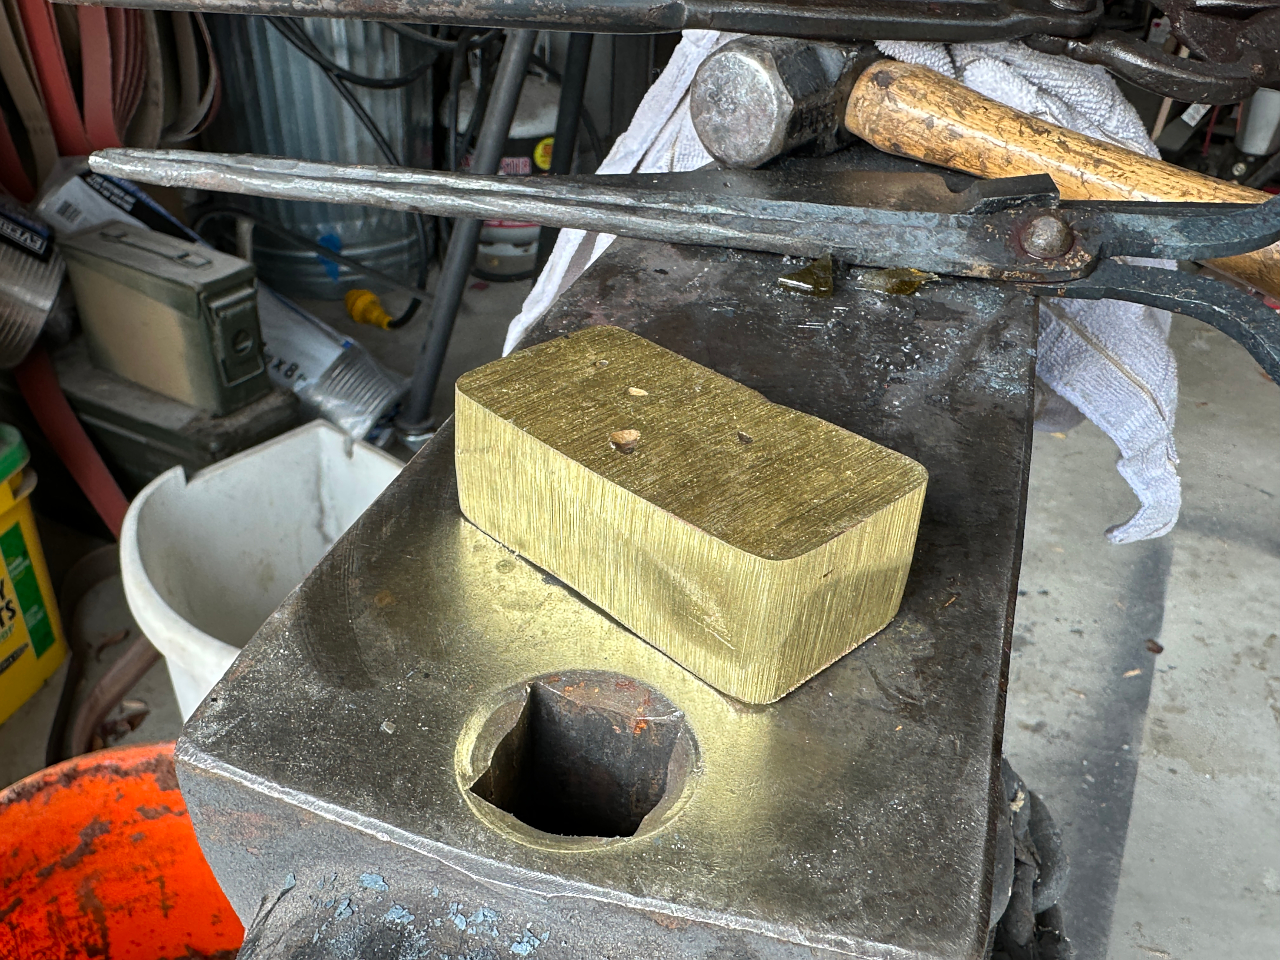
blacked out the areas that would be removed to give an idea what it would look like
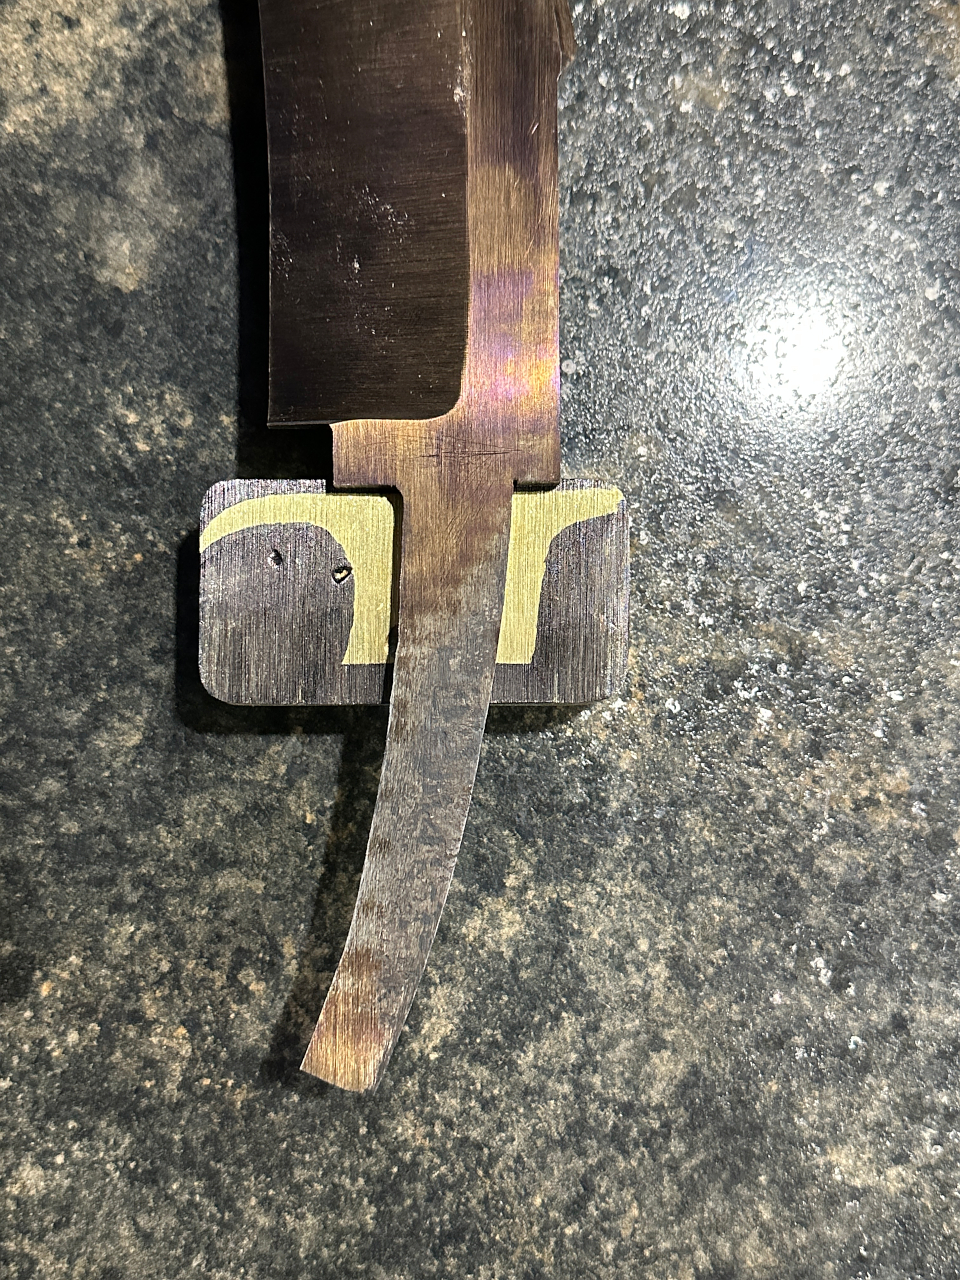
then I actually pasted a paper template to the ingot and use my porta band saw to cut off the big waste pieces. The beauty of this process is that those pieces will not be wasted. I’ll just melt them down again along with a couple more pieces of the orighinal tile to cast the pommel.
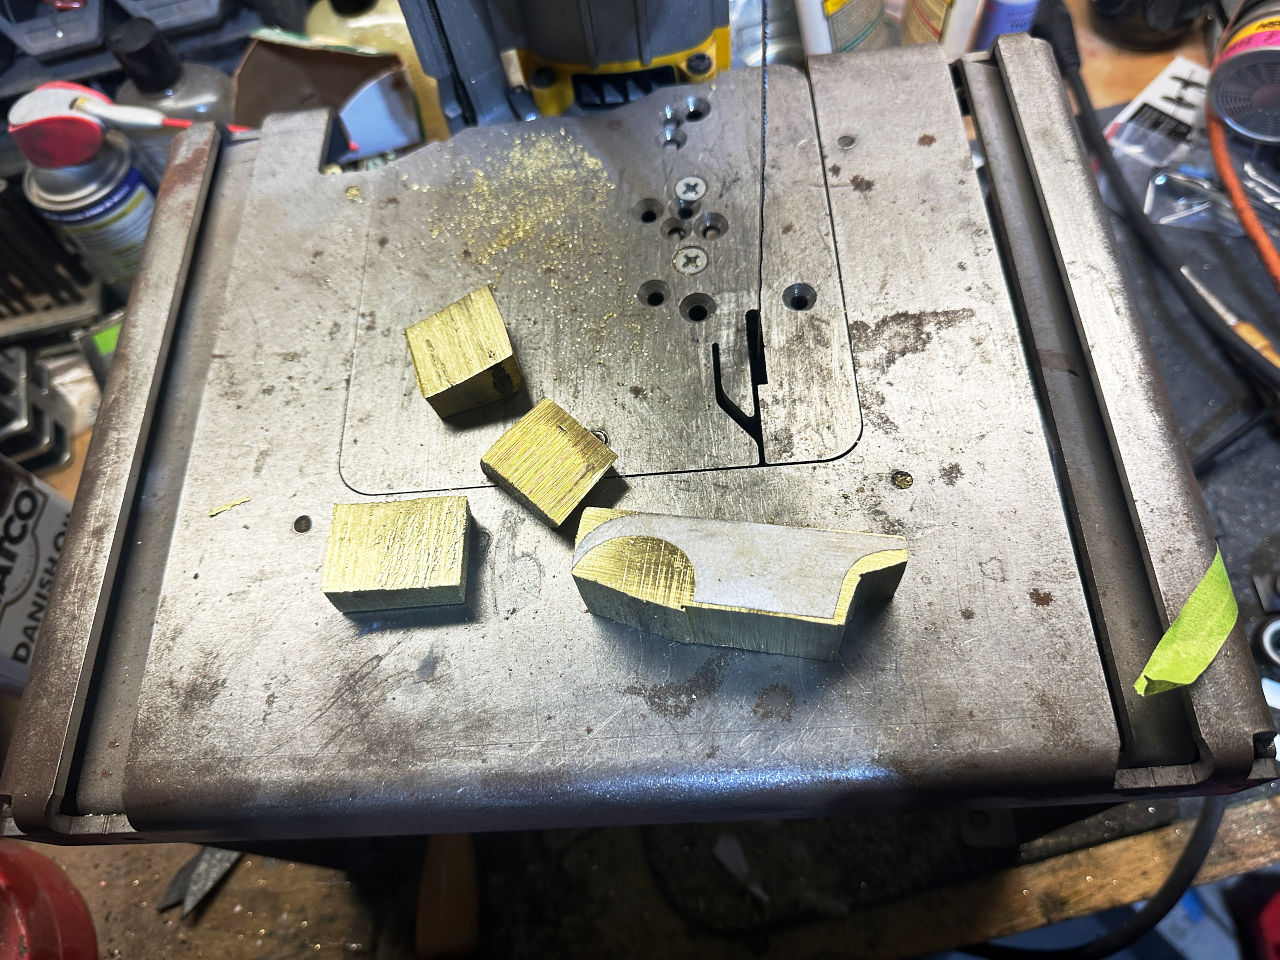
Rough cut and shaped with the blade cleaned up…