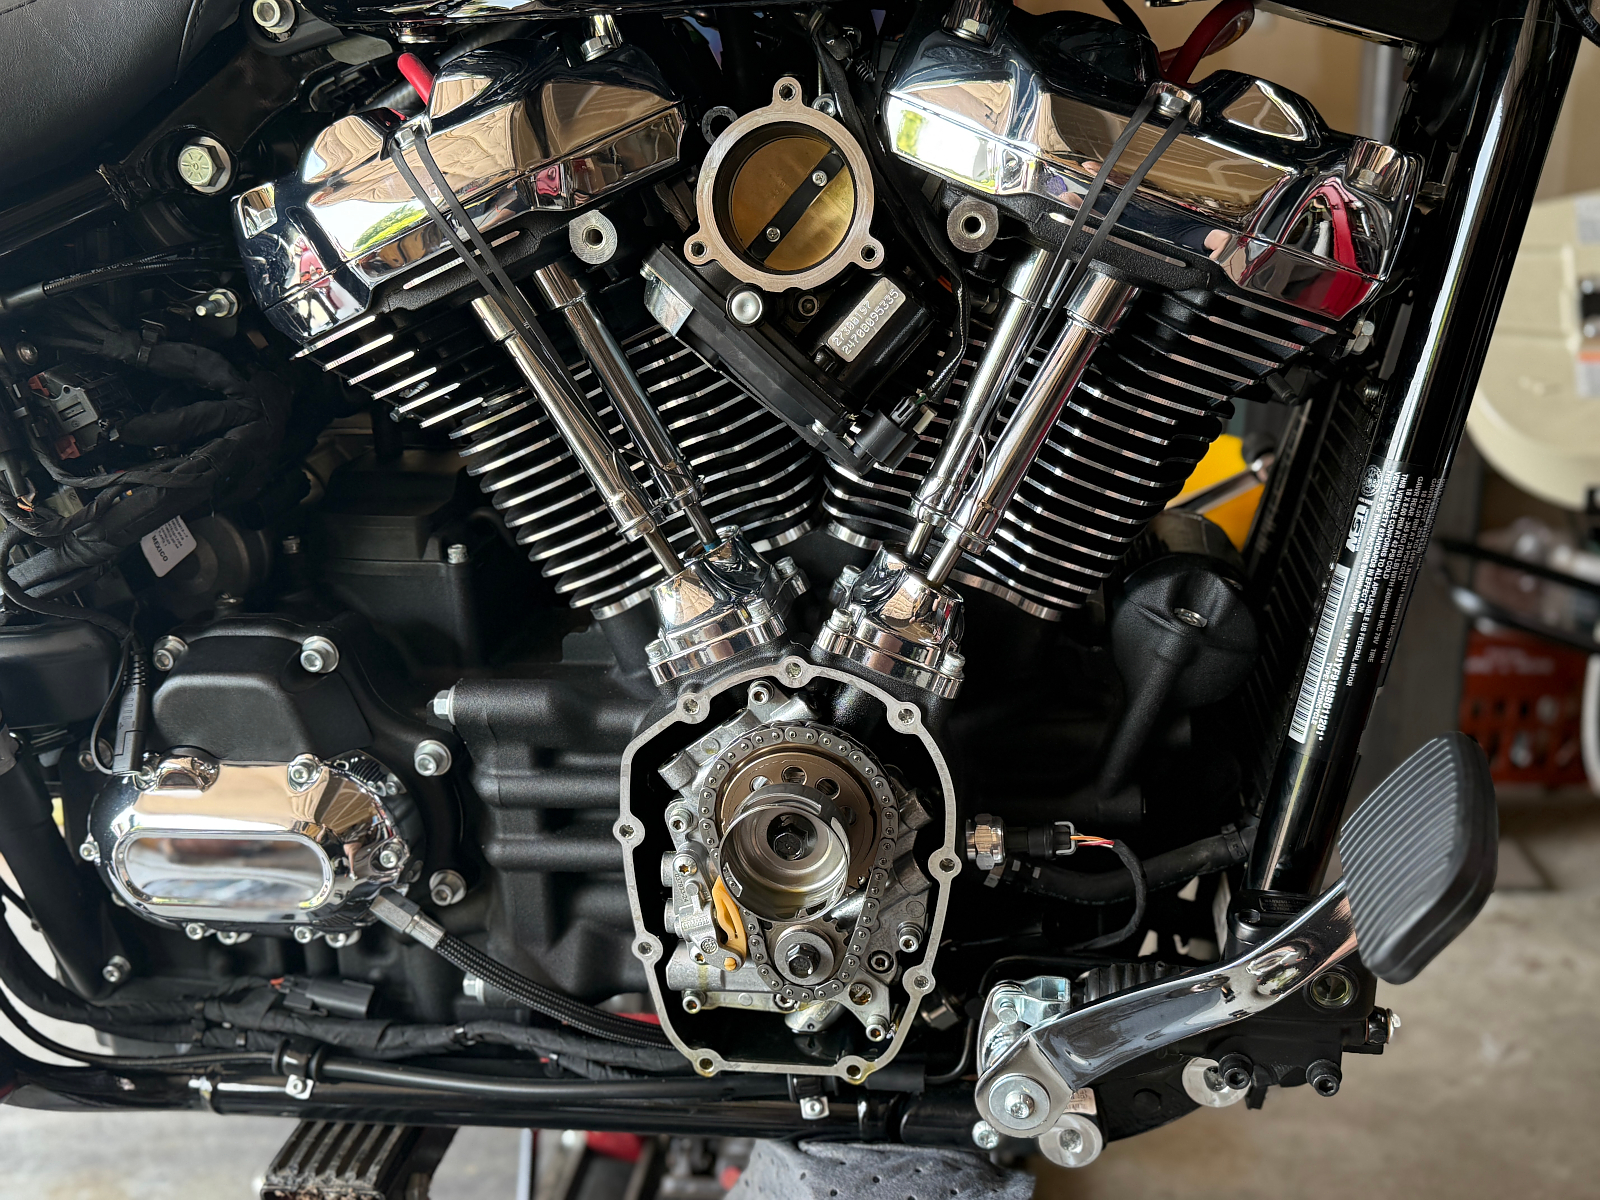
This is a very high level view with only the major milestones photographed.
First up are stage 1 and stage 2 mods, which I performed at the same time
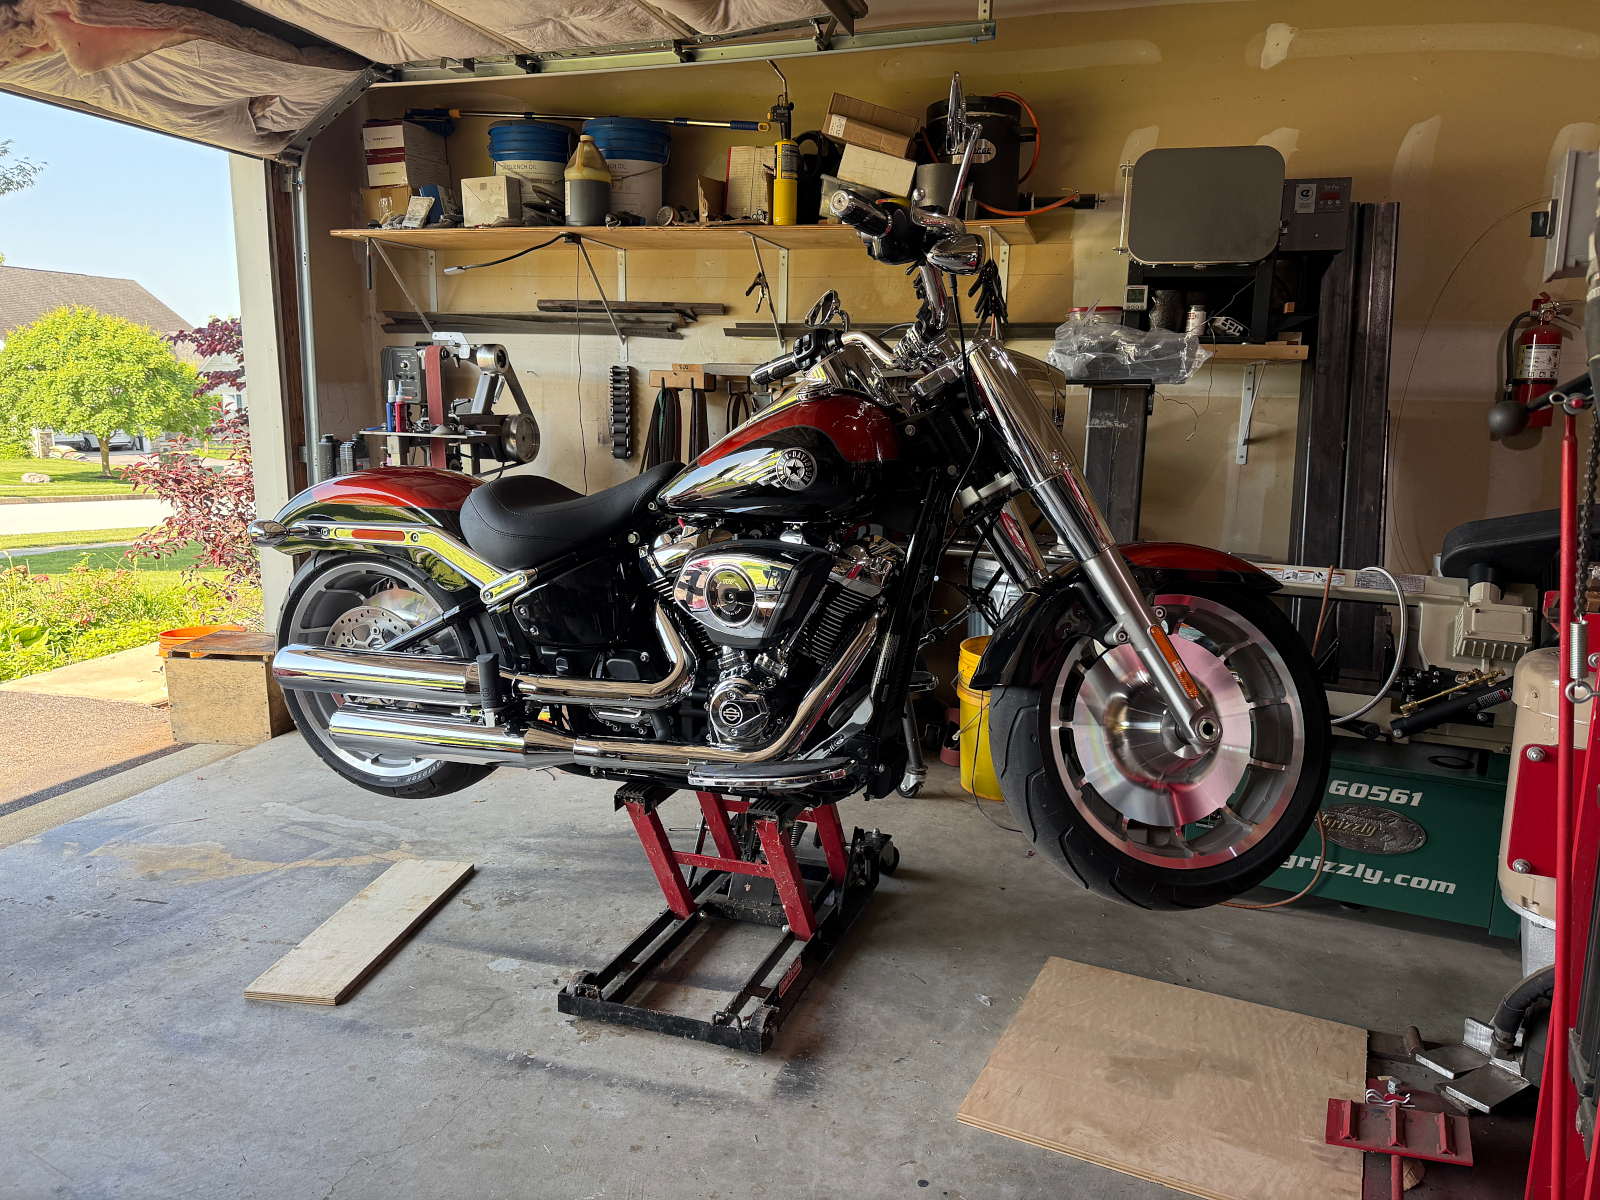
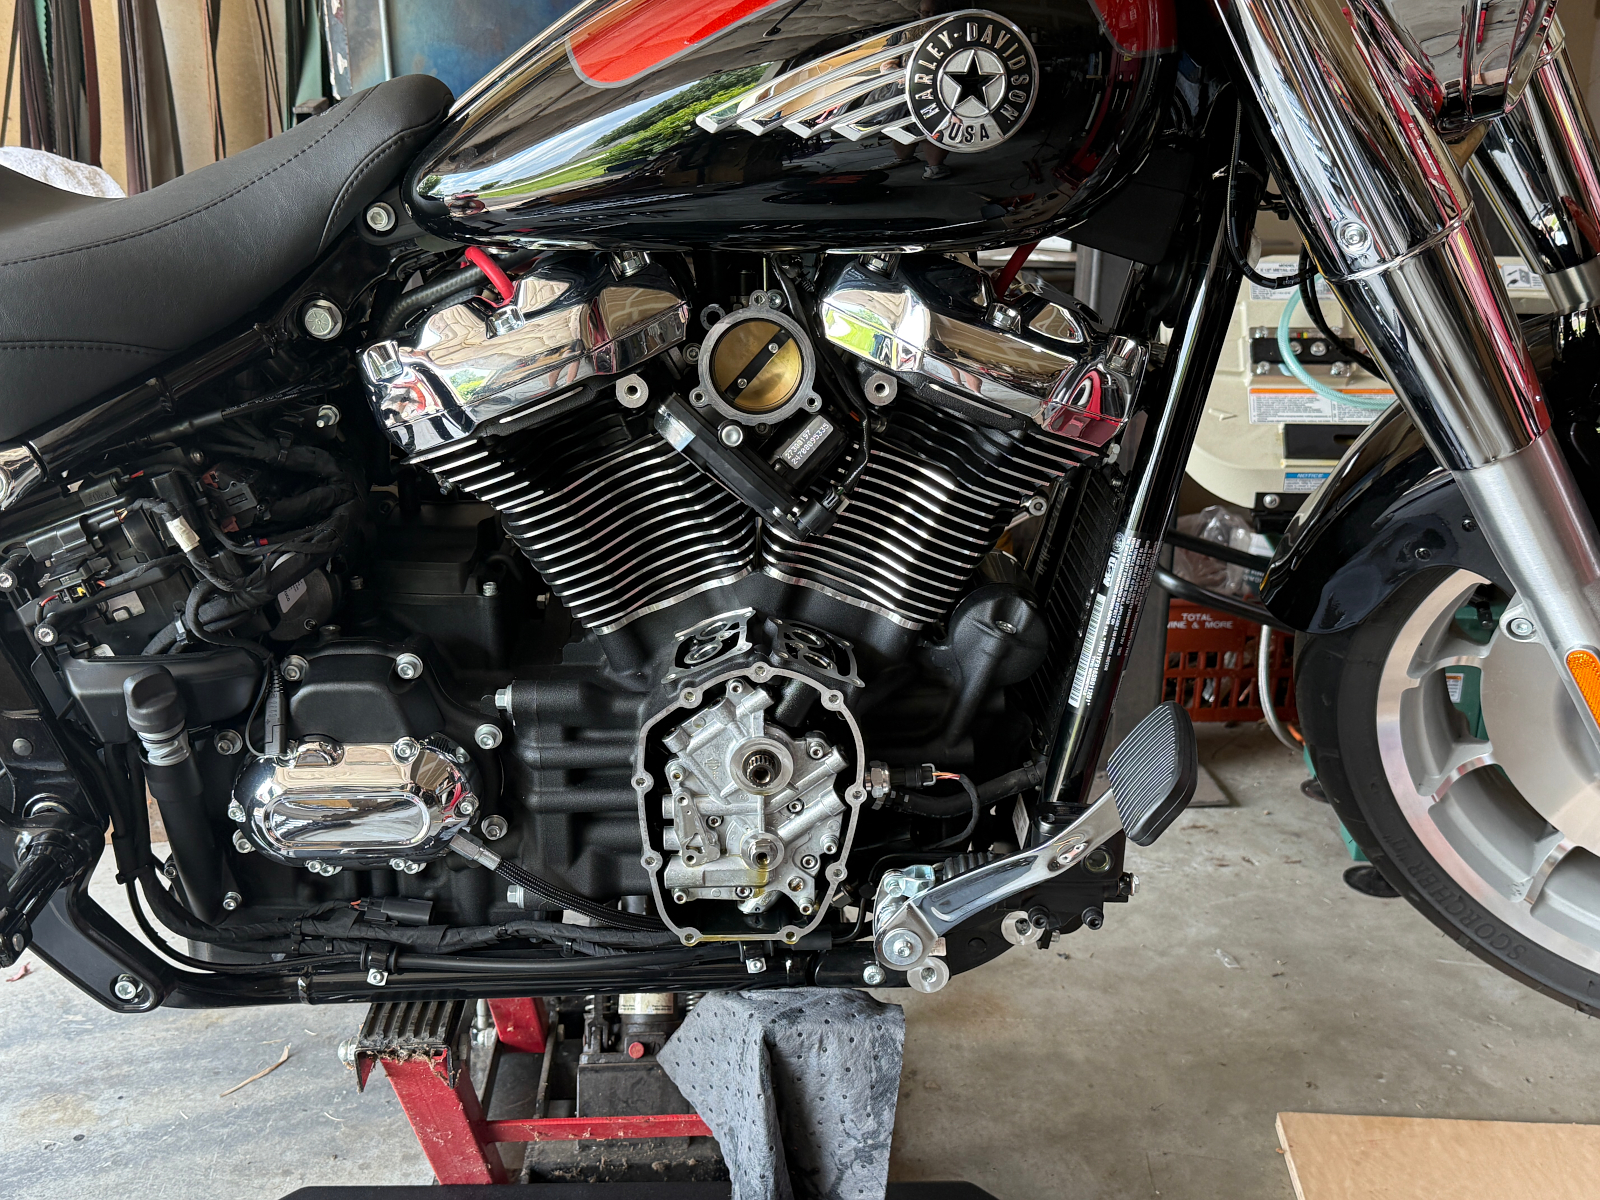
Bone stock on the lift
That big, klunky OEM exhaust and weird-looking air cleaner will look way cooler in the back of my truck…
OK gone
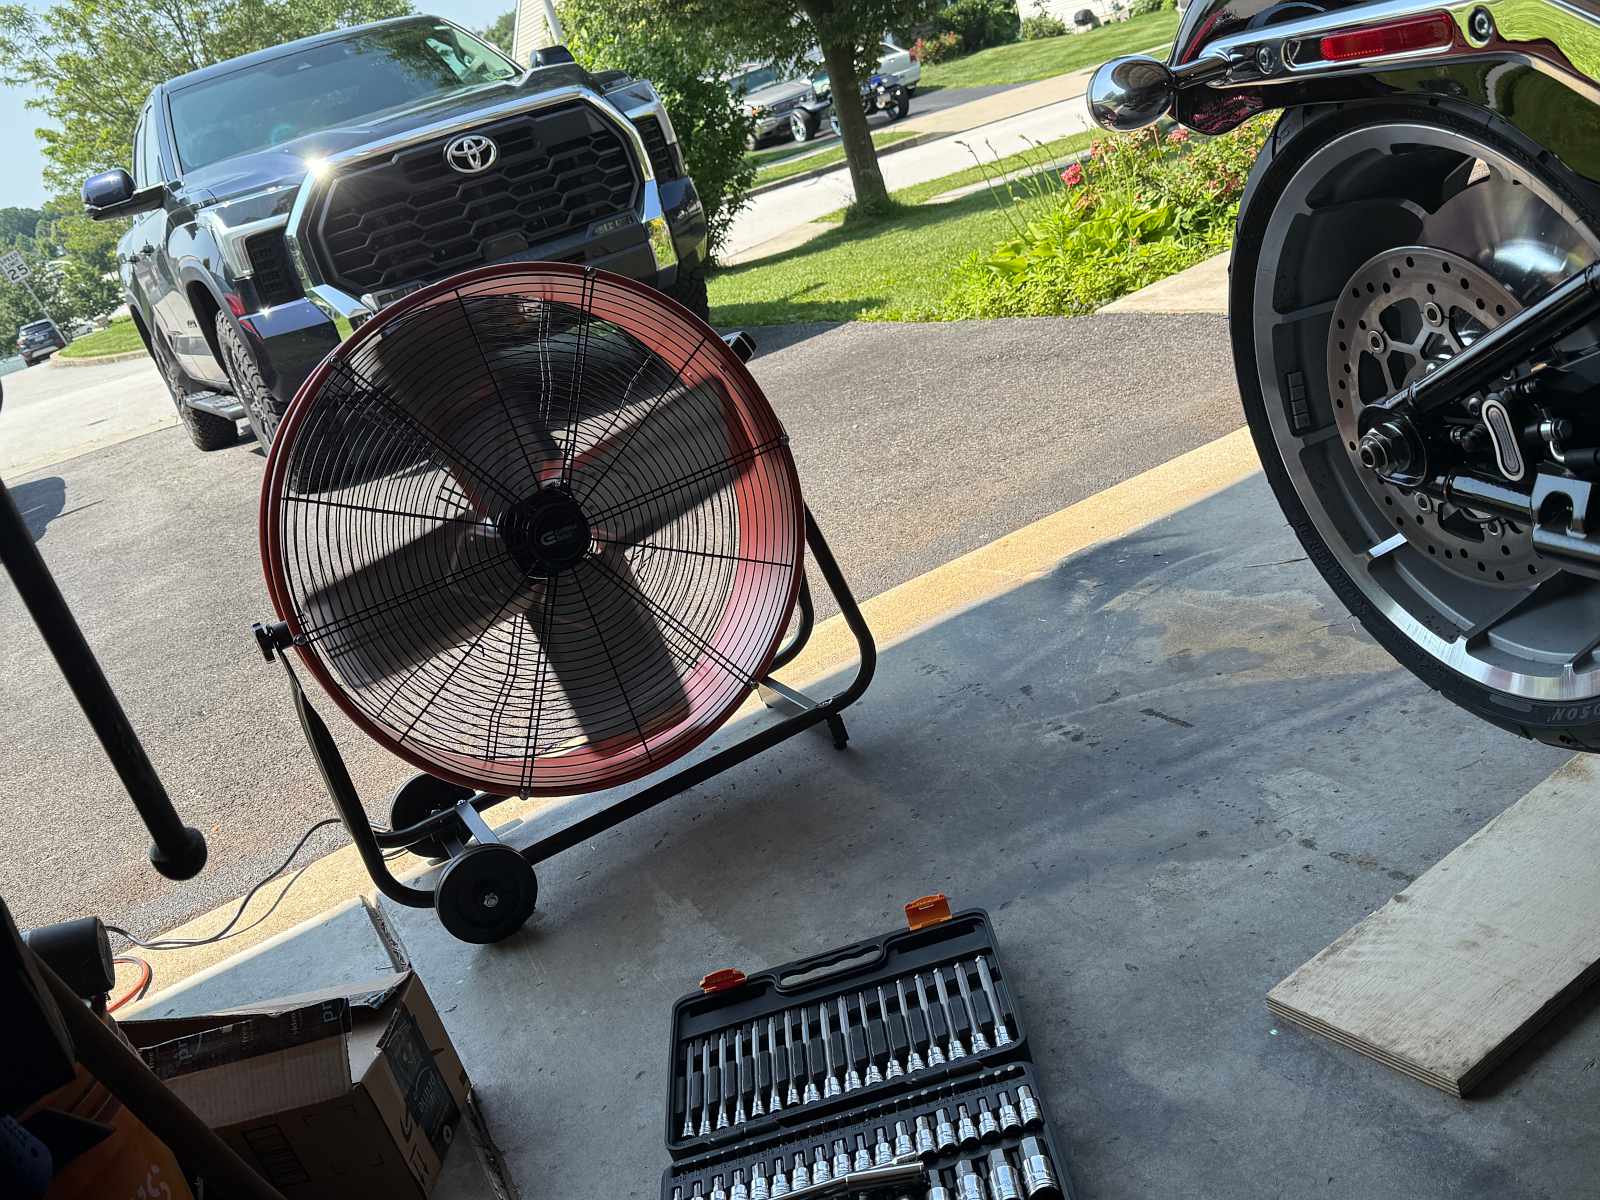
It was hot. This fan saved my life.
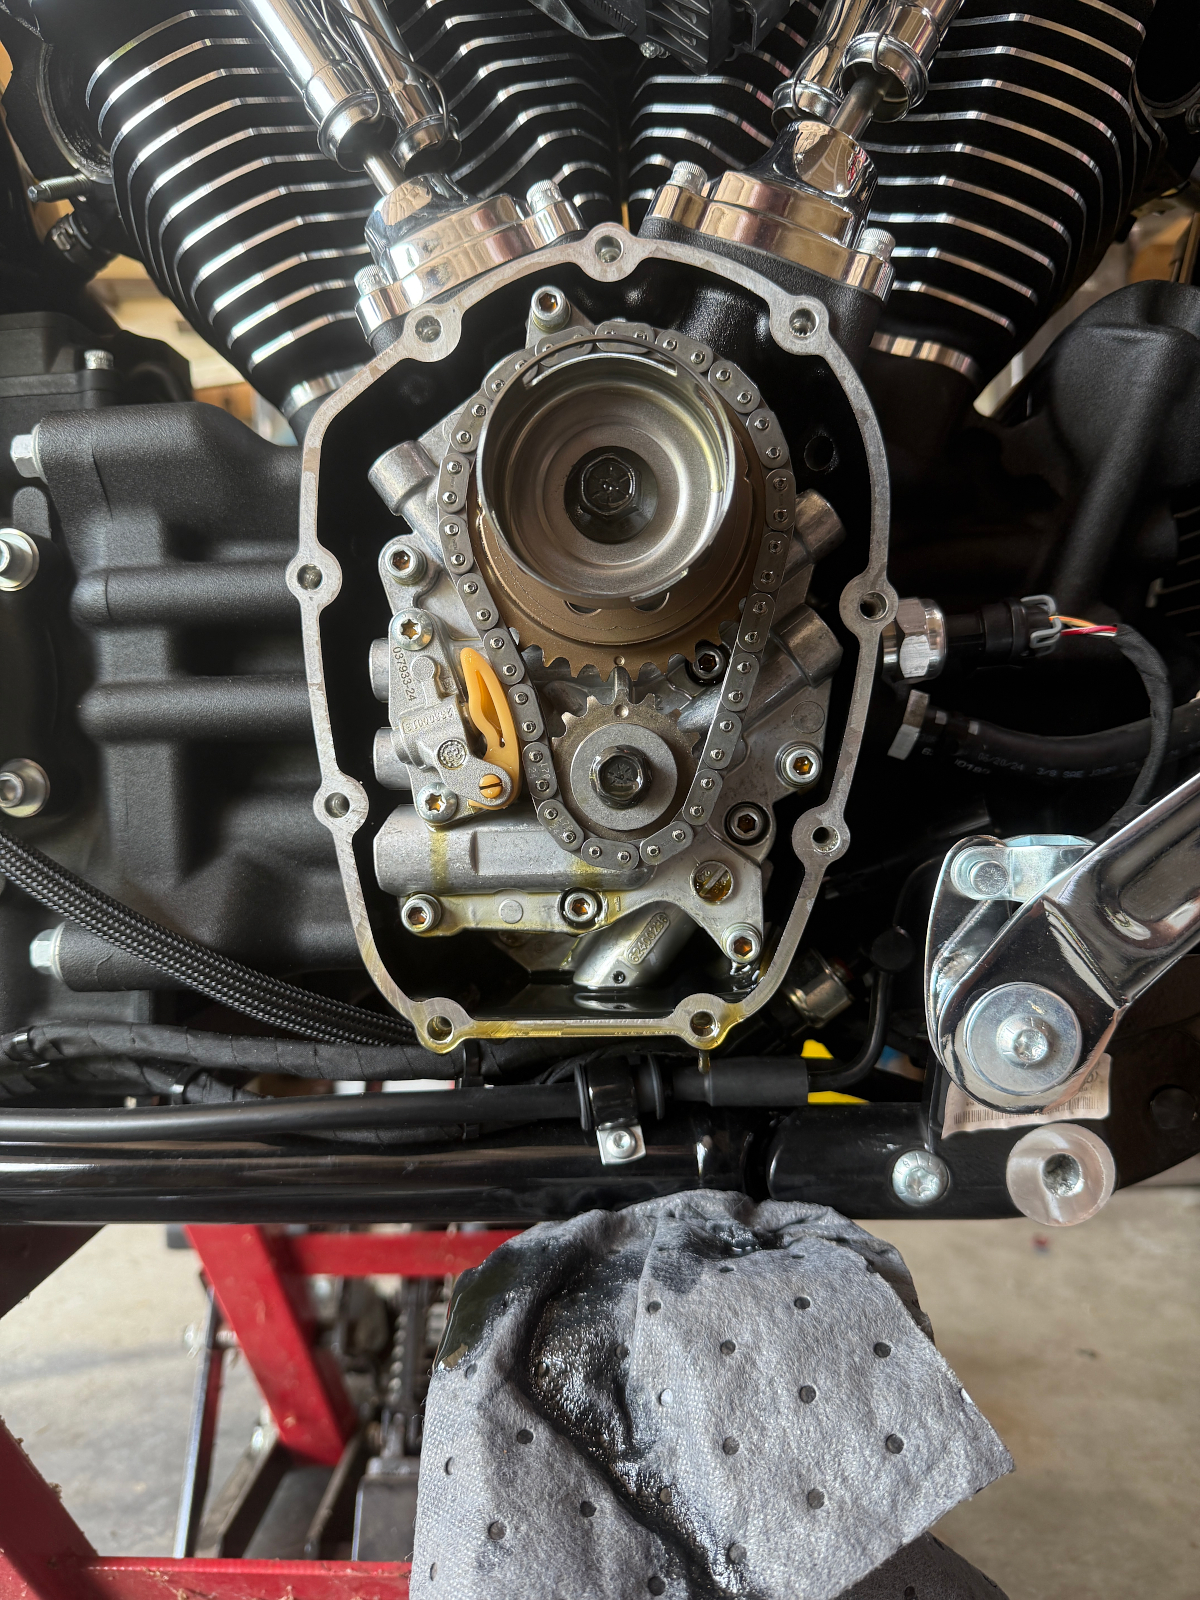
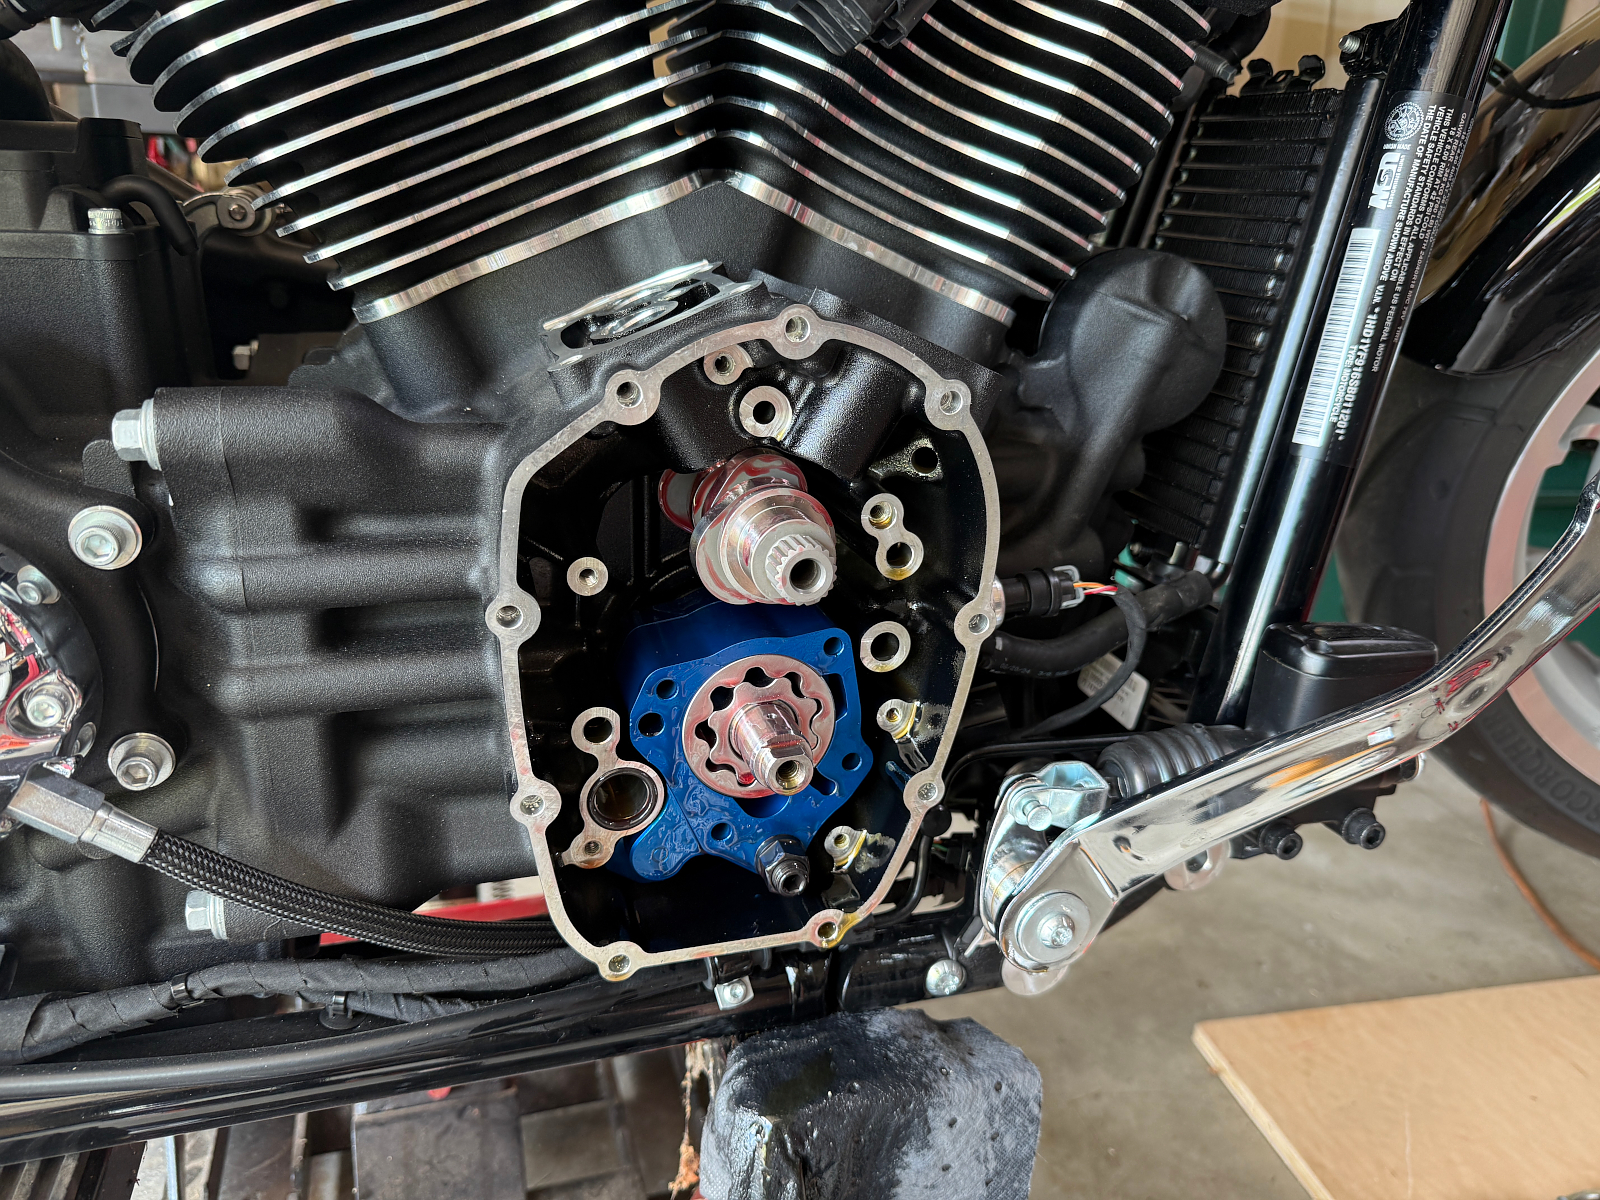
Cam cover off. Showing rotor cup, cam and pinion sprockets, cam chain, and cam chain tensioner. On the M8 motor there is only one tensioner, on the outside of the cam plate.
Push rod covers pulled up and held with the ol rubber band and paper clip trick exposing the pushrods.
The pushrods get cut with a bolt cutter and are thrown away
Pushrods, covers, and tappet block covers removed, showing the tappet cuffs. Wait…is that a soldering iron???
So I heard rumors that the bolts holding the tappet cuffs are notorious for sheering off due to excessive locktite. To avoid any possible hassles I got them pretty hot before taking the wrench to them, and they actually broke free quite easily.
Tappet cuffs and lifters removed
rotor cup, cam and pinion sprockets removed along with chain, chain tensioner, removed.
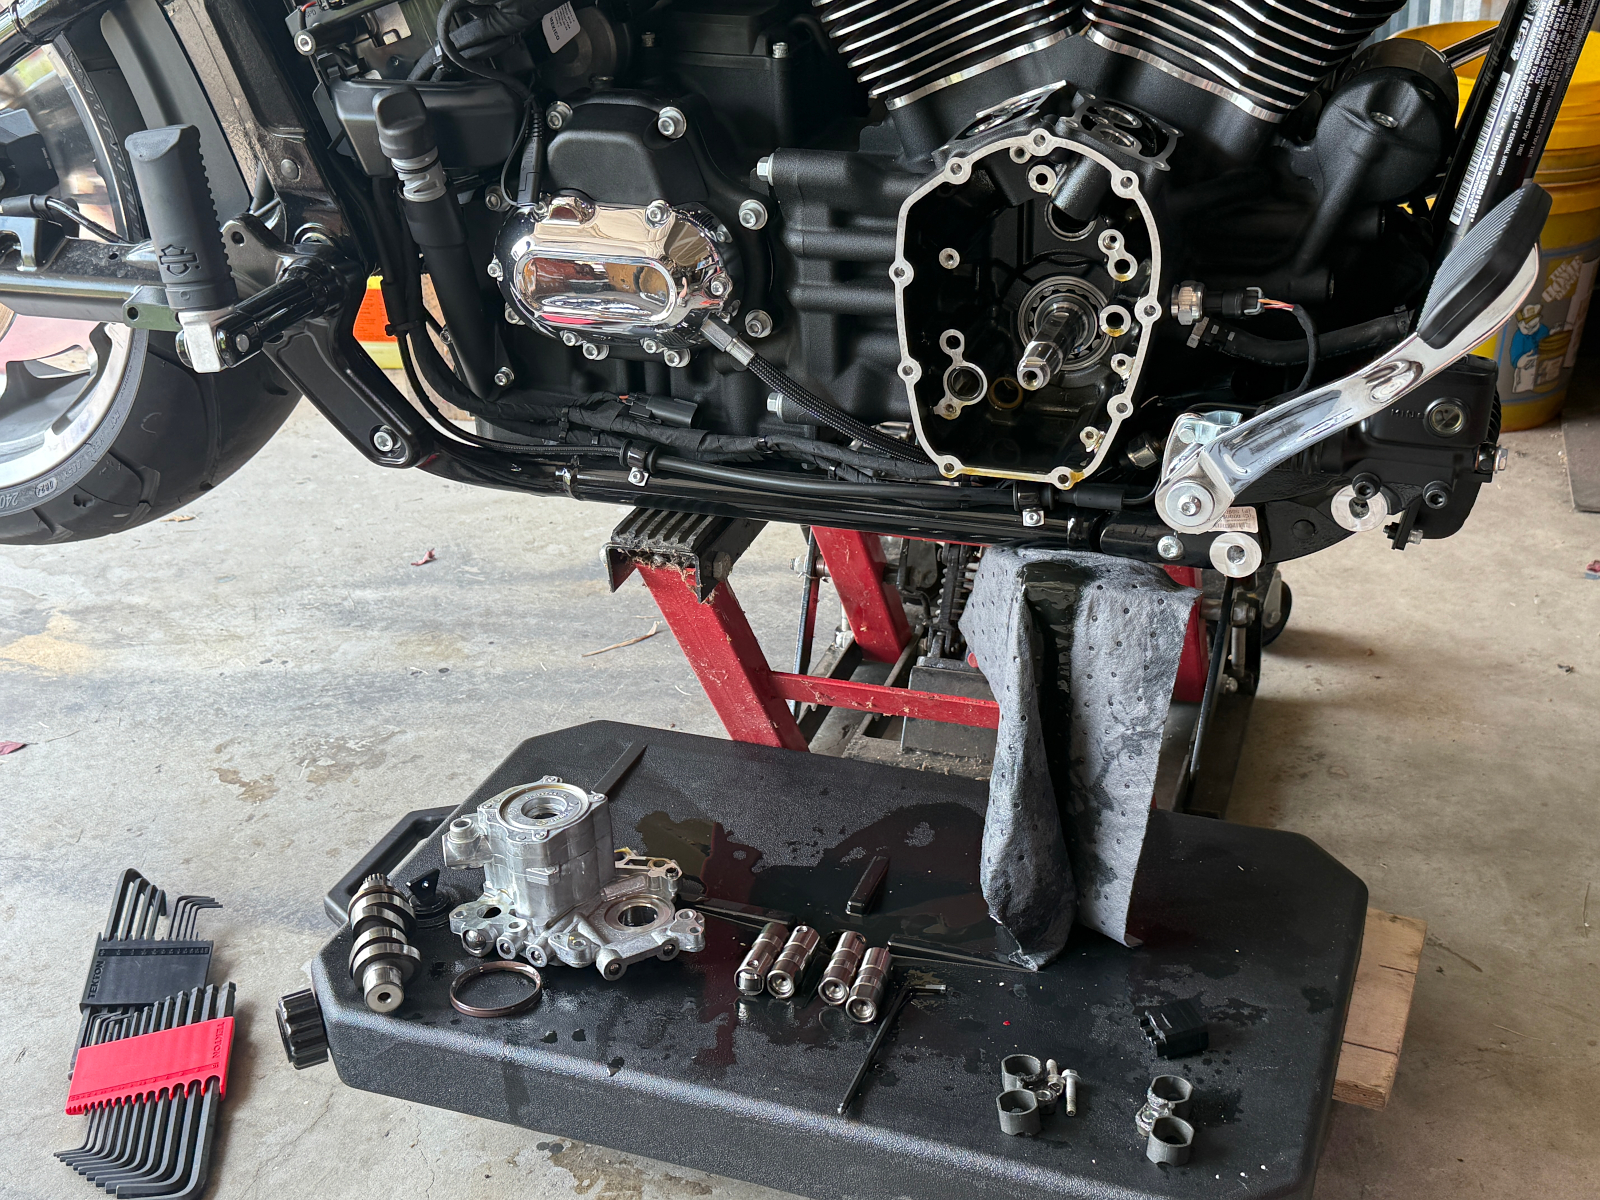
Gutted!
Cam plate, oil pump, and cam shaft removed. A couple old o-rings still in there. dont worry, they got removed.
Inner cam bearing
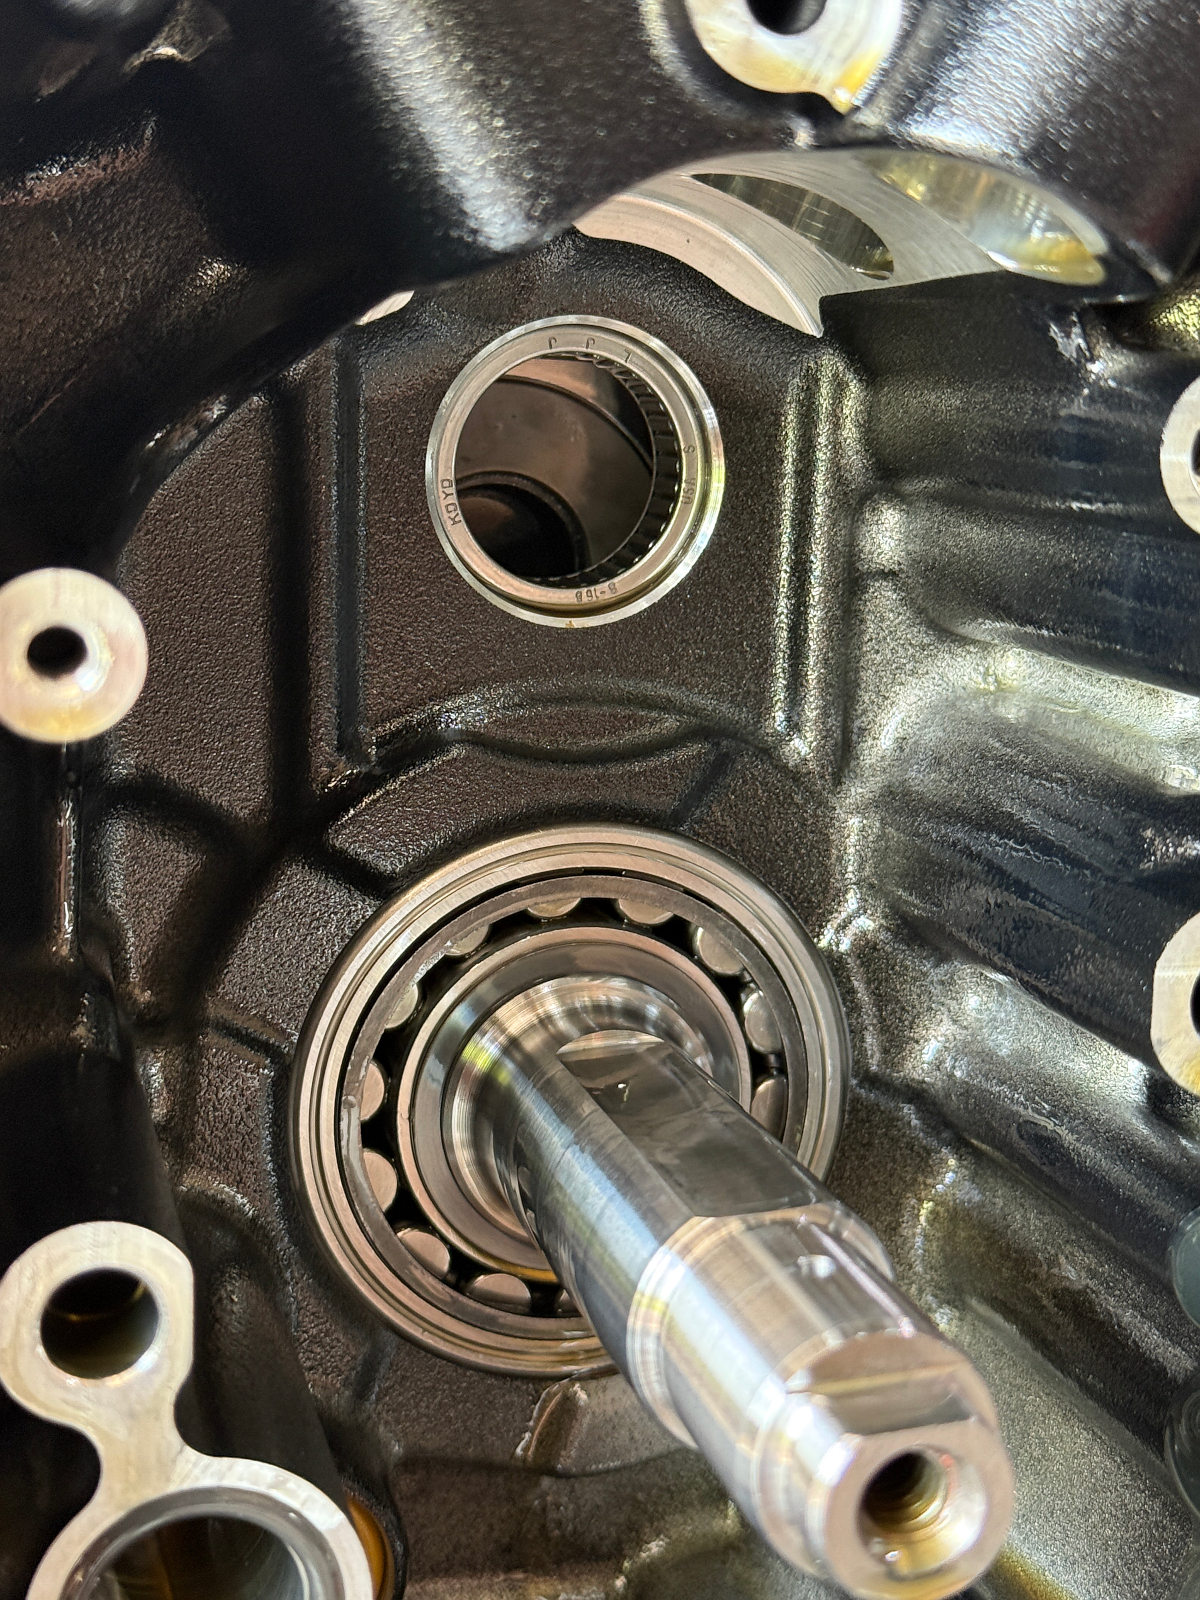
This is the tool that is used to pull out the inner cam bearing, and also to press in the new bearing

New S&S oil pump, lots of assembly lube smeared on
New Zippers Red Shift 528 camshaft in place, inserted into the new bearing. The red goop on everything is assembly lube. Everything gets a generous coating of this lube, which sticks better than regular motor oil, and lubricates the parts during initial startup when there isnt any significant oil pressure built up yet,
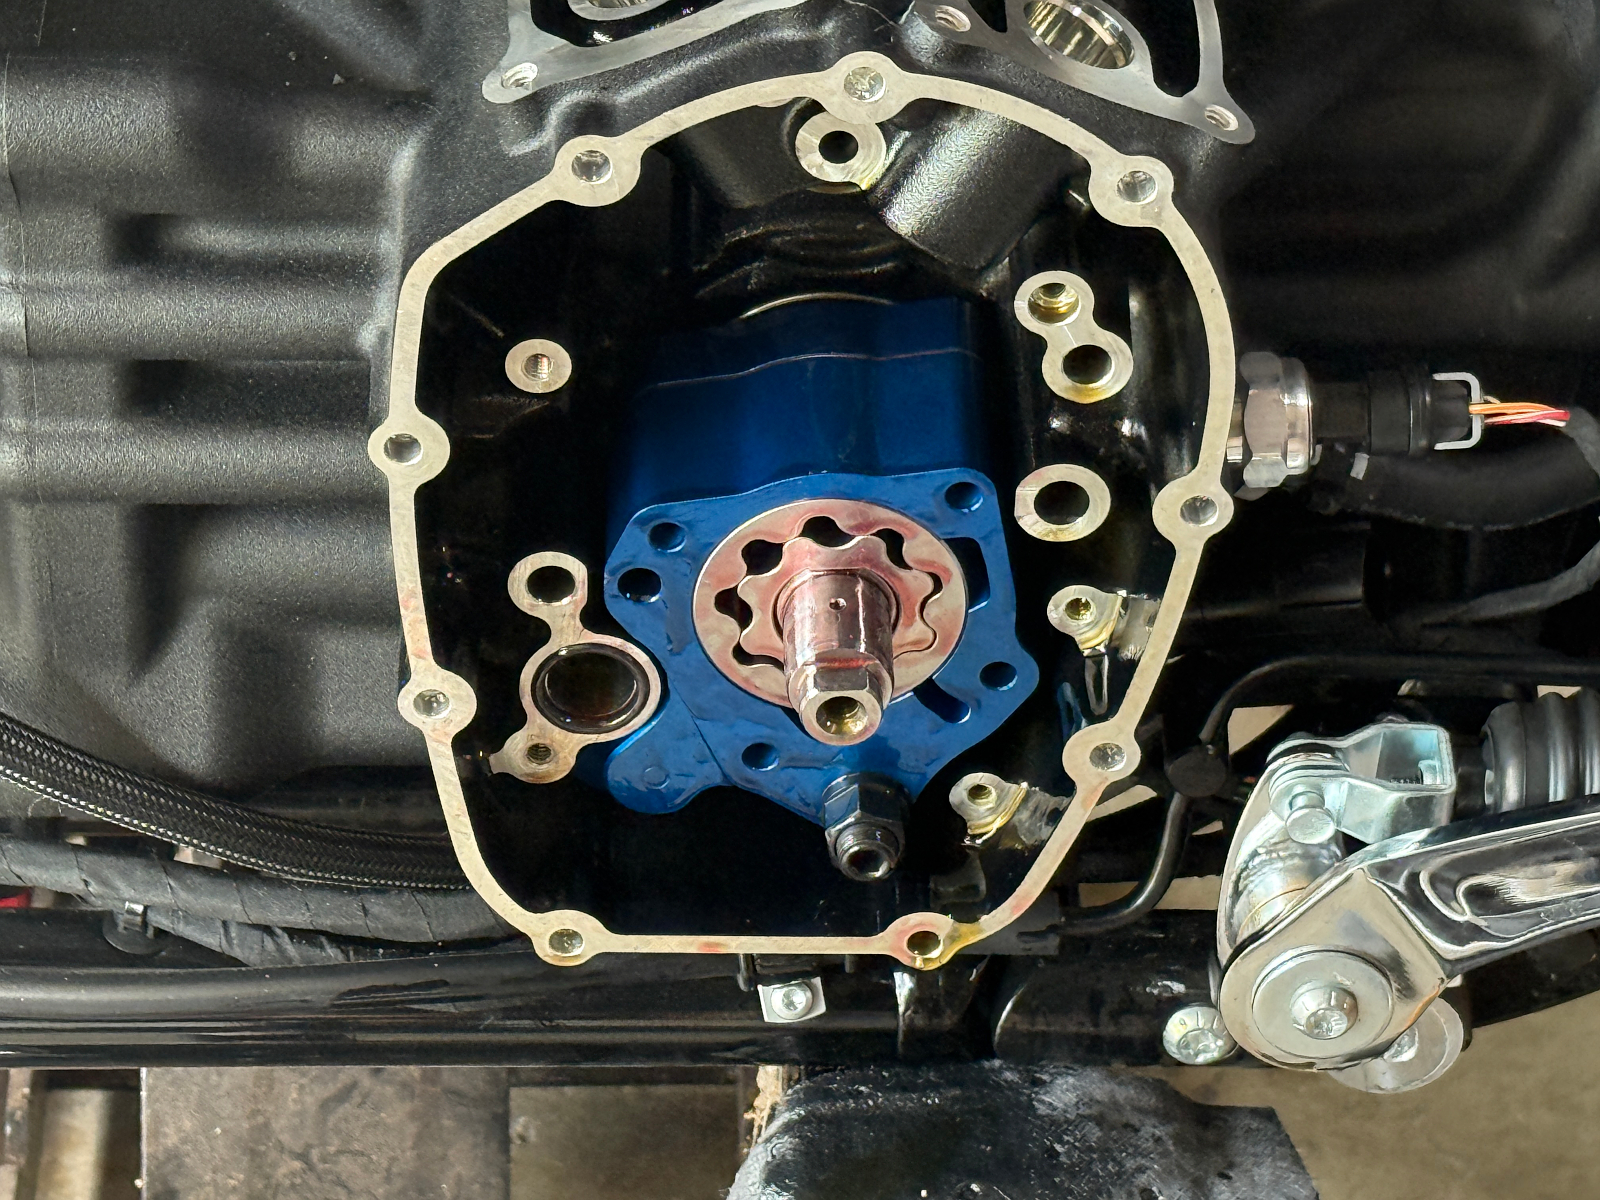
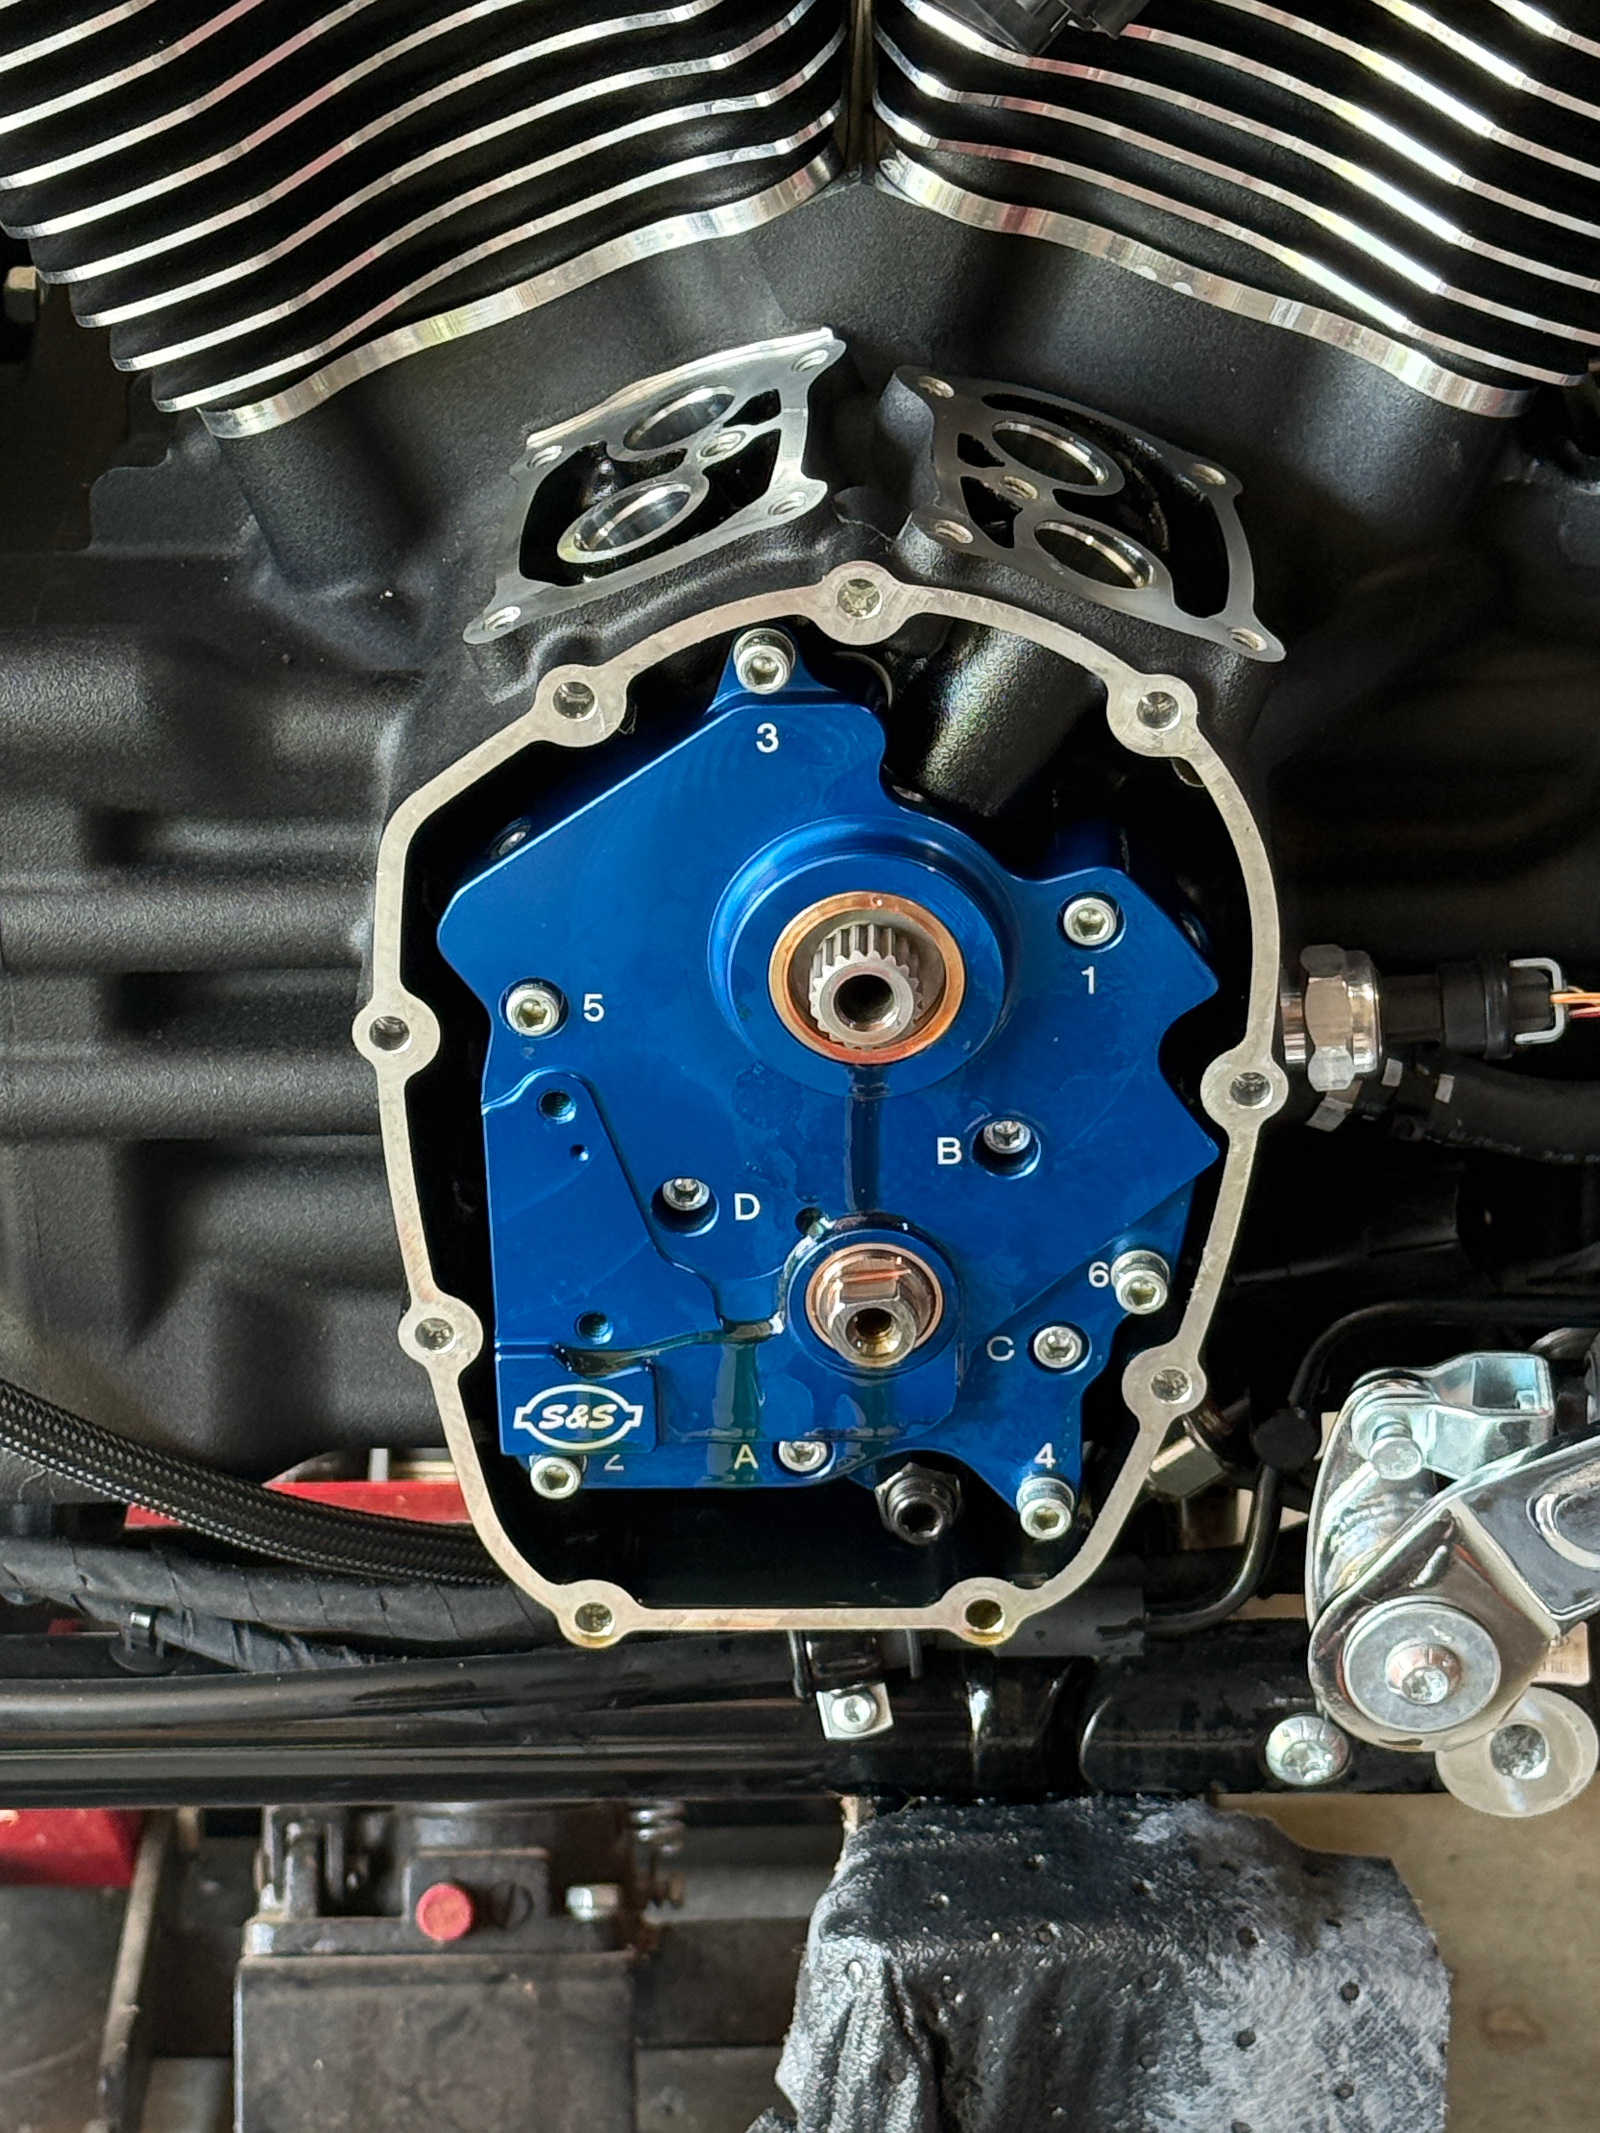
New S&S cam plate installed.
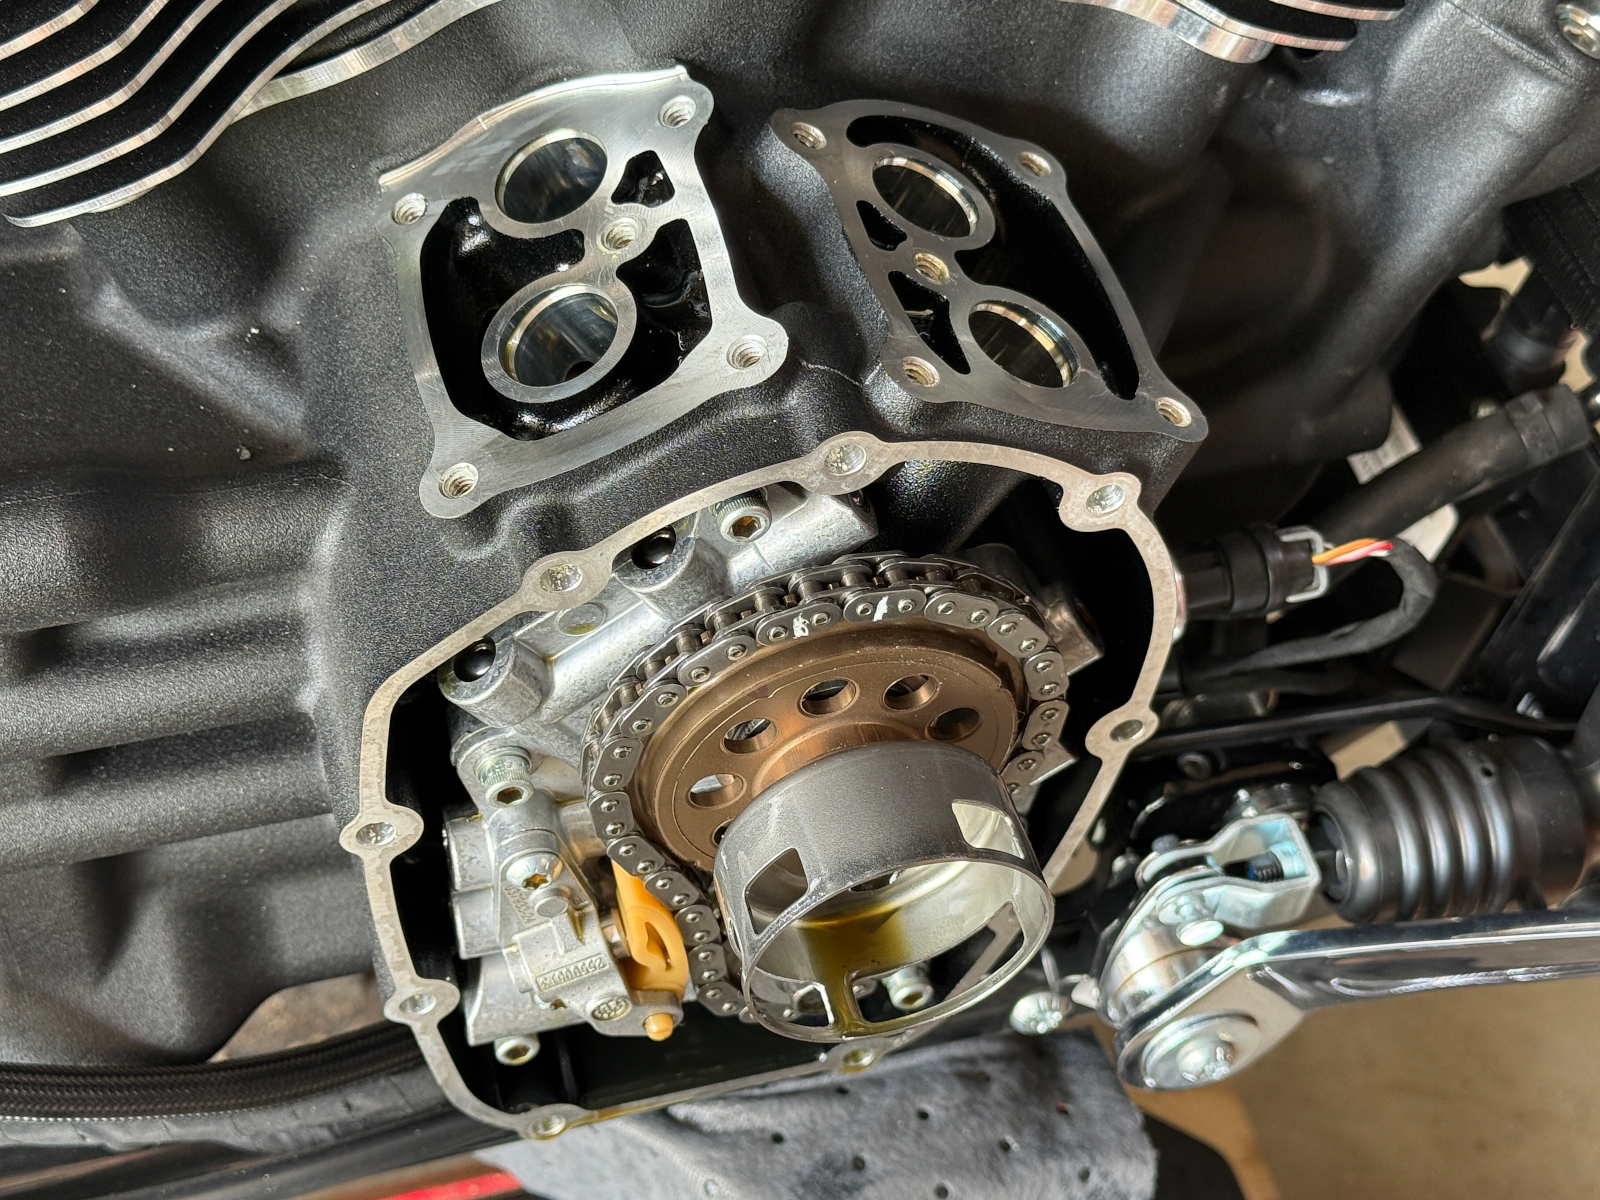
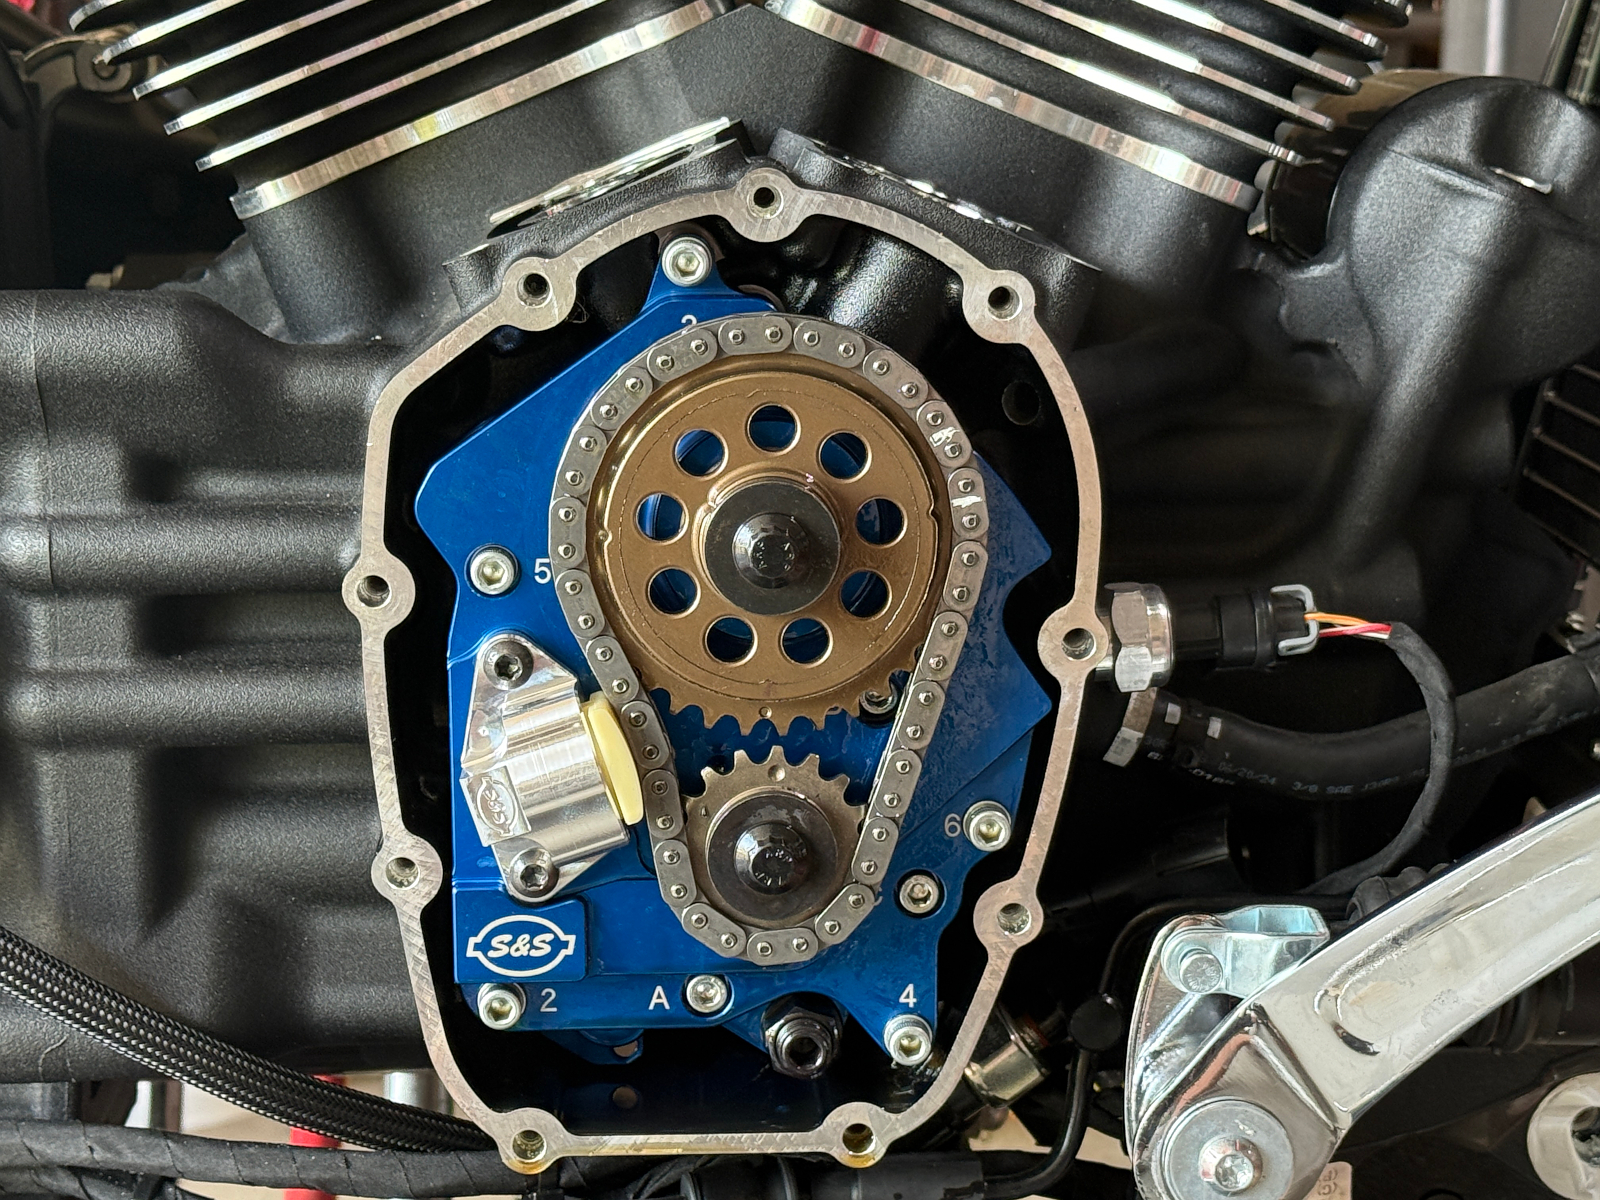
Cam and pinion sprockets reinstalled, and new S&S chain tensioner as well. Dont worry, I remembered the rotor cup before torquing the bolts down 🙂
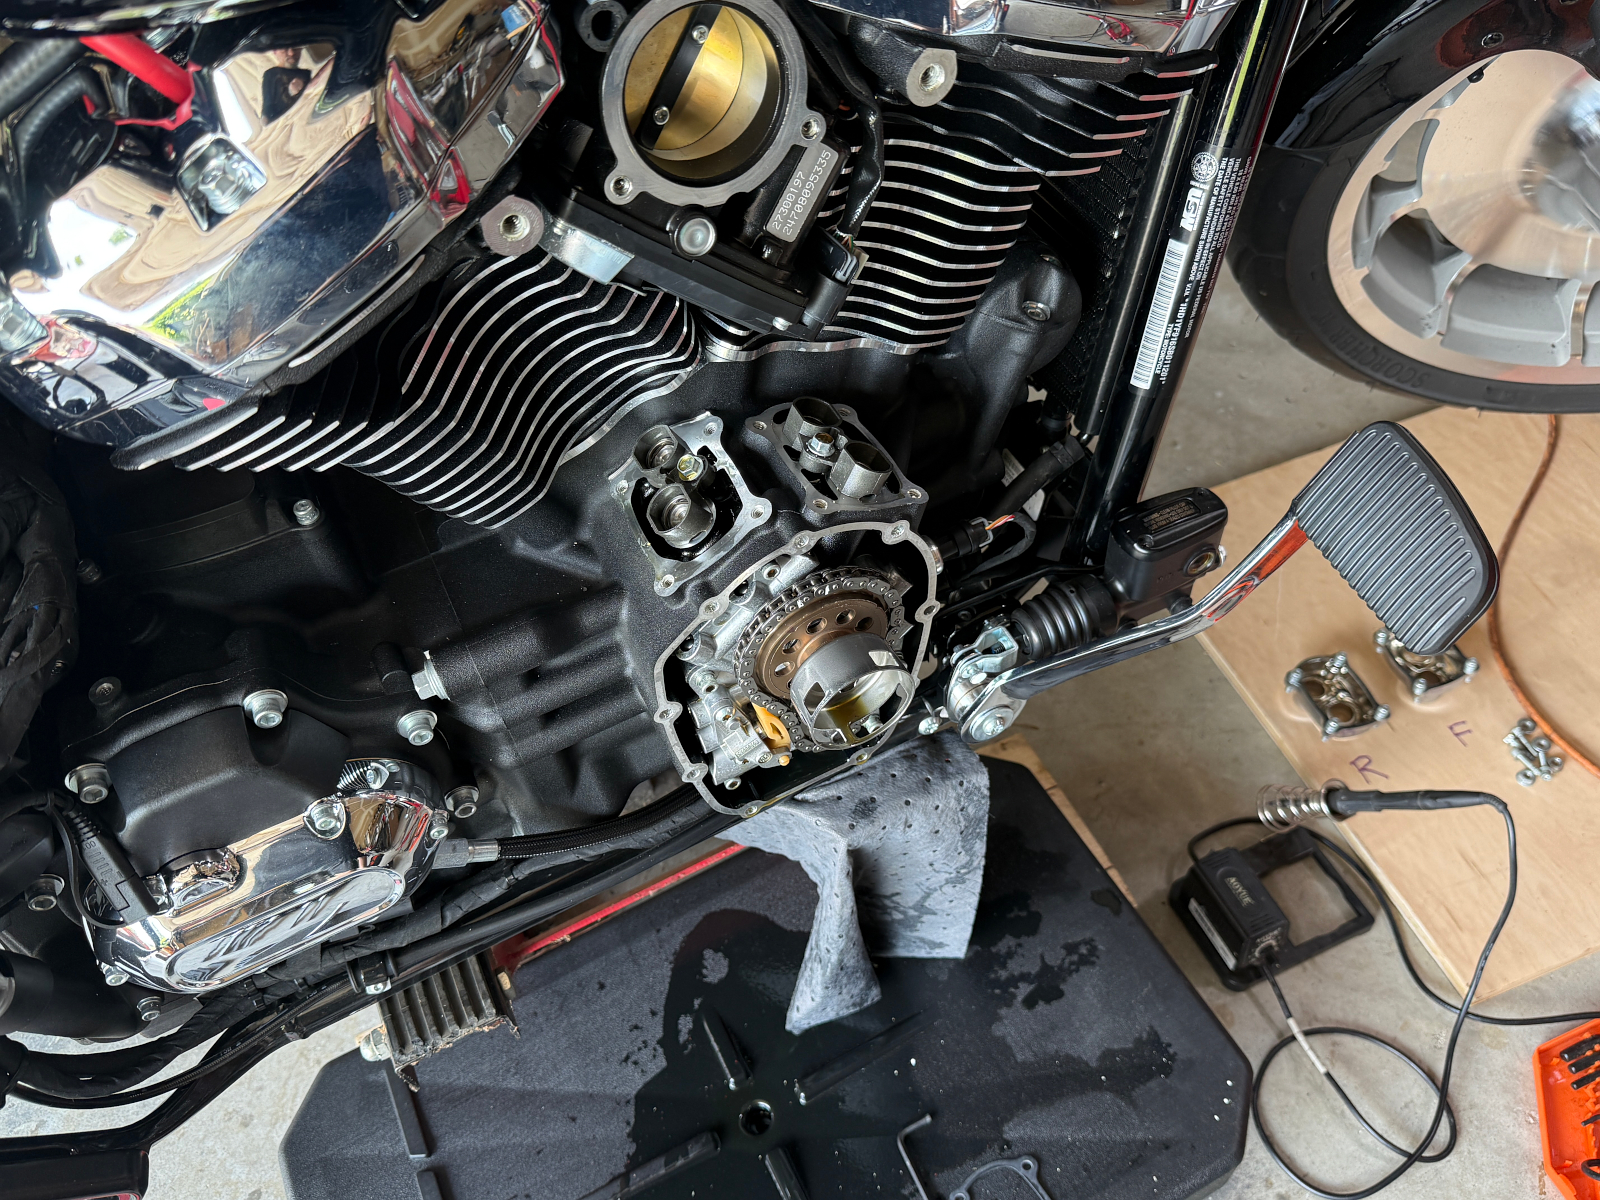
Theres a HUGE gap here where I installed the new lifters, tappet cuffs, tappet block covers, and the biggest pain in the ass of the whole operation, installing and adjusting the Fuel Moto adjustable push rods, and then getting the covers back into place.
I was SO ready to be done and just pushed ahead rather than stopping to take more photos. You can easily find youtube videos that detail these steps if you are curious, but its literally just the reverse of taking them out, except for adjusting the pushrods.
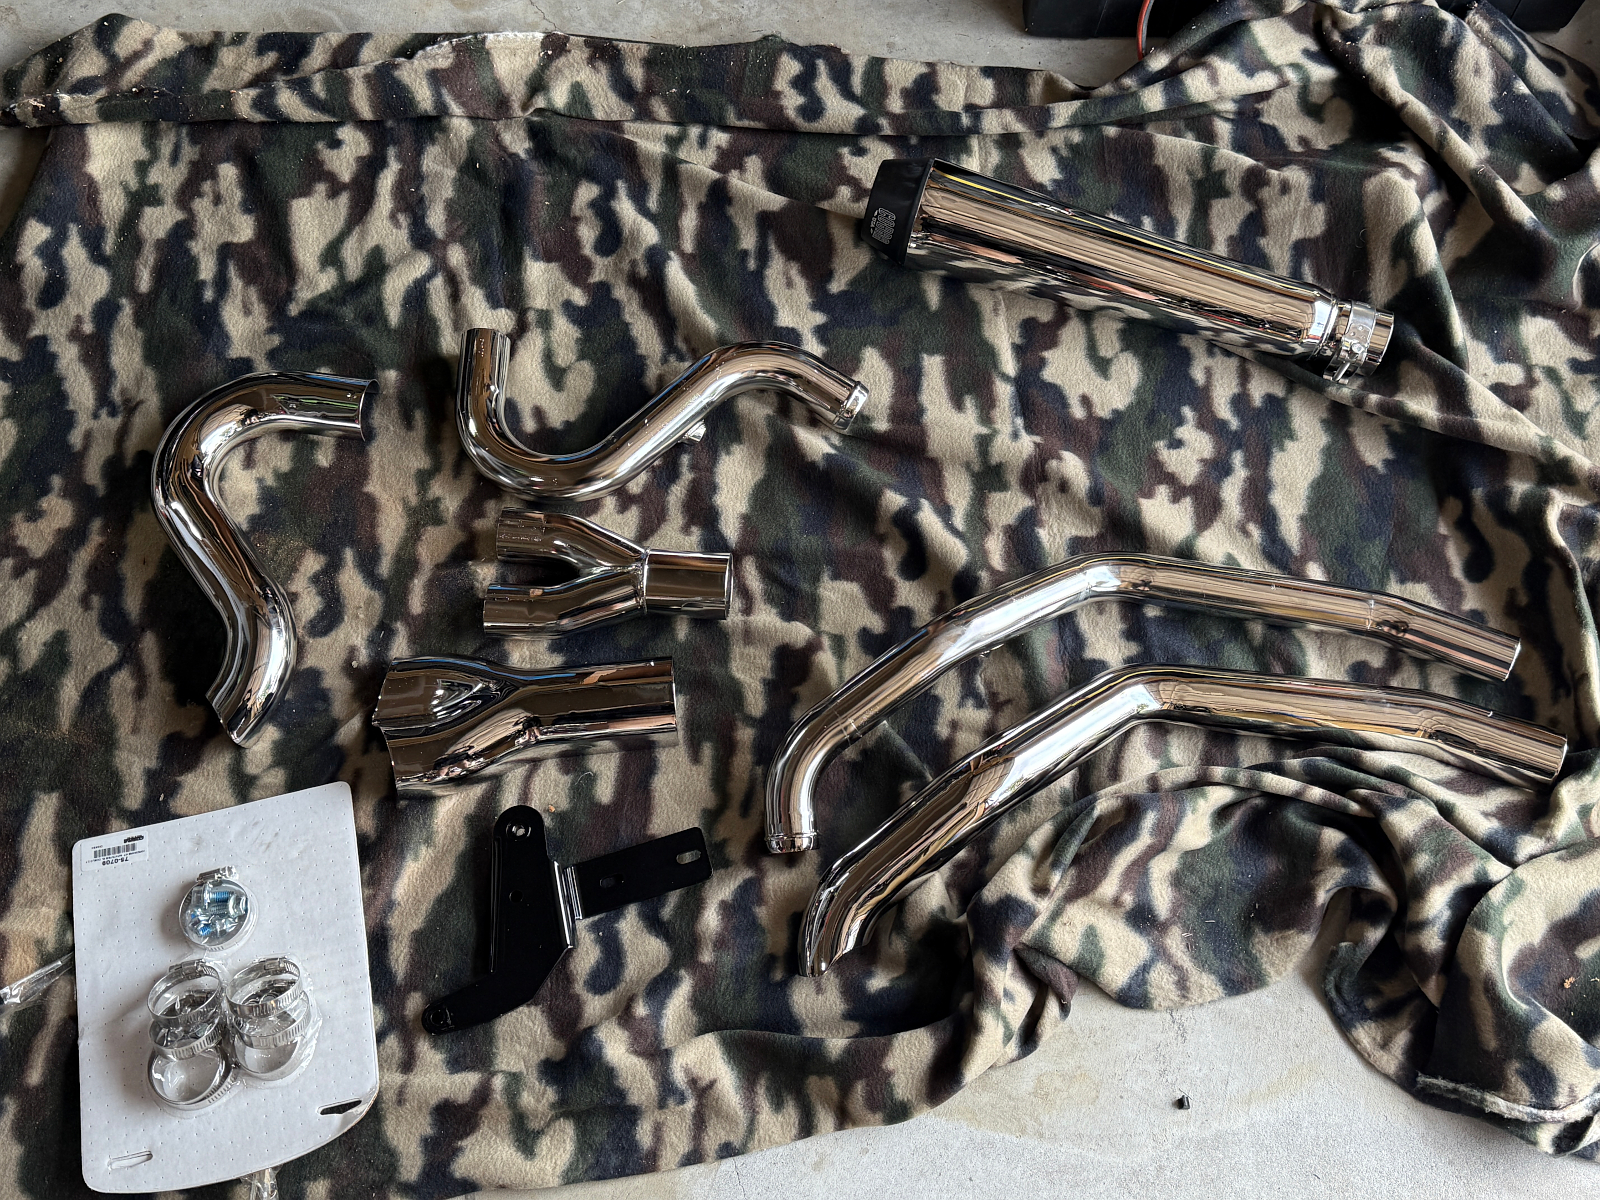
New Cobra El Diablo 2-1 exhaust system laid out
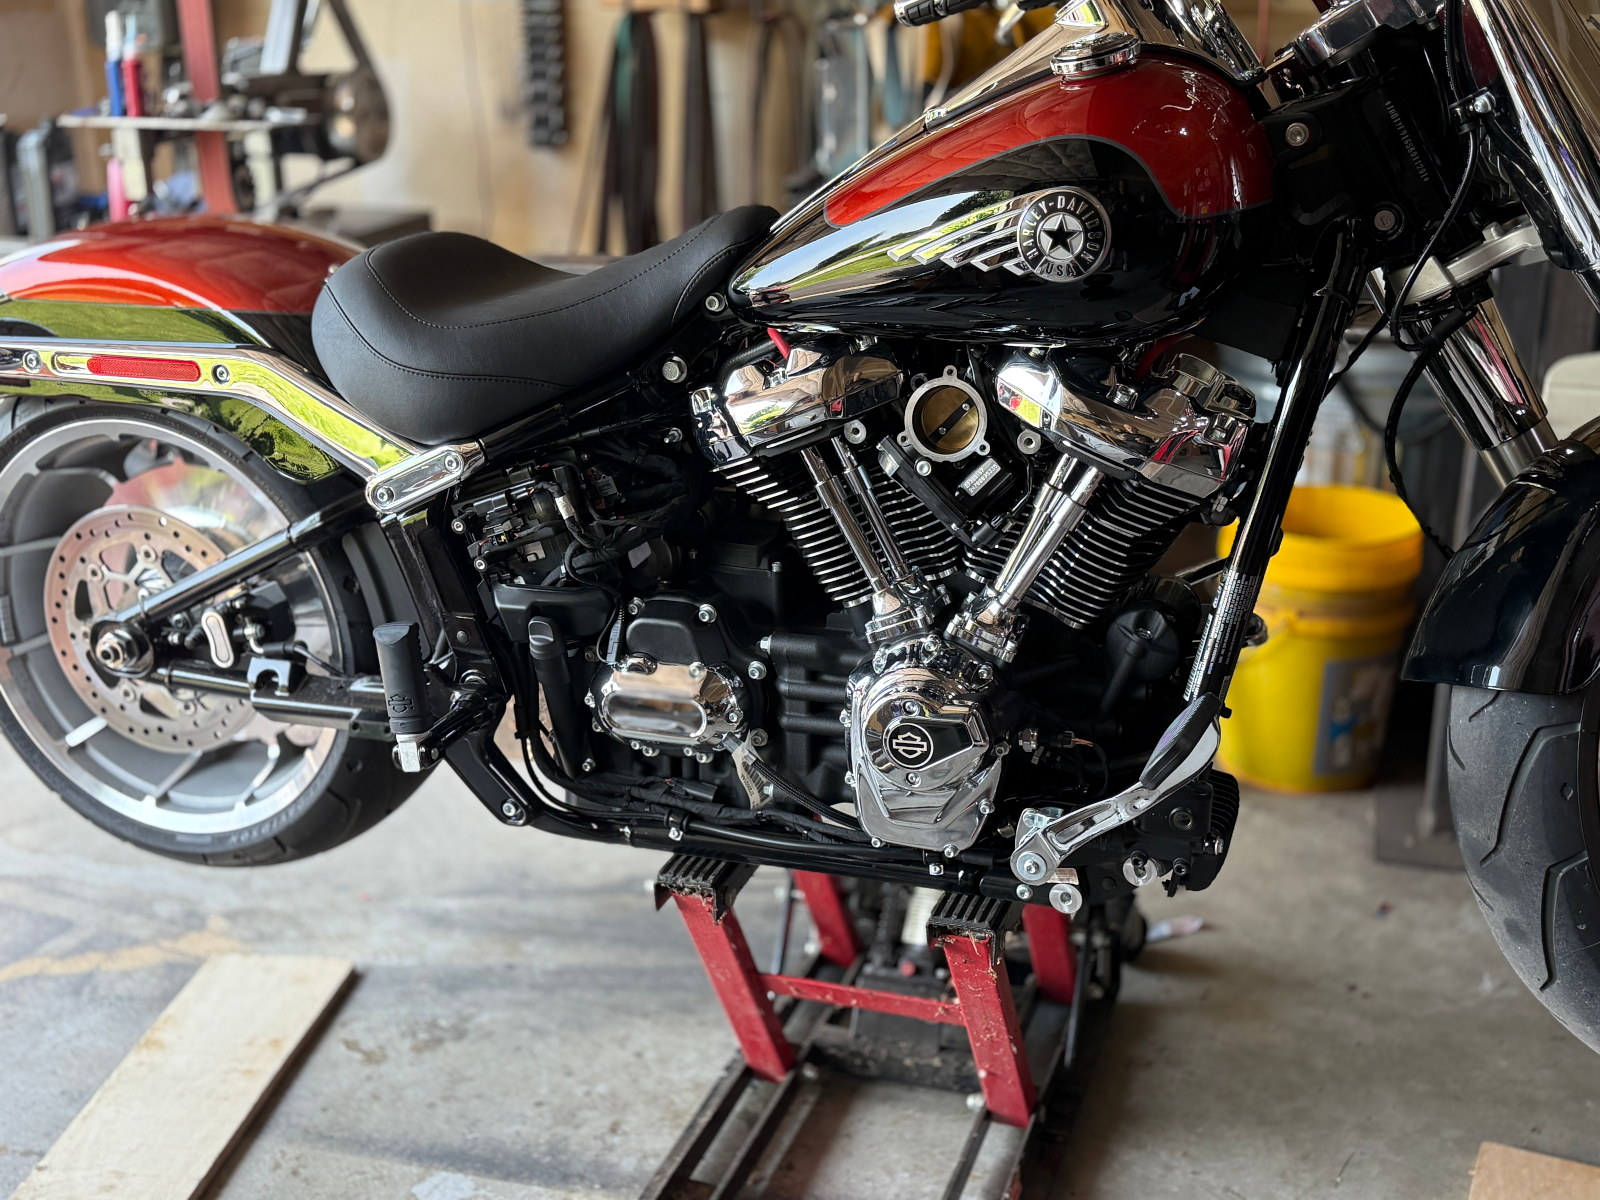
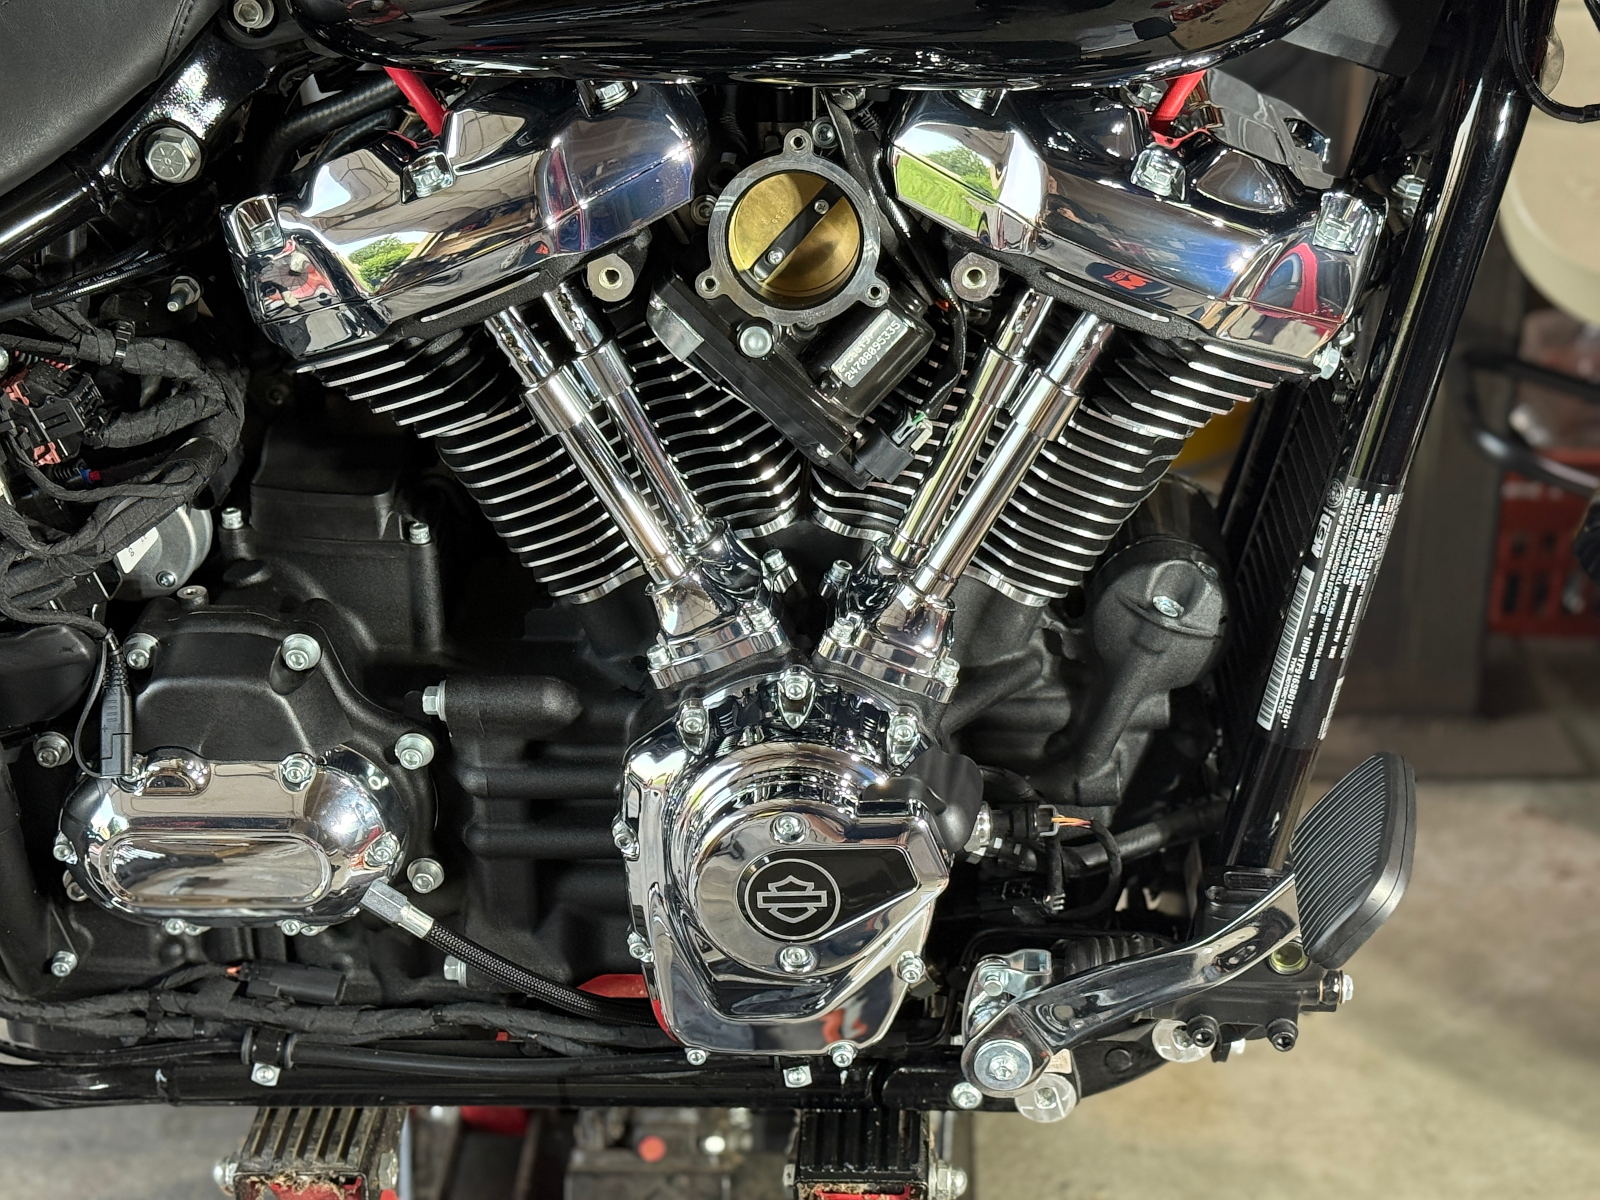
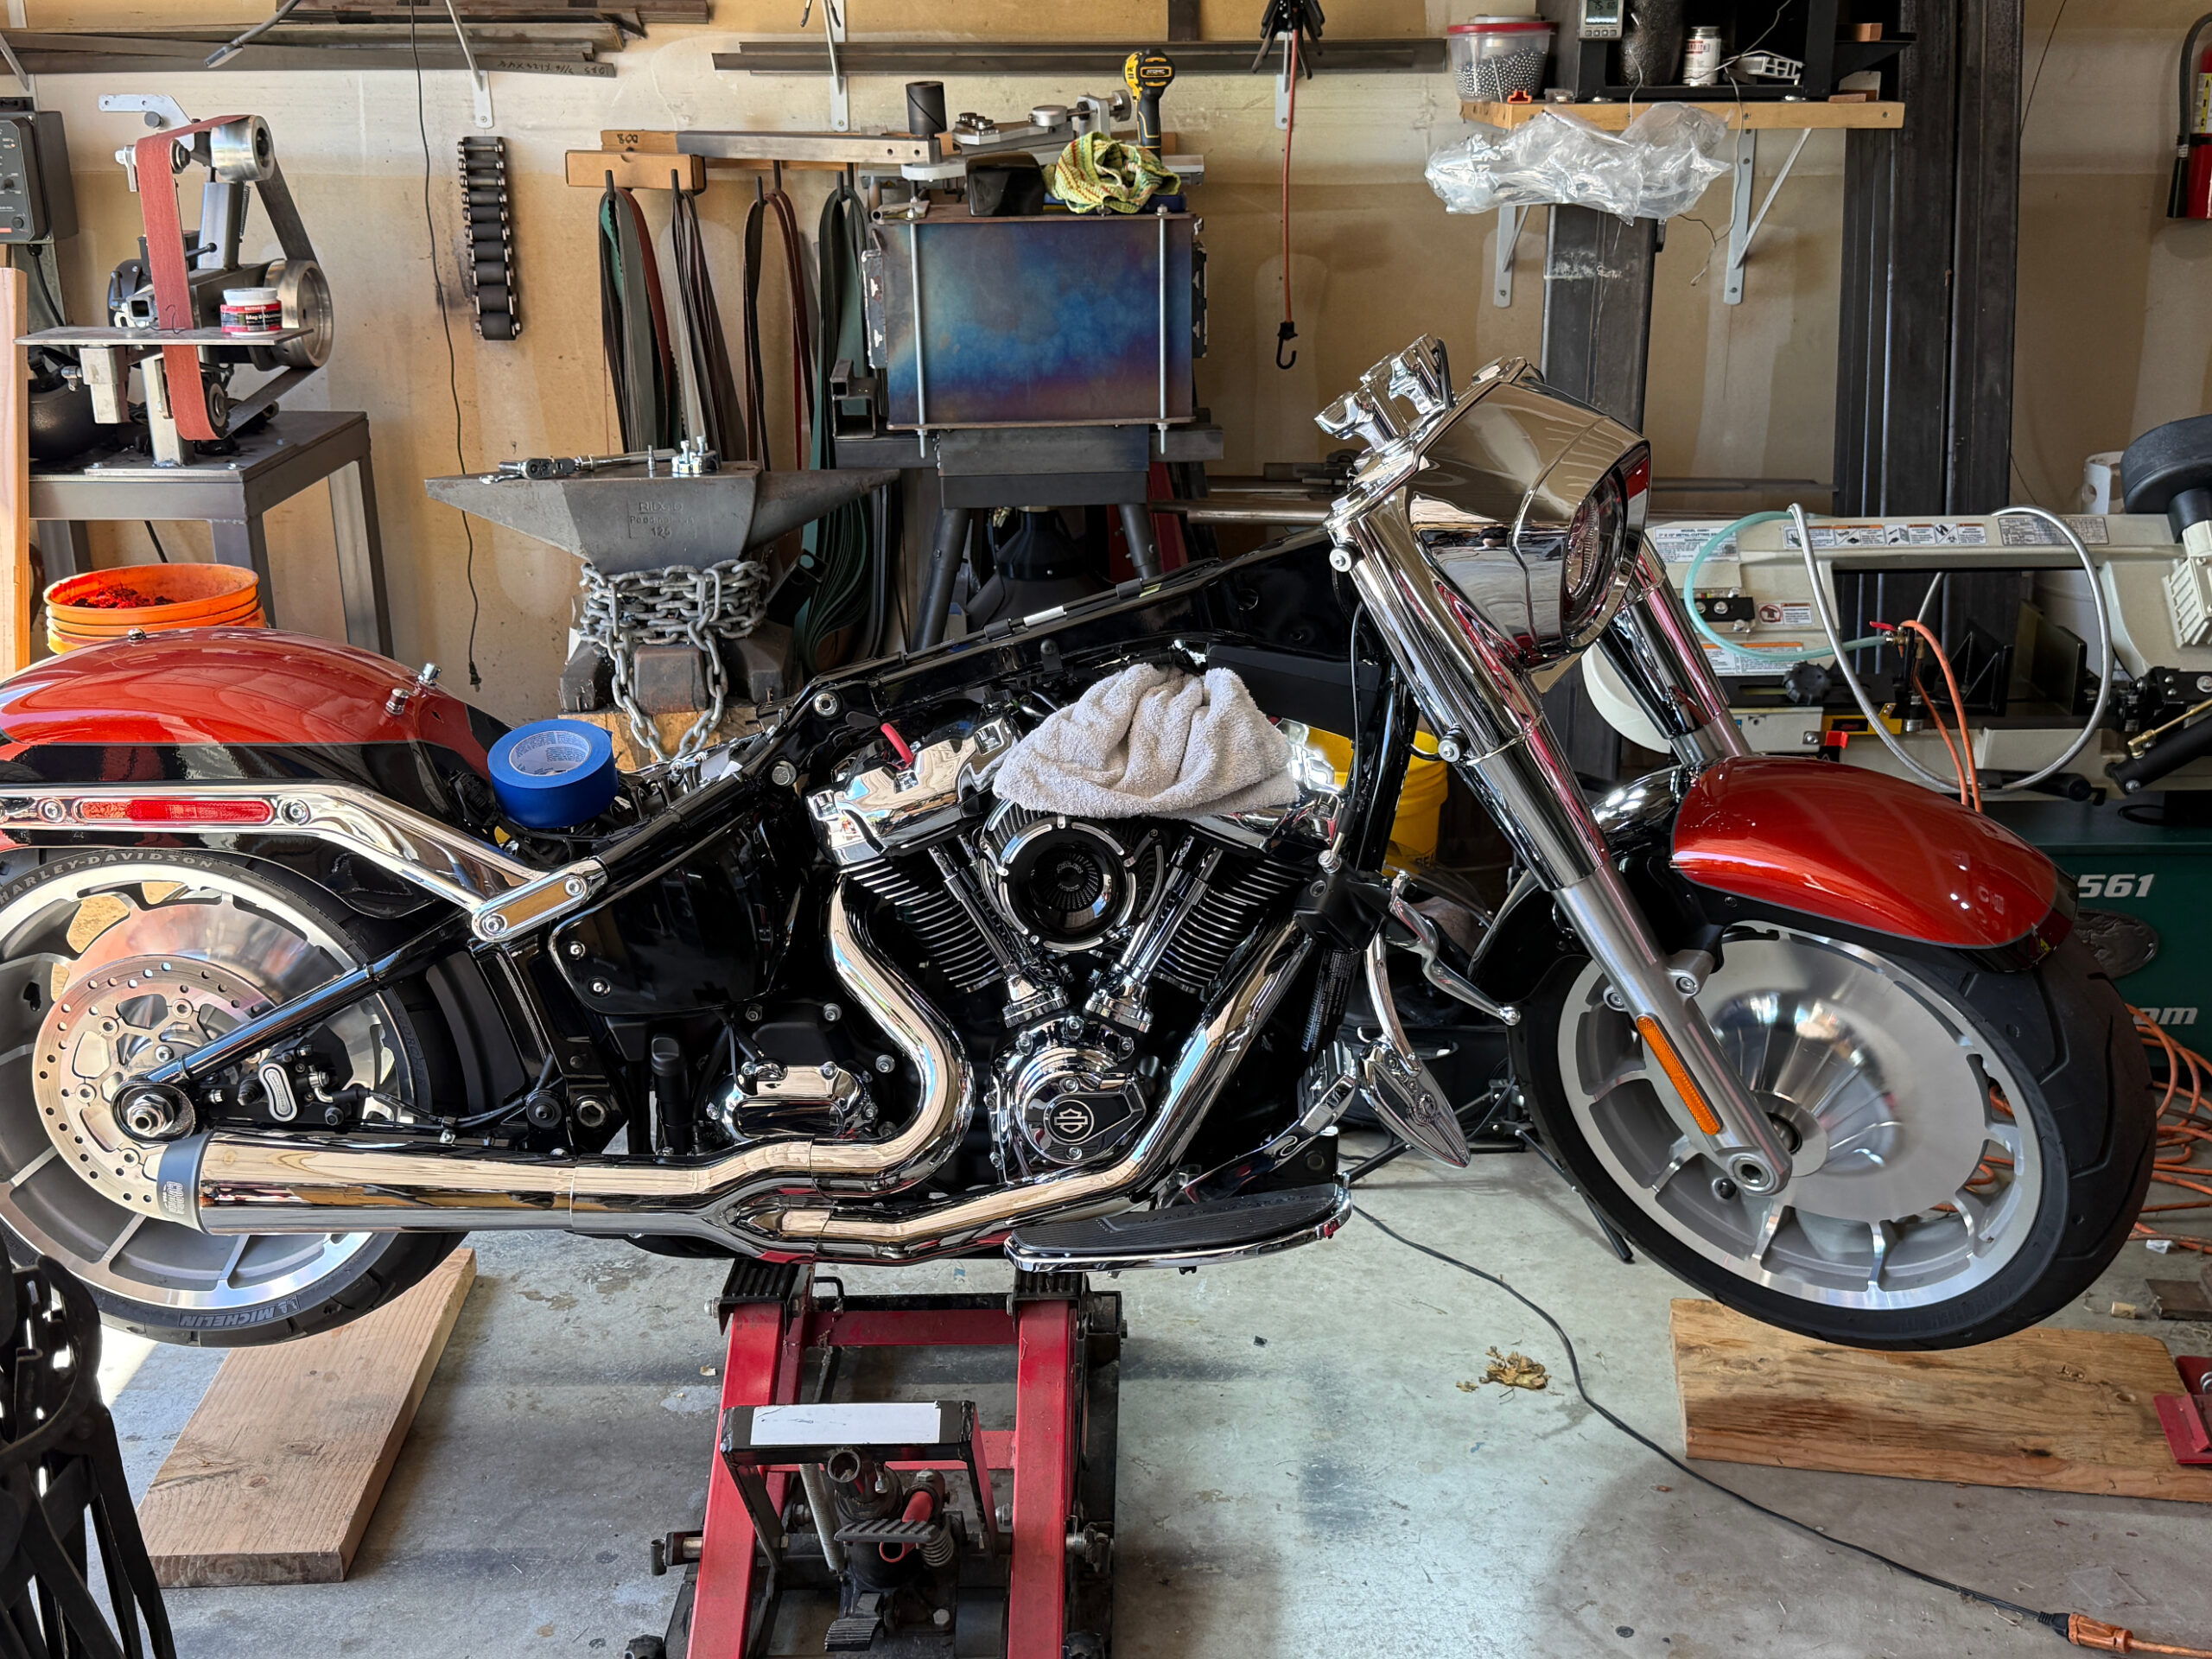
Exhaust installed.
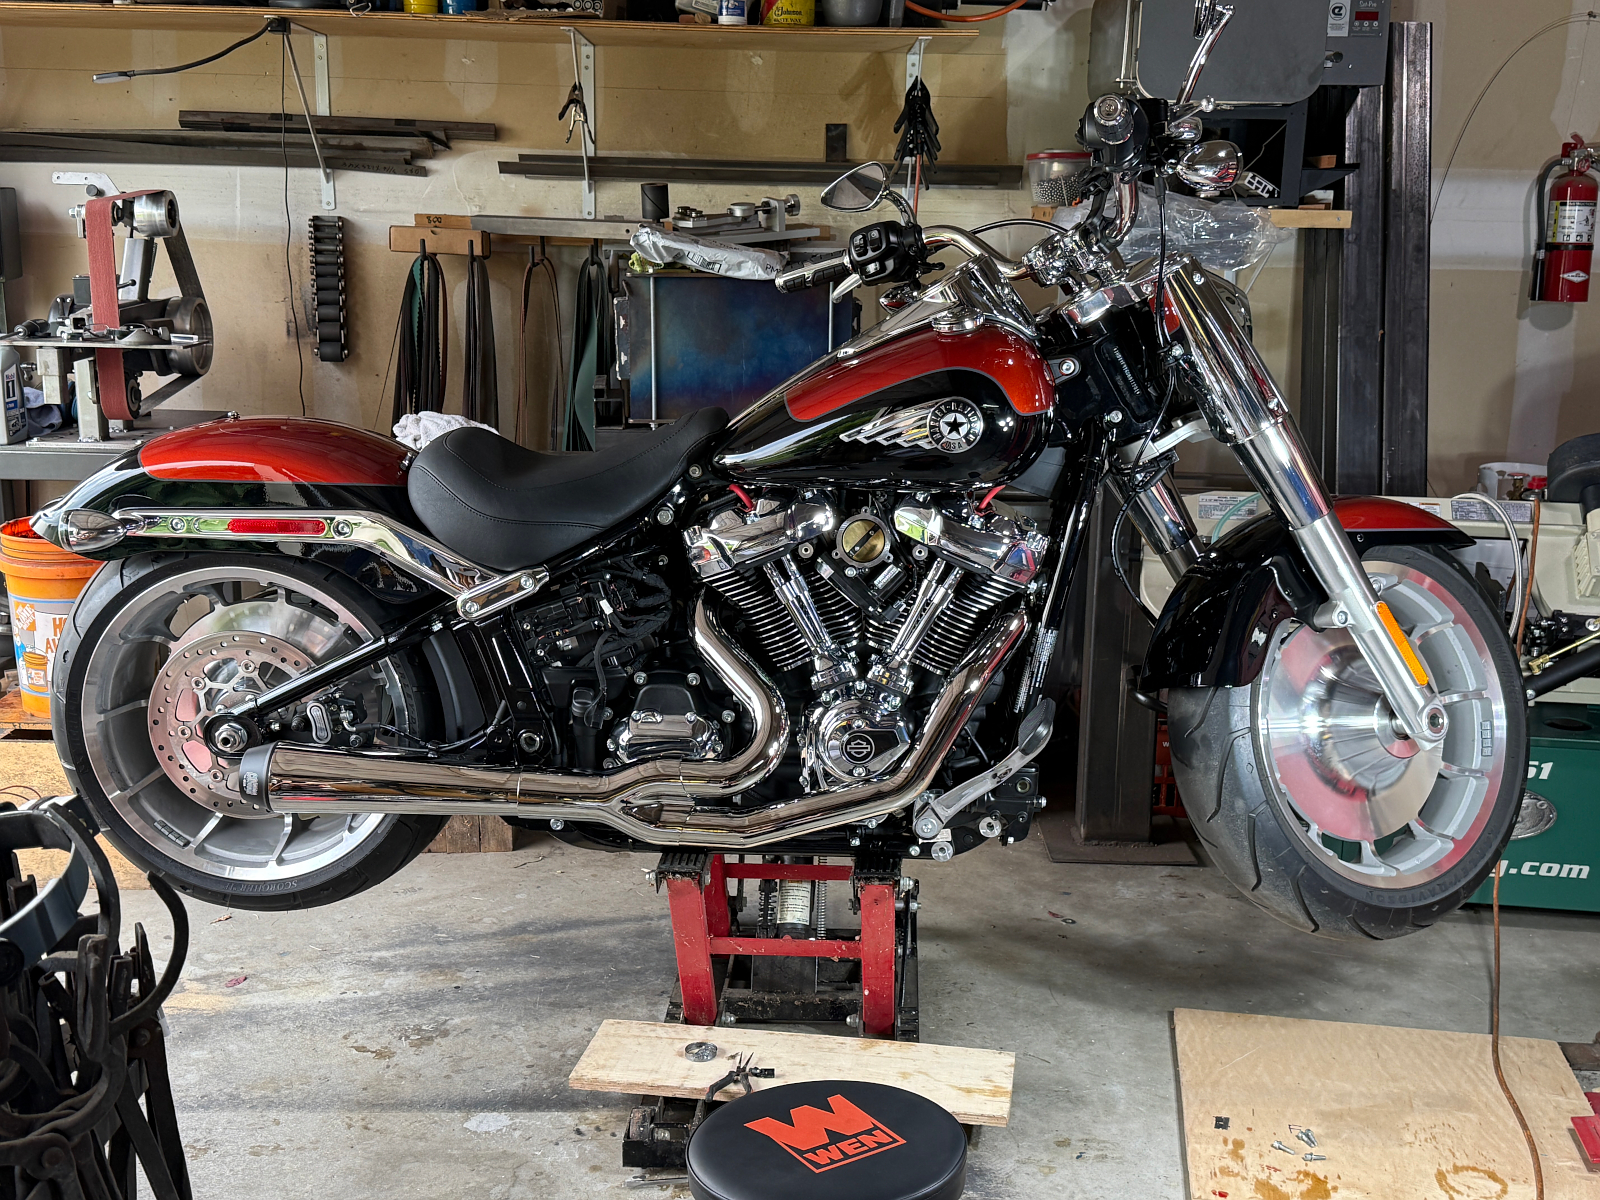
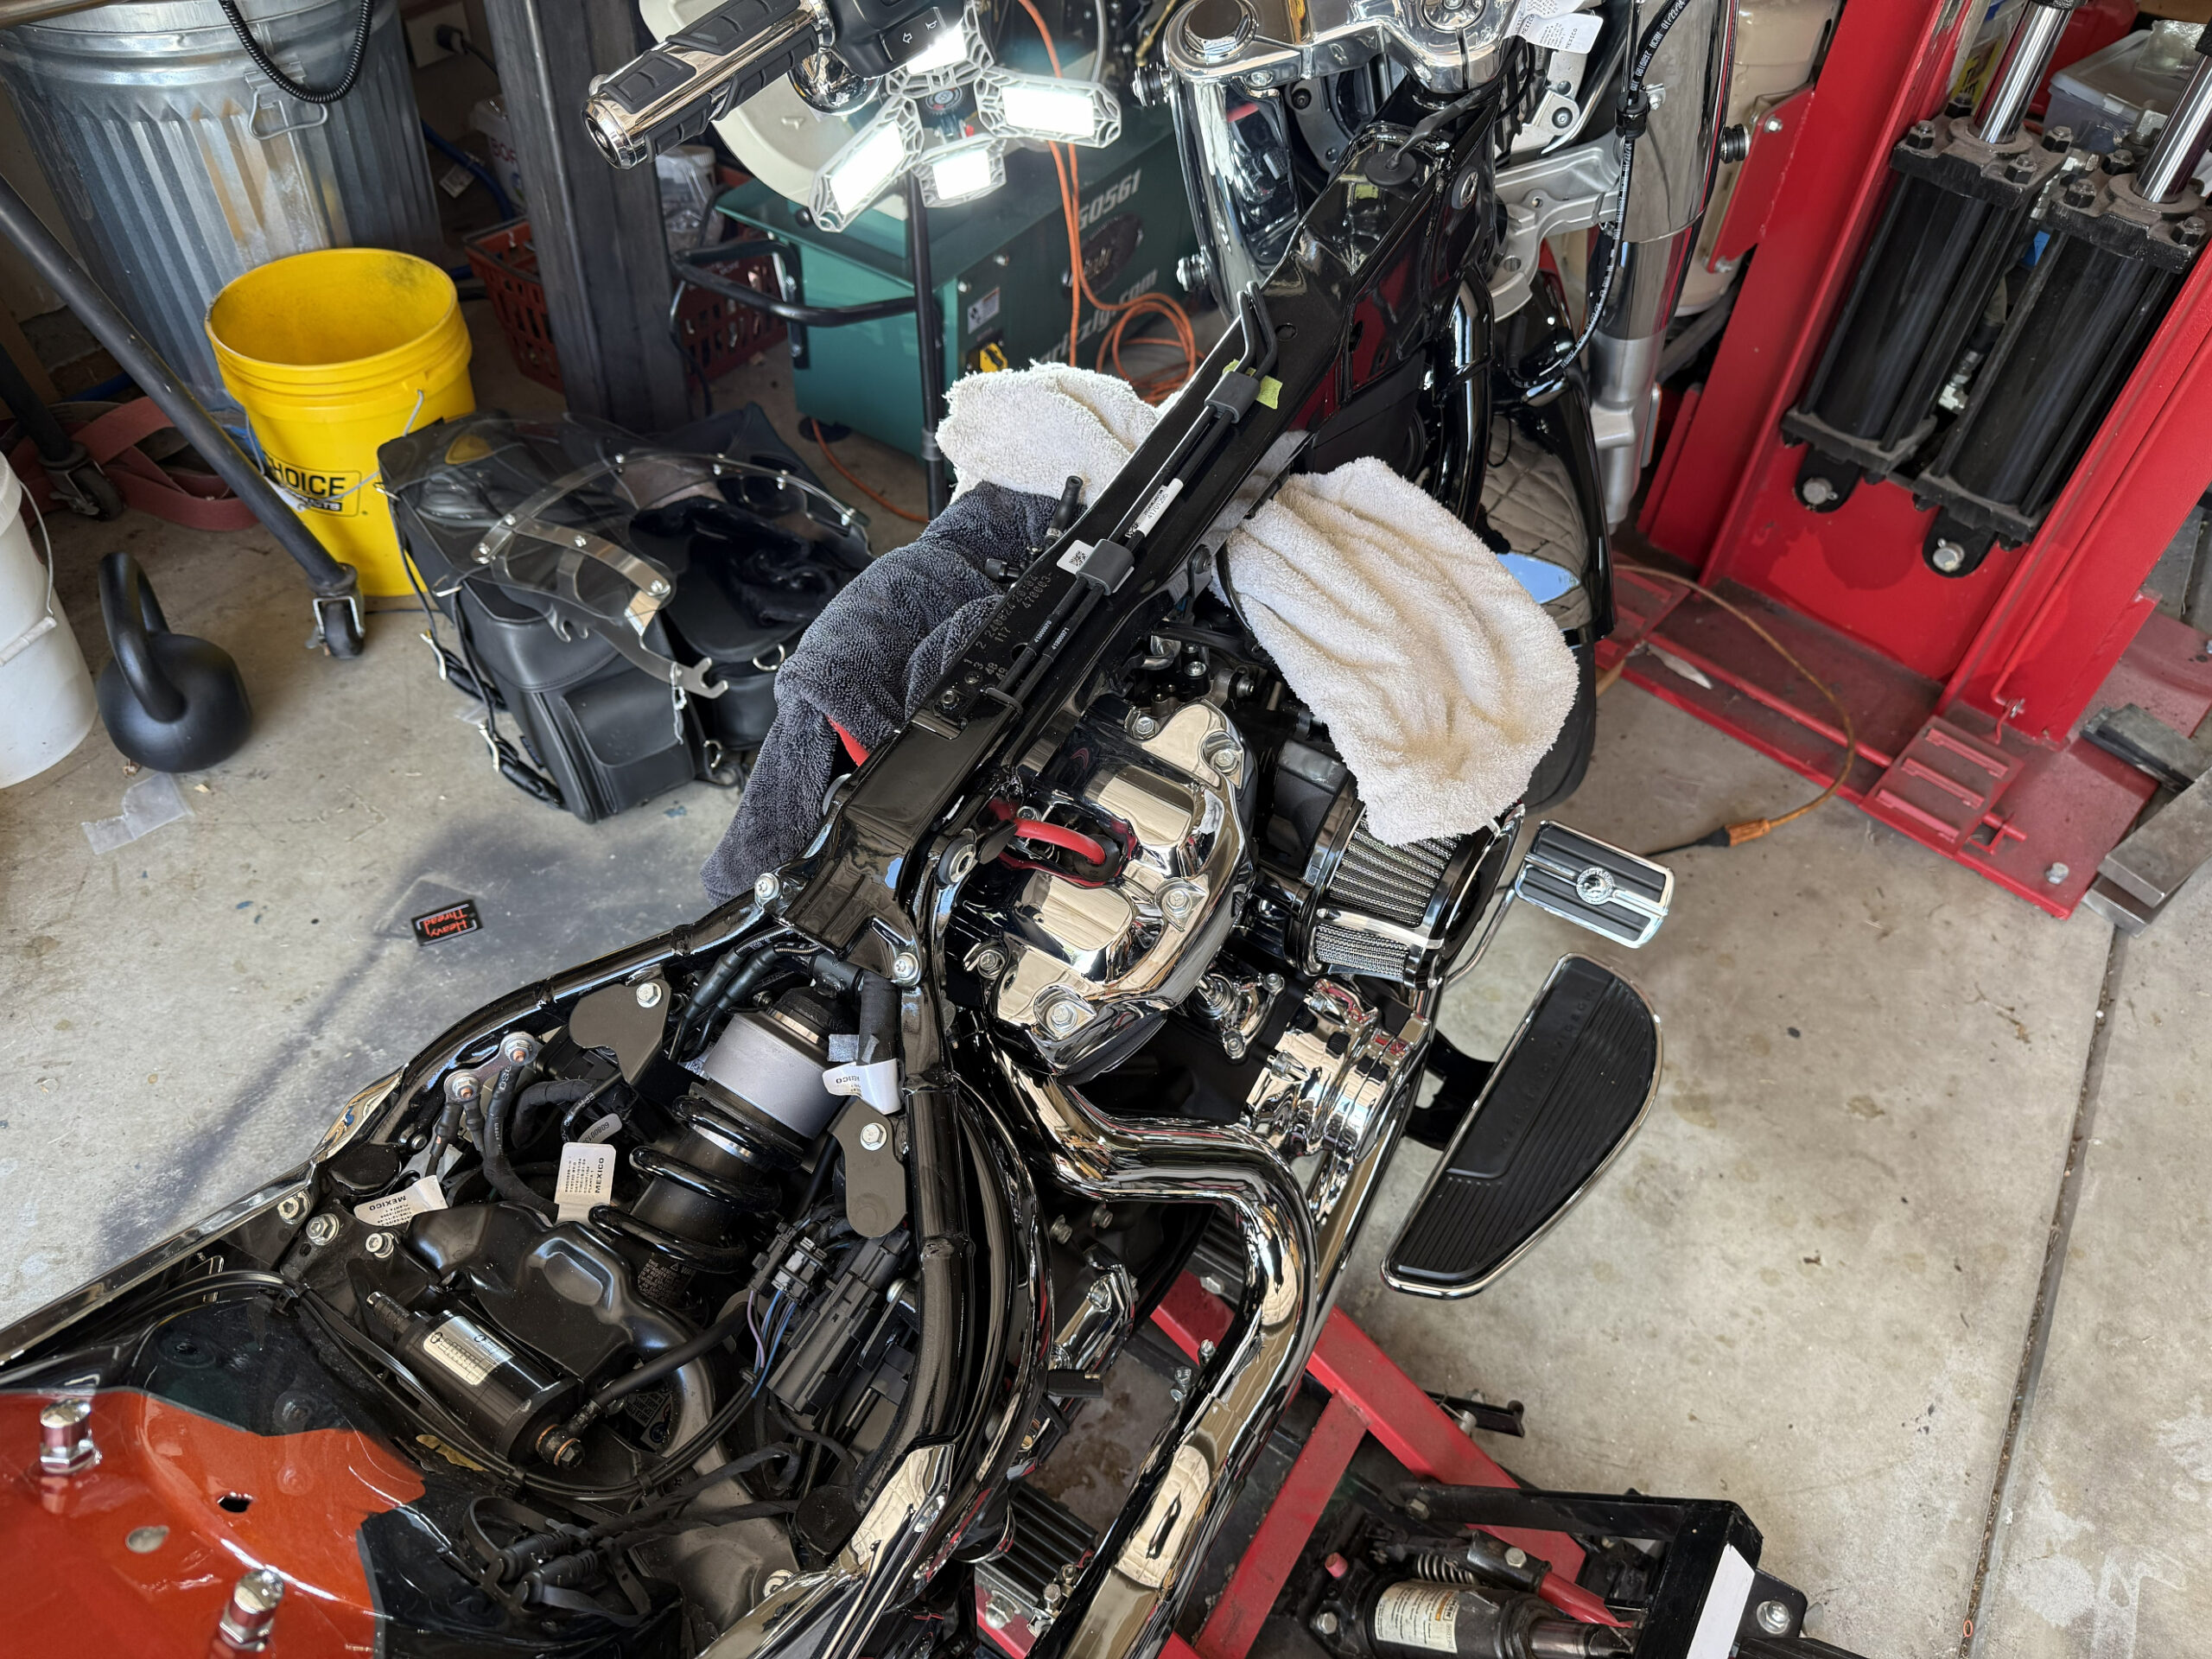
Arlen Ness air cleaner installed.
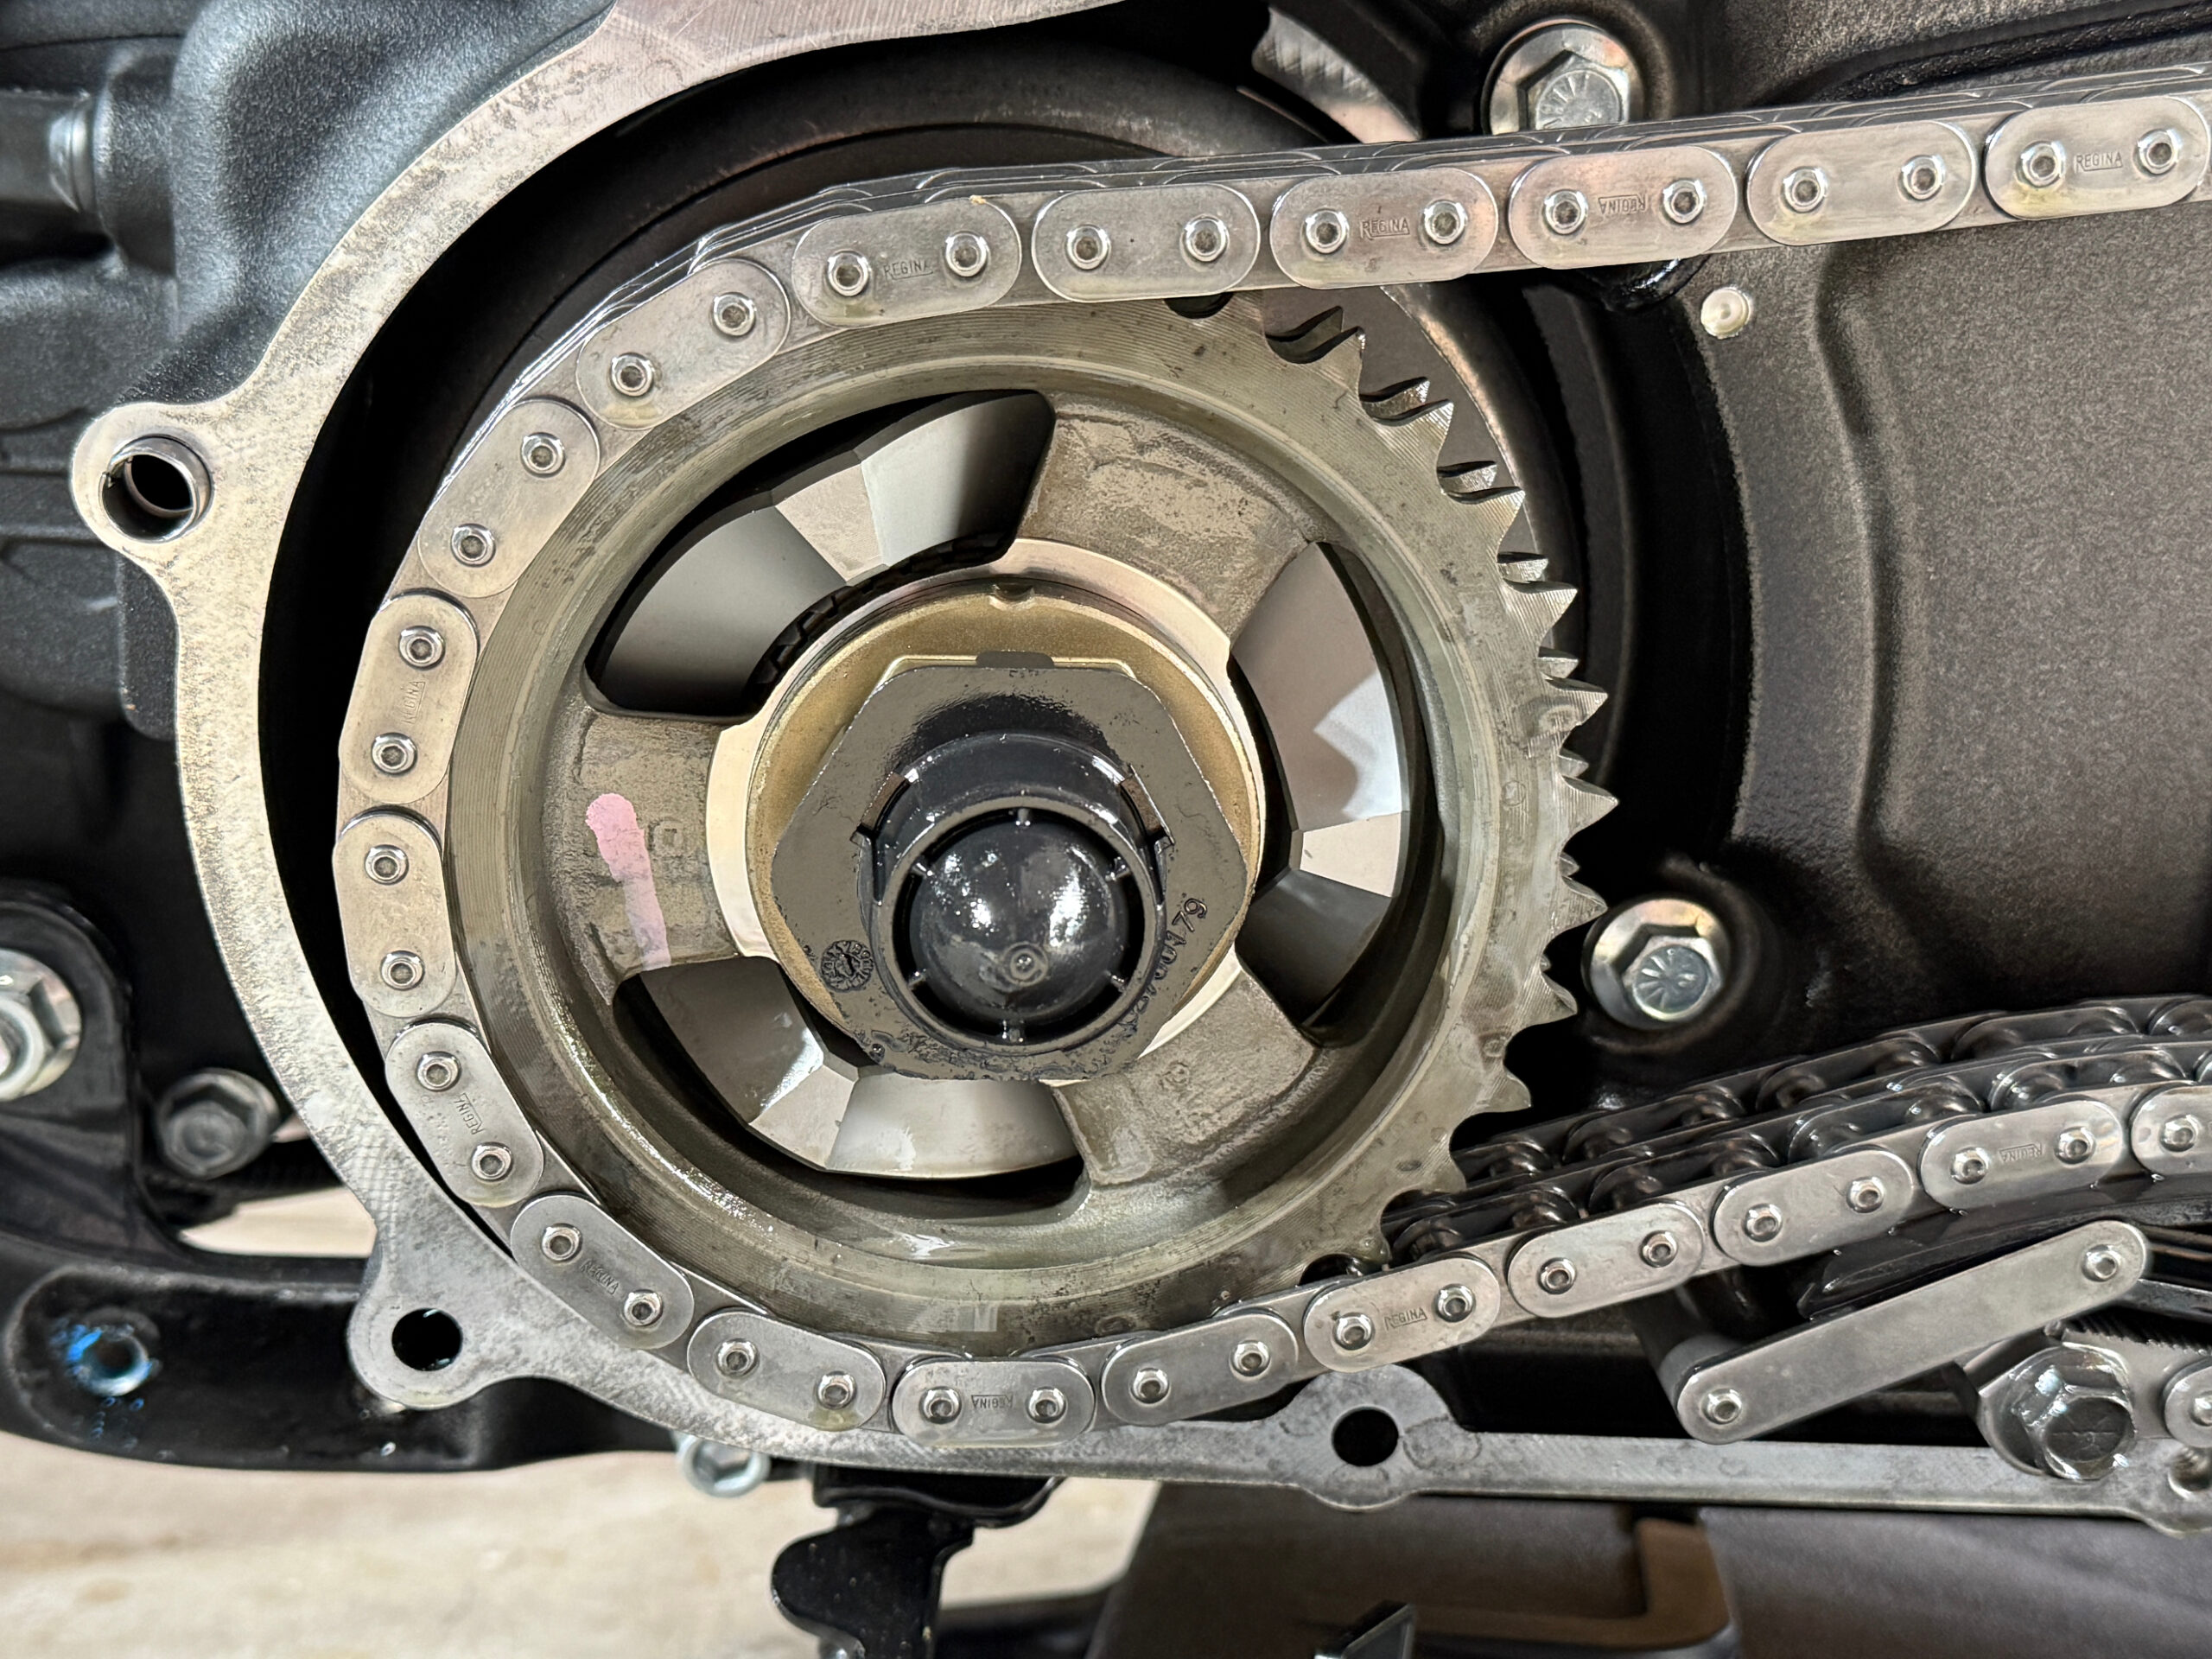
On the other side of the bike, here its is with the primary cover pulled off showing the primary chain, the clutch pack to the right, and the compensator sprocket to the left. Primary chain tensioner on the bottom.
This is the stock configuration. I went ahead and removed the chain tensioner, the chain, the sprocket, and the compensator ramp which you can see through the spaces in the compensator sprocket. Note how rough it looks. This is a cast part and not particularly durable and is often a point of failure with increased torque and HP after other performance mods.
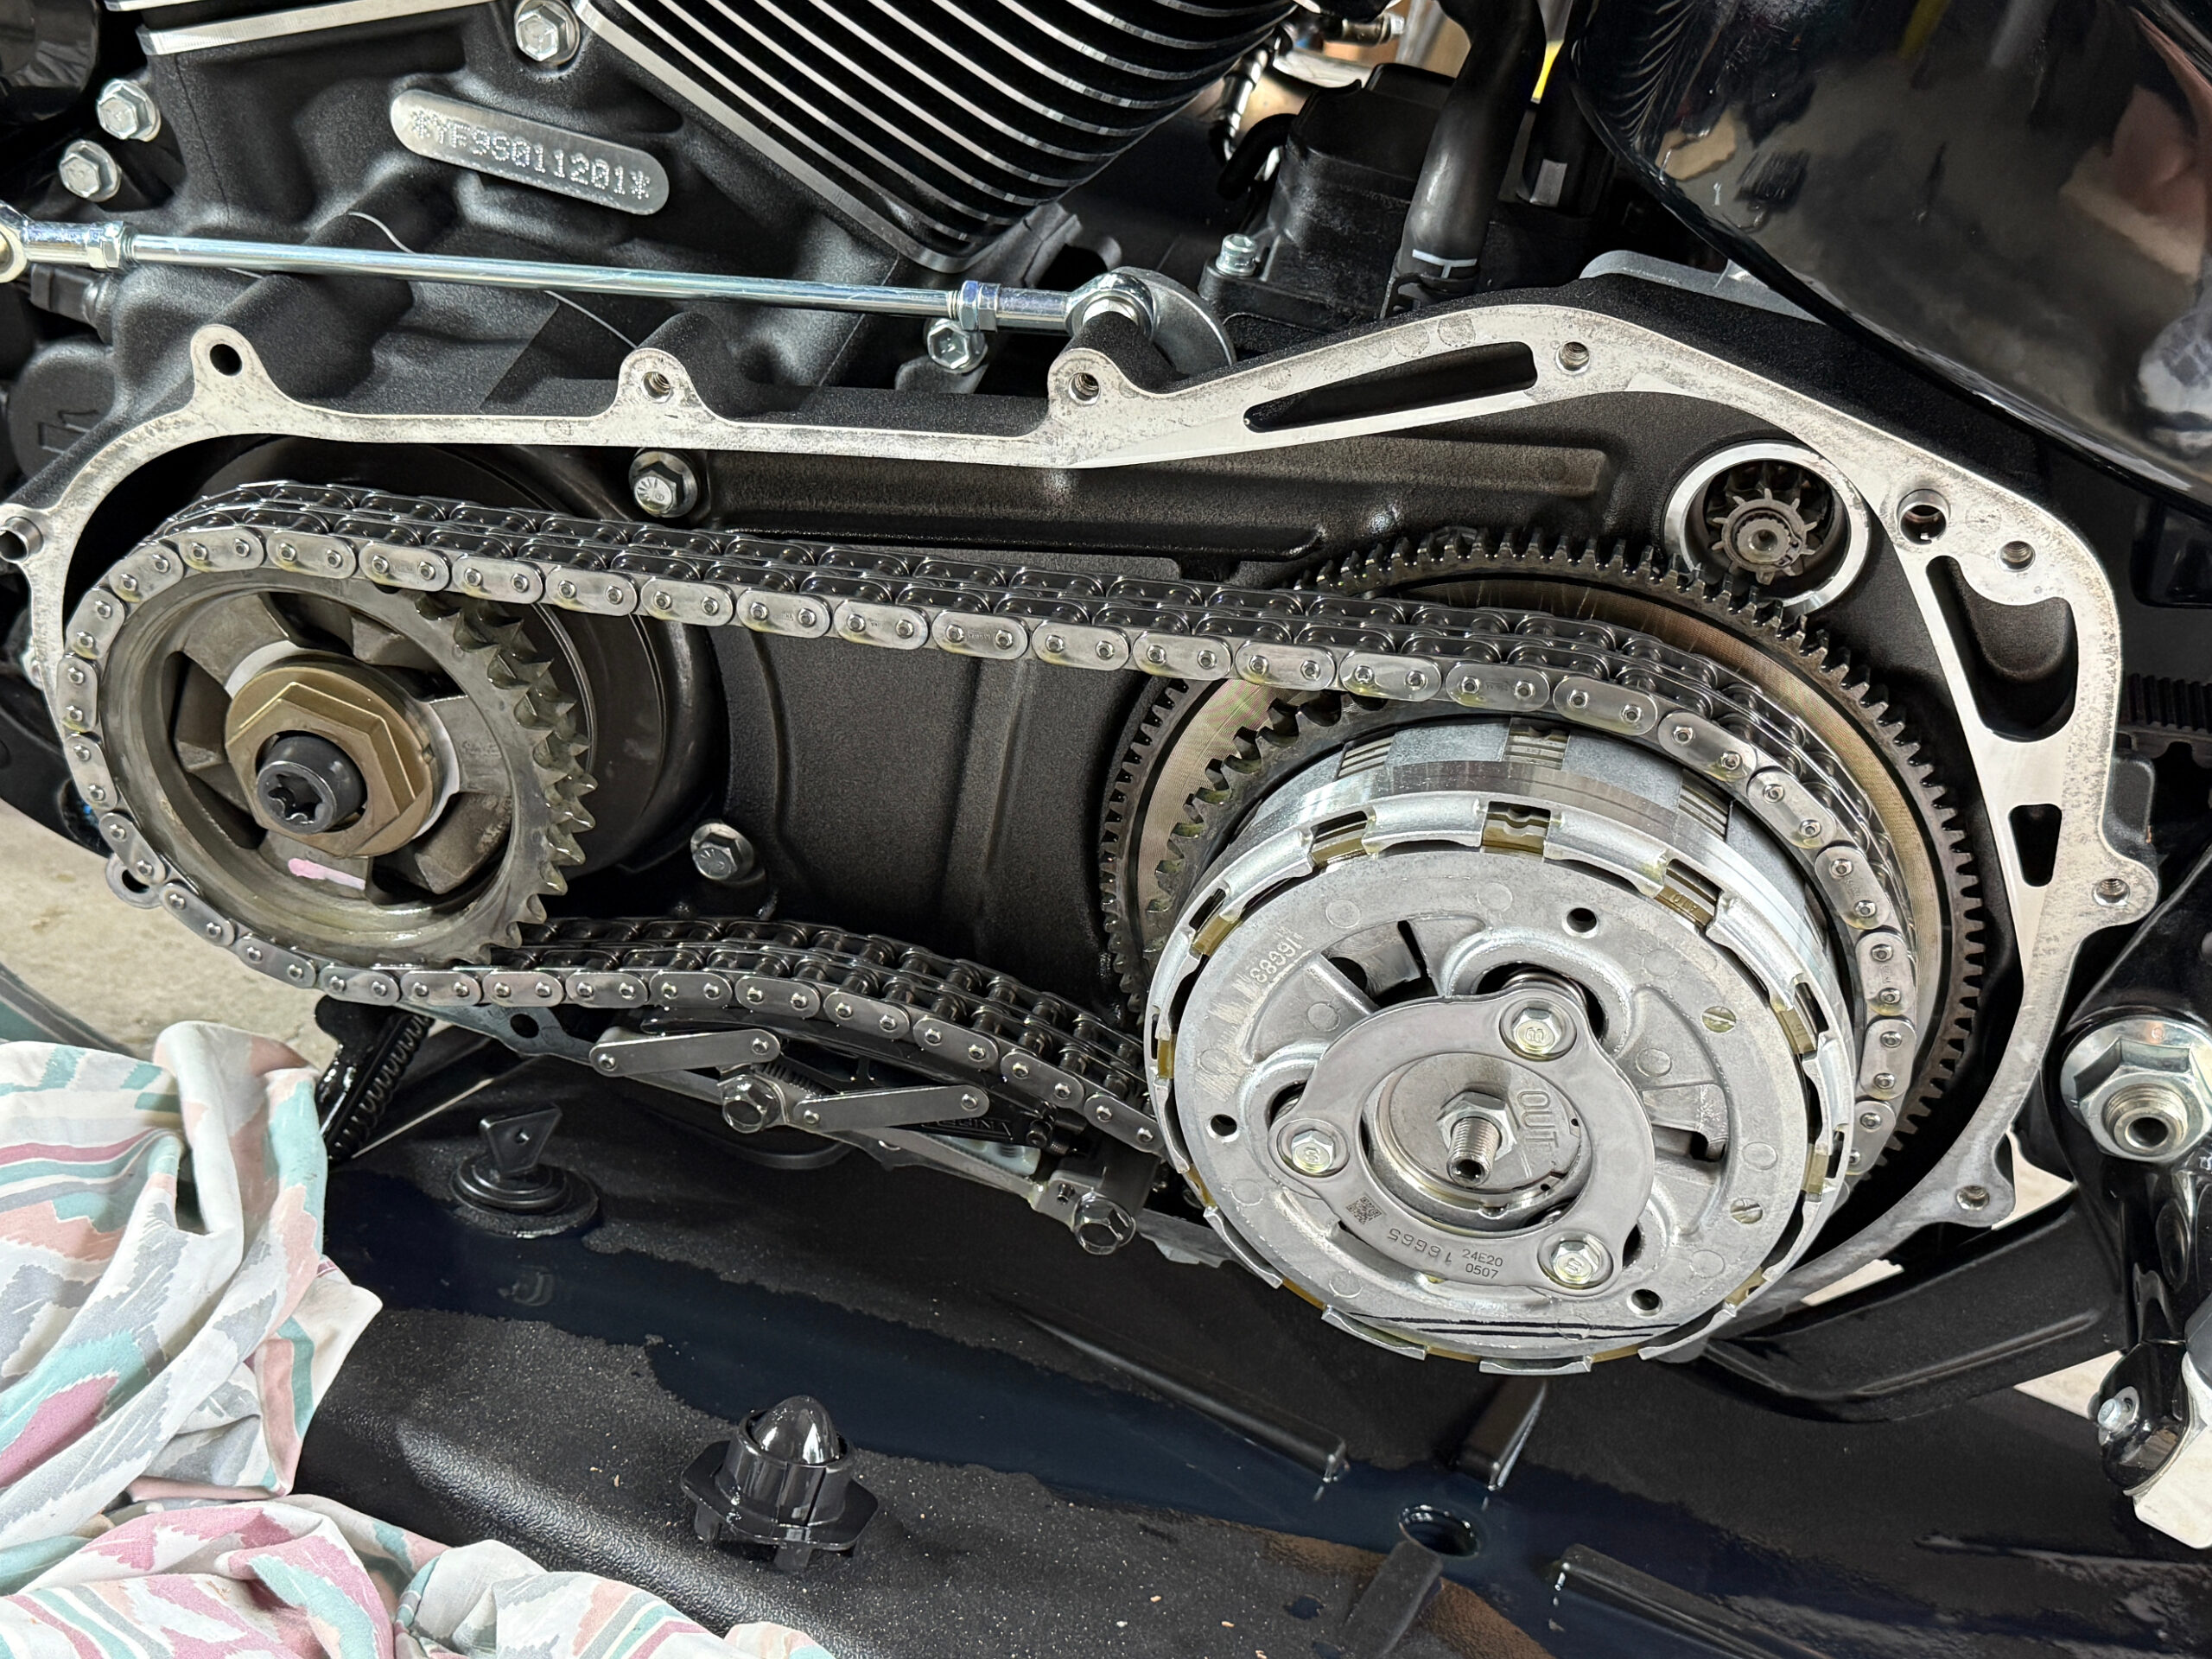
This is showing the upgraded, milled steel ramp poking out through the compensator sprocket. As you can see, it looks much smoother, more well-machined (and WAY tougher) than the rough, cast OEM part .
Fun fact: In addition to the actual bolt for this, which is a single use bolt that has to be replaced new if you ever remove it, I had to buy a T-70 torx bit just to remove this bolt, as well as a torque wrench that can get to 175 lb-ft to put it back on. Probably never use them again…
Upgraded clutch. This is an AIM SDR variable pressure clutch

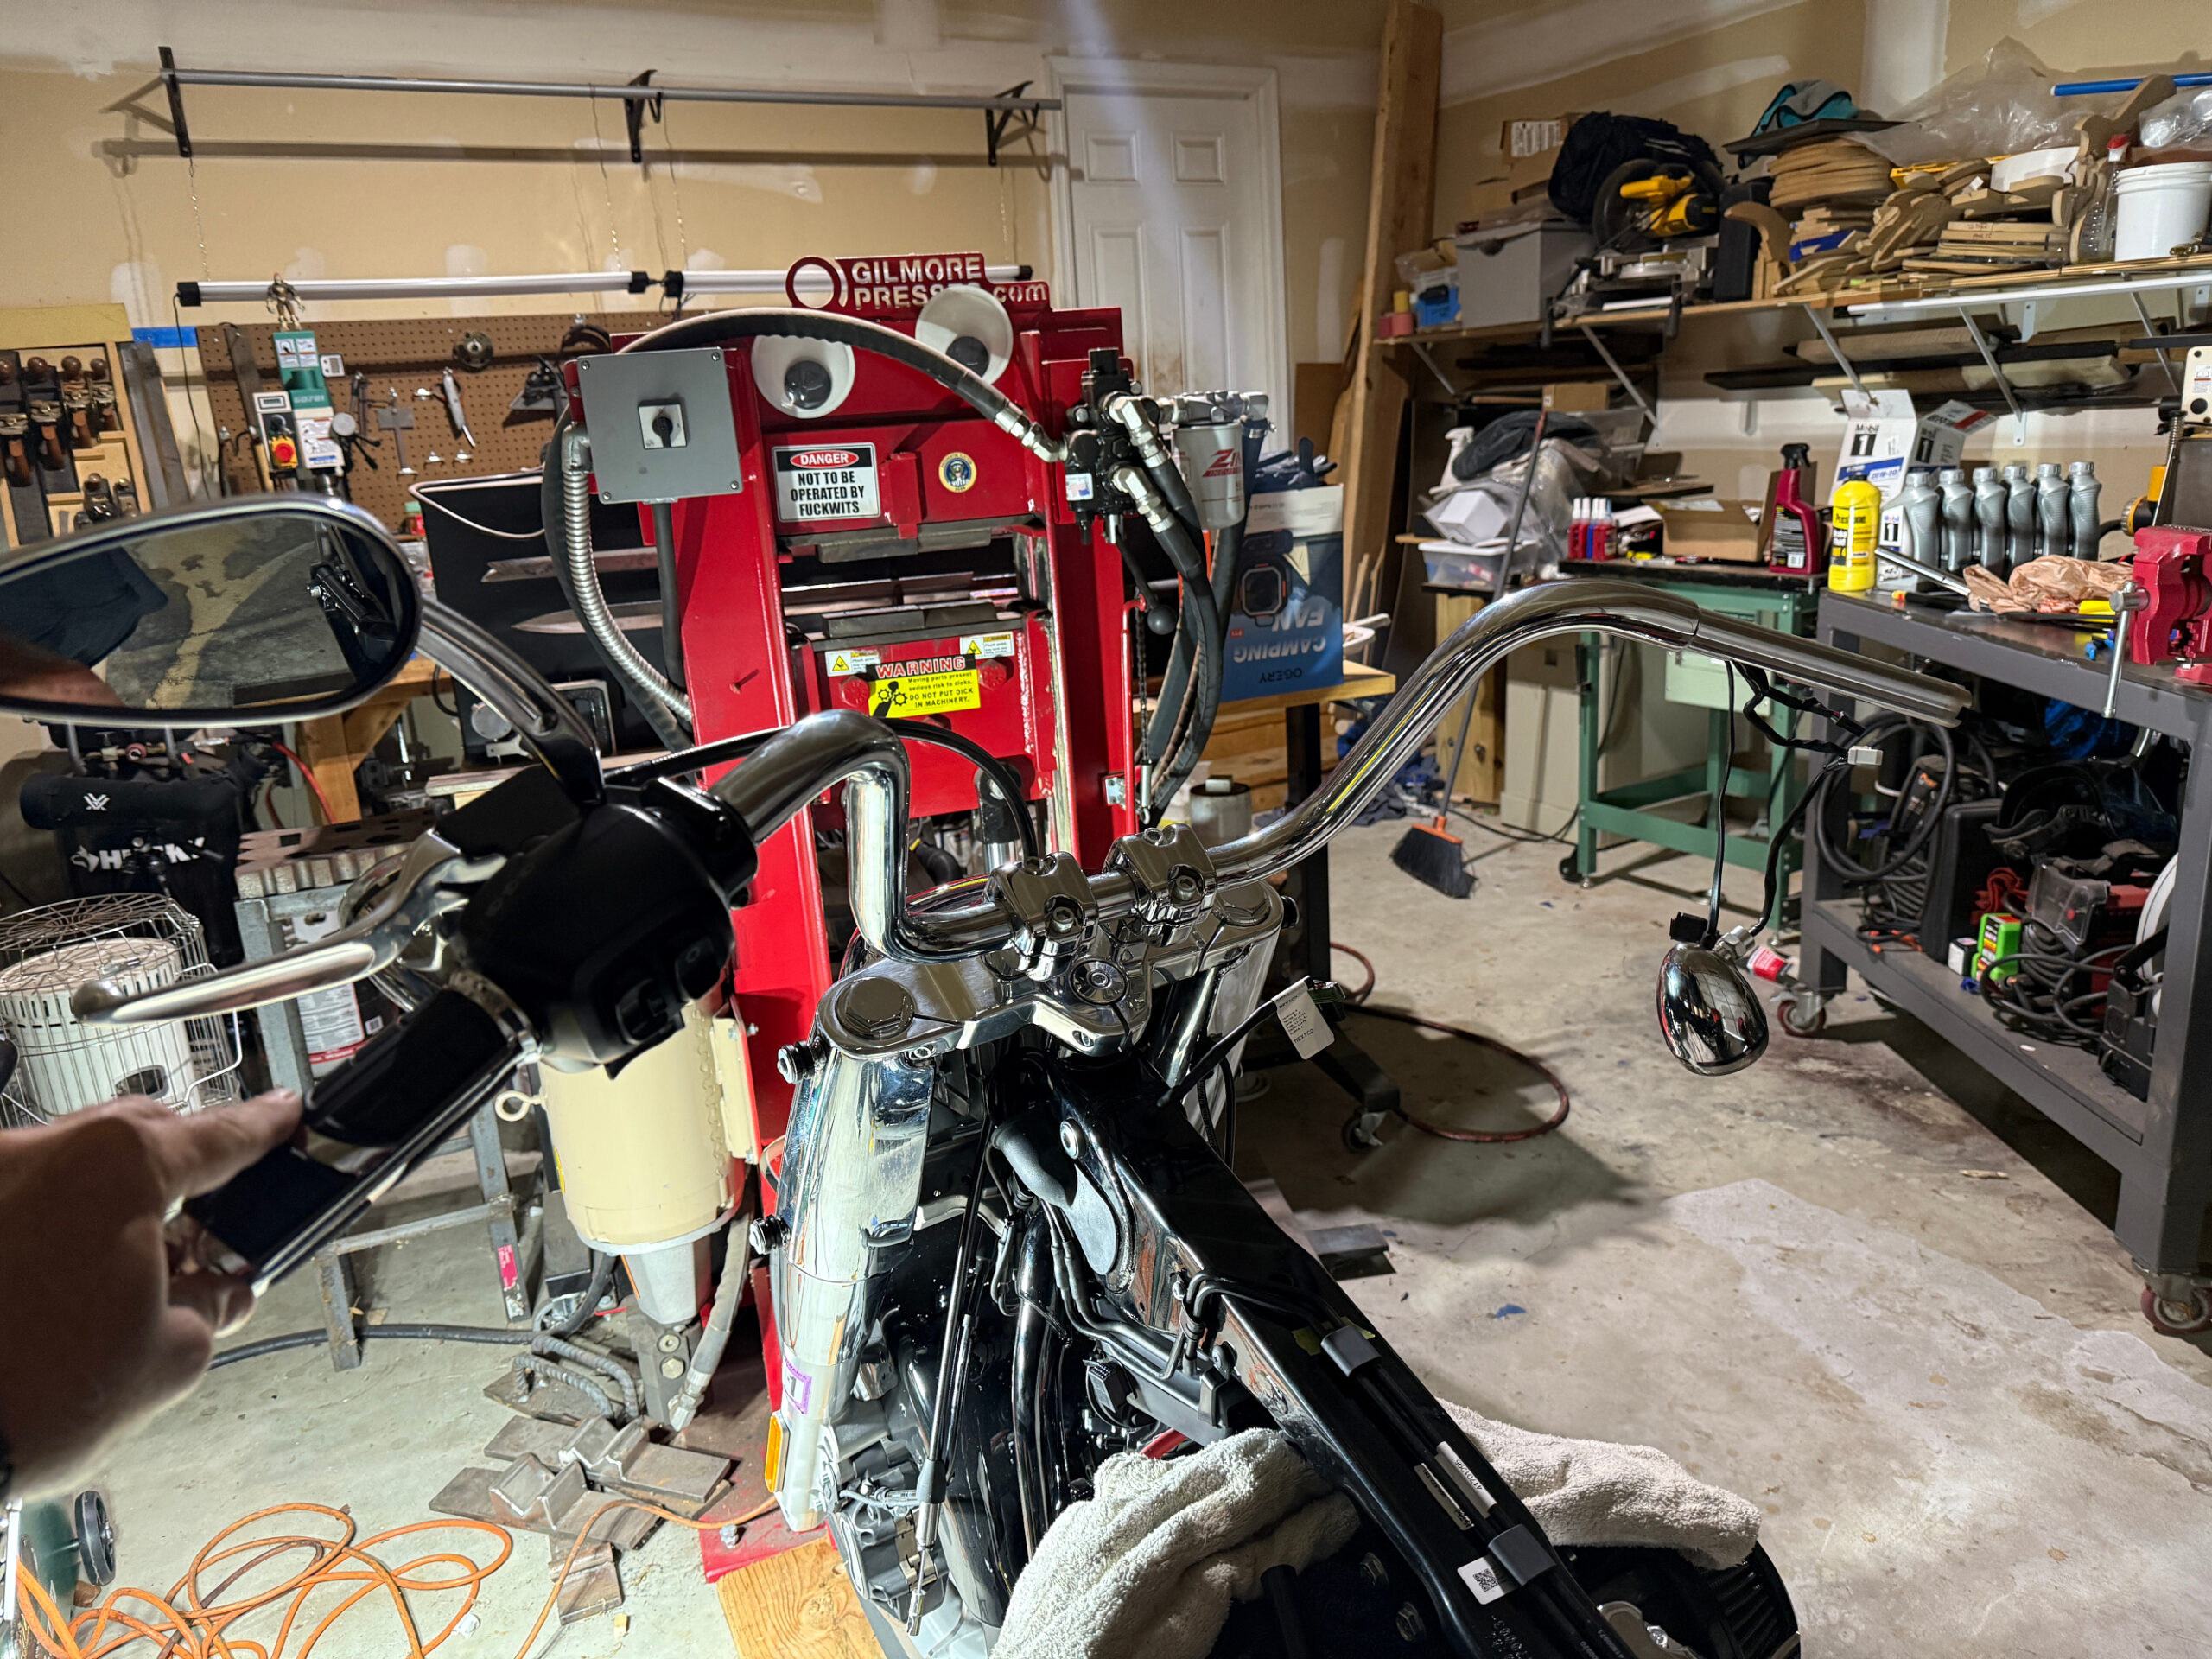
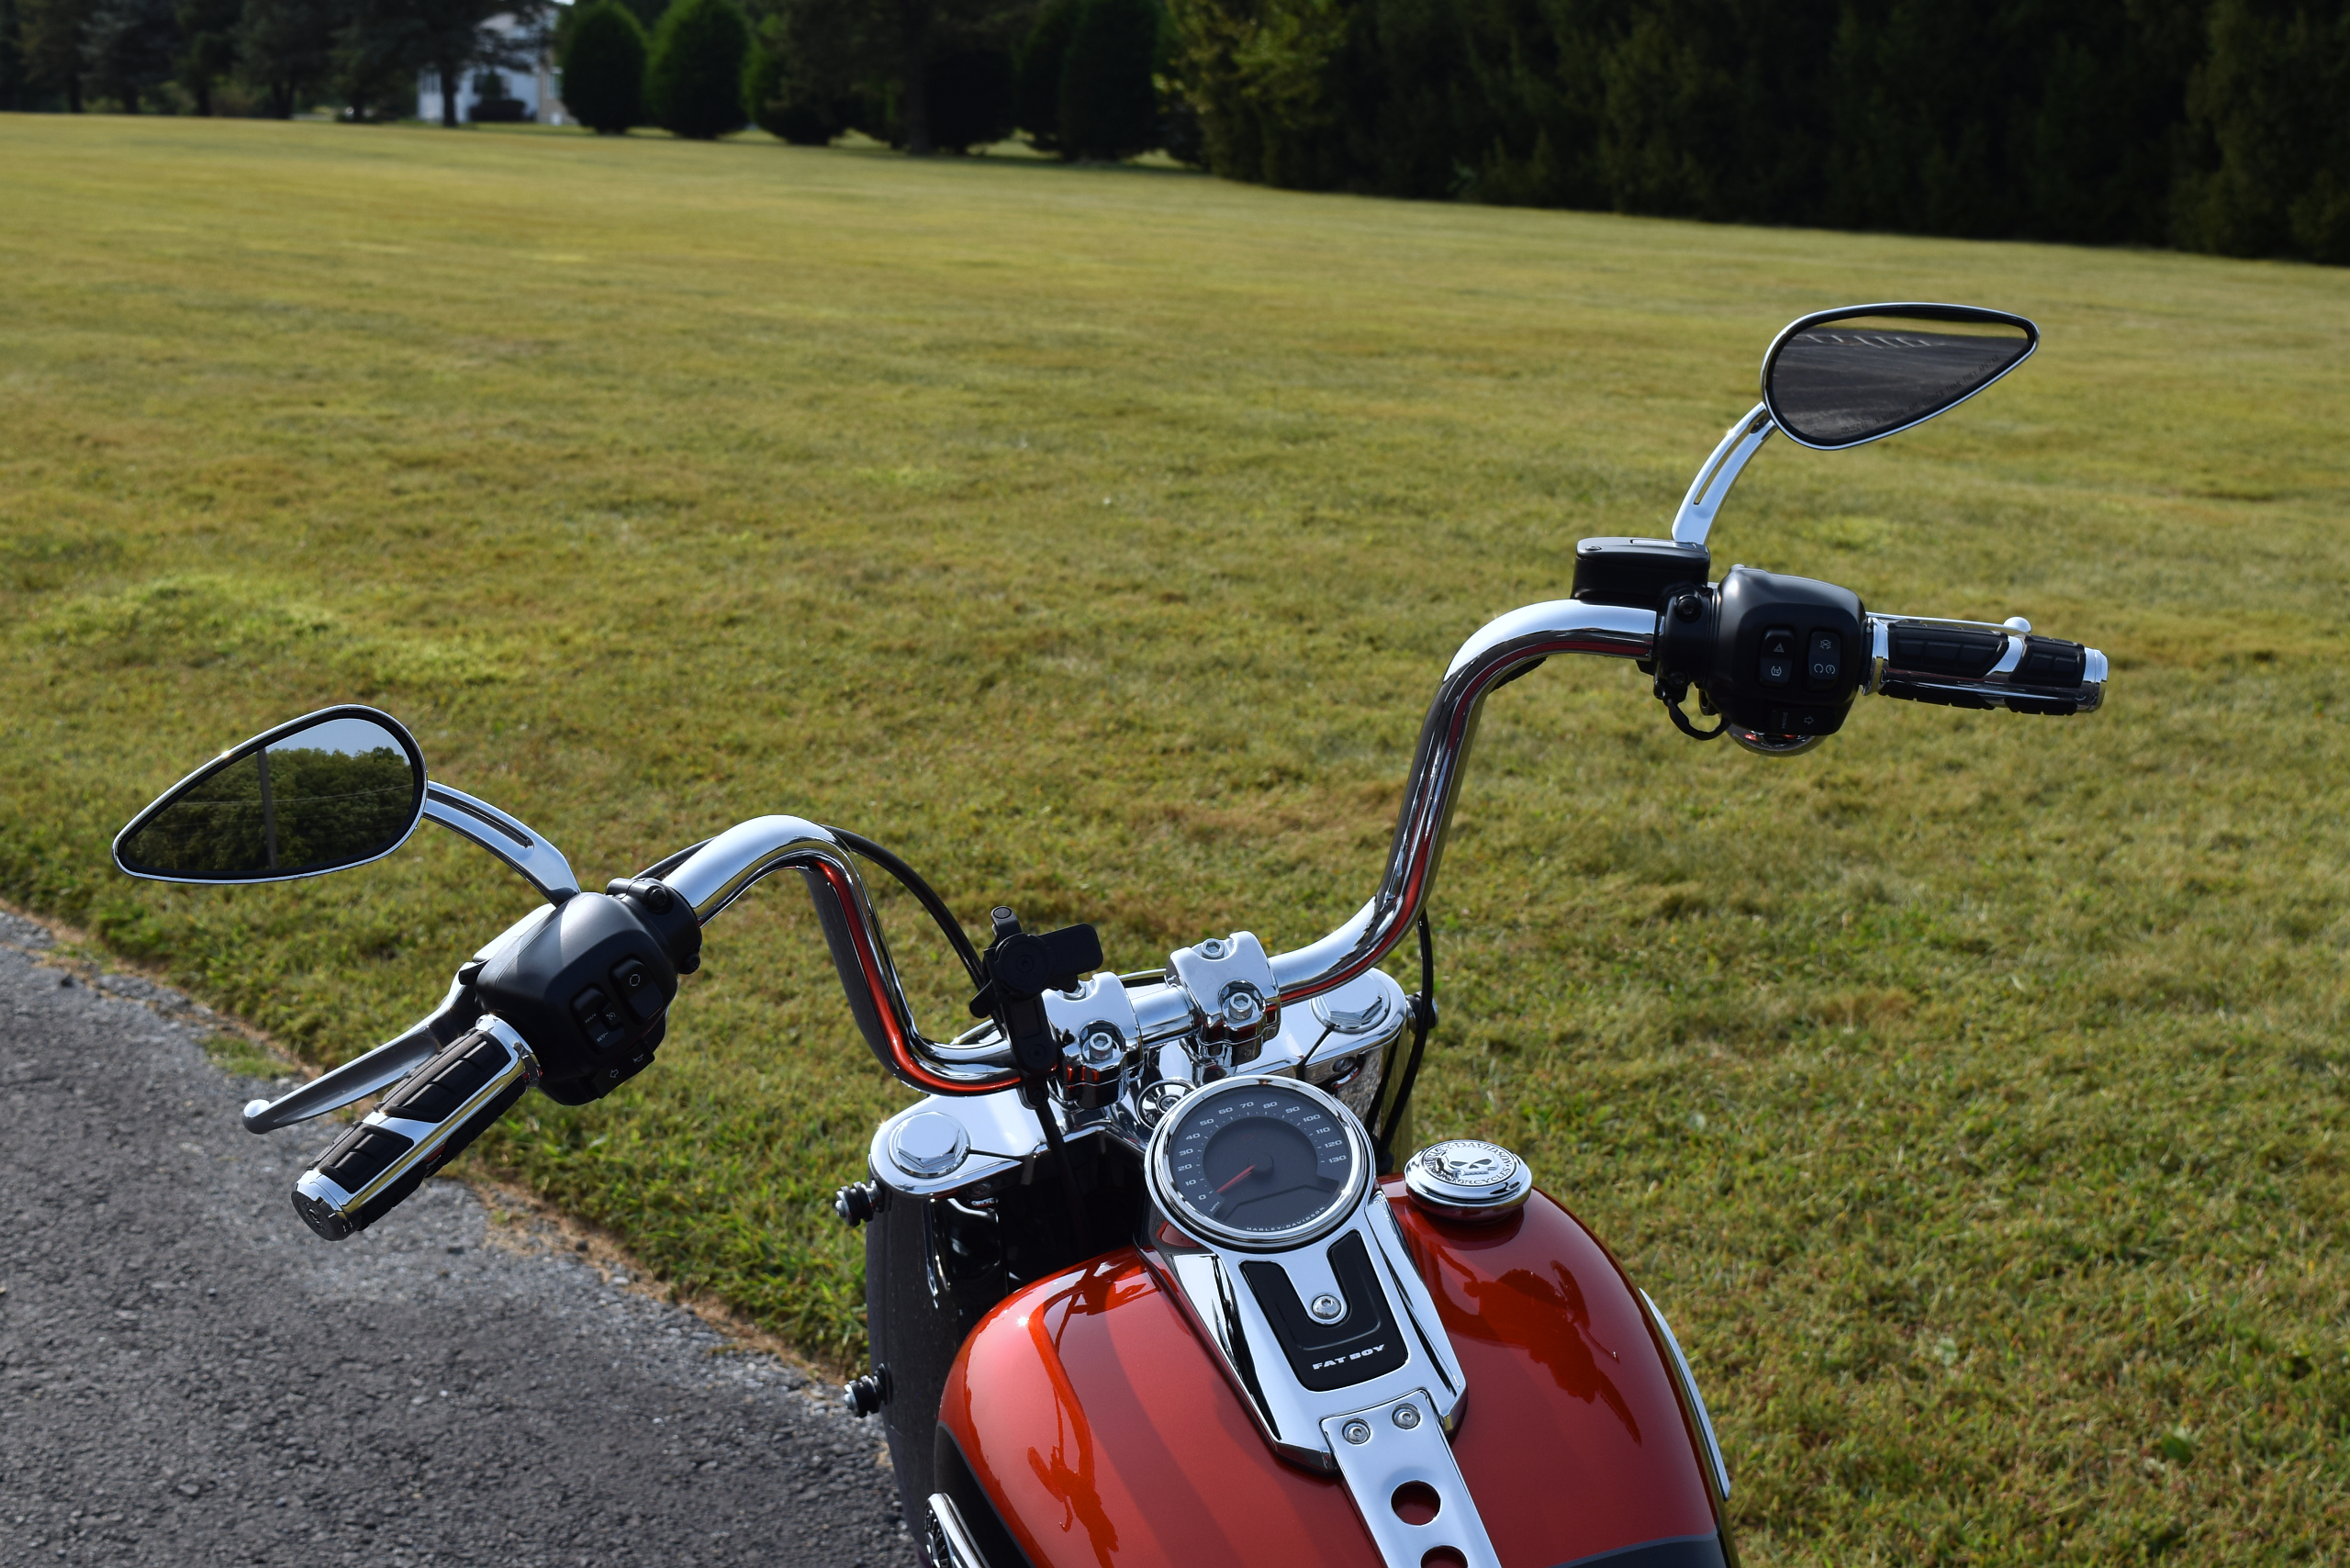
Replacing he stock handlebars with Khromewerks 10″ apes
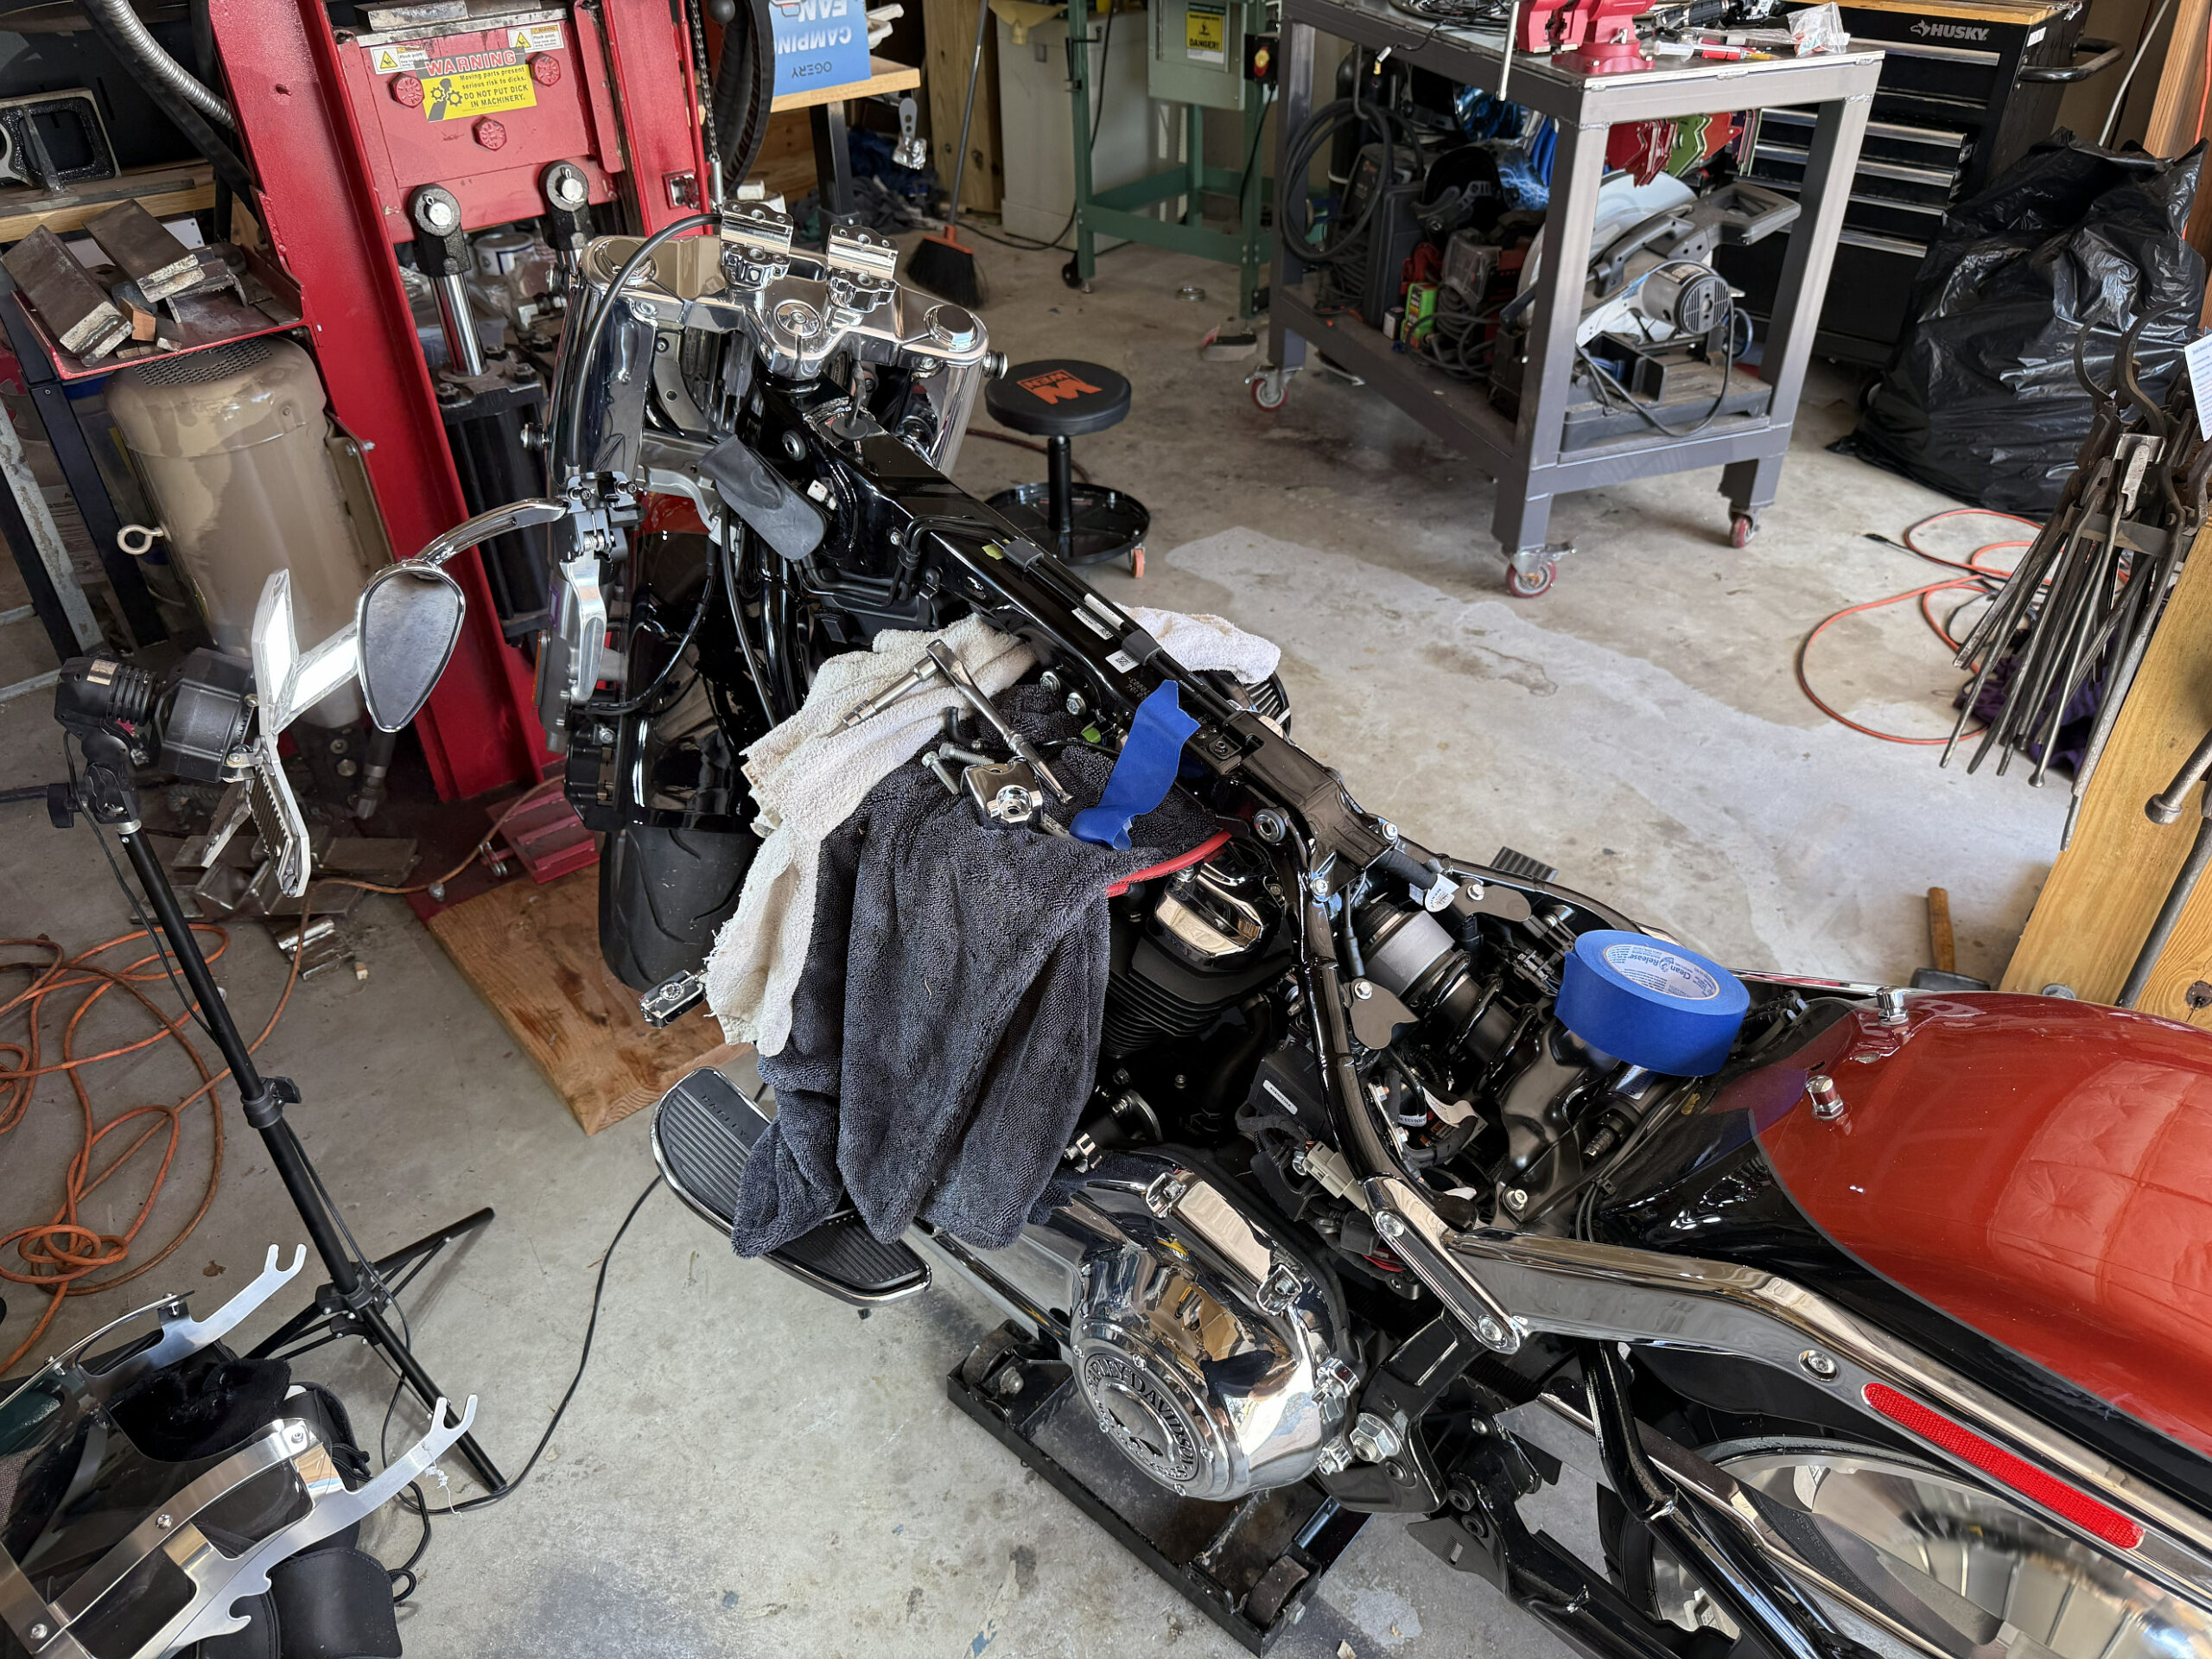
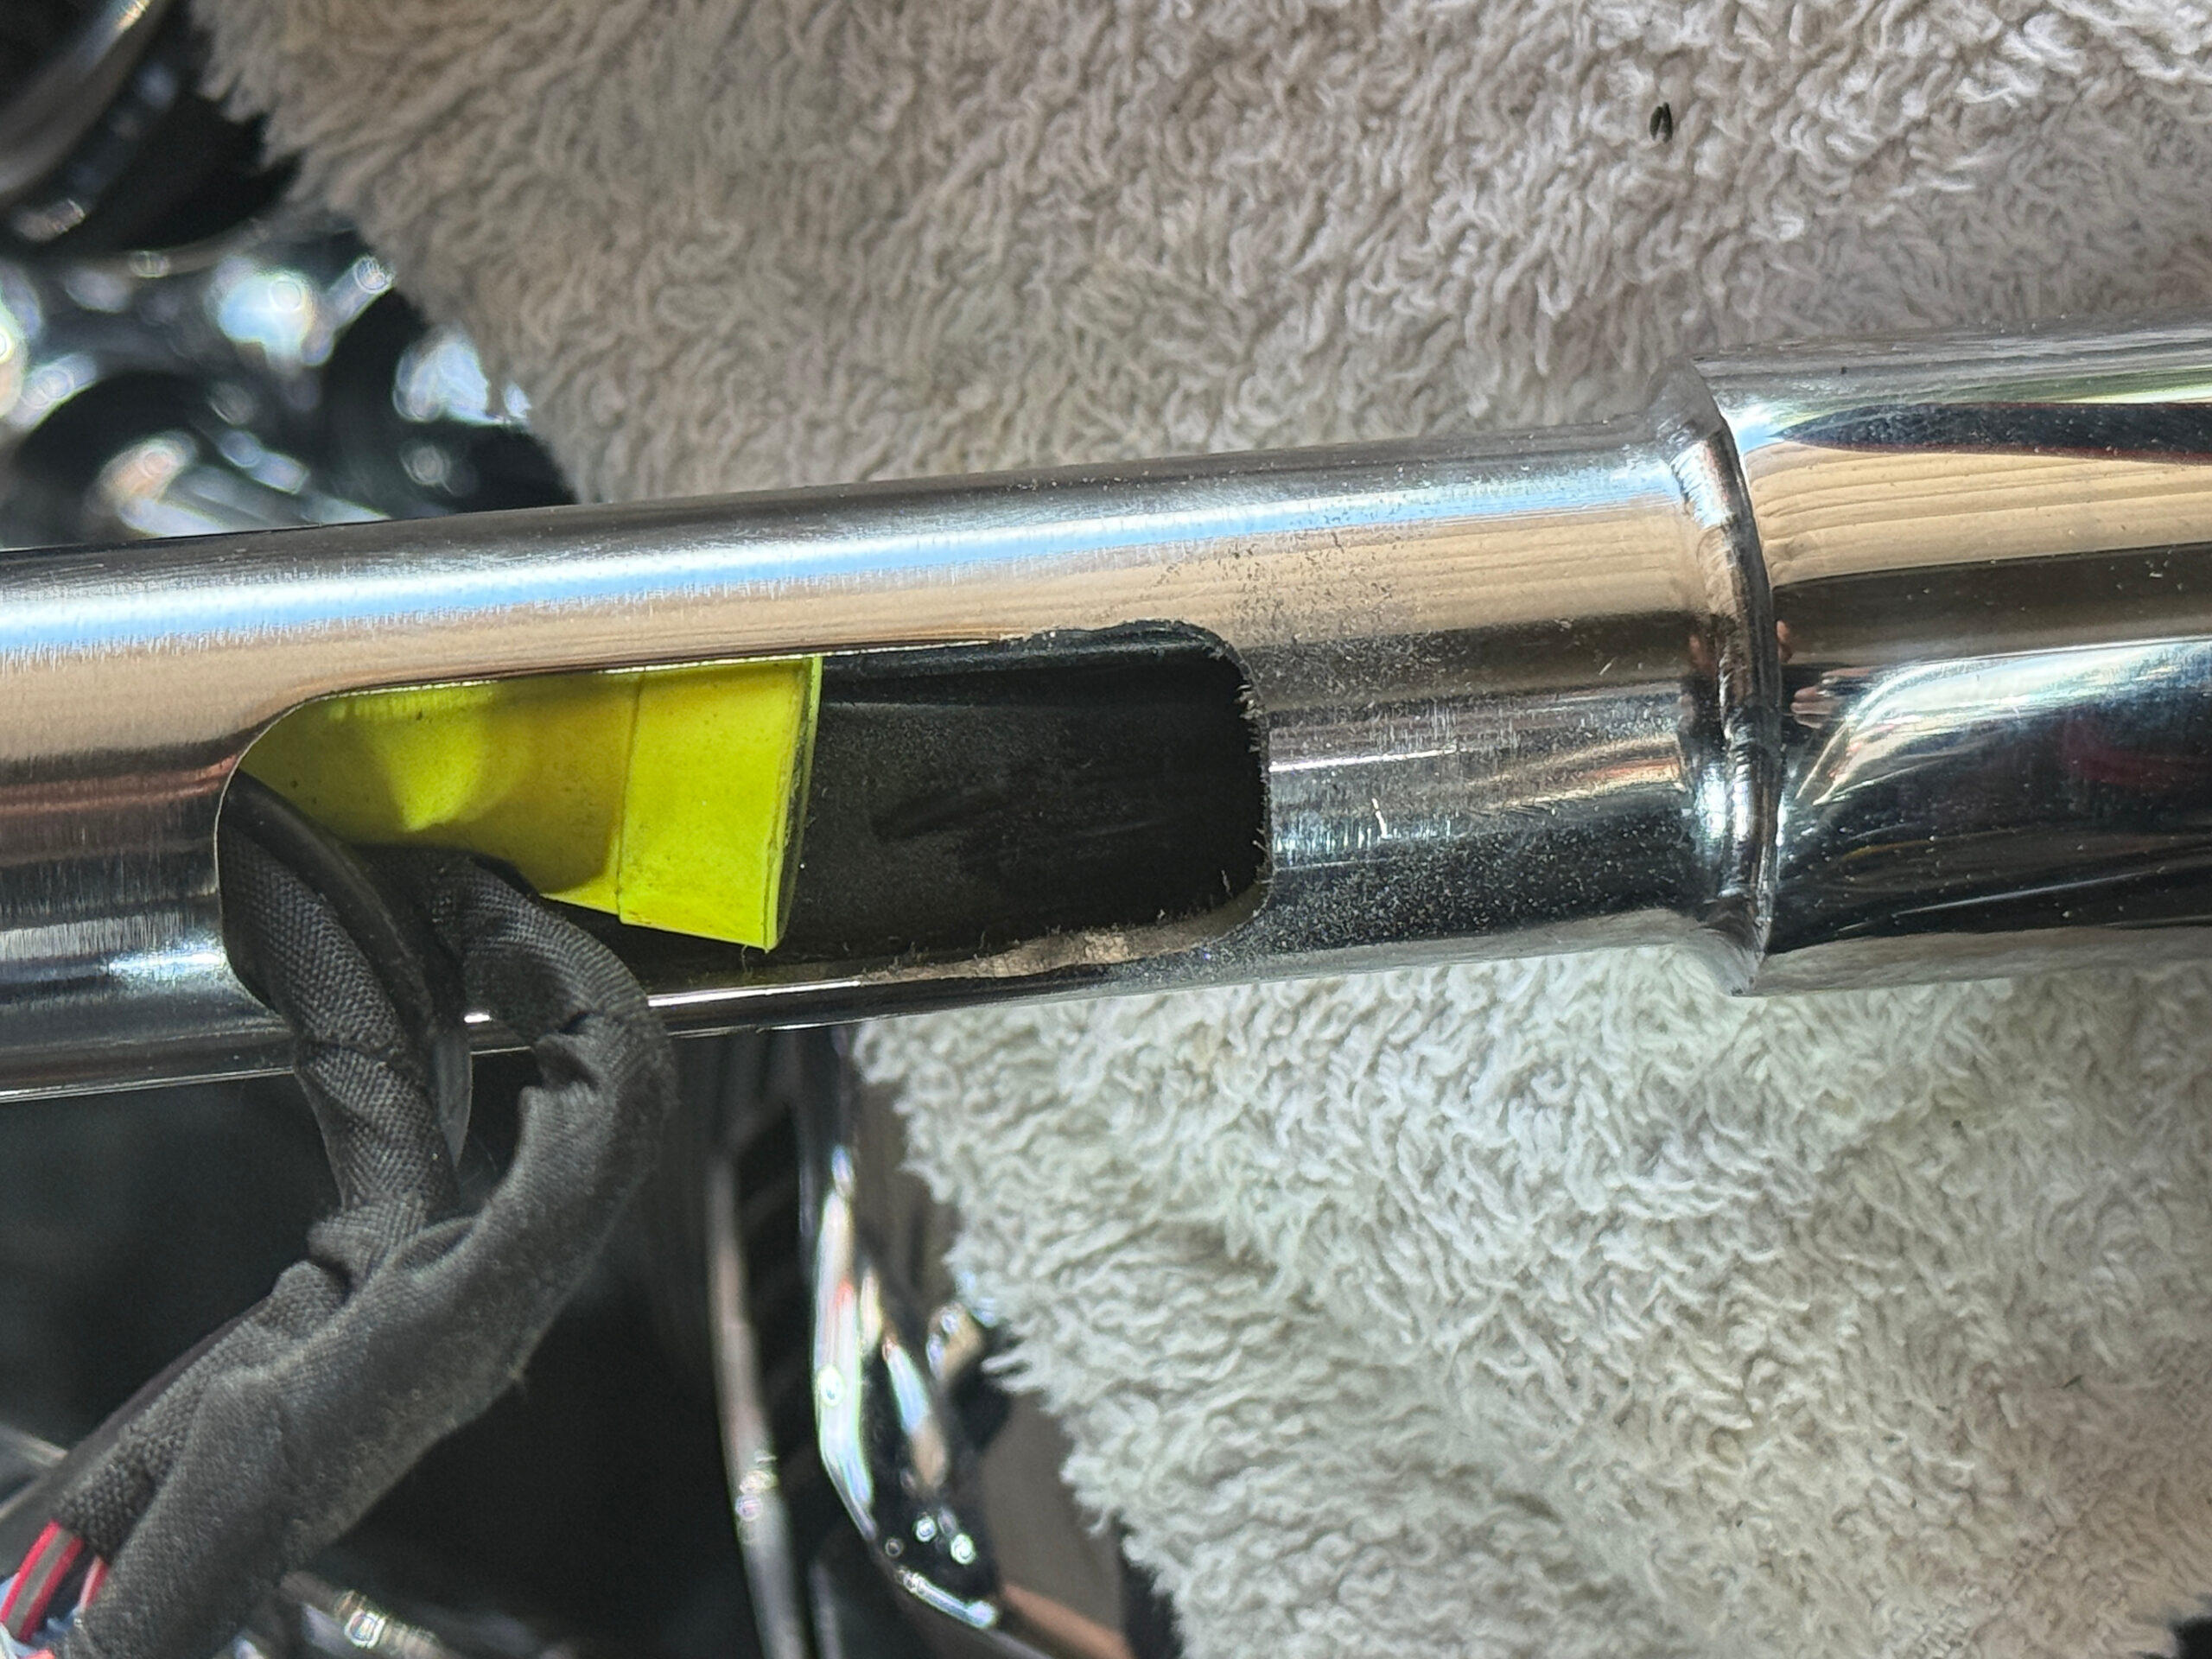
I had to manually extend this slot to accomodate the wirking as it was not long enough. I used a carbide burr chucked in a drill to grind out the added length so that the throttle and other right side controls would slide on.
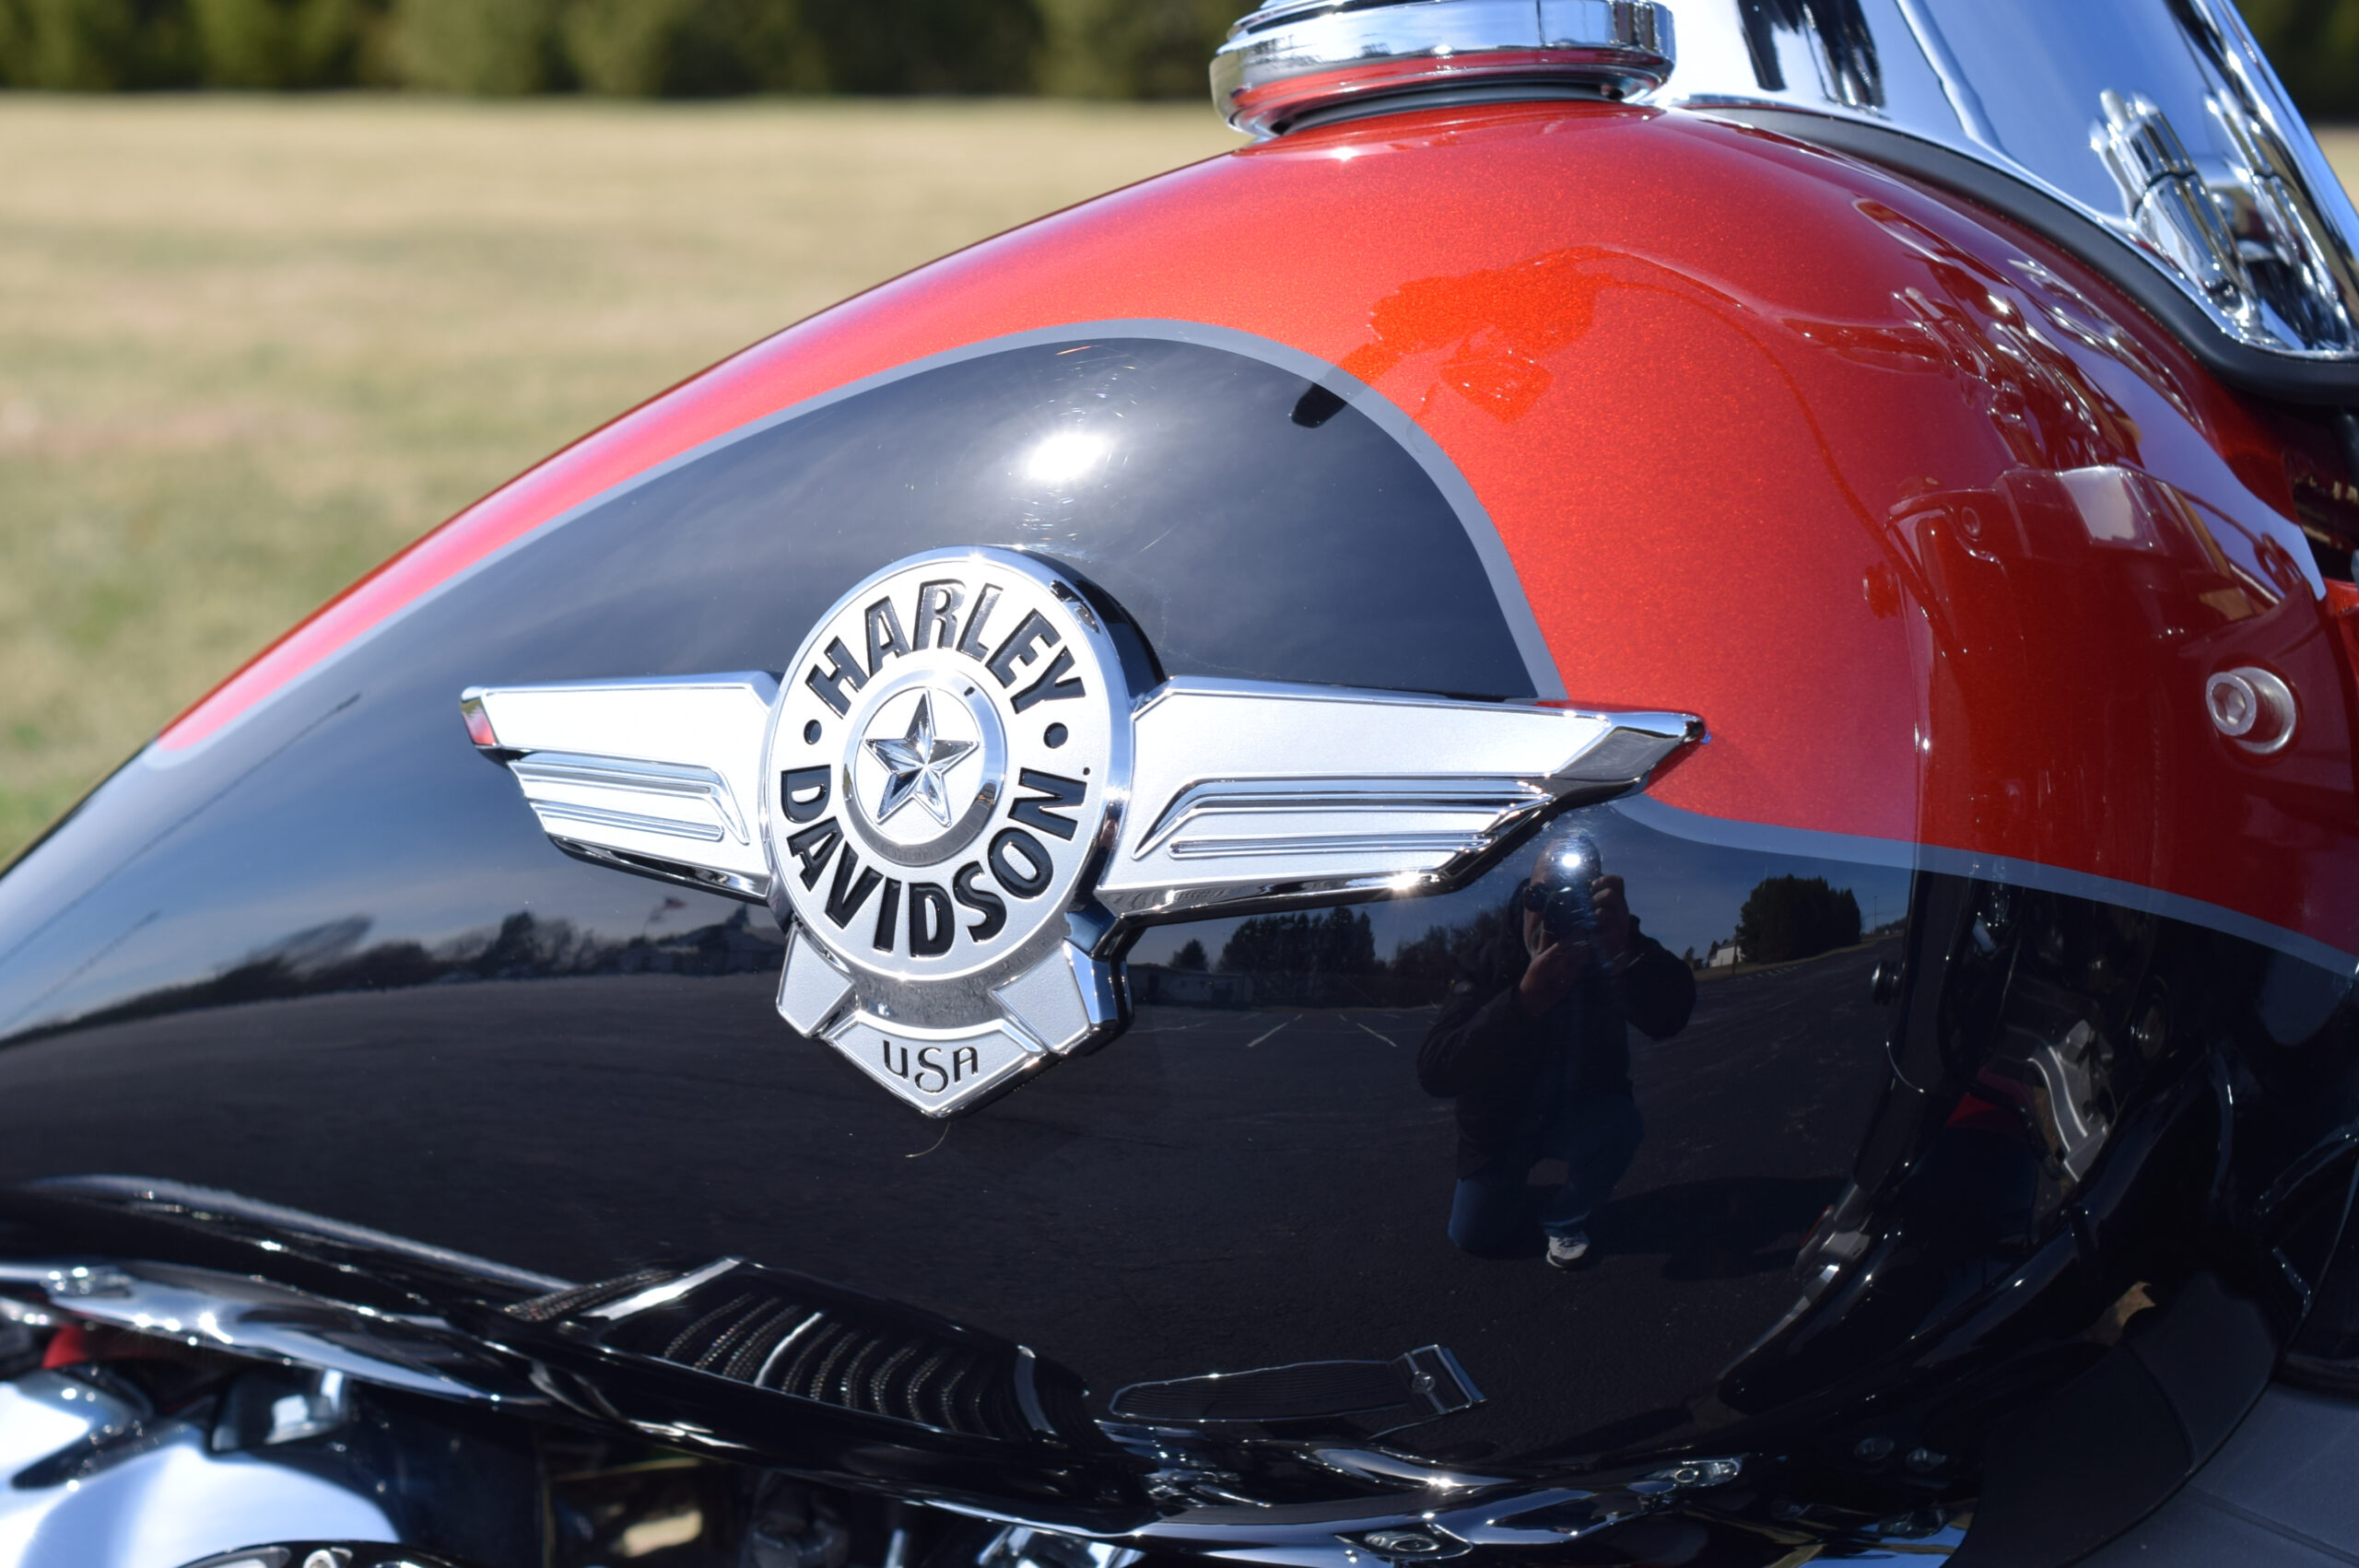
Oh the badge!
Before
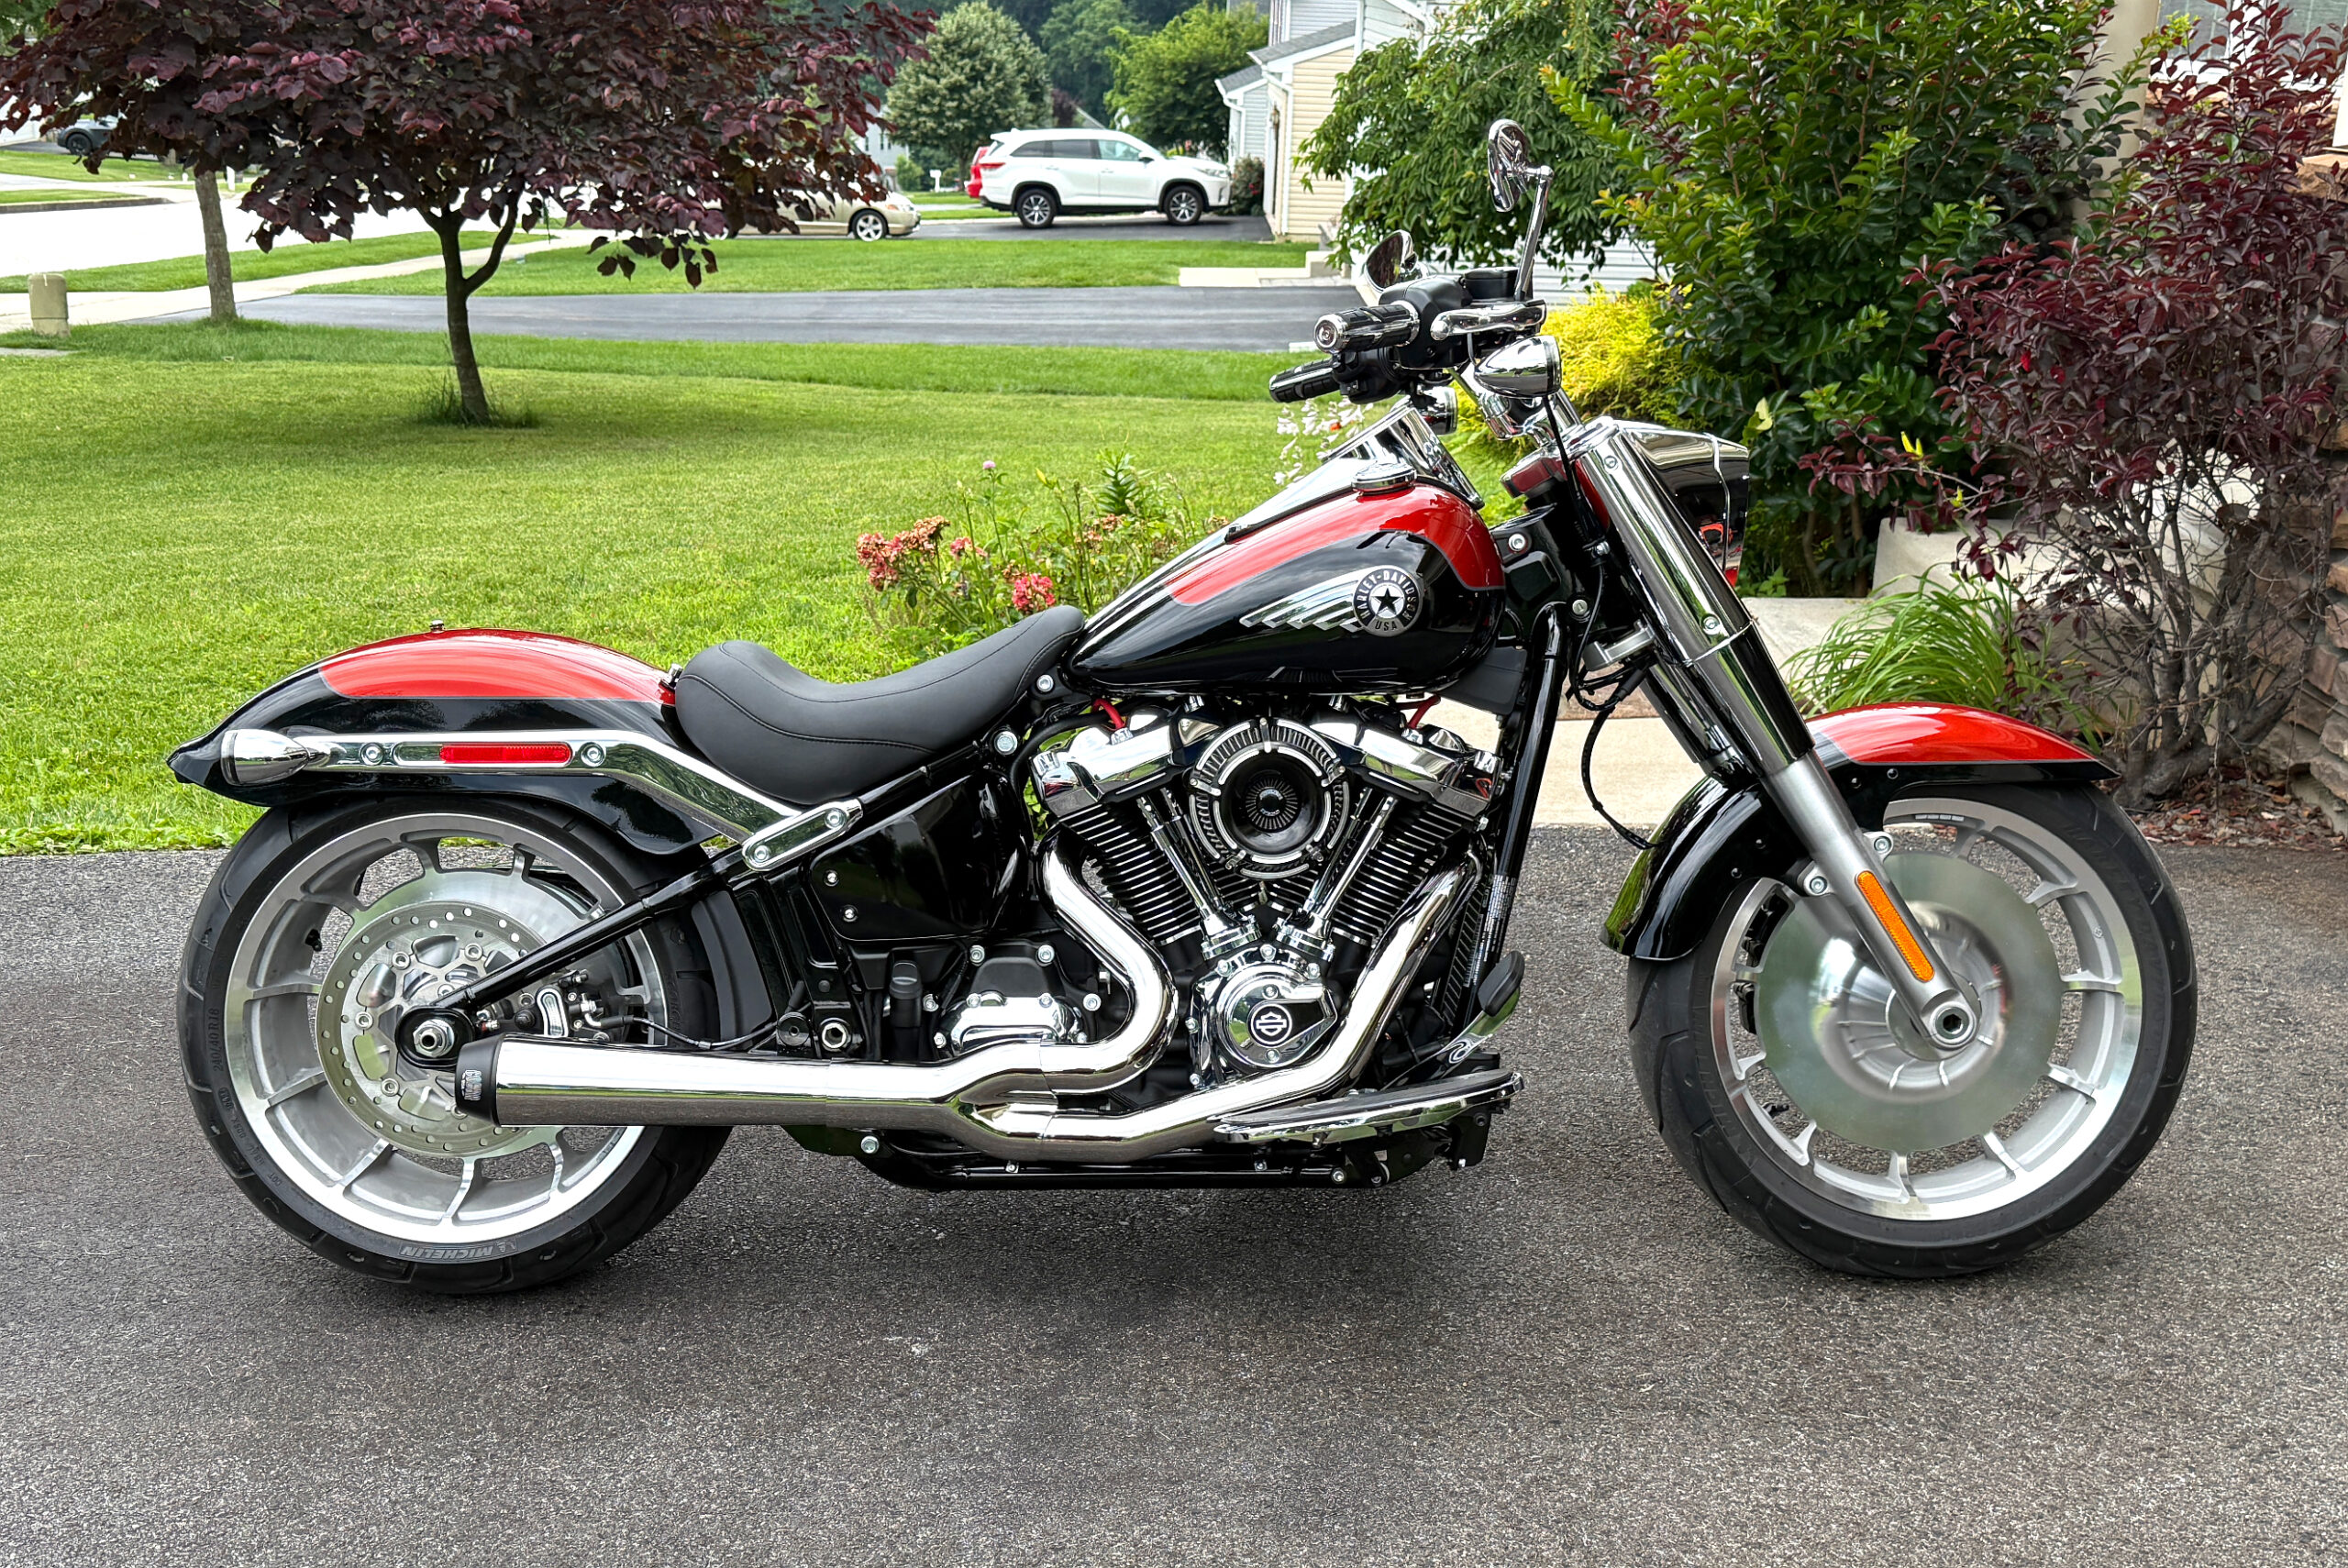
After