A friend and former band mate (and previous customer) contacted me on behalf of his daughter who was interested in buying a hand-forged damascus chef knife for her partner.
So, this is the story of that knife 🙂
The plan is simple. First, before I forge the knife, I have to forge the damascus billet I’ll use to make the knife. There are many different patterns of damascus, so for the record, this will be 3-bar turkish twist pattern. Once I have the material all made, then I can start on the actual knives.
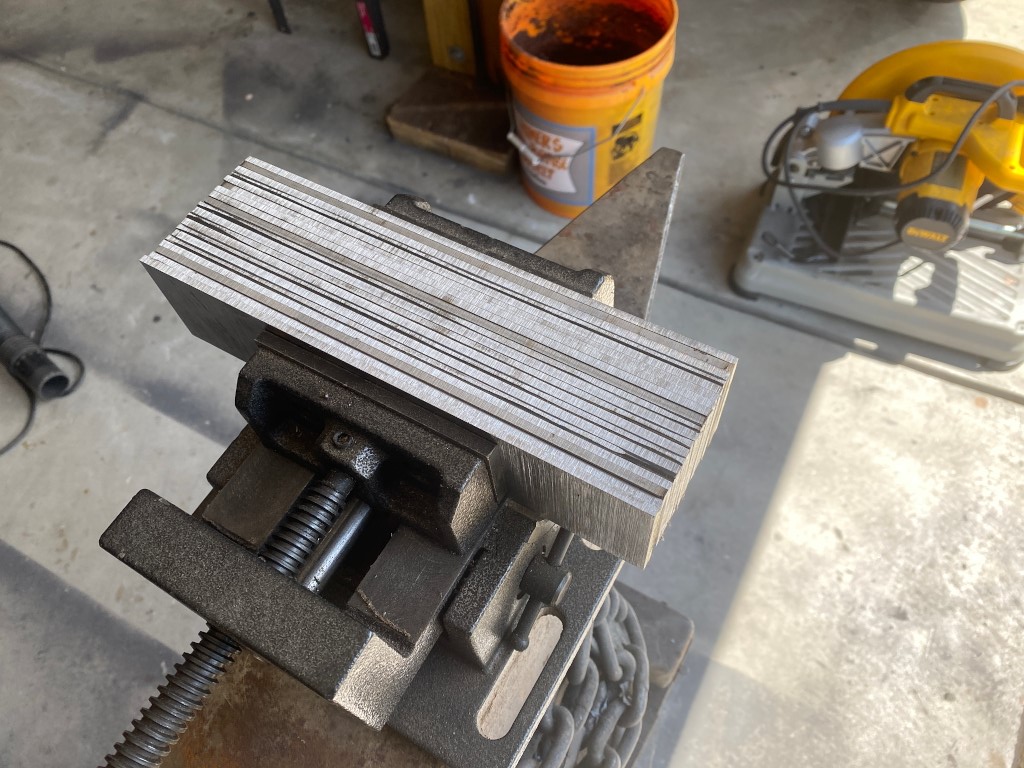
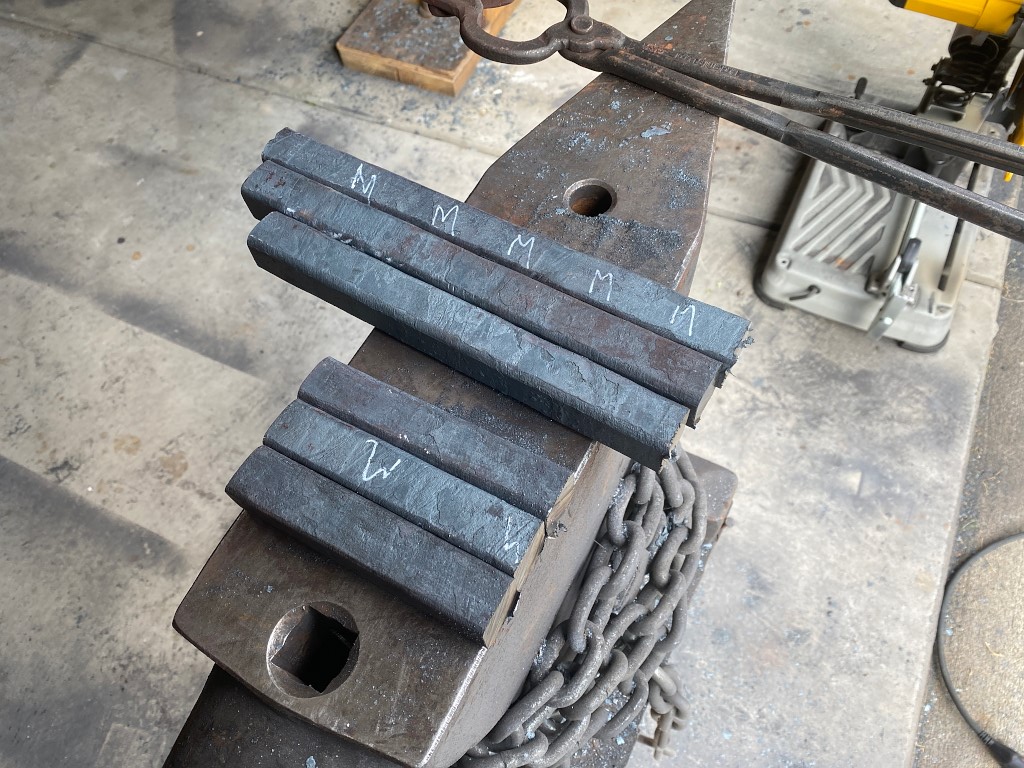
This process is already familiar to some, but I’ll cover it again here. I start out with two stacks of 1/8″ thick flat bars of 1095 and 15n20 steel. Ten pieces each.

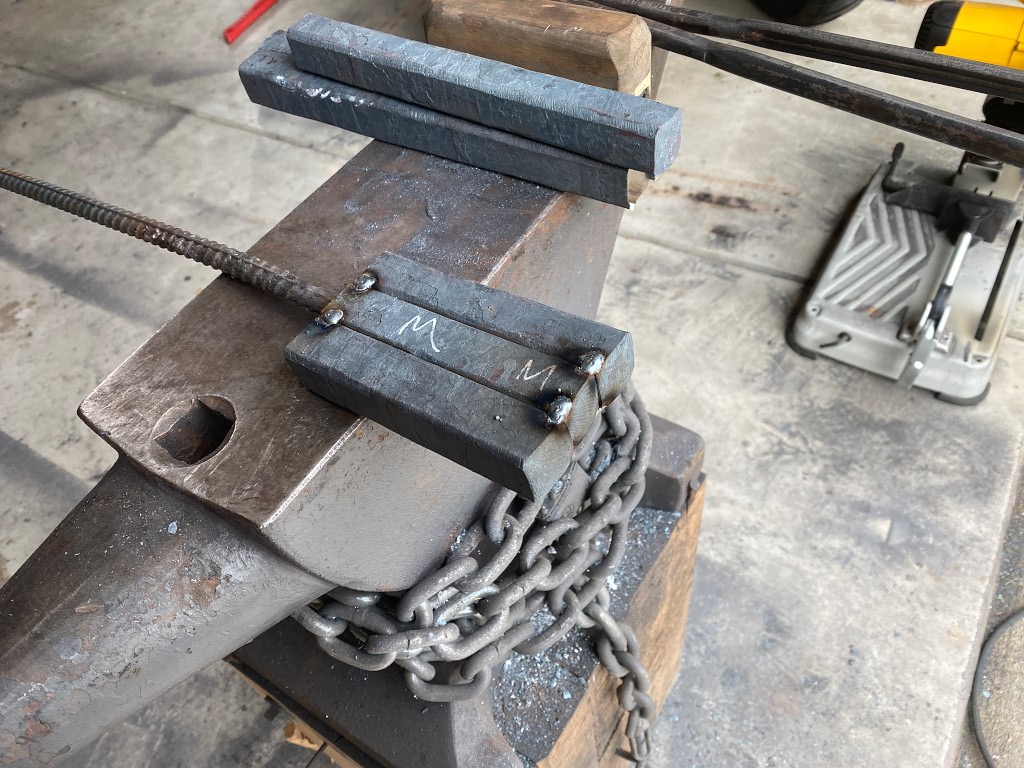
I make them into one stack alternating each layer with 1095 and 15n20, and clamp them in my vise
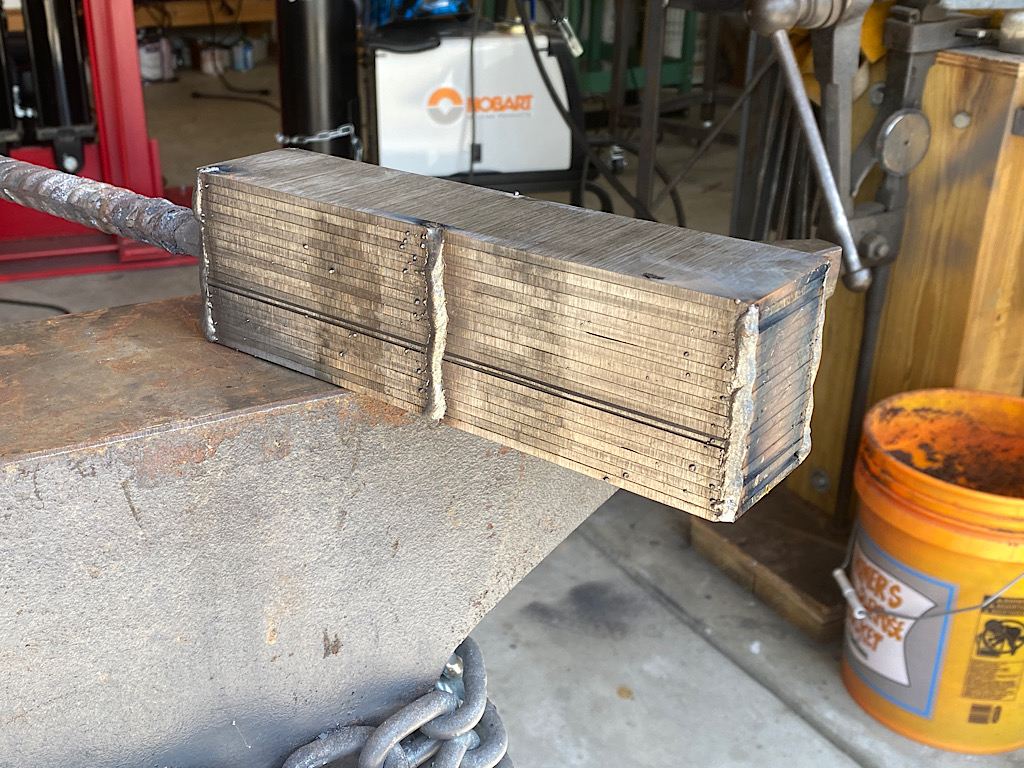
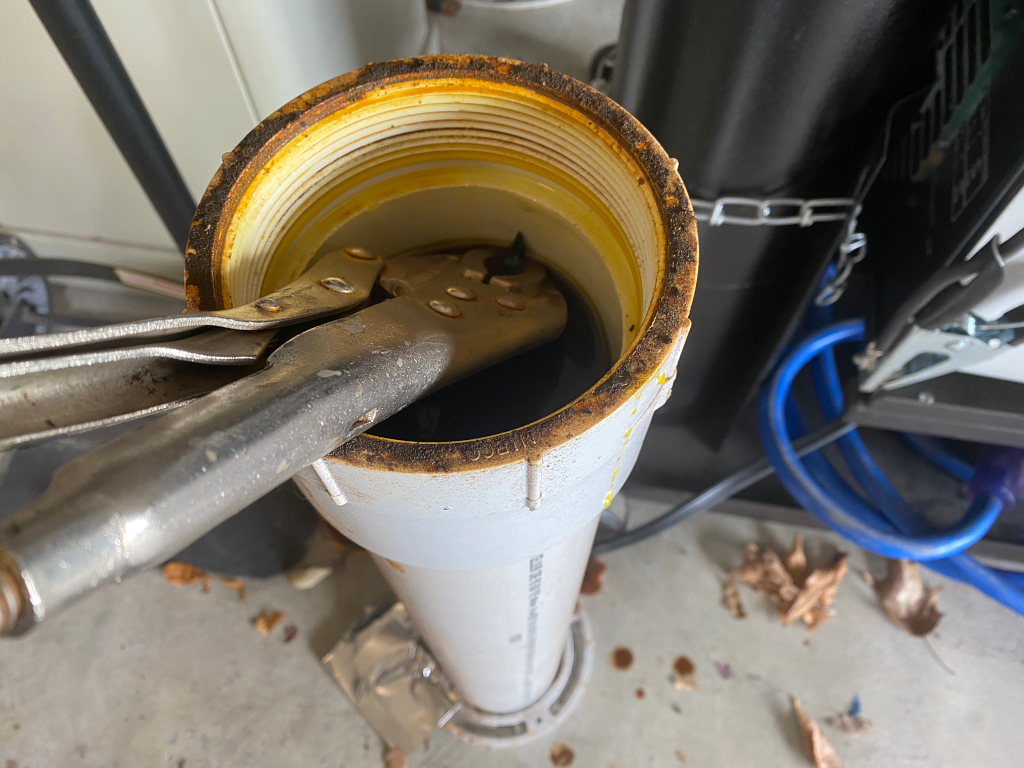
I weld them into a billet with beads on each corner and one up the center, and them weld a piece of rebar to the end to use as a handle.
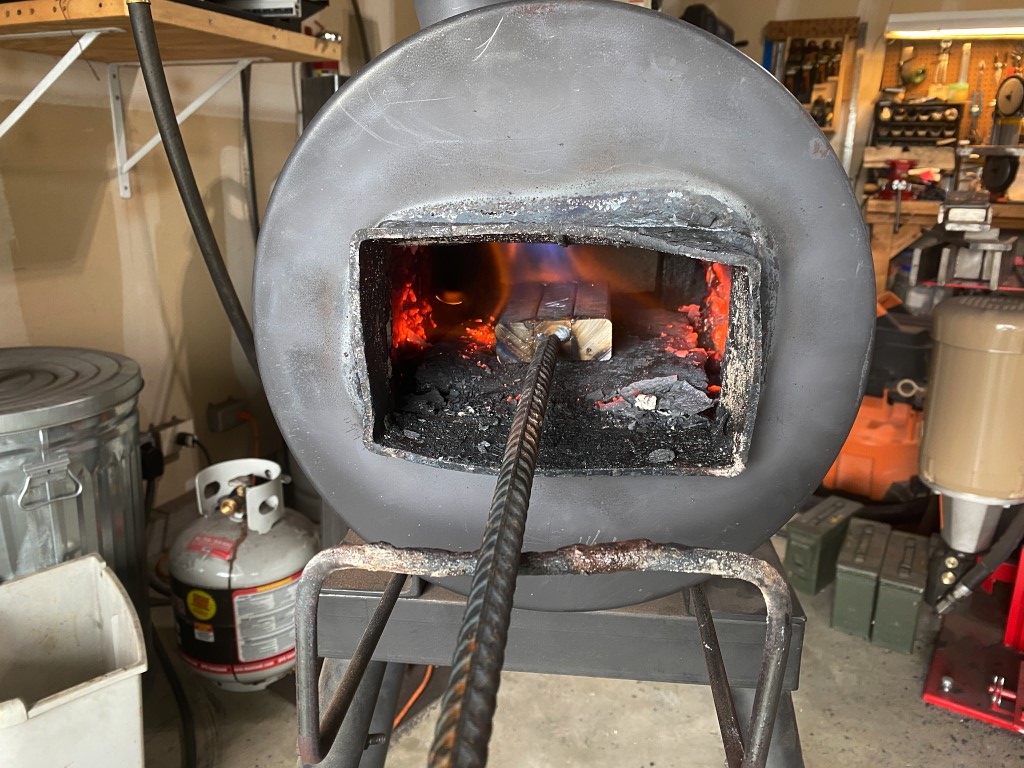
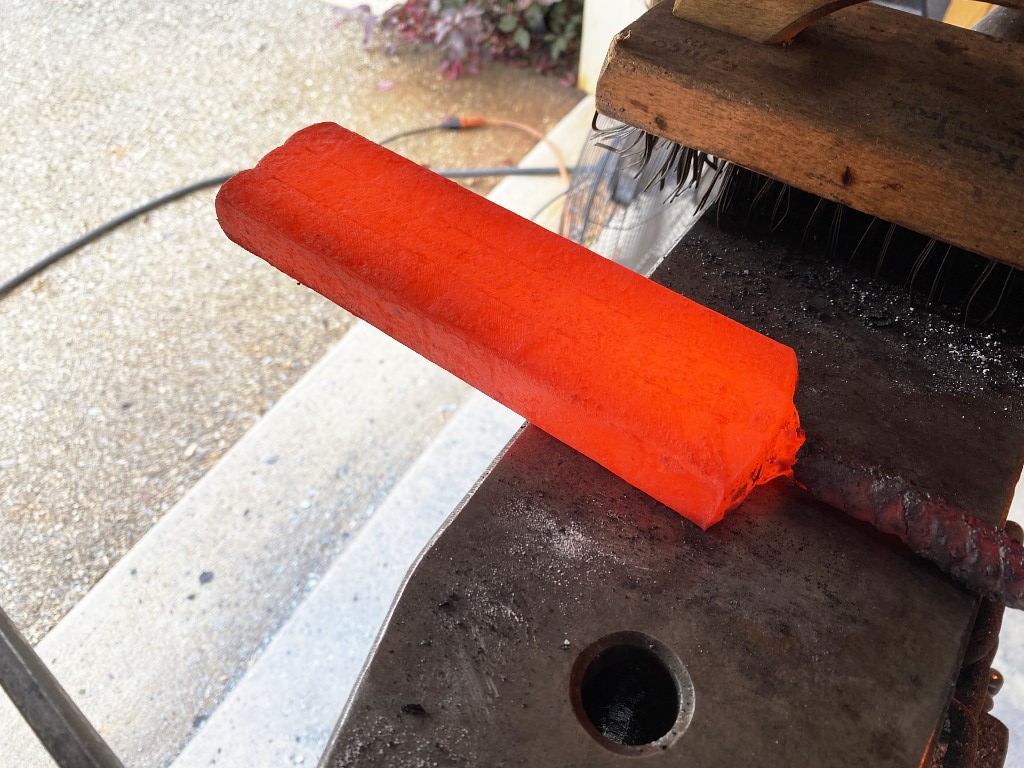
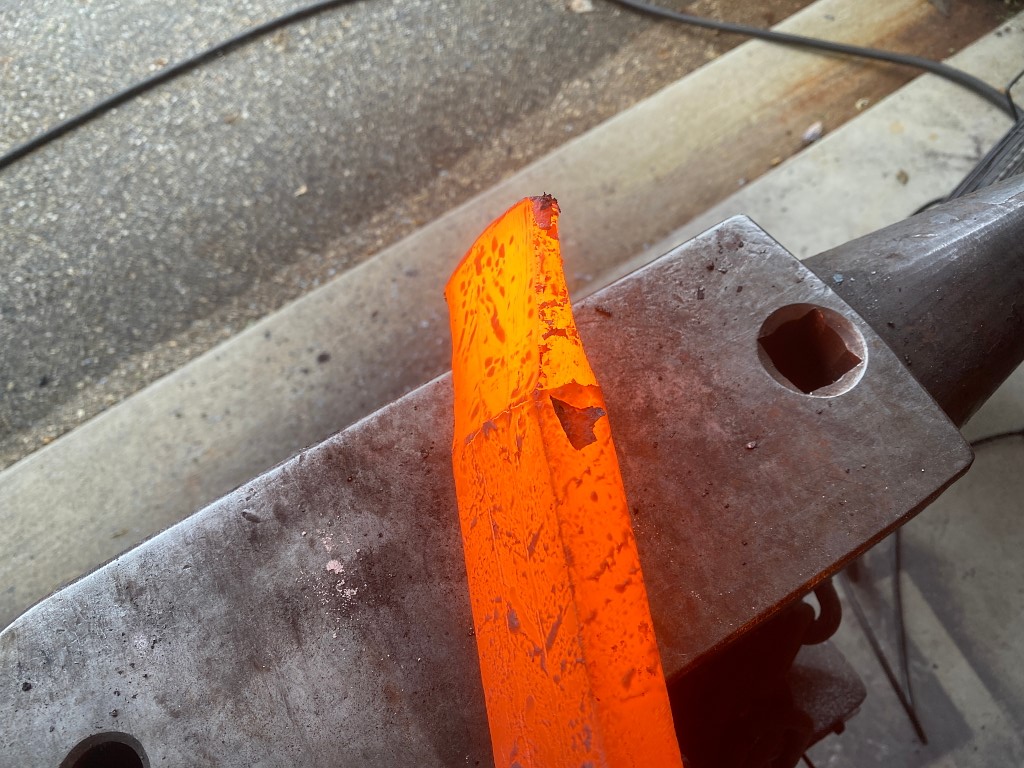
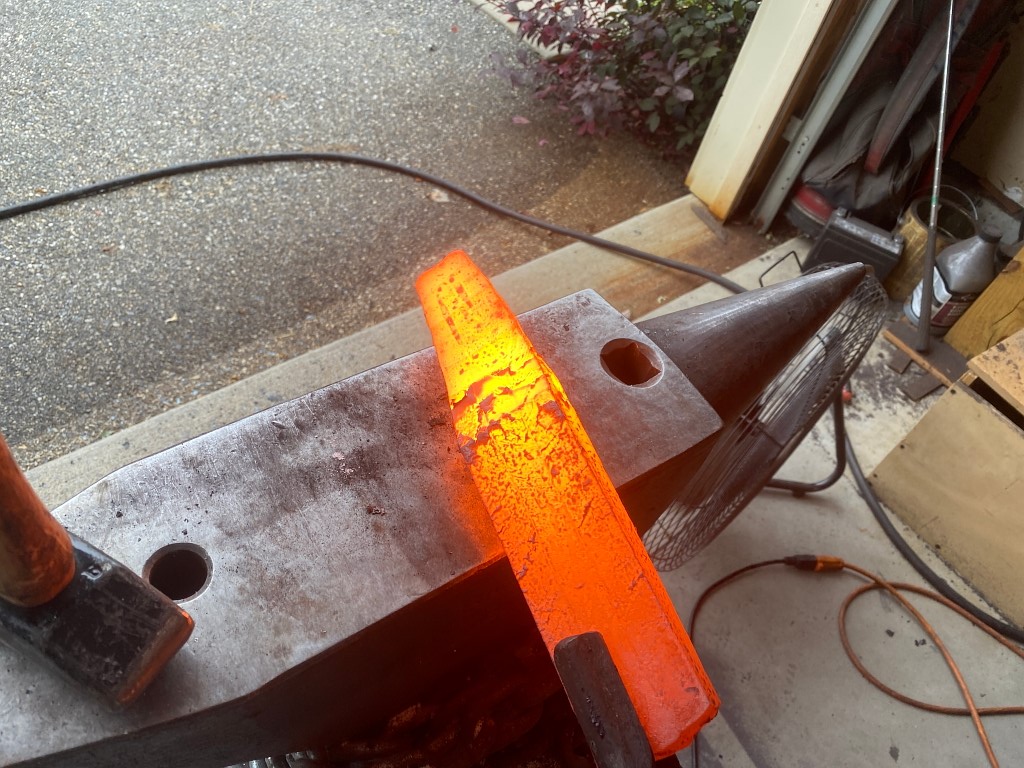
Into the forge and heat till the billet is over 2200 F. all the way through.

Once up to temp, I forge it out in the press and at that temp all the layers fuse together, and I draw it out into a longer bar.
Cutting the bar in half, you can see at the end that they are now completely solid. No longer stacks of different pieces.
I grind one side clean on each bar
and tack-weld those together, and back into the forge and again fuse them into one piece.
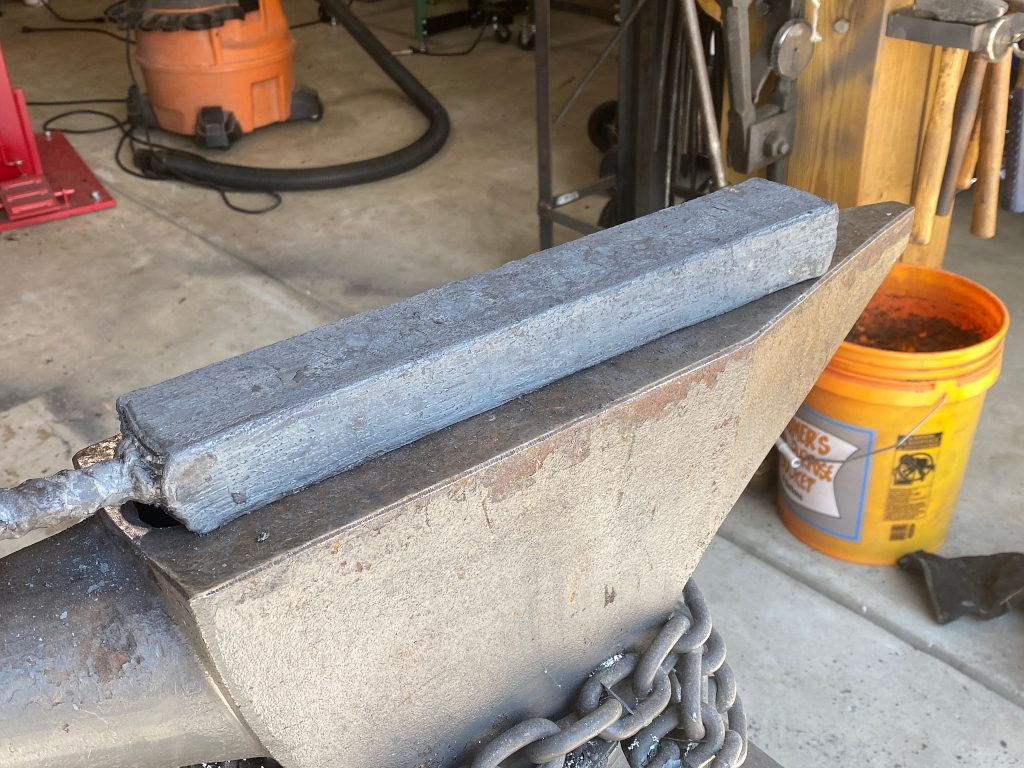
Once all fused, I draw it out into a long, octagonal bar.
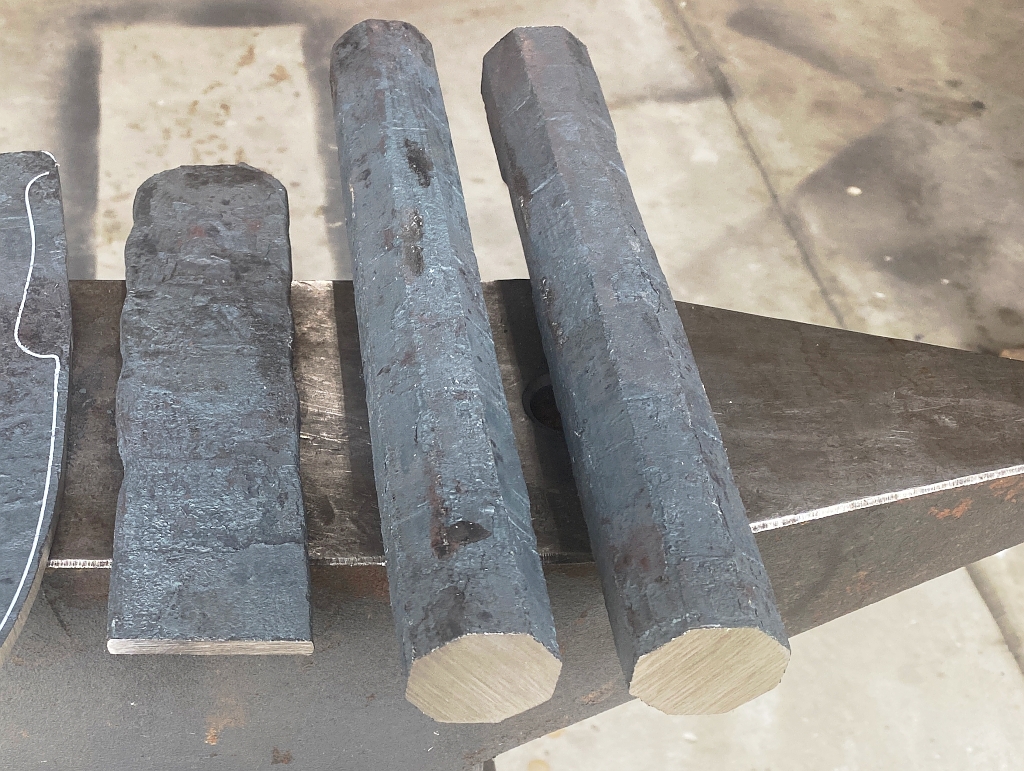
Ignore the flat bar in this photo, that is a different project.
At this point I also started a brand new billet and repeated the entire process up to this point, and cut a 3rd bar equal in thickness length and shape, giving me 3 bars total. Two of them are shown here in this pic, along with some pieces from a different project.
If you were keeping count, you’ll know that each bar contains 40 layers.
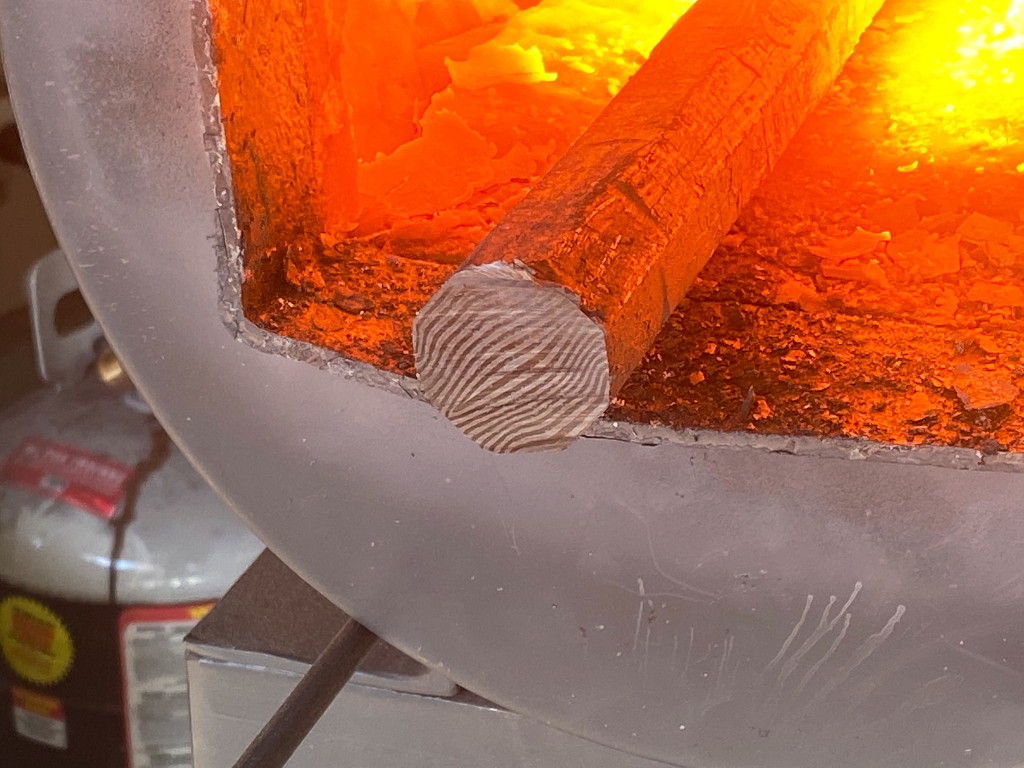
Each bar is put into the forge and heated again. I like this pic because as the bar just begins to heat, the the surface on the end of the bar where it was clean cut starts to oxidize. since the two steel types oxidize at different rates, the layers become visible briefly. This shows that even though the layers are fully fused together, they are still distinct from each other. This fact is what makes damascus so cool 🙂
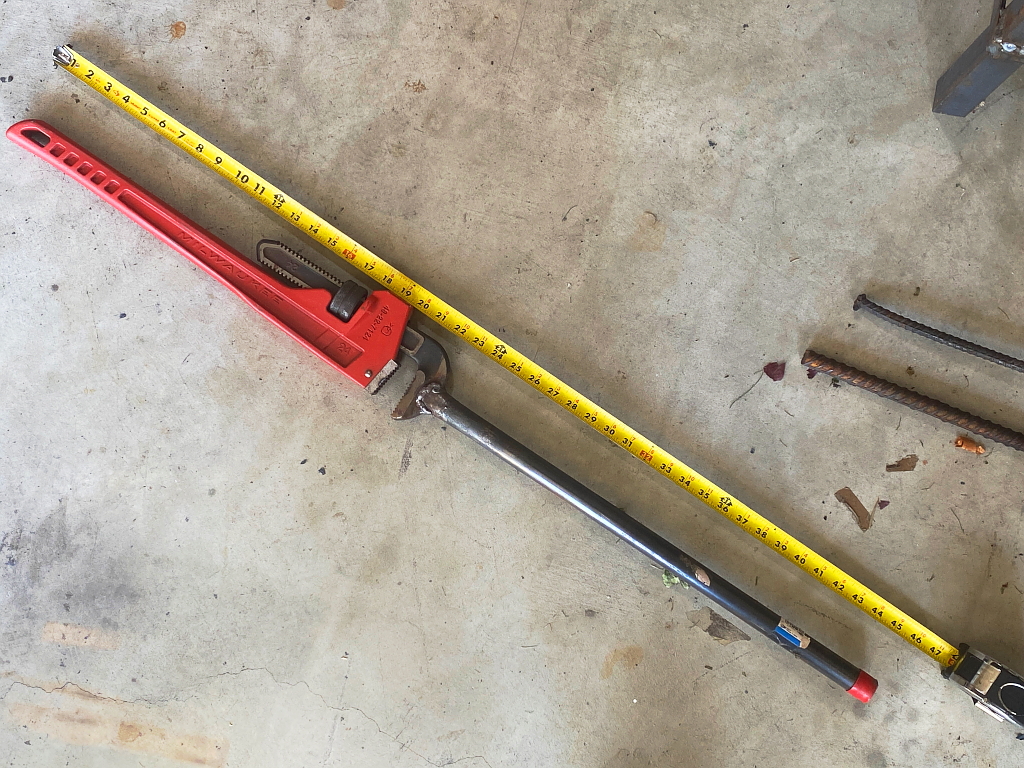
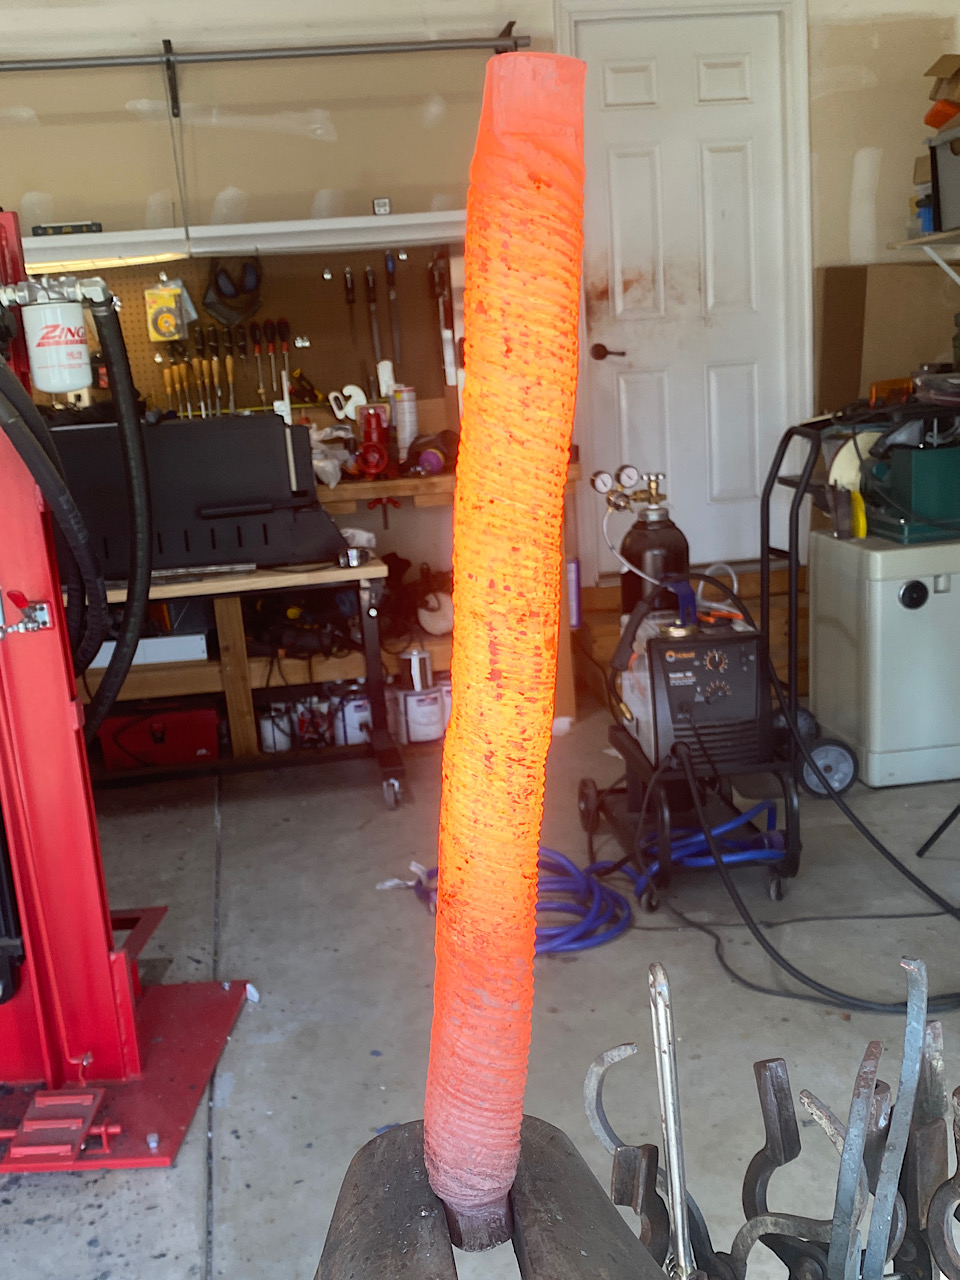
Once up to temp, I use this gigantic twisting wrench I made by welding a length of steel pipe onto the head of a pipe wrench. This allows me to generate enough torque to twist the bars up. Even super-hot and with a giant wrench it takes a significant amount of effort to twist the steel
All twisted up 🙂
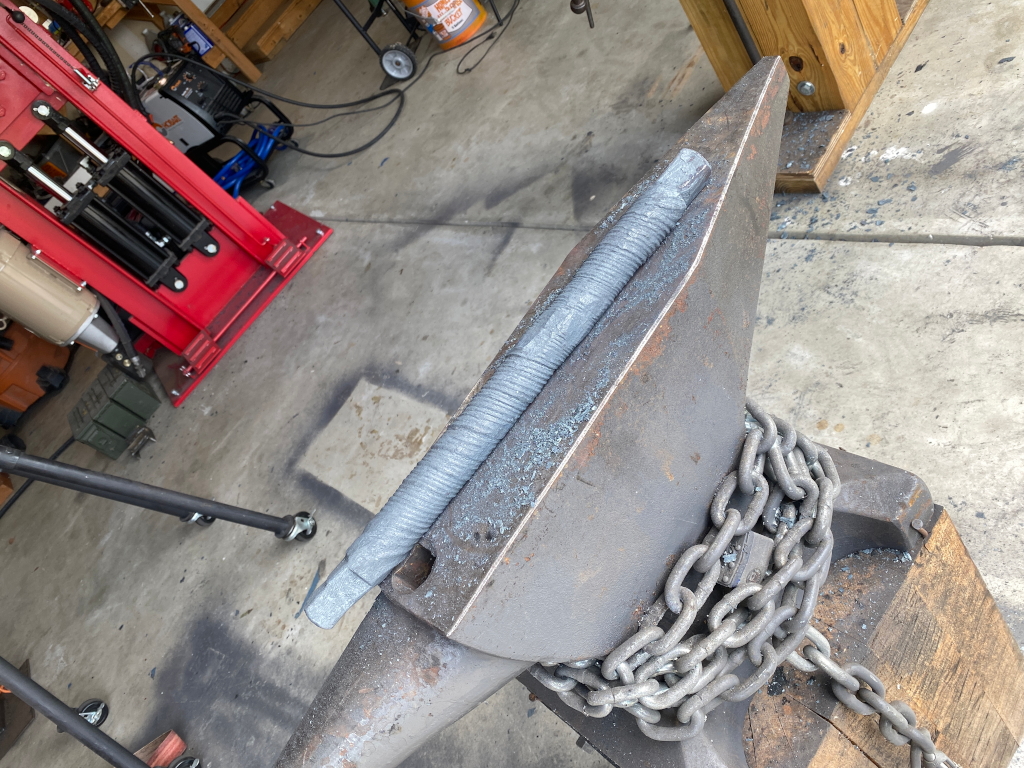
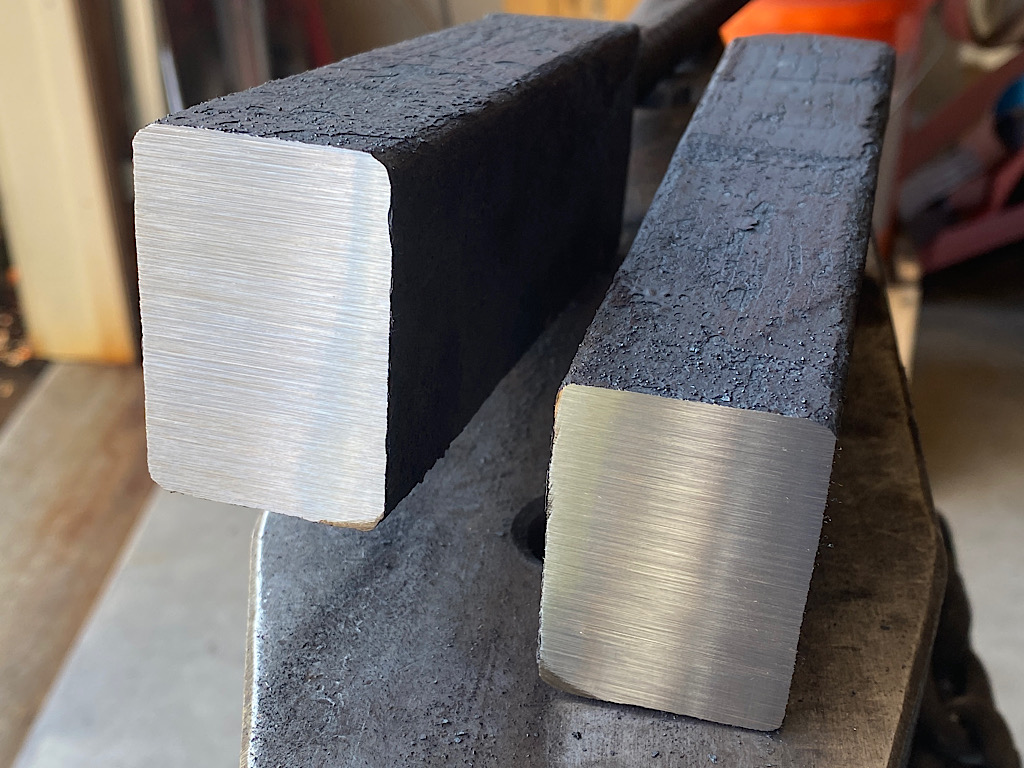
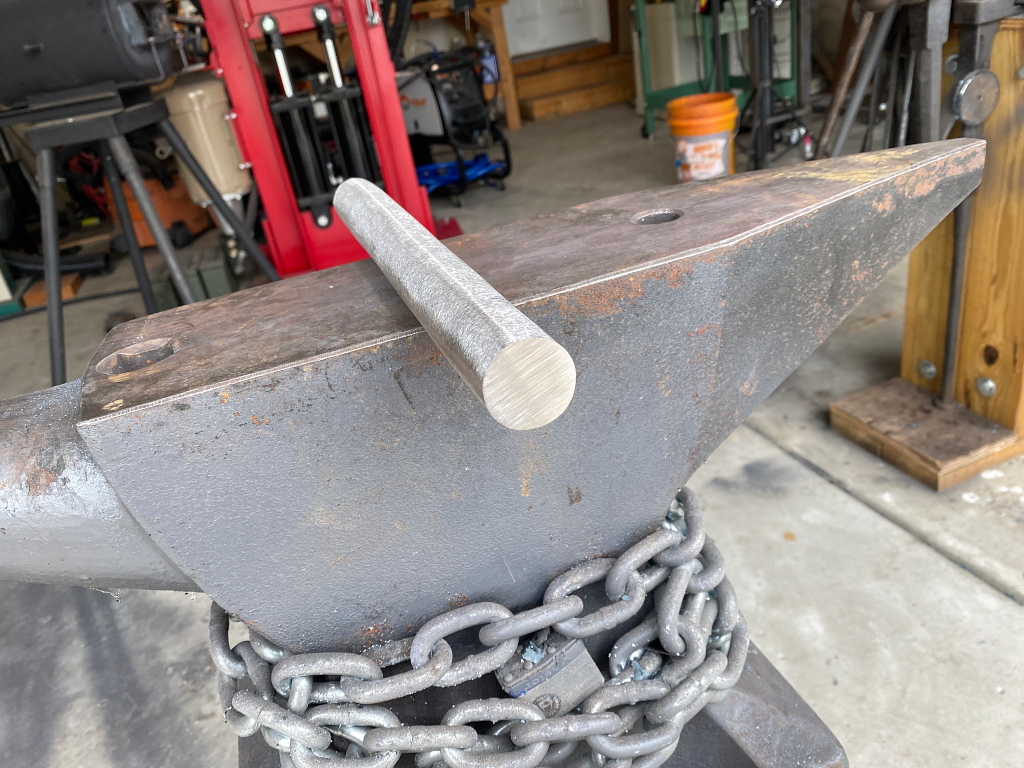
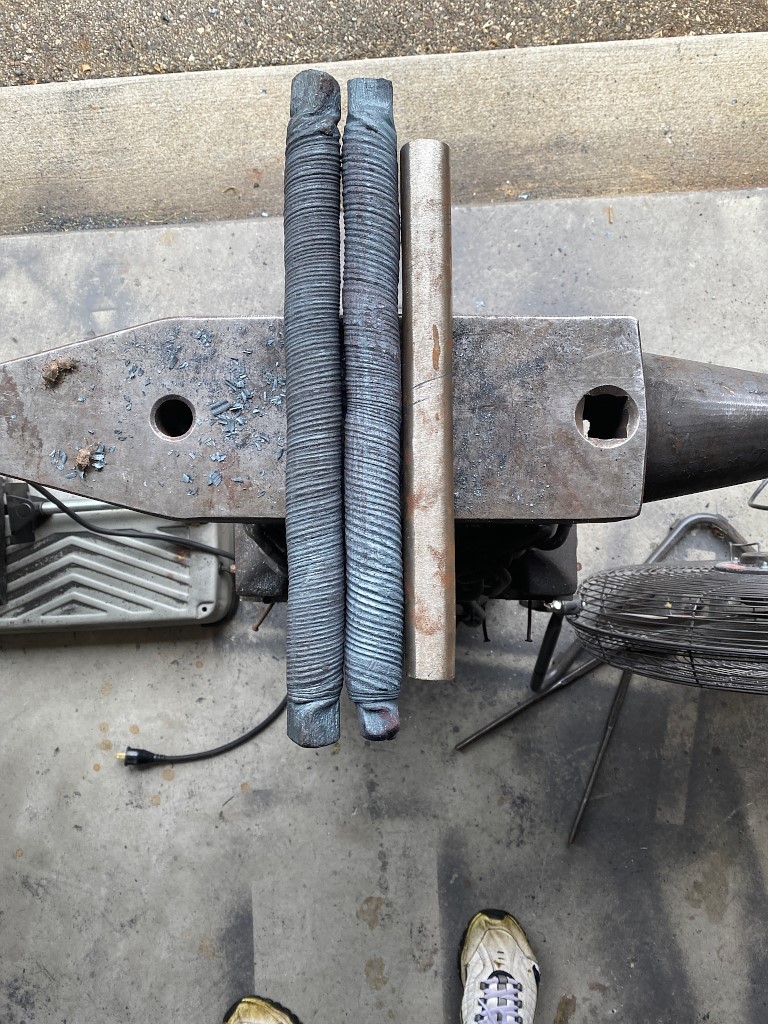
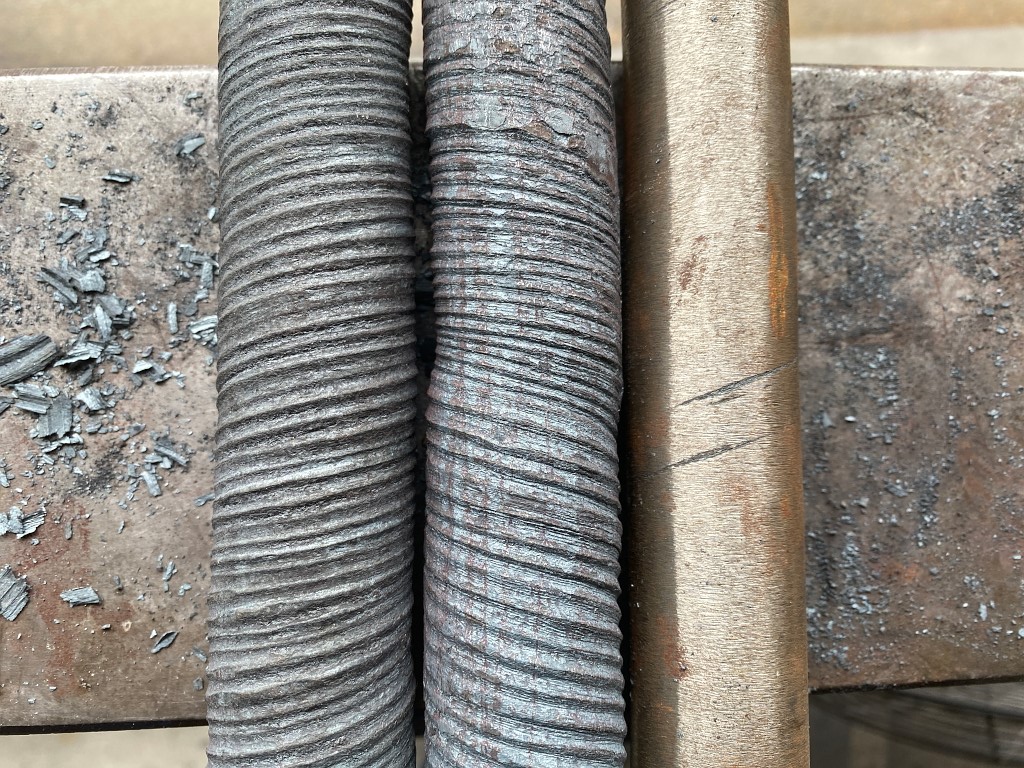
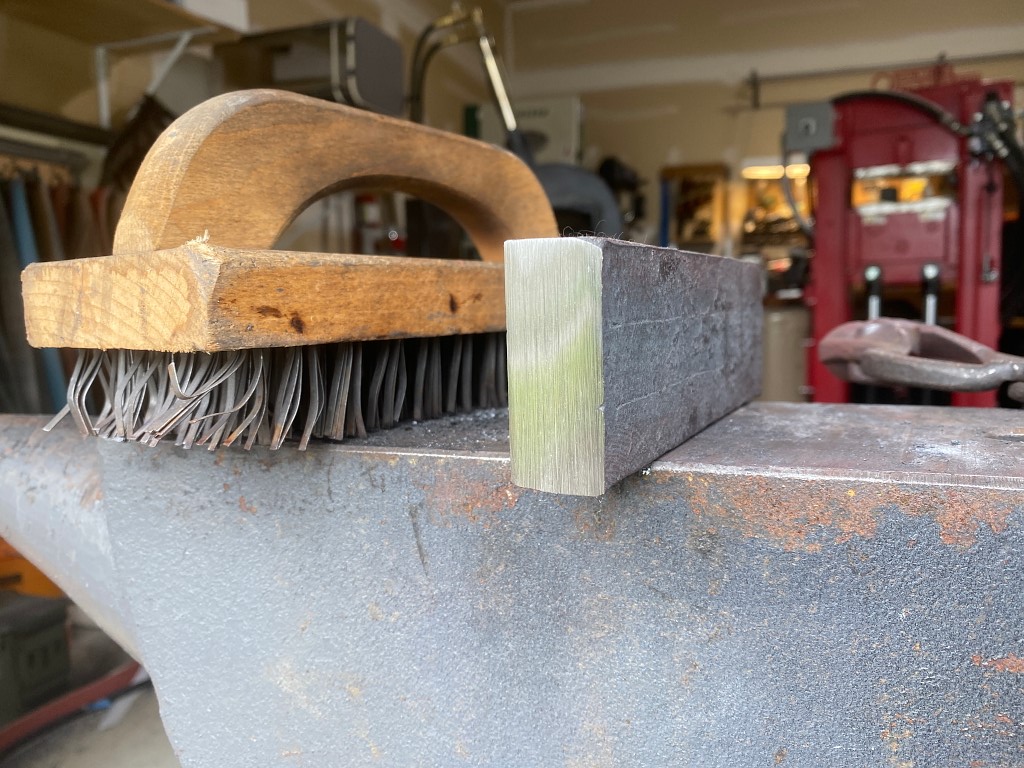
Once fully cool, I cut off the ends (because the steel there isnt twisted), and then grind all the scale and ridges off so I’m left with a clean, round bar of 40-layer twisted damascus
doing the same thing two more times
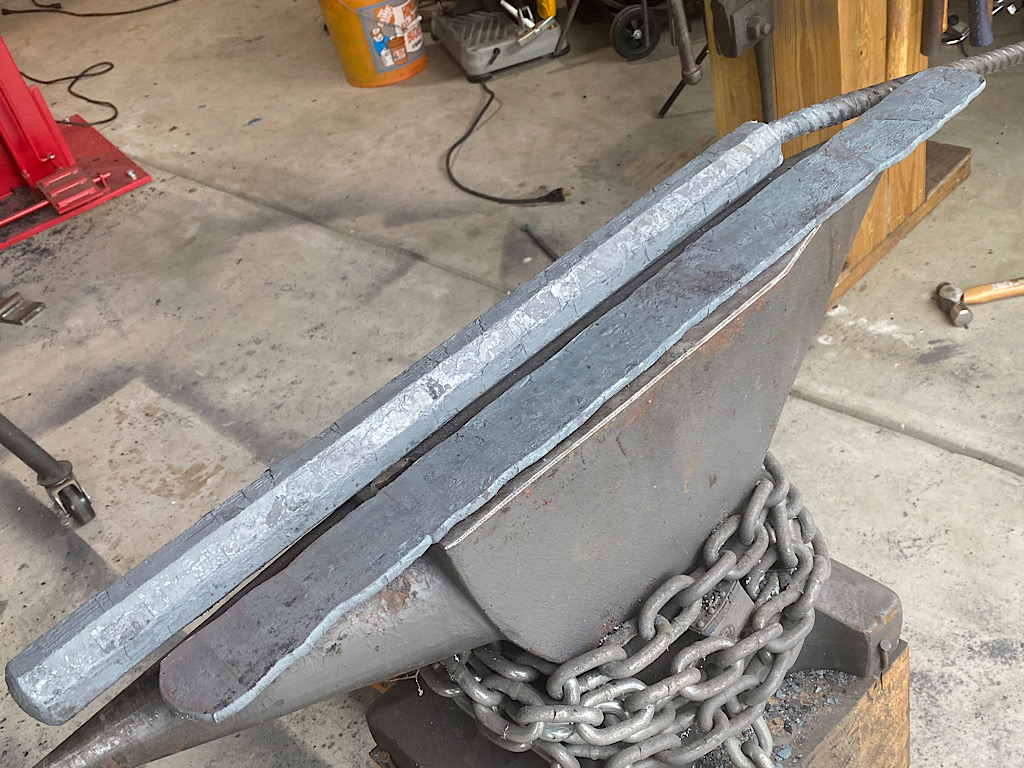
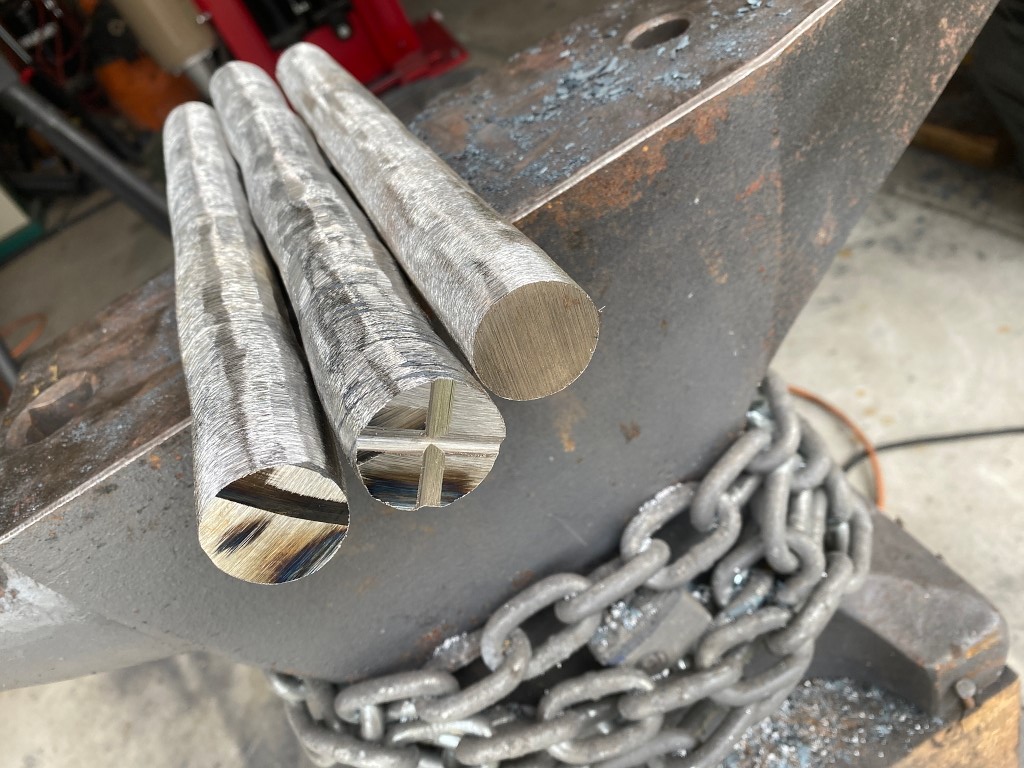
The middle bar is intentionally twisted the opposite direction, to give contrast between the sections in the finished product.
The two outside bars are twisted counter-clockwise. The middle bar is clockwise. I grind an X on the end of the middle bar to that once I have them ground clean and smooth I know which one goes in the middle
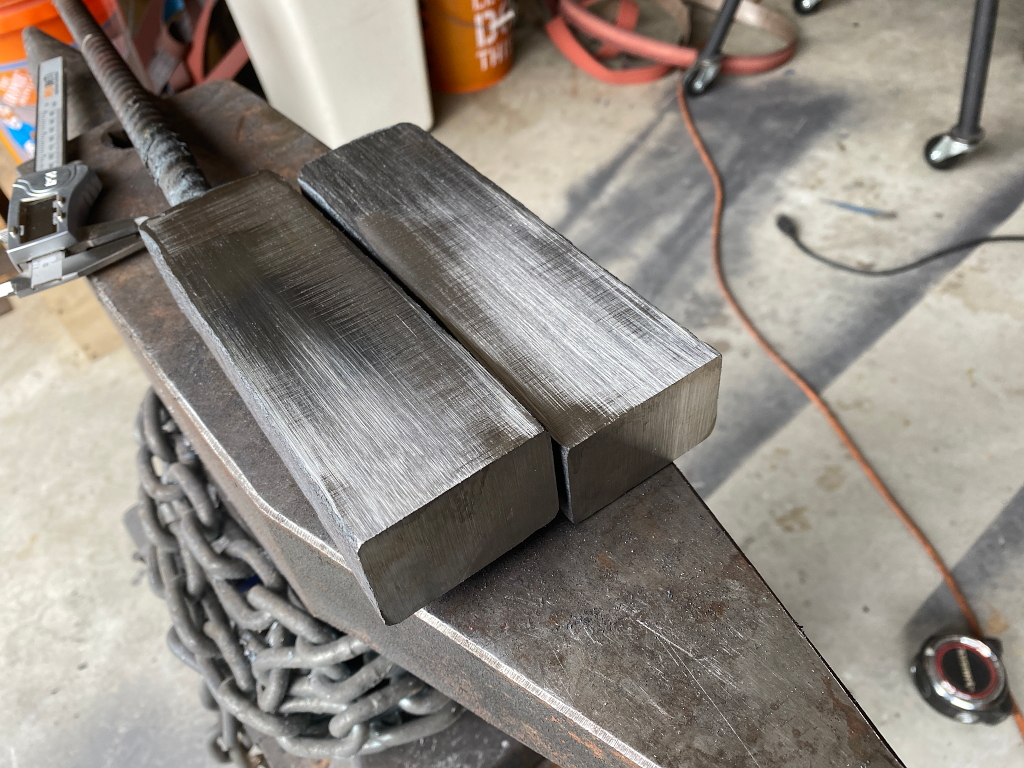
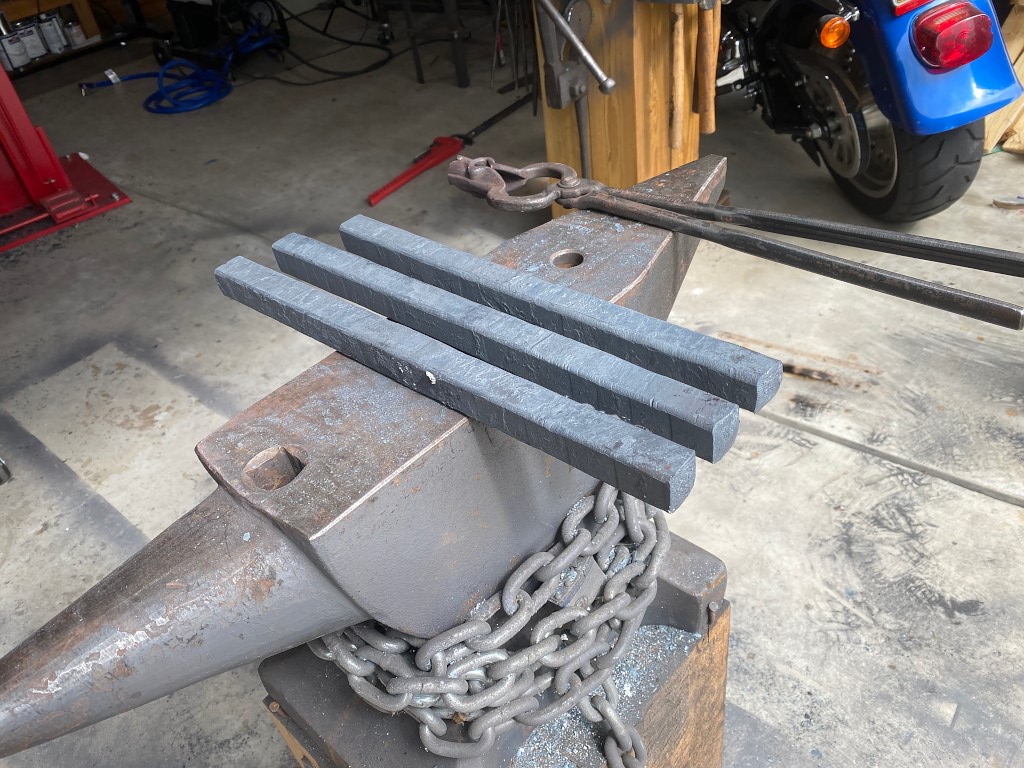
reforge the bars back into a square shape
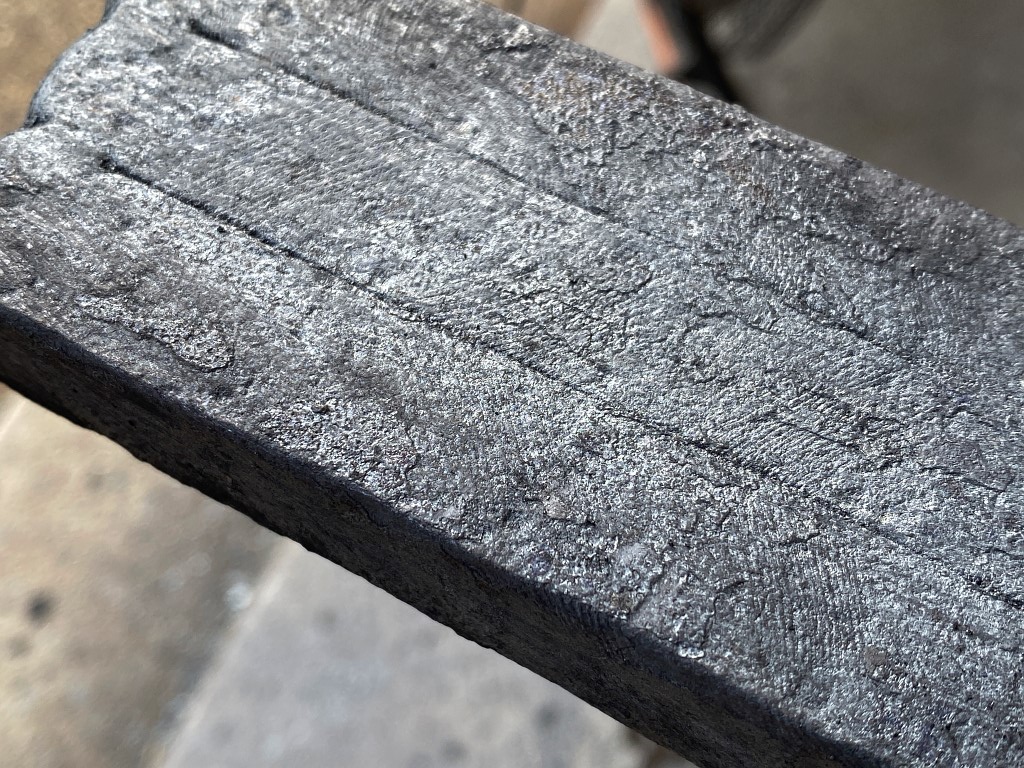
You can see the layers on the end of the bar because of the different rates the metals oxidize
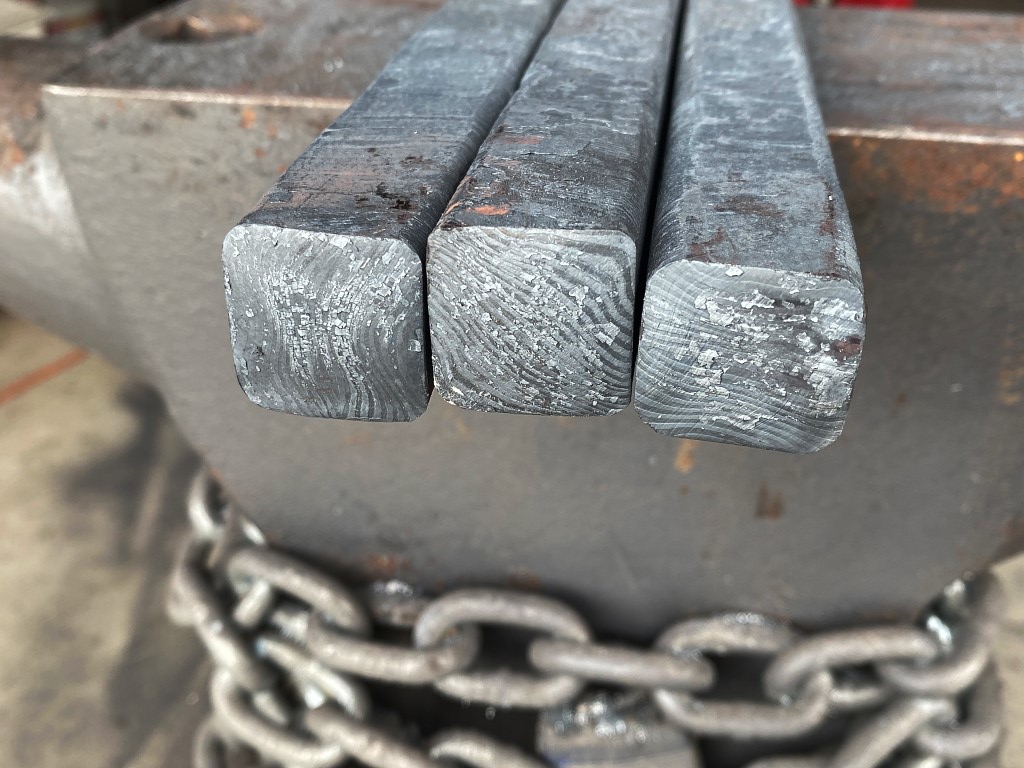
cutting off a piece from each bar to forge-weld together after grinding the joining faces flat and free of scale.
Heres a video of forge-welding these 3 bars together. This press can squash it flat in a second, but you’ll notice I compress it by very small amounts at a time. This is because when forge-welding separate pieces together, the initial work has to be gentle or you’ll just sheer the pieces right apart again. After a few lite passes it can be squeezed a lot more aggressively.
You’ll notice at some points other blocks of steel are put in the press first. These cold blocks cant be compressed. they are called “kiss blocks” and they help to make press billets to uniform thicknesses much more easily than doing it by eye
you can still see the lines on the sides where the bars were joined, but grinding off the end shows that they are now one solid block of steel.
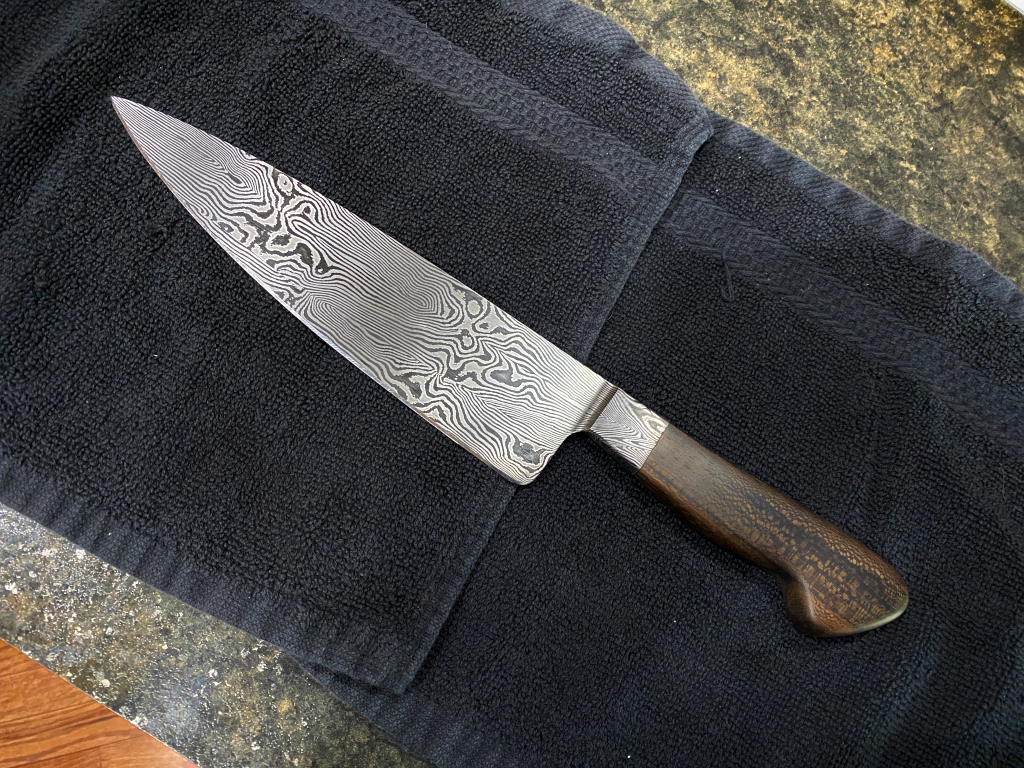
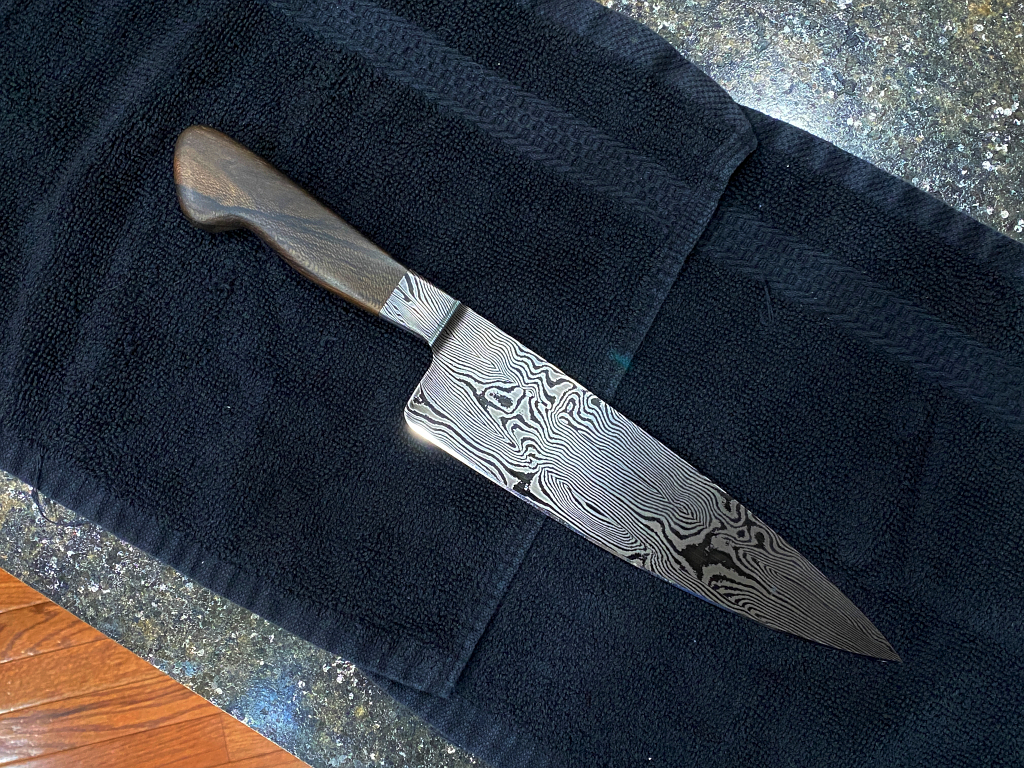
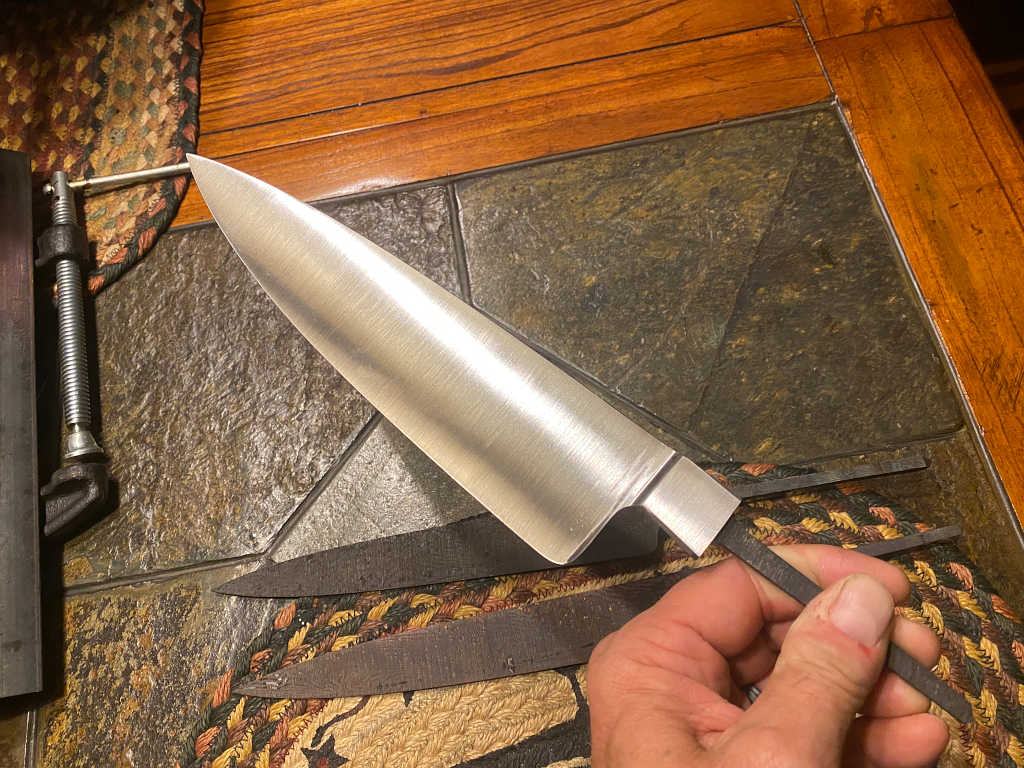
Up to this point I was forging a block of damascus that will be used to forge all the knives in this project. At this point in the blog I’ll focus on the first knife which is an 8″ chef for my friend Mike. Well, more specifically its for its for his daughter Mikaela who I believe in turn plans to give the knife as a gift to her friend.
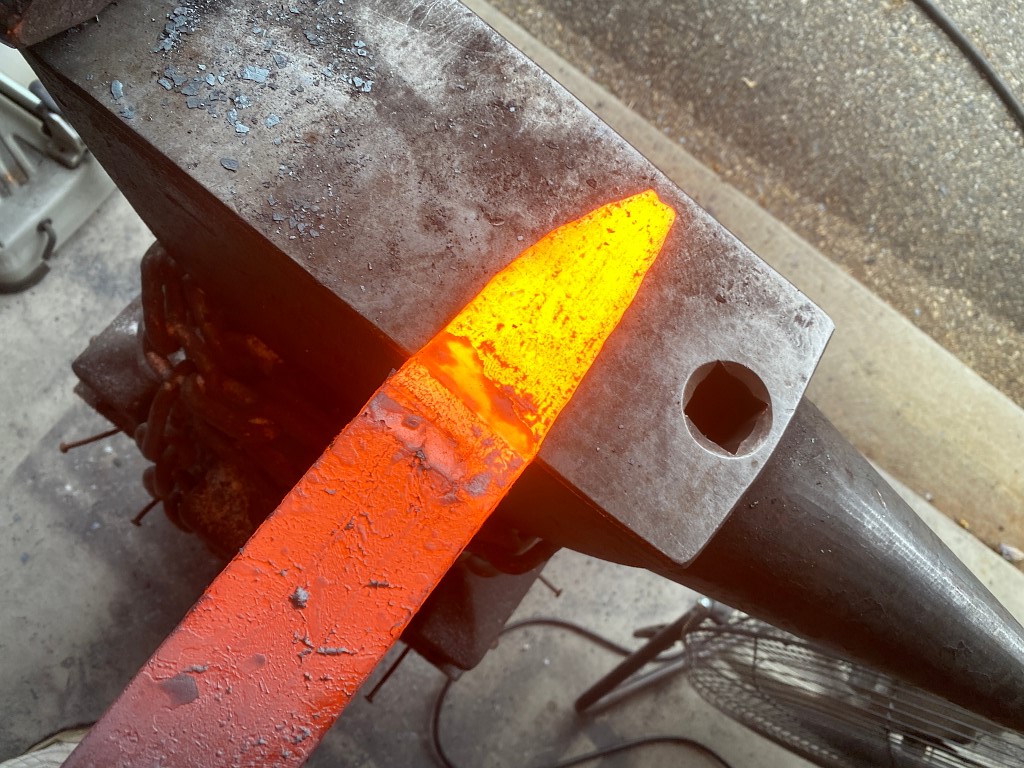
Starting to shape the block into the first blade
After pinching the end of the bar in the press, I start to shape the blade using more traditional tools. Hammer and anvil.
This video is shaping a second blade from that same block, which was large enough for several chef knives. Its not the knife in this blog but is the same day and the same exact process I used to shape the knife
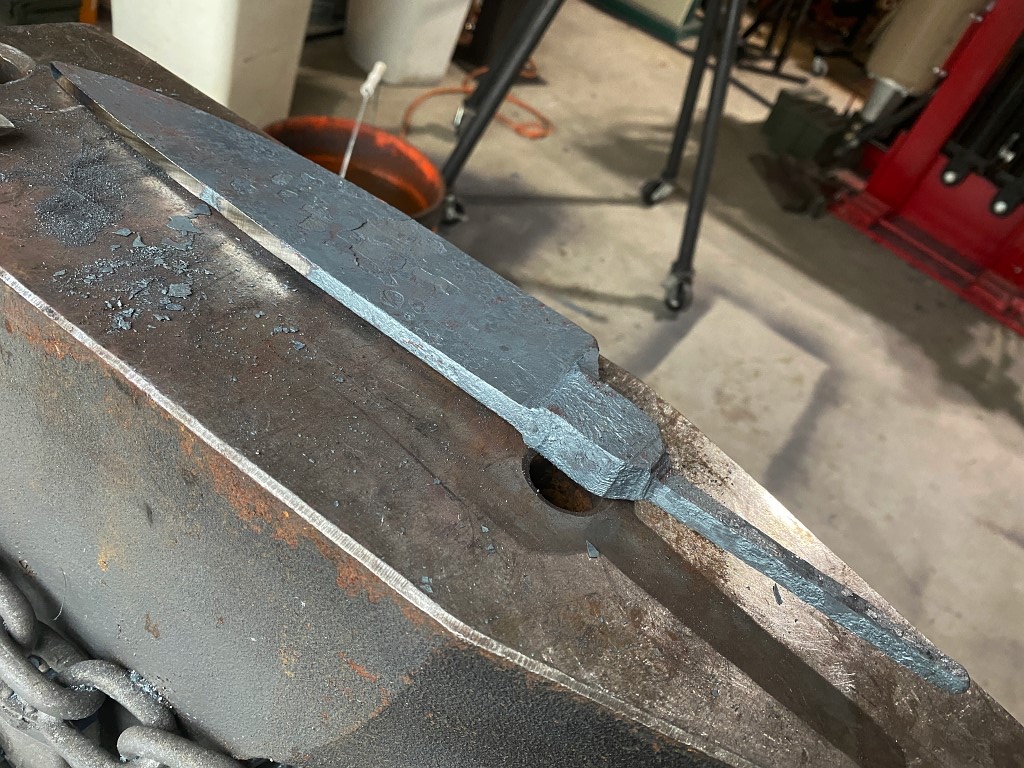
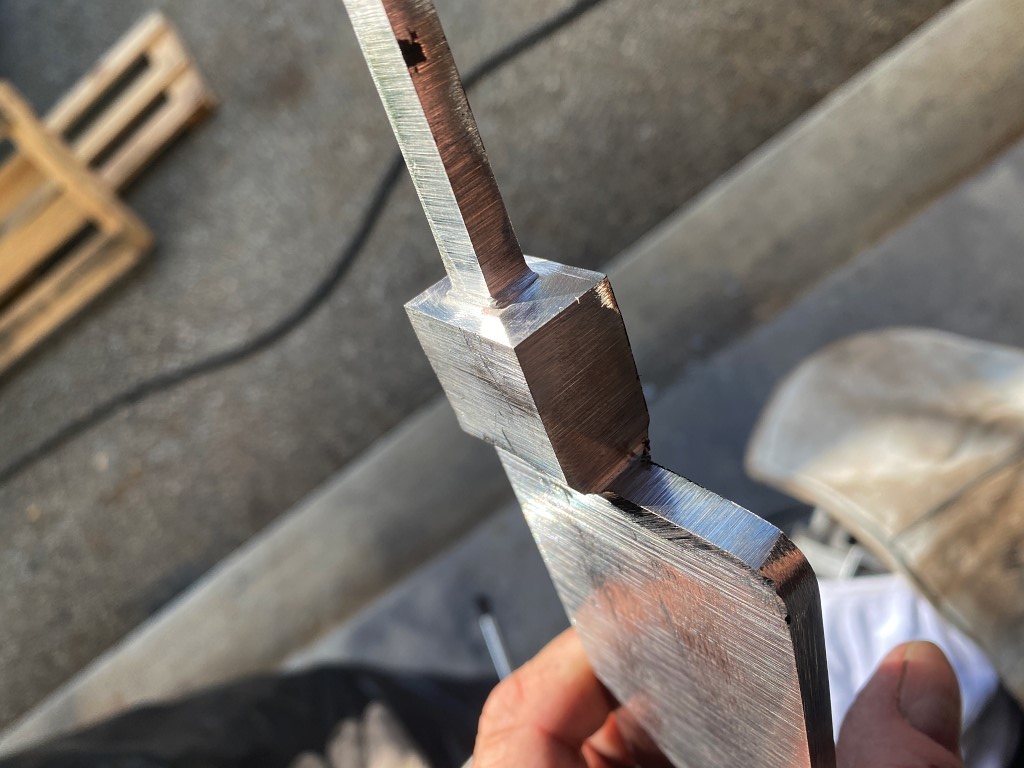
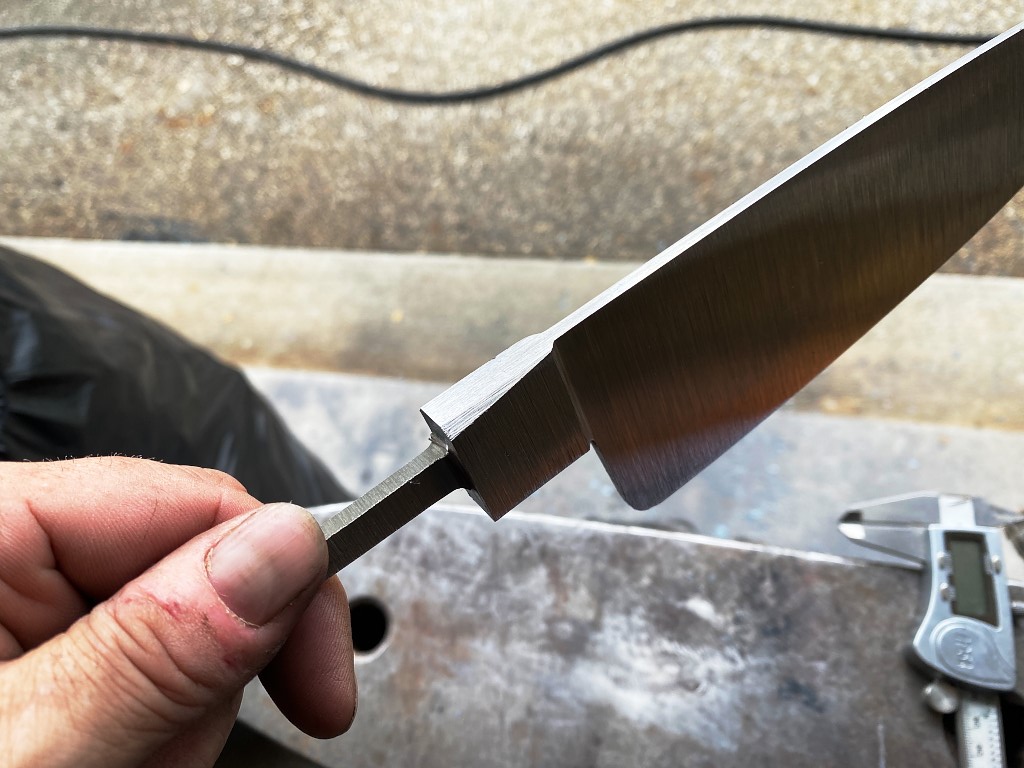
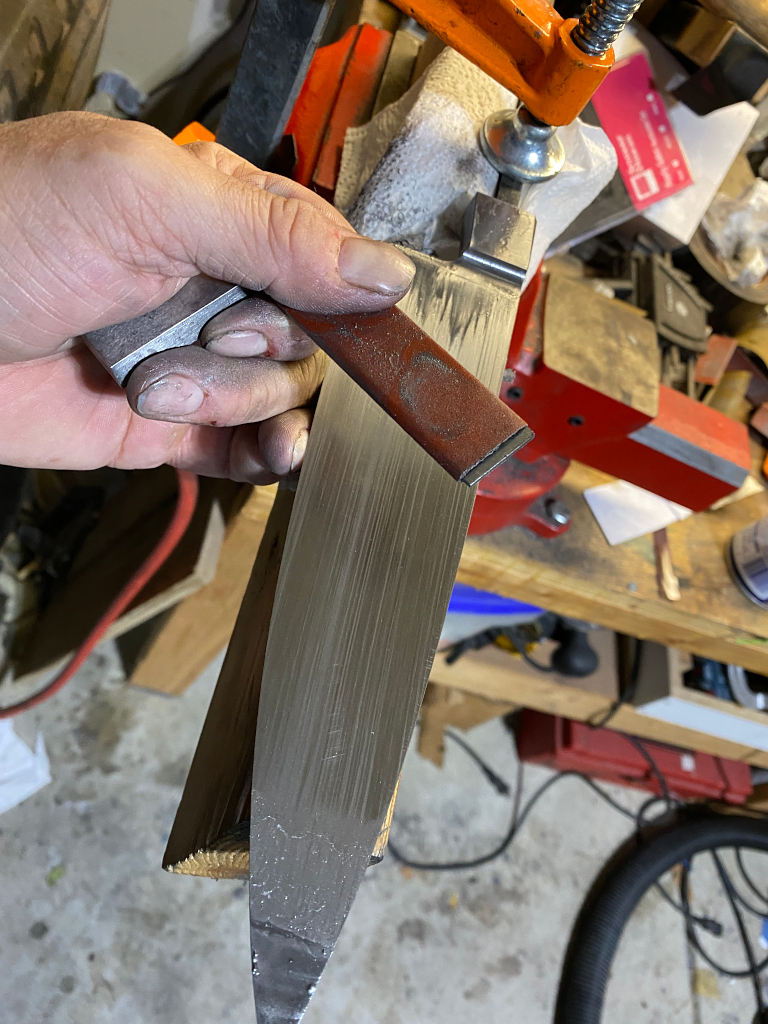
At this point I cut the blade off the larger block so I could forge the tang out from the back end
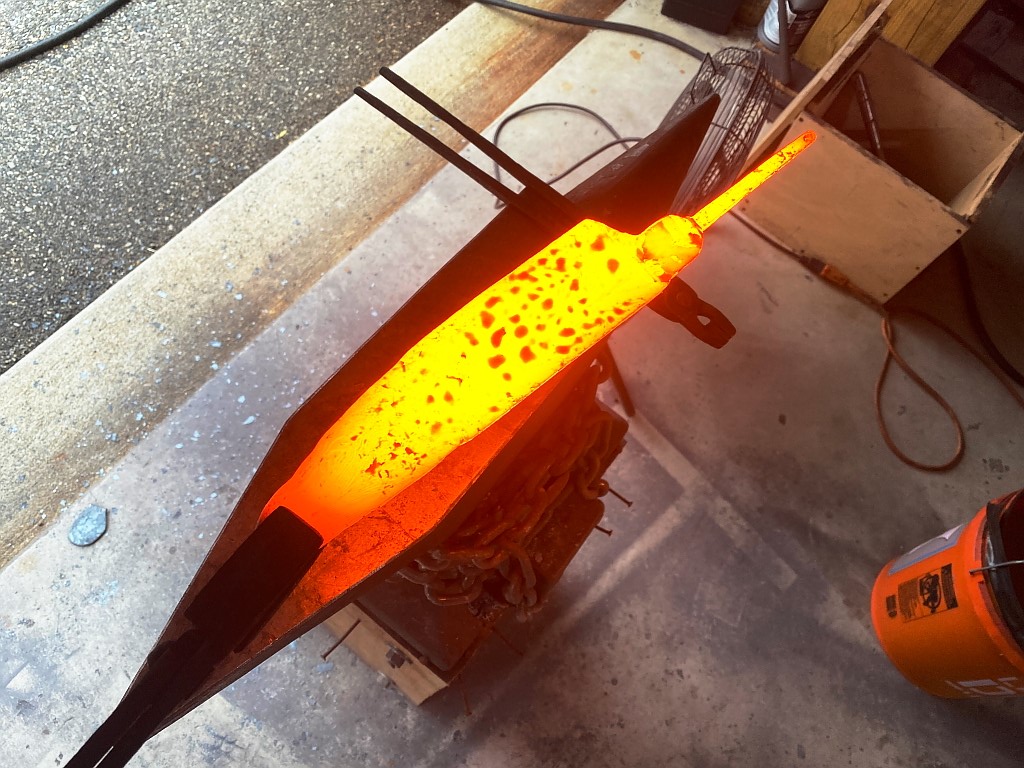
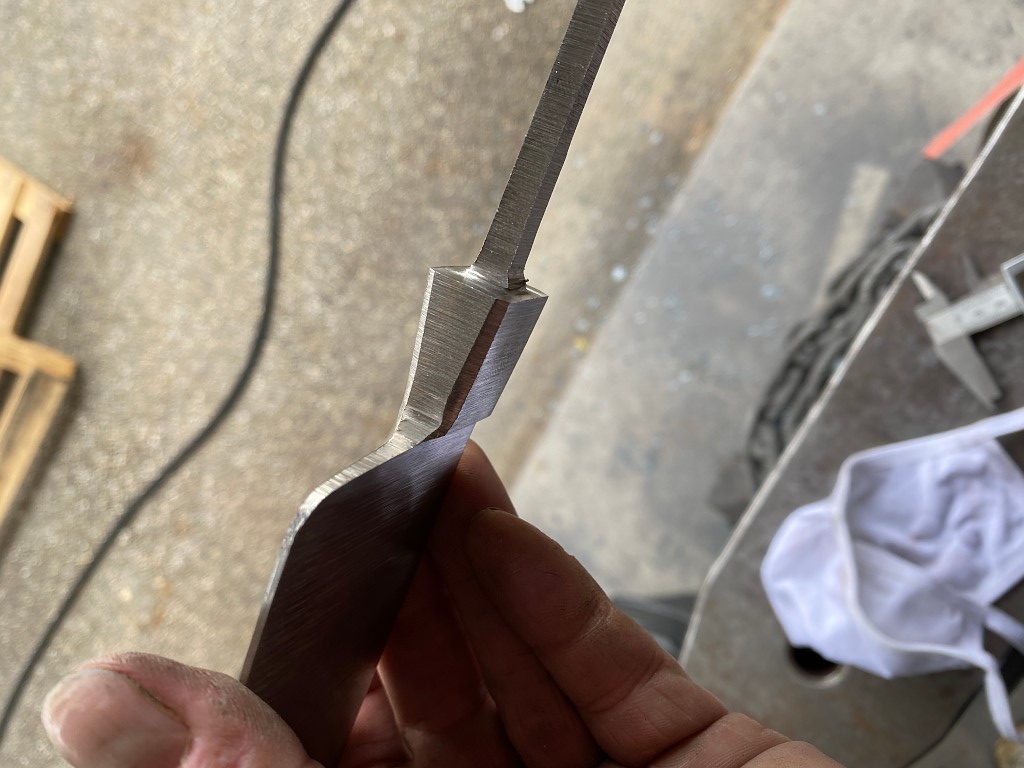
Cooled off on my anvil it doesnt look like much yet. Its oversized and covered in a thick layer for forge scale
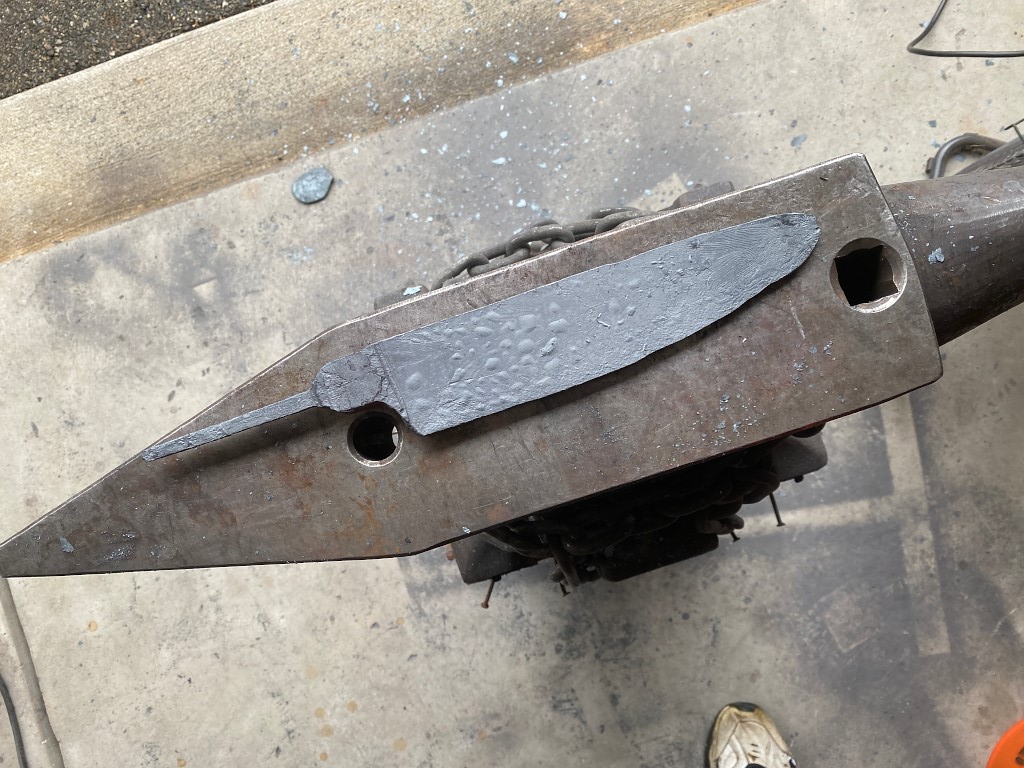
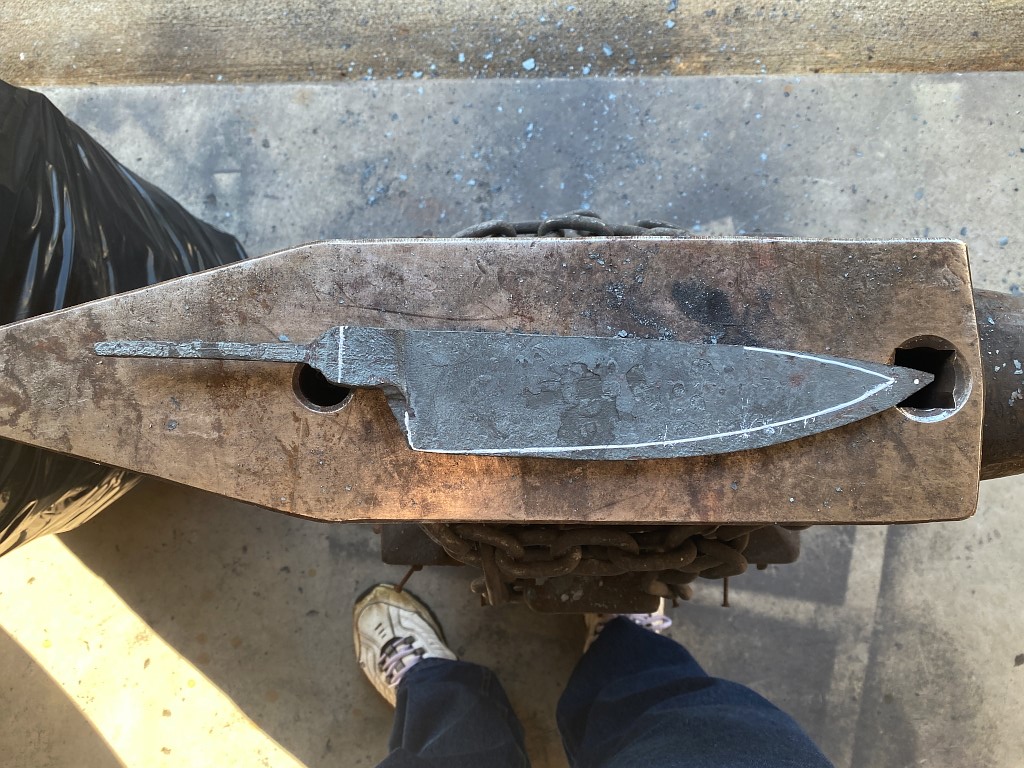
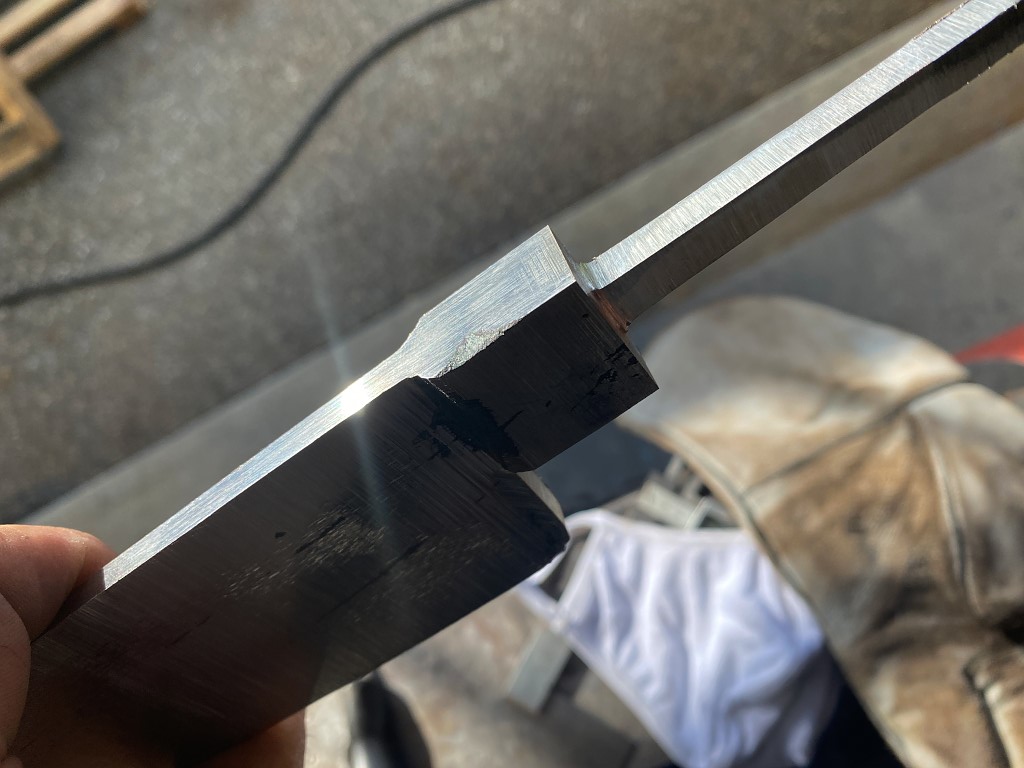
Initially forged a bit long, I draw the shape I want on it so I can grind it down to size.
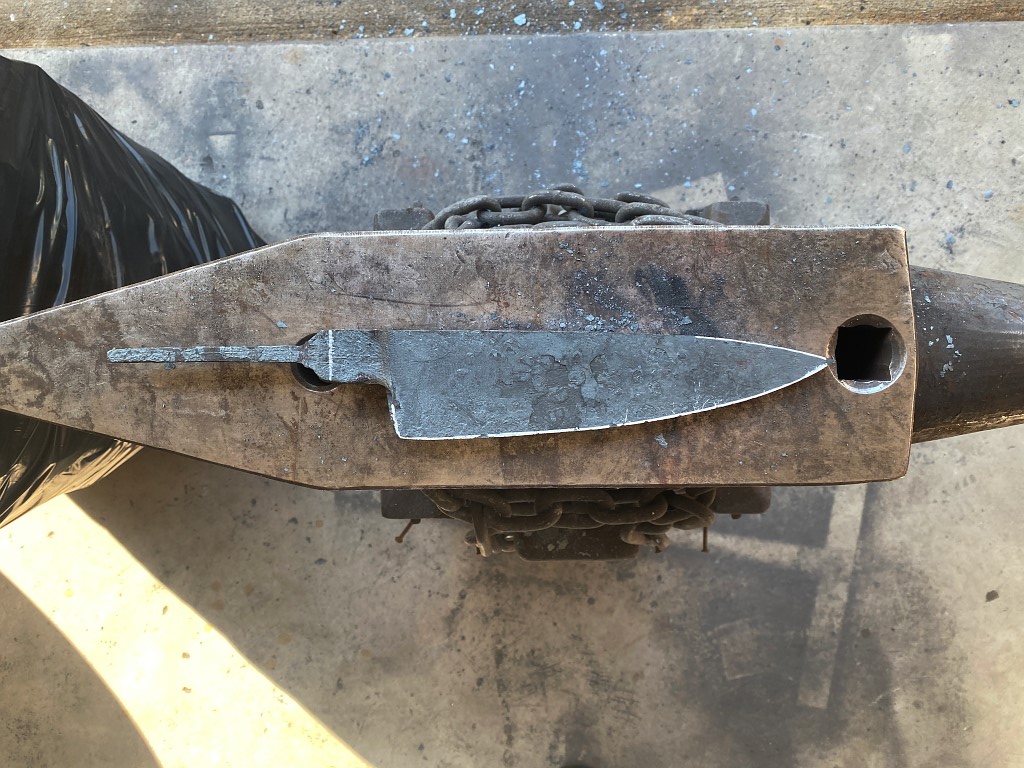
better
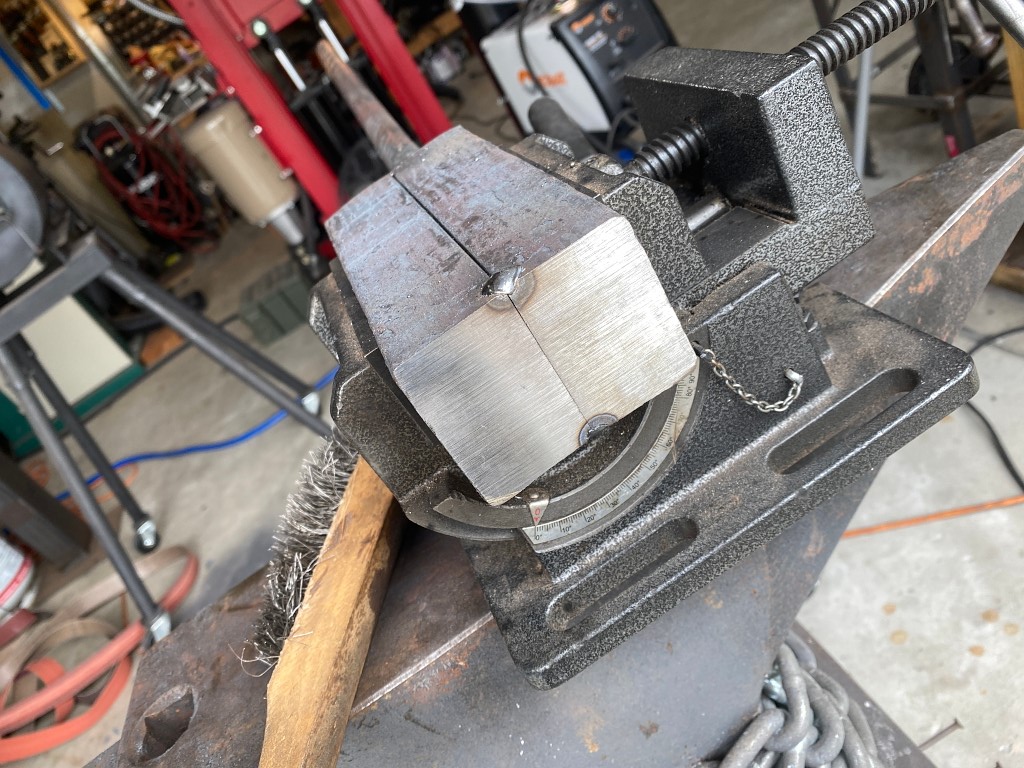
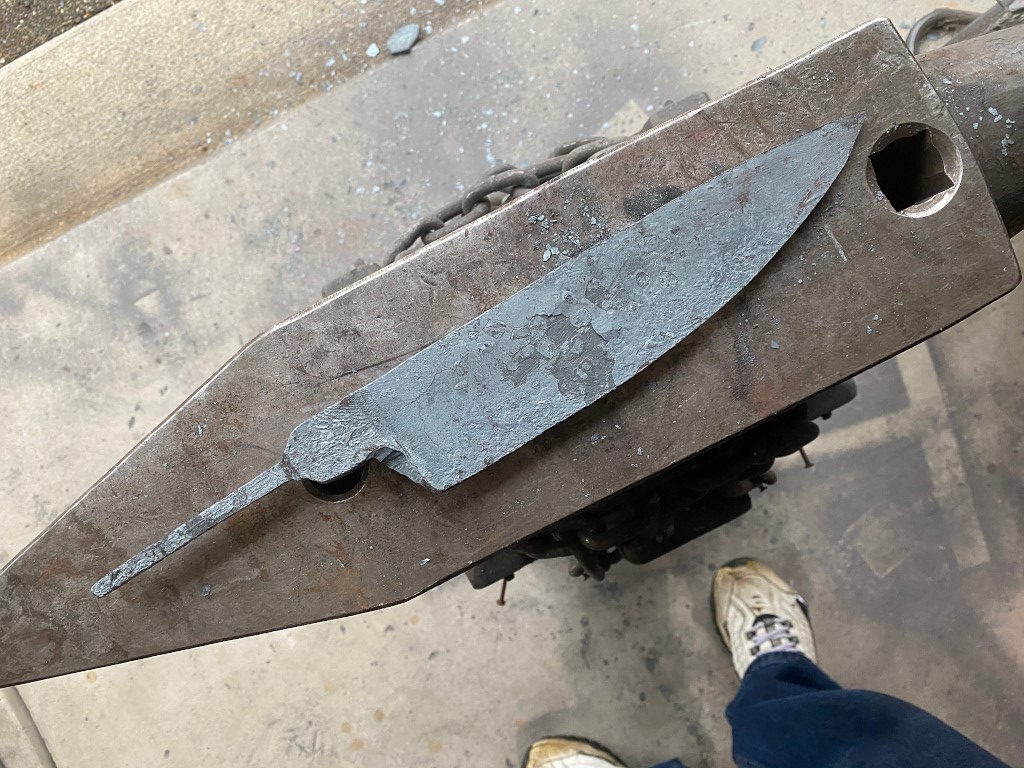
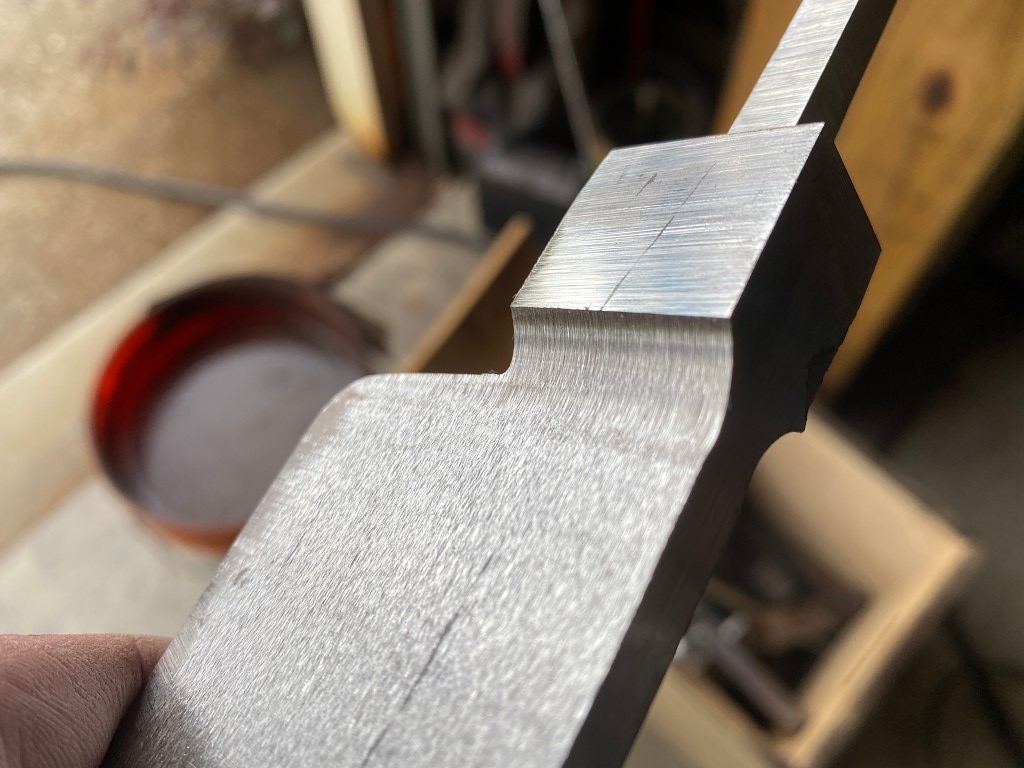
I use a carbine file guide to square up the shoulders of the bolster so it can meet cleanly with the handle
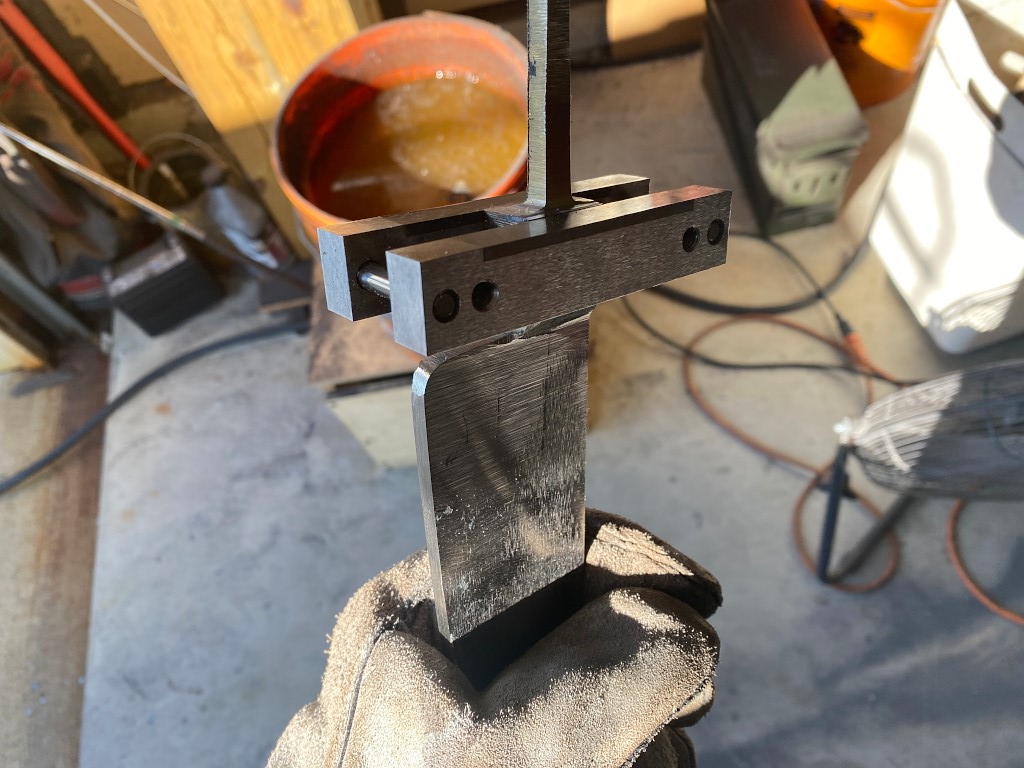
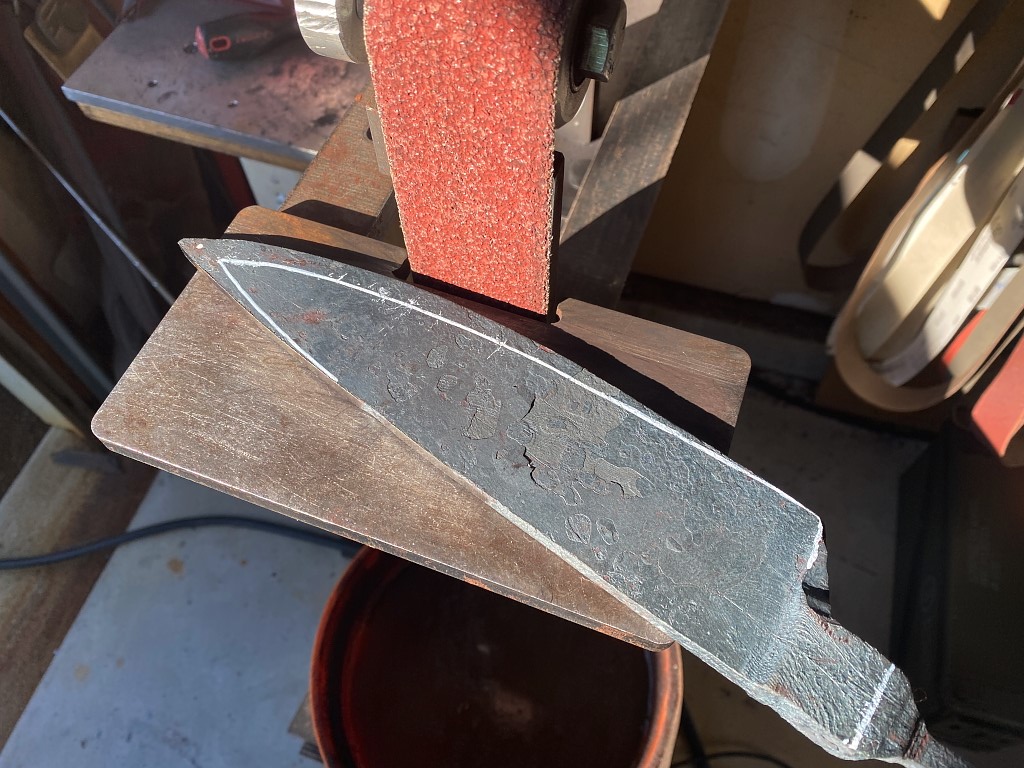
now just grinding off the rest of the scale and finish shaping the bolster and blade


The heat treating isnt shown here. Its a process where I really need to pay attention and its difficult to do this while taking pictures, although I believe I have some video of this process in another blog.
The blade is thermal-cycled through multiple decreasing temperatures (1650F, 1550F, 1450F, 1350F) and cooling slowly to room temp in between each step. This refines and homogenizes the the grain structure of the steel (yes steel has a grain).
This improves the strength of the steel and also decreases the likelihood of the blade warping during the hardening stage.
To harden, the blade is heated to 1475 F and “soaked” at this temp for 10 minutes, and then cooled extremely fast by quenching it in Parks 50 quench oil. This causes the steel to convert from pearlite crystalline structure into martensite, which is extremely hard. the hardness gives great wear resistance and edge retention to the blade so it doesn’t get dull quickly or scratch easily
The problem at this point is that the blade is TOO hard. Its so hard that its also brittle. If dropped or struck it will likely break, which is no good. So now we need to “temper” the blade.
People often confuse tempering with hardening. The tempering process actually softens the steel slightly and makes it less brittle (so tougher), while still retaining most of the hardness the previous step imparted. This is accomplished by baking the blade in the oven at 400 F. for two hours, cooled slowly to room temp, and then baked at 400 for 2 more hours.
At the point the blades are approximately 60-61 HRC hardness and ready to move to the next step.
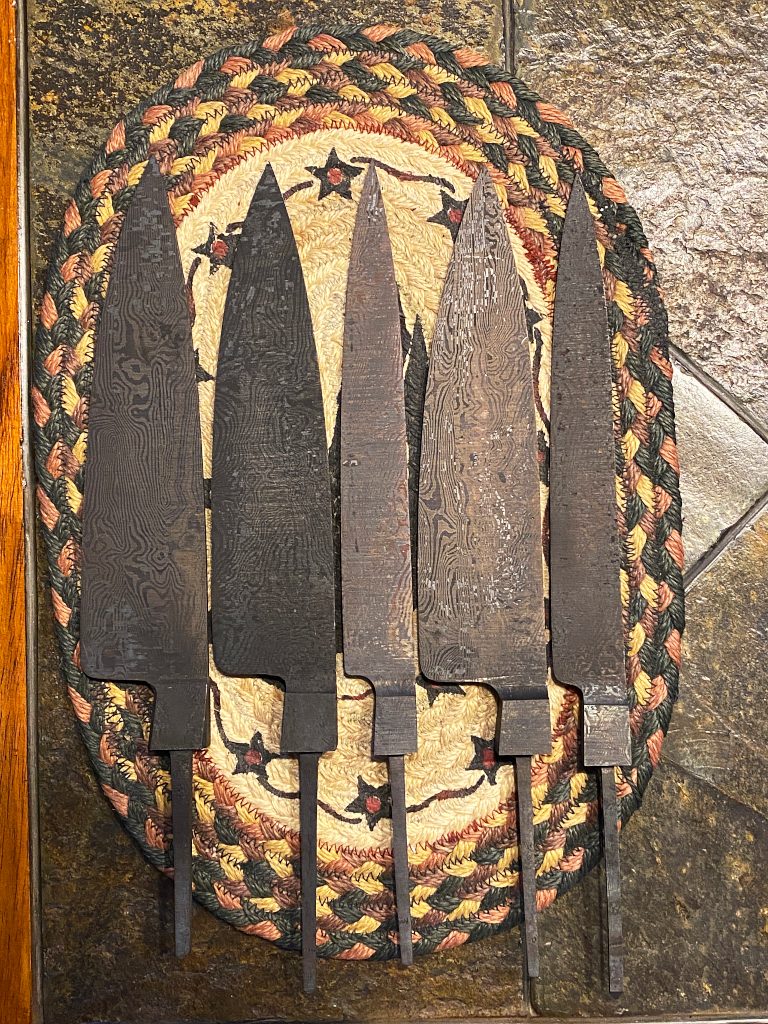
Below are this whole batch of blades after the heat treatment is all finished. The far-left blade is the one shown above. The oxidation and decarb that forms on the blade during heat treatment give us a sneak peek at the pattern…
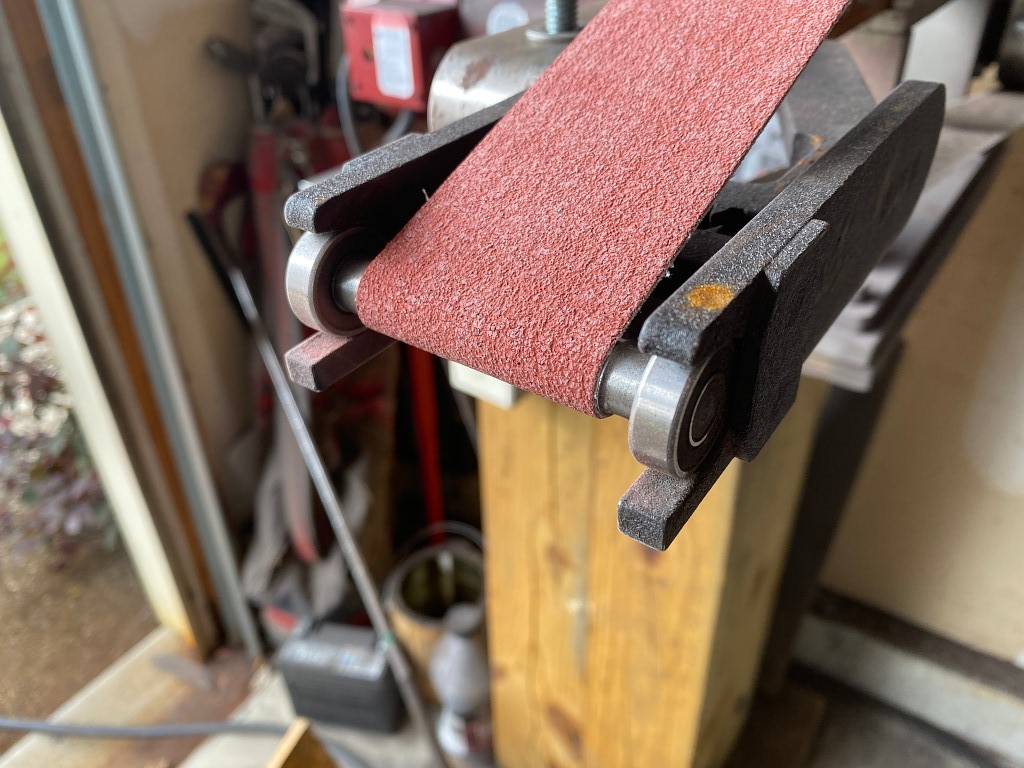
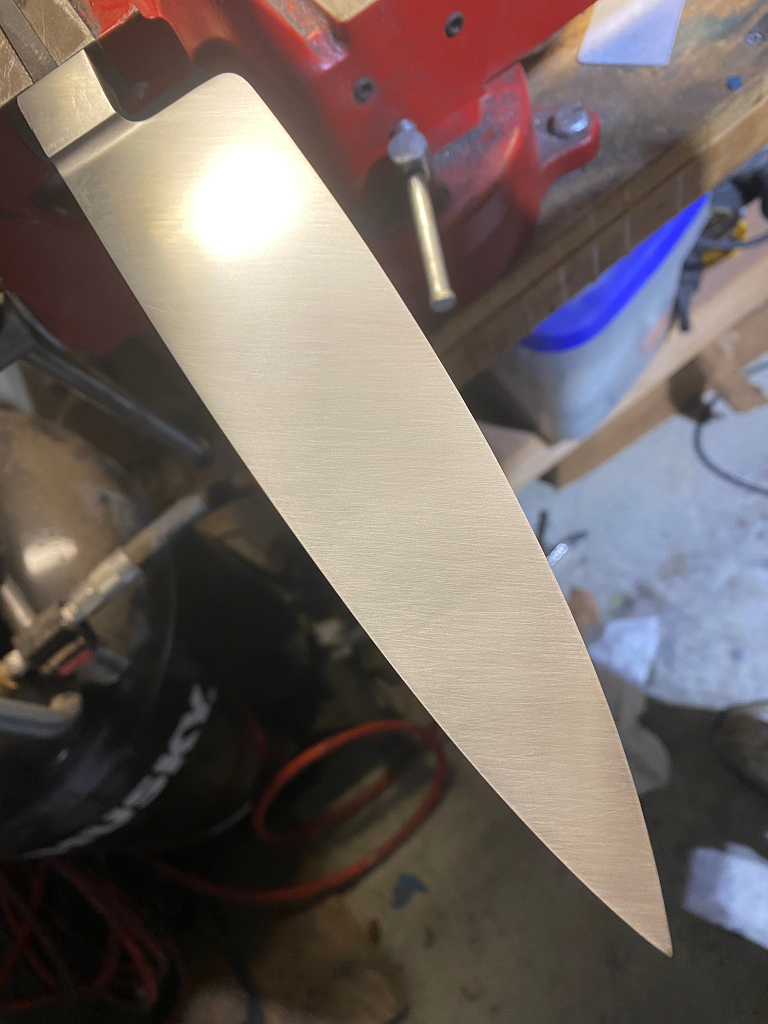
All the scale and decarb is ground off the blade. This is a much slower process now because the 2×72 grinder can heat the steel up too hot and will ruin all the hardening and tempering we just completed.
You dont want to ever heat the blade hotter than 400 F. or you’ll soften the steel and ruin the temper.
These sanding steps are all done bt hand from here on out using increasingly fine grits of wet/dry sand paper, and WD-40 oil.
Note that each successive grit is sanded in a different direction from the previous grit. This is so you can tell when you have sanded enough at a given grit.
220 Grit is sanded on one direction
400 grit is sanded opposite direction from the 220, and I keep sanding until I cant see any sign of the scratches going in the 220 direction

600 grit until I can no longer see the 400 grit scratches, etc
800 grit is the final grit for this stage, and you always want to finish with the scratches running parallel with the spine of the blade. This is less important on damascus blades ebecause the pattern distracts the eye from fine scratches, but I just do it the same way on all knives.
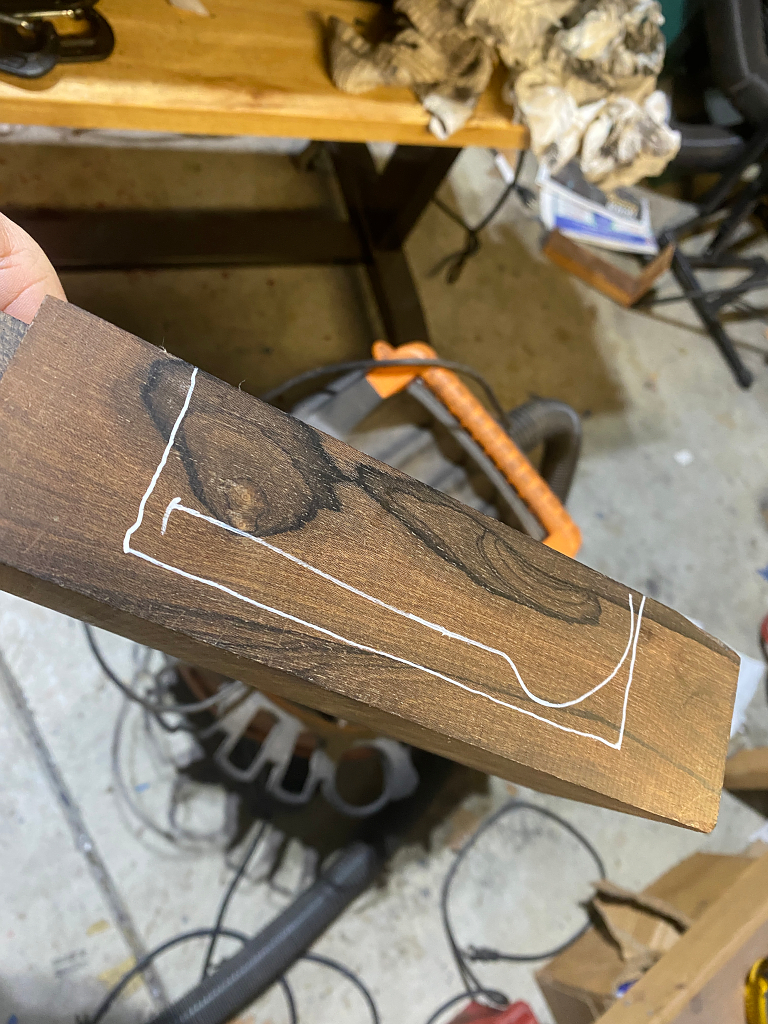
Next, before etching the blade its time to make a handle. In the case of this knife I’m using ziricote as thats what the recipient asked for. Its a but wasteful of wood to cut a piece out of the middle like this, but I like to try and get the most interesting looking pieces for the handle and this is the coolest (in my opinion) looking section in this block
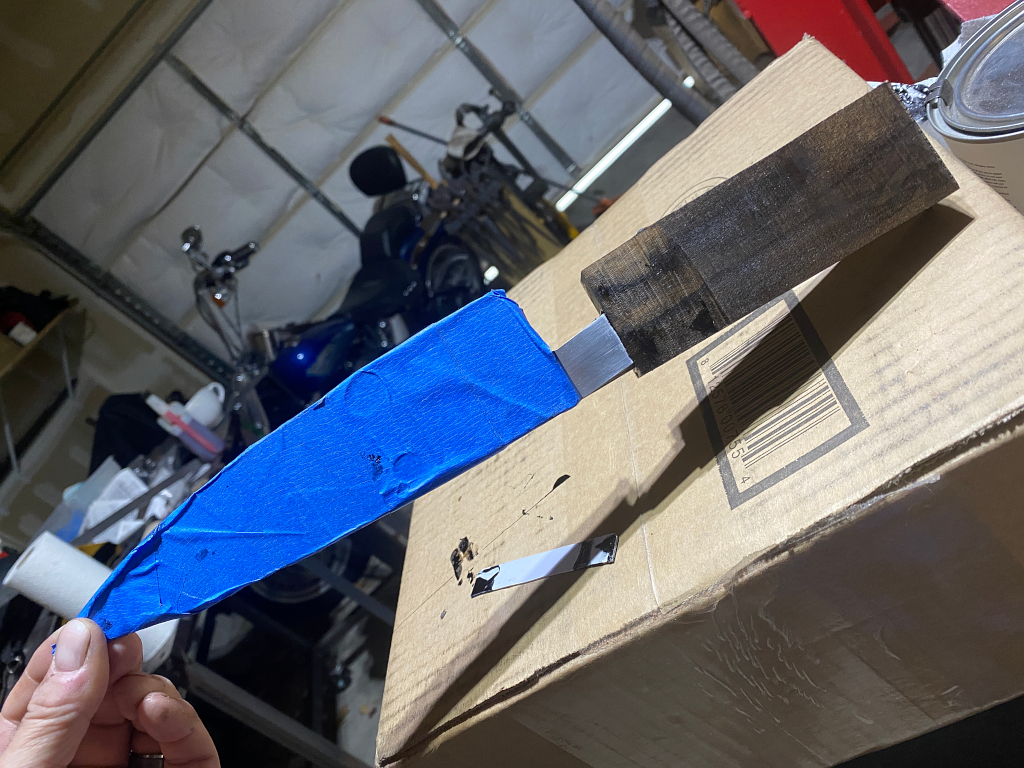
tape protects the blade from scratching while I attach the handle for shaping. Its a temporary bond so I can remove the handle after its shaped. I dont want to immerse the handle in acid 🙂
shaping it with a rasp and sand paper
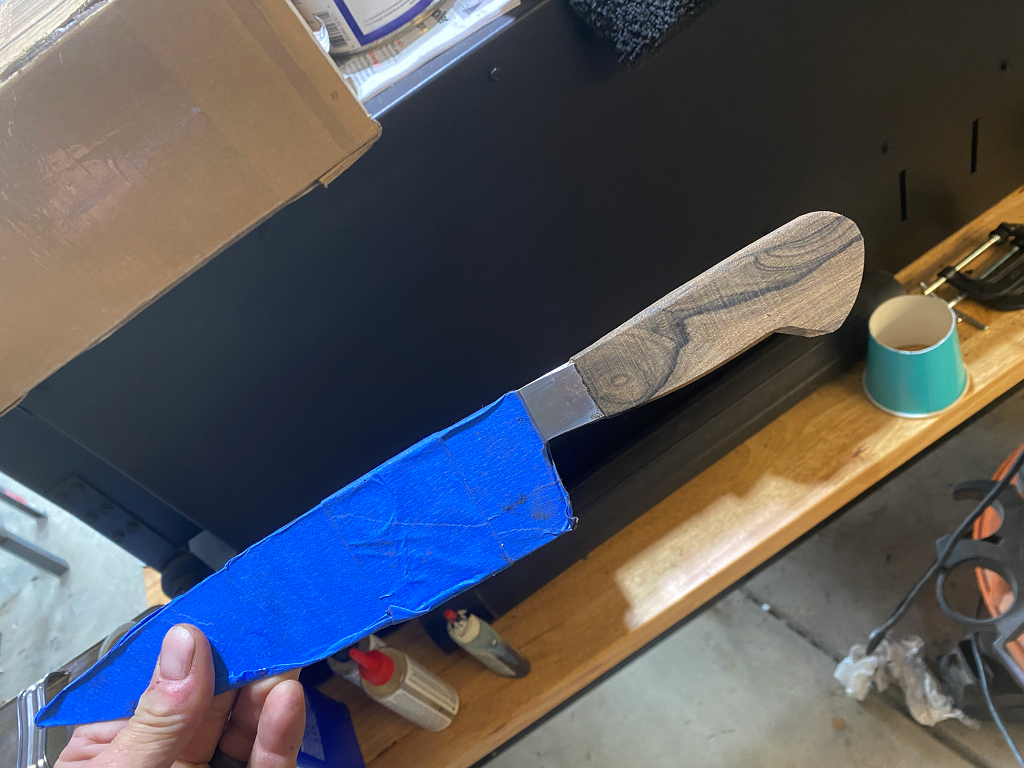
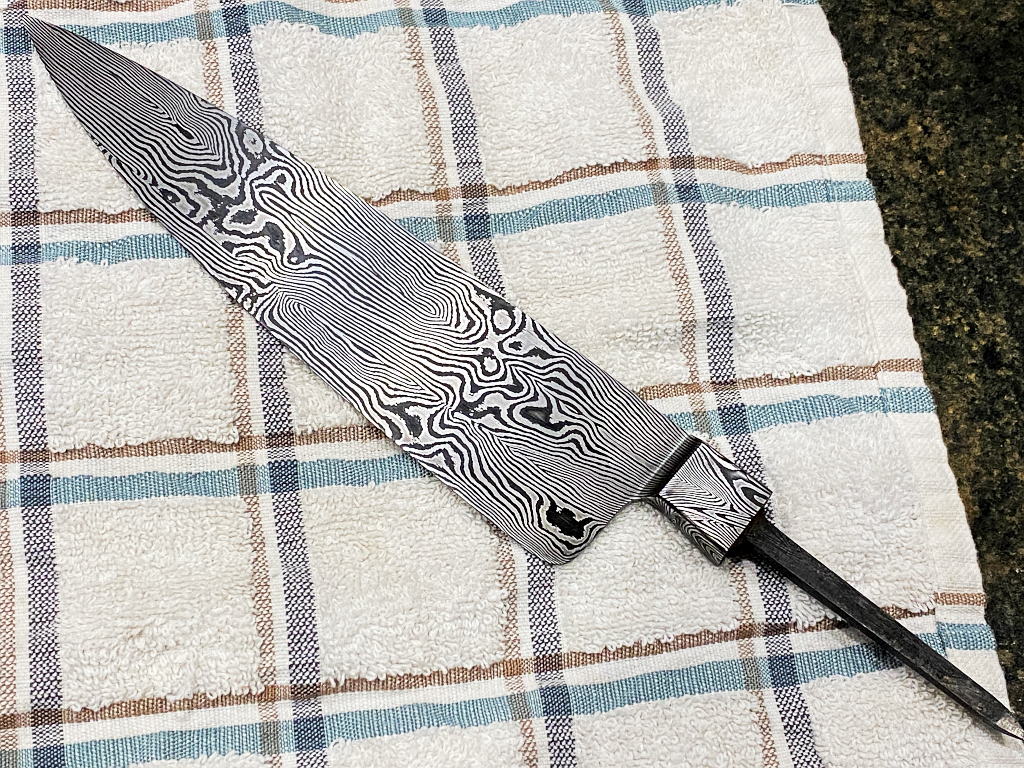
and finish shapes and sanded, and removed again so I can etch the blade
Blade is immersed in ferric chloride, which is an acid.

The acid oxidizes the surface of the steel and turns it a dark color. The 1095 steel gets much darker than the 15n20 because the 15n20 is more resistant to corrosion, this is what produces the pattern.
The blade is sanded one last time at 1200 grit which takes the minor oxides off the 15n20 and leaves it on the 1095.
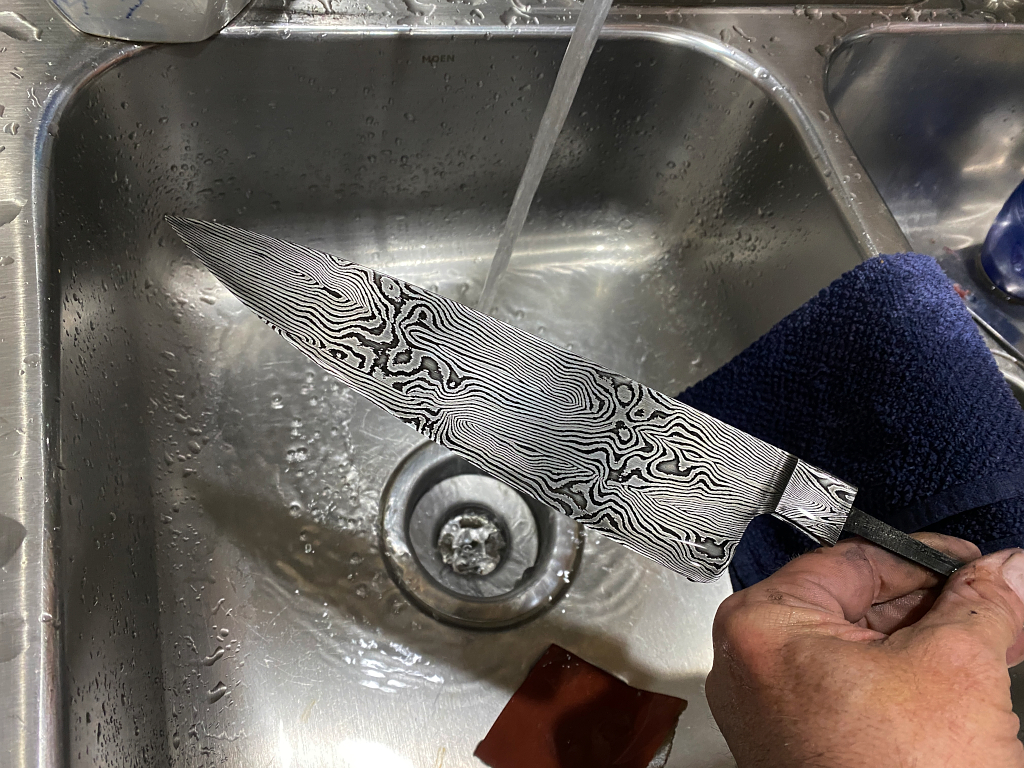
Blade etched.
DOH!!!!
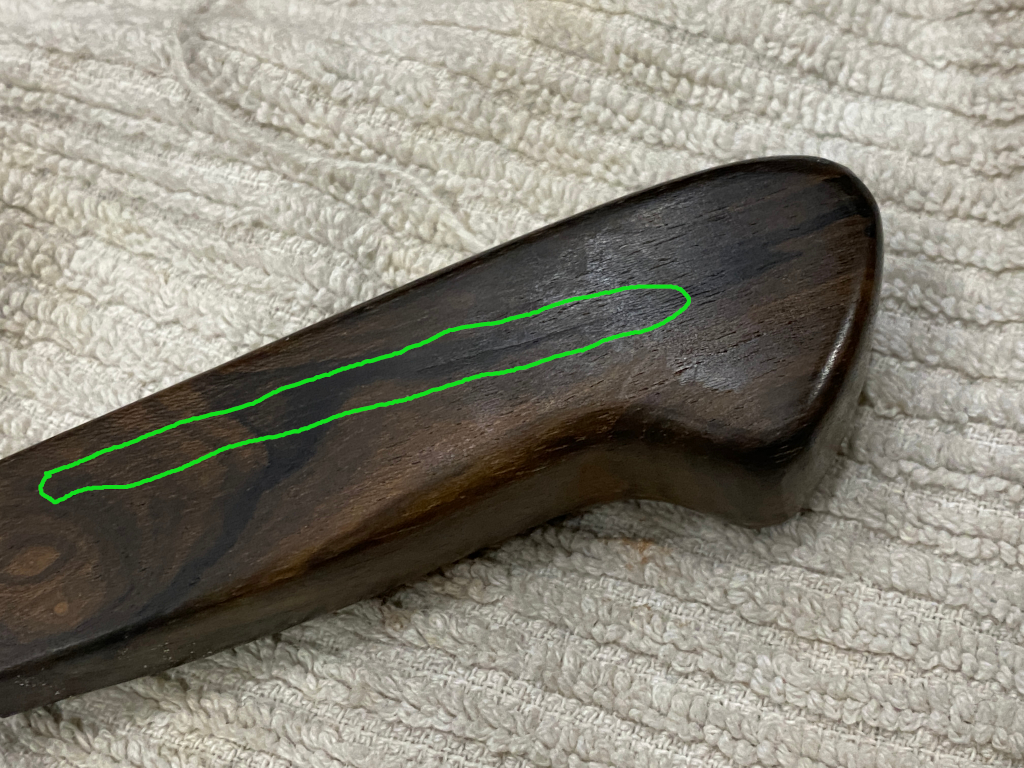
Well, sometimes shit happens and you have to adjust. While preparing to epoxy on the handle I noticed this. A small crack in the handle.
No good, it has to come off and be replaced. Fortunately the epoxy was not fully cured and it came off without too much struggle.
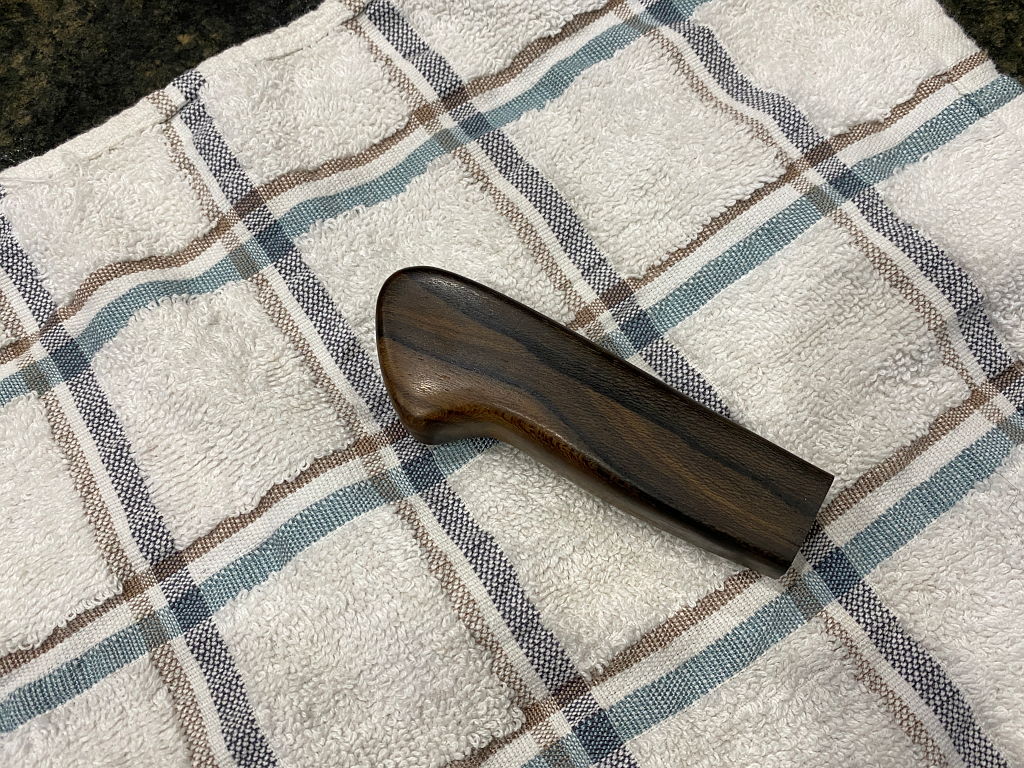
New handle epoxied on, and ready for shaping. Shown here alongside the old, stupid, dumb, stupid, stupid, dumb, cracked handle
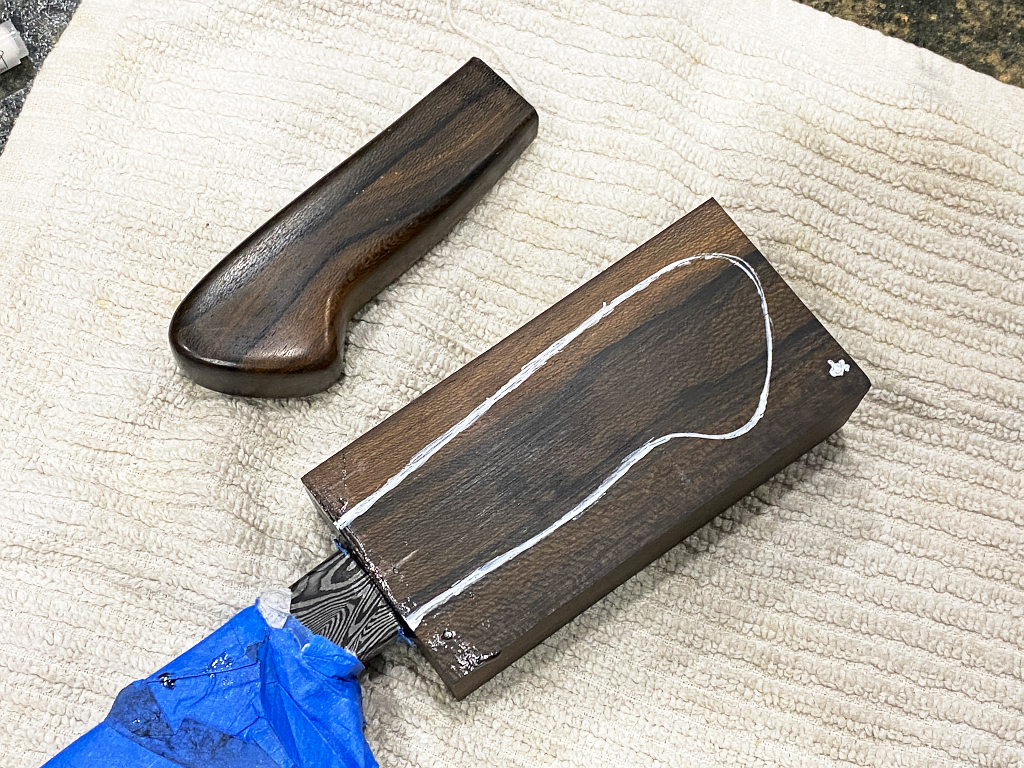
Rough cut on the band saw
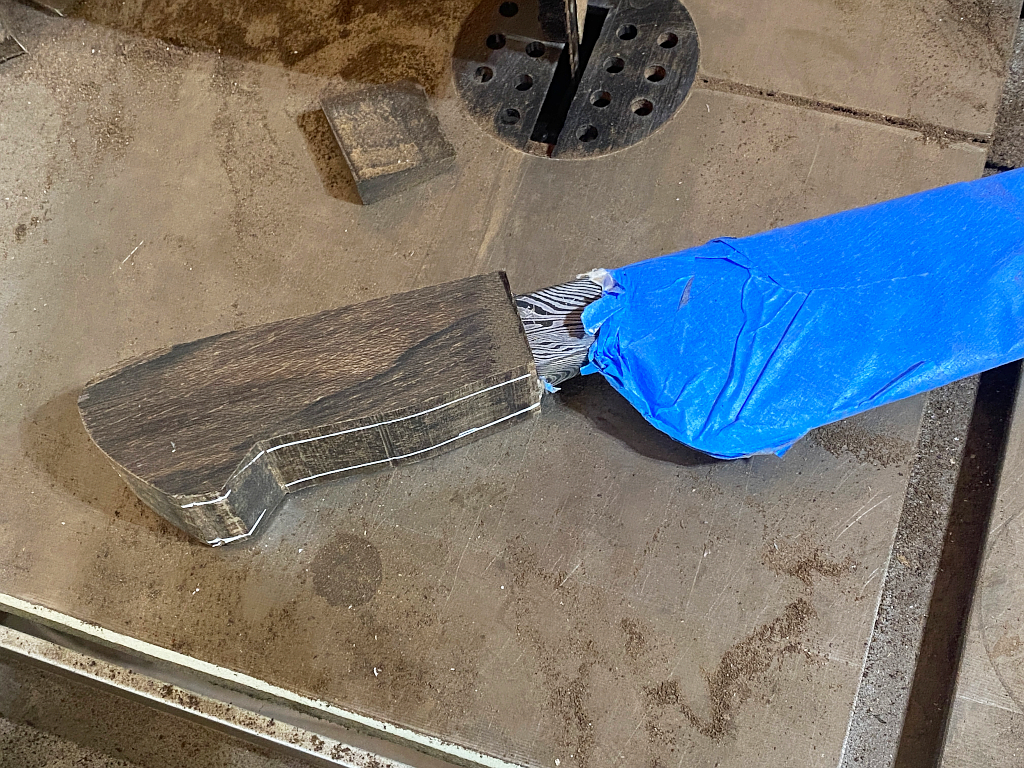
Rough ground on the grinder to proper width.
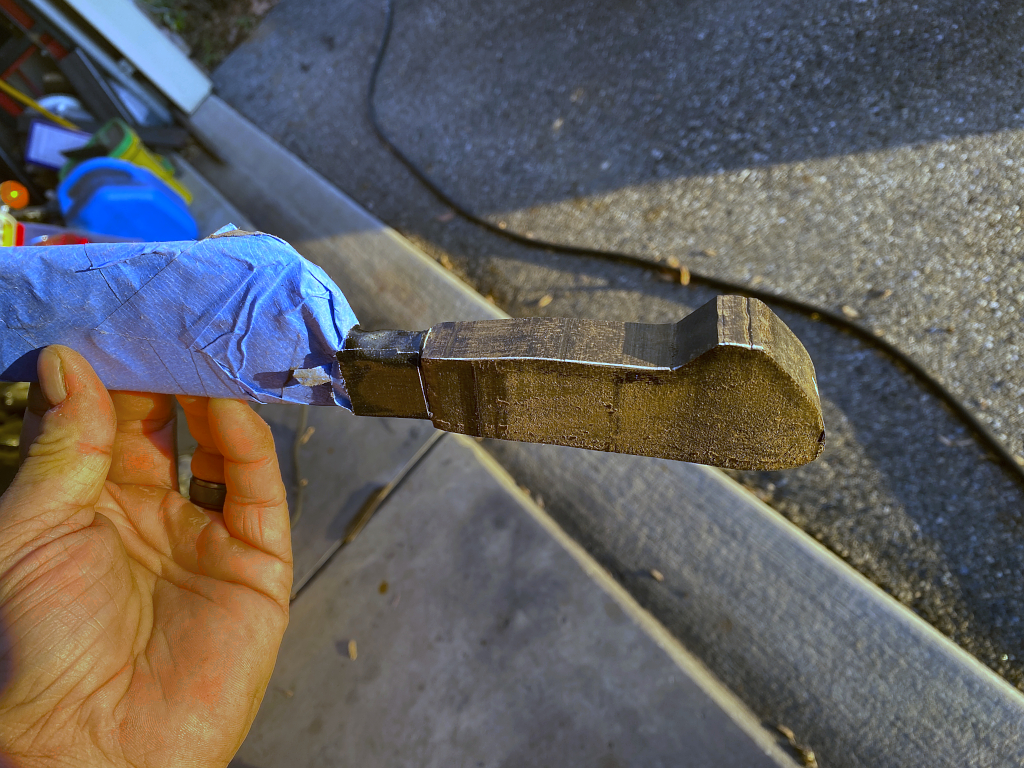
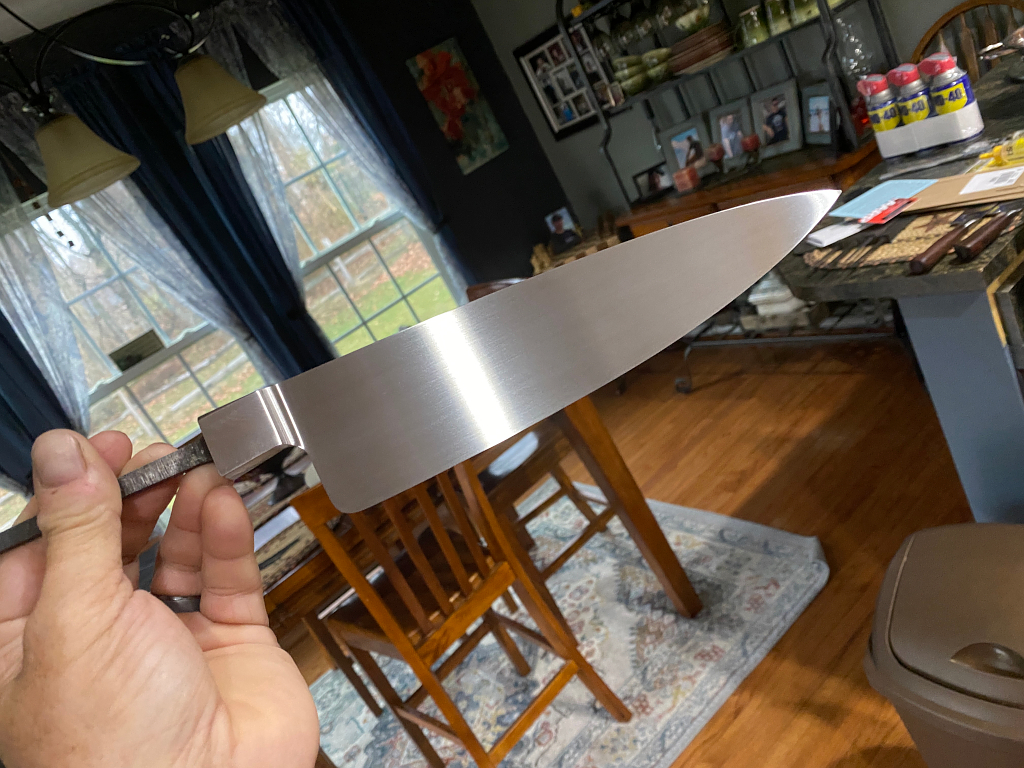
The rest of the process isnt shows as it had to be done entirely by hand. First time I was able to shape the handle while it was loosely attached to the blade, but that was before etching. If Ido it the same way this time I run the risk of sanding the pattern off the bolster and then needing to re-etch which can be tricky with the handle attached. Not above I have EVERYTHING covered in tape so I dont scratch or scuff up the blade because other than still needing the edge ground in, its finished.
So we skip to the end here. All that’s not shown is finish shaping the handle and grinding the edge on the blade, neither of these steps really permits taking pictures 🙂
I wont be there when Mikaela presents the knife to her partner, but I look forward to hearing what they think of it.
Cheers, and happy holidays 🙂