OK, first things first. Based on my plans I made a list of all the parts I need, and got them all ordered.
NOT cheap. Total out of pocket on this is around $800, however I sold a few things I no longer needed, and purchased all the parts with the proceeds, so actual net out of pocket is nothing at all, Pretty good price considering what I’m getting for my money 🙂
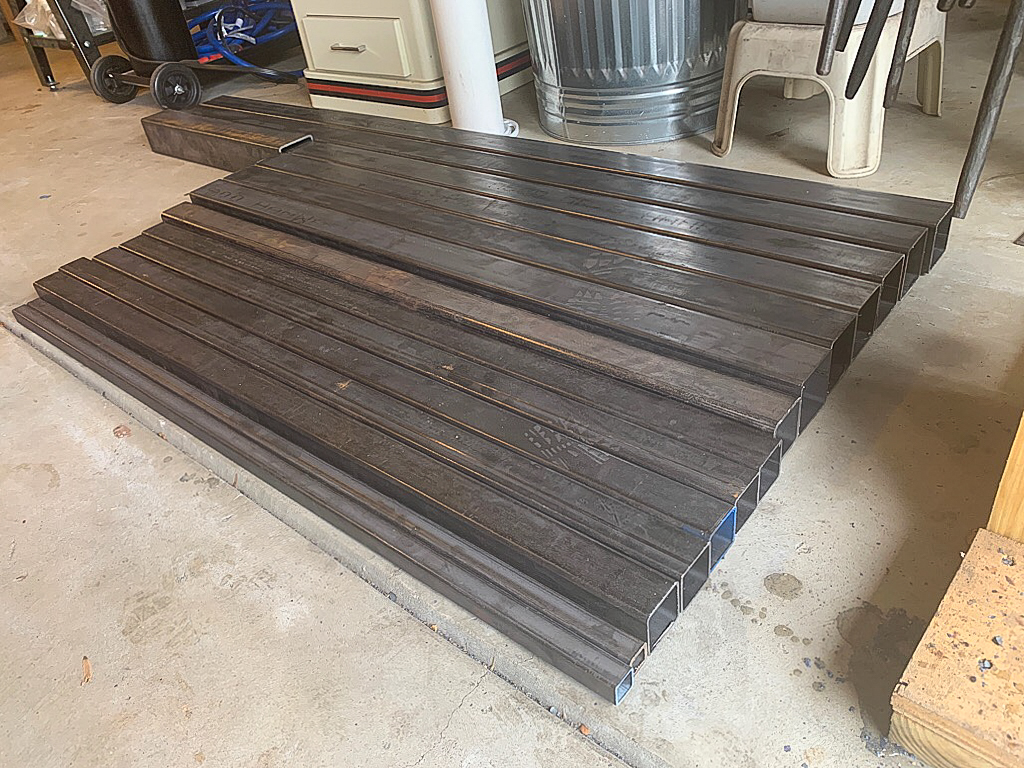
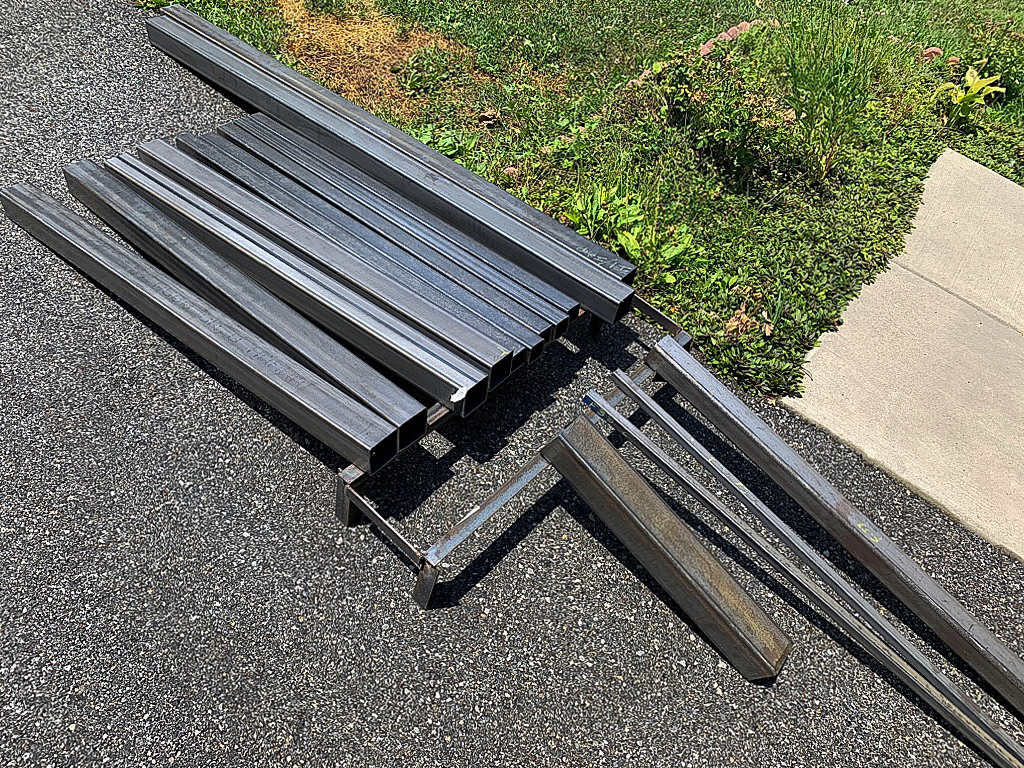
First, and most obviously, the steel.
A36 square tube in a few sizes. All steel tube used is minimum 11 gauge (1/8″) or thicker.
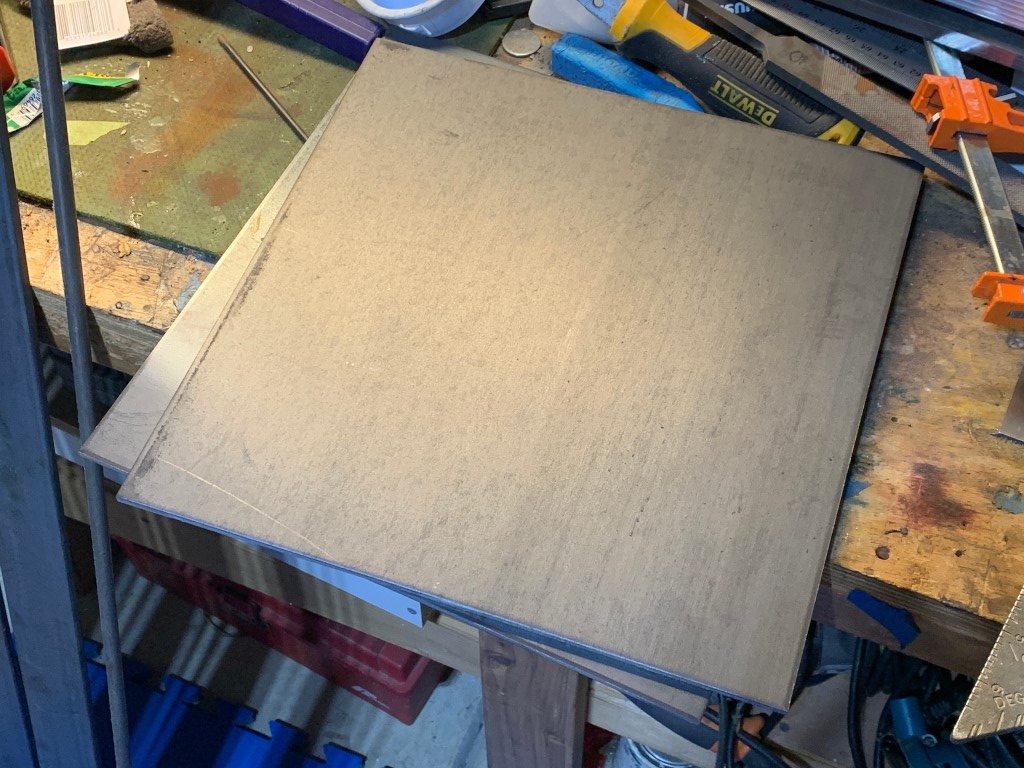
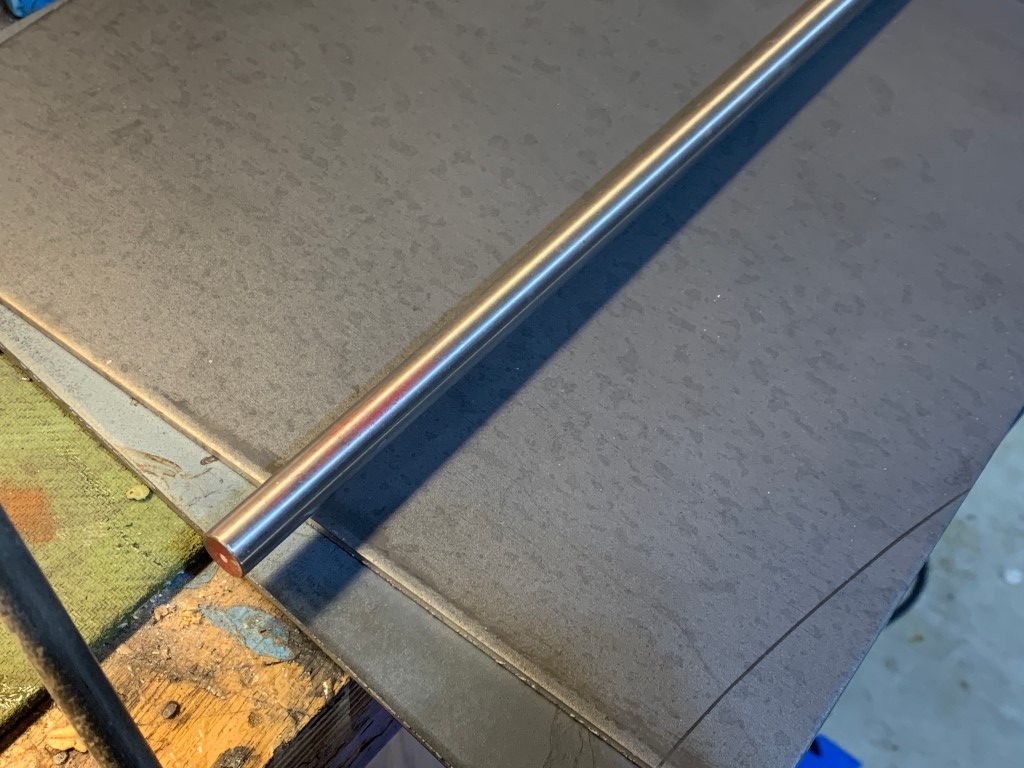
1″, 2″, 2.5″, 3″, and 3.5″. Round tube, 3/8″, 1″, 1.25″, and 2″, a couple different widths of 1/4″ flat bar, 2″ and 3″, 2 pieces of 12″x12″ steel plate at 3/16 thickness, and lastly some 33/64″ W1 solid round bar

In addition to steel there are alot of other parts needed.
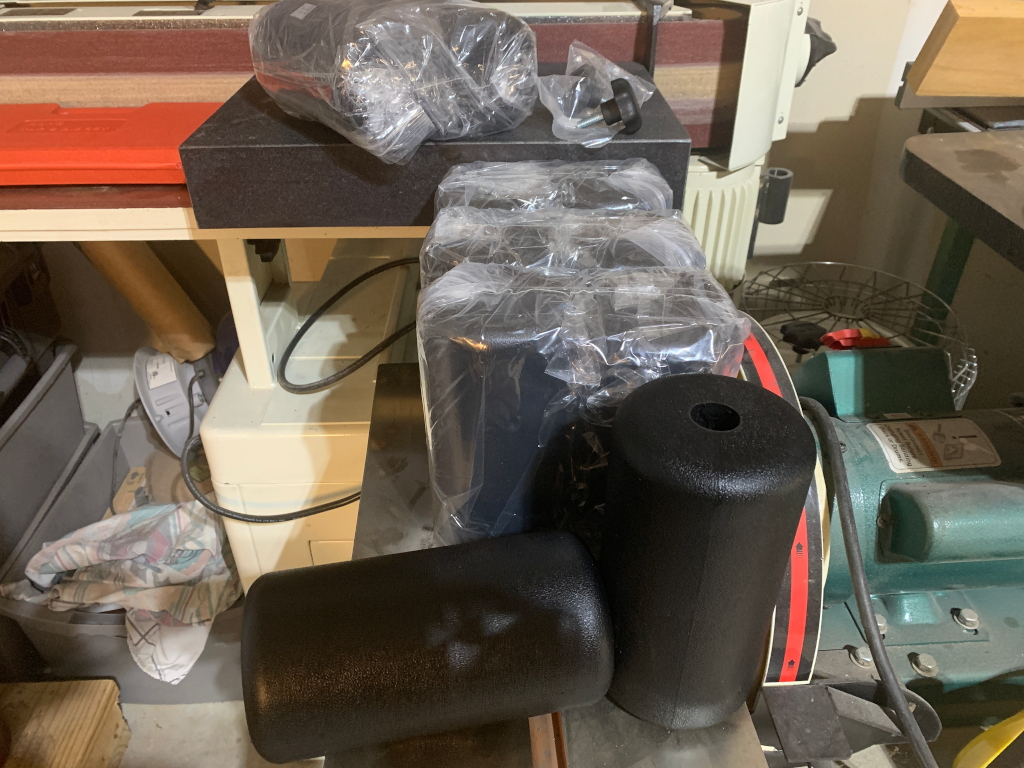
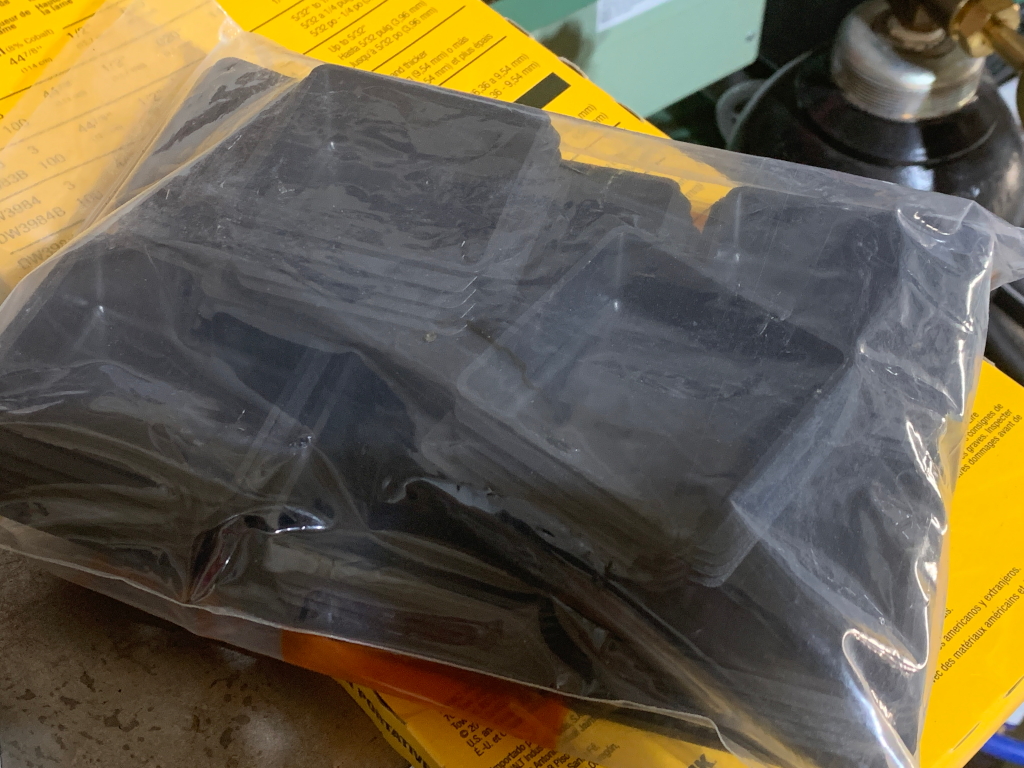
pads for the leg apparatus, and caps to hold them on,
End caps for the steel tubes. These are purely cosmetic.
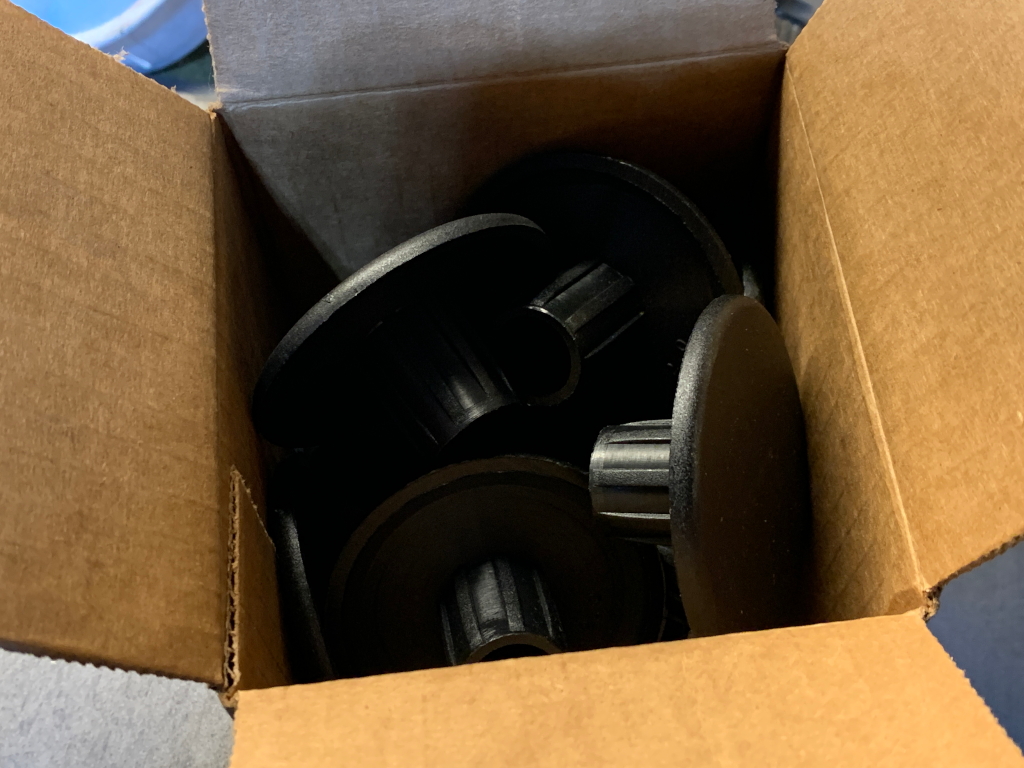
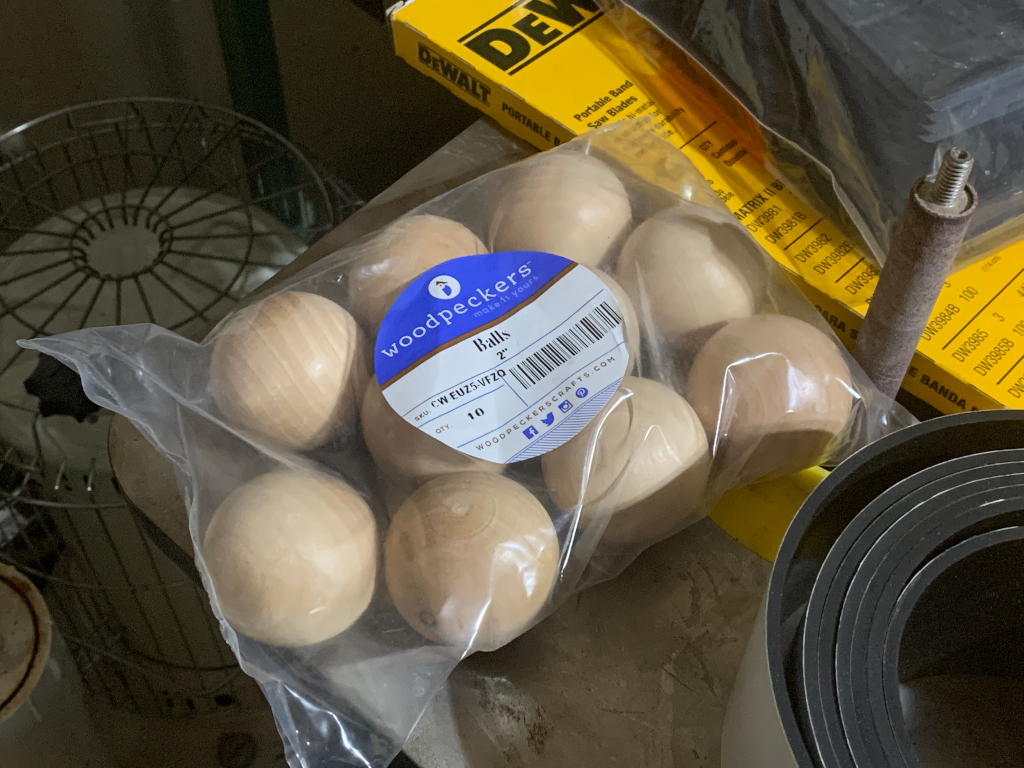
Knobs for the weight rest pins
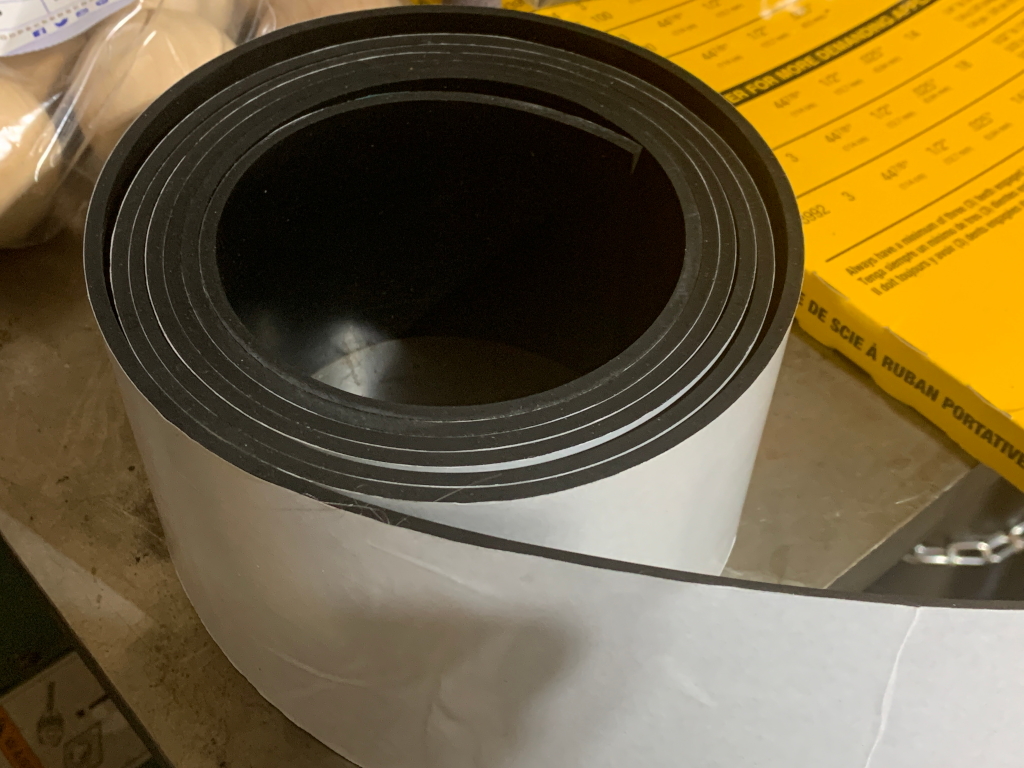
Rubber to cushion the weight rest bars…
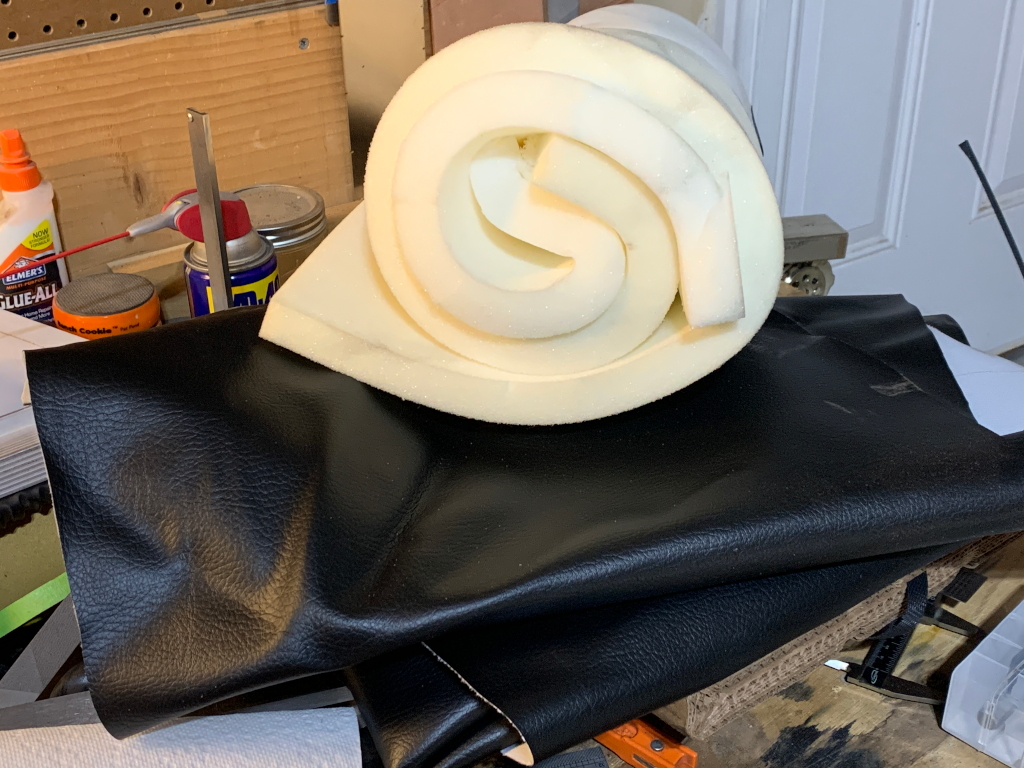
Vinyl upholstery and foam padding for the actual body contact bench
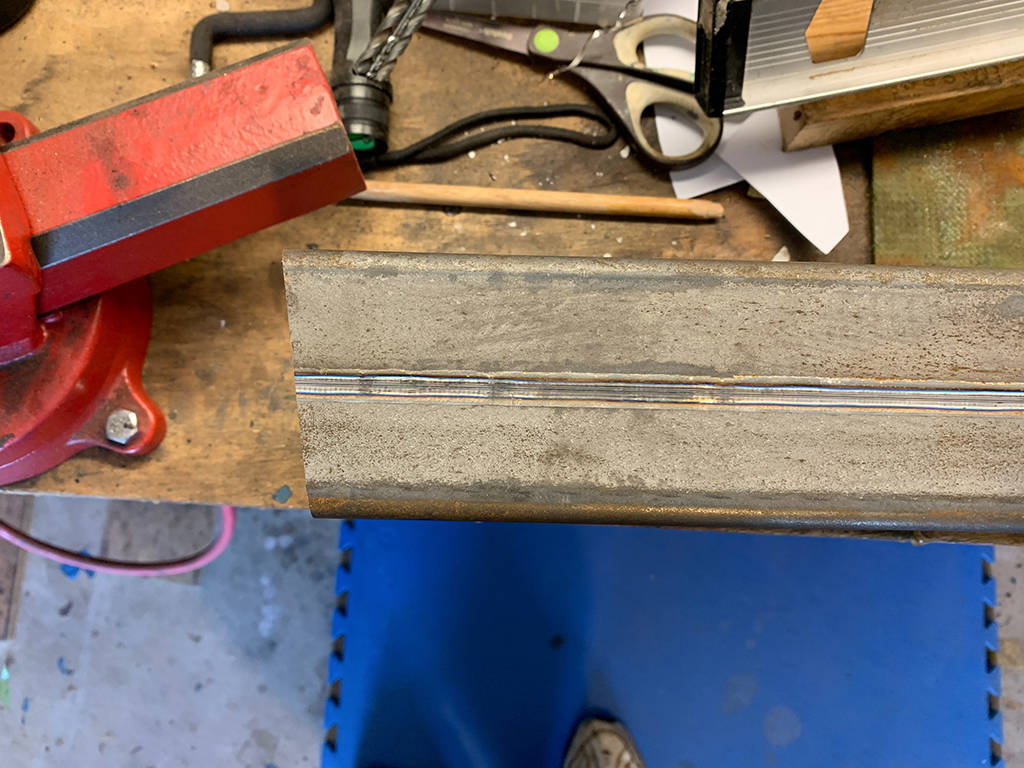
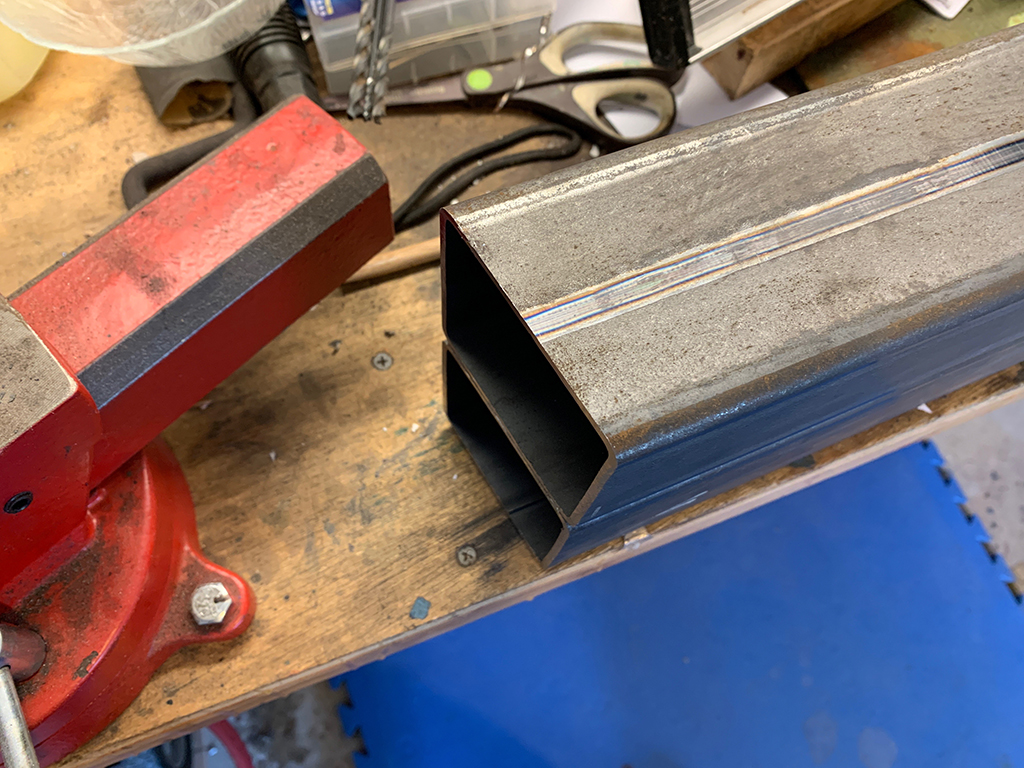
Now that all the materials are on hand, I have to de grease the steel. It comes from the supplier with a layer of oil to prevent rust, which collects dirt and dust over time leaving it greasy and filthy. This is no good for a lot of reasons. On the annoying end, your hands and clothes get black and greasy when you handle it. On the practical end, it can interfere with making good welds.
So, soak it all with de-greaser, let it sit a while, and then pressure-wash it. Comes out nice and clean.
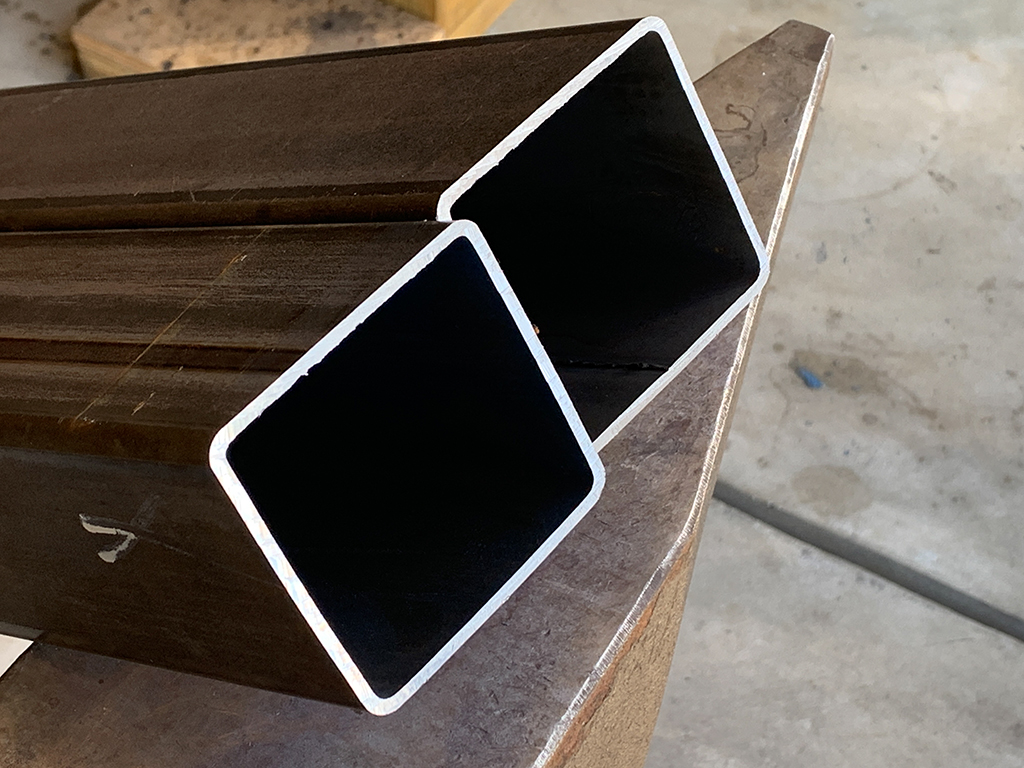
First steps. The two 6′ pieces of 3×3 are the main upright supports. They lean at a 9.5 degree angle, are 6′ long, and stand almost four feet apart, so its crucial that the angled cuts on both are exactly the same. Even a half a degree one way on one piece, and the other way on the other piece would cause them to be inches out of alignment at the tops.
I cut them with my metal cutting chop saw one right after the other, very slowly, to make sure the tubes dont move and the blade doesnt wander.
Both pieces are spot on. Variations from one piece to the next can be accounted for when welding, but its best tohave this as close to perfect as possible so that both uprights have full, flat contact against the mating piece. Better, tighter welds makes a stronger overall result. Now on commercially bought benches, these joints are held together with bolts and flanges so they can be easily dismantled and packed, but I dont care about that. a fully welded joint is simply orders of magnitude stronger and more rigid.
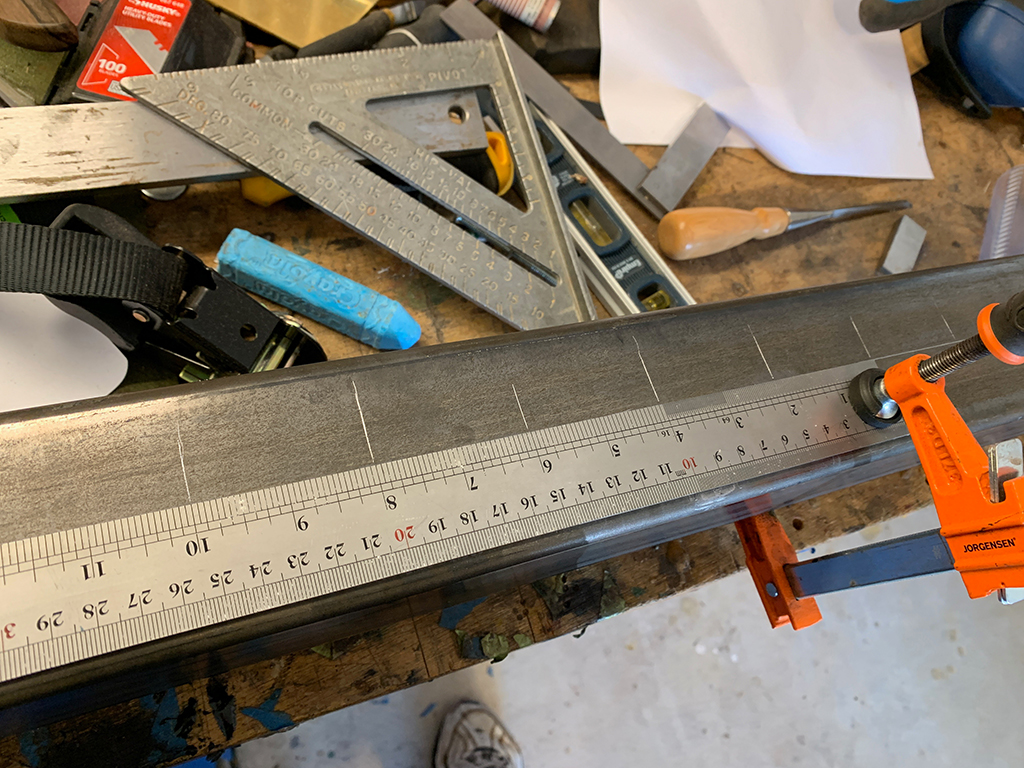
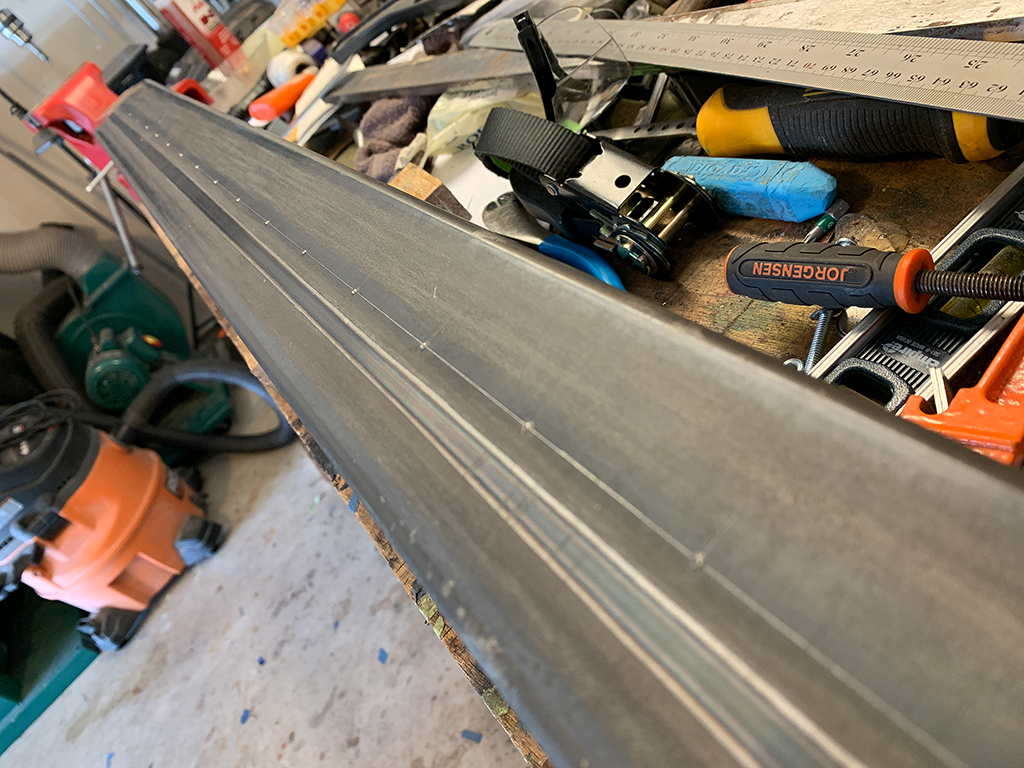
Next I need to mark out where the holes need to go. Again, a high degree of precision is required here. These holes support the adjustable weight rack. They will be held in place with steel pins that will go all the way through the uprights and out the other side so the 0.5625″ (9/16″) holes on each side need to be perfectly aligned so that the 0.5156” (33/64″) pins will go easily through.
The pins are 0.0469″ (3/64″) smaller than the holes, so theres not exactly a huge margin for error. I could simply use smaller pins. 1/2″ should be plenty strong, but I want to add as much strength as possible so the better and more accurately I do this the better off I’ll be. The holes on each upright need to be exactly the same height on both uprights, otherwise the weight rests will not be exactly the same height. The bar would then not be level side to side with weights resting on it.
The main reason I’m aiming for such a high degree of precision in every aspect of this machine is because of the simple fact I’m not a CNC machine. I’m doing everything by hand, My cuts, welds, and holes will absolutely not be 100% accurate no matter how hard I try. However, if I’m super-anal and super-careful with everything I do here, any variations from spec will be very small and well within tolerances, and everything will work as intended.
Marking the locations for every hole, and then drilling them all, was easily the most tedious part of the entire build. Between first marking, and then drilling all the holes, took me about a day and a half. When finished, I swore I’d never drill another hole as long as I lived. Of course the very next day I had to drill more holes 🙂
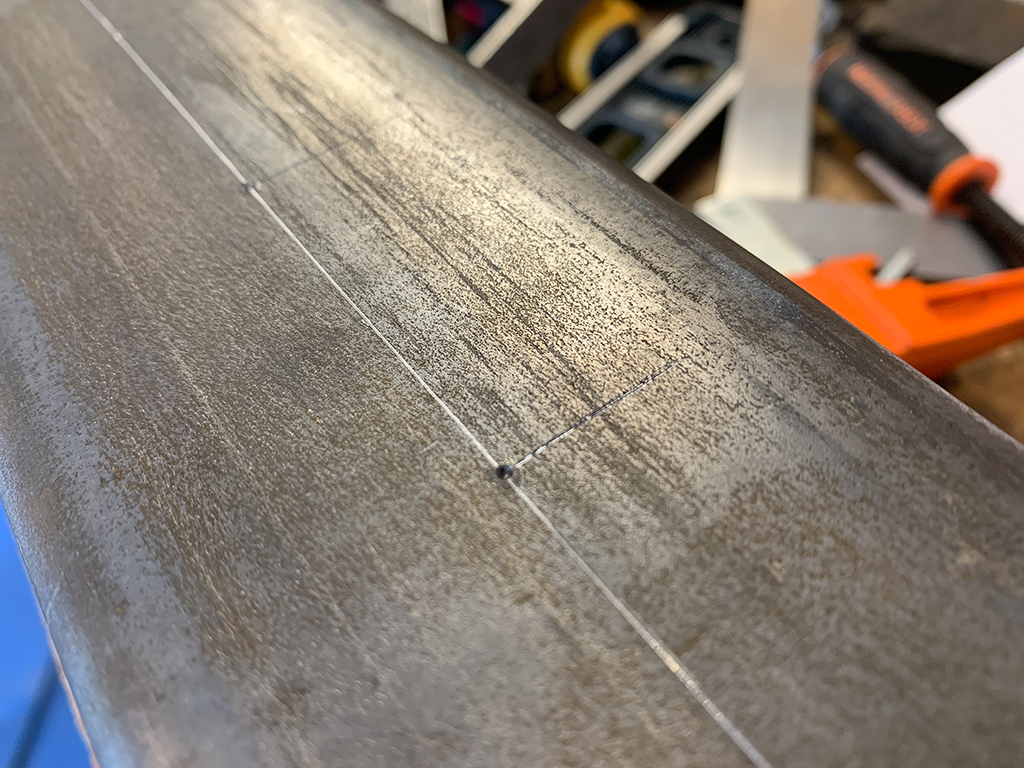
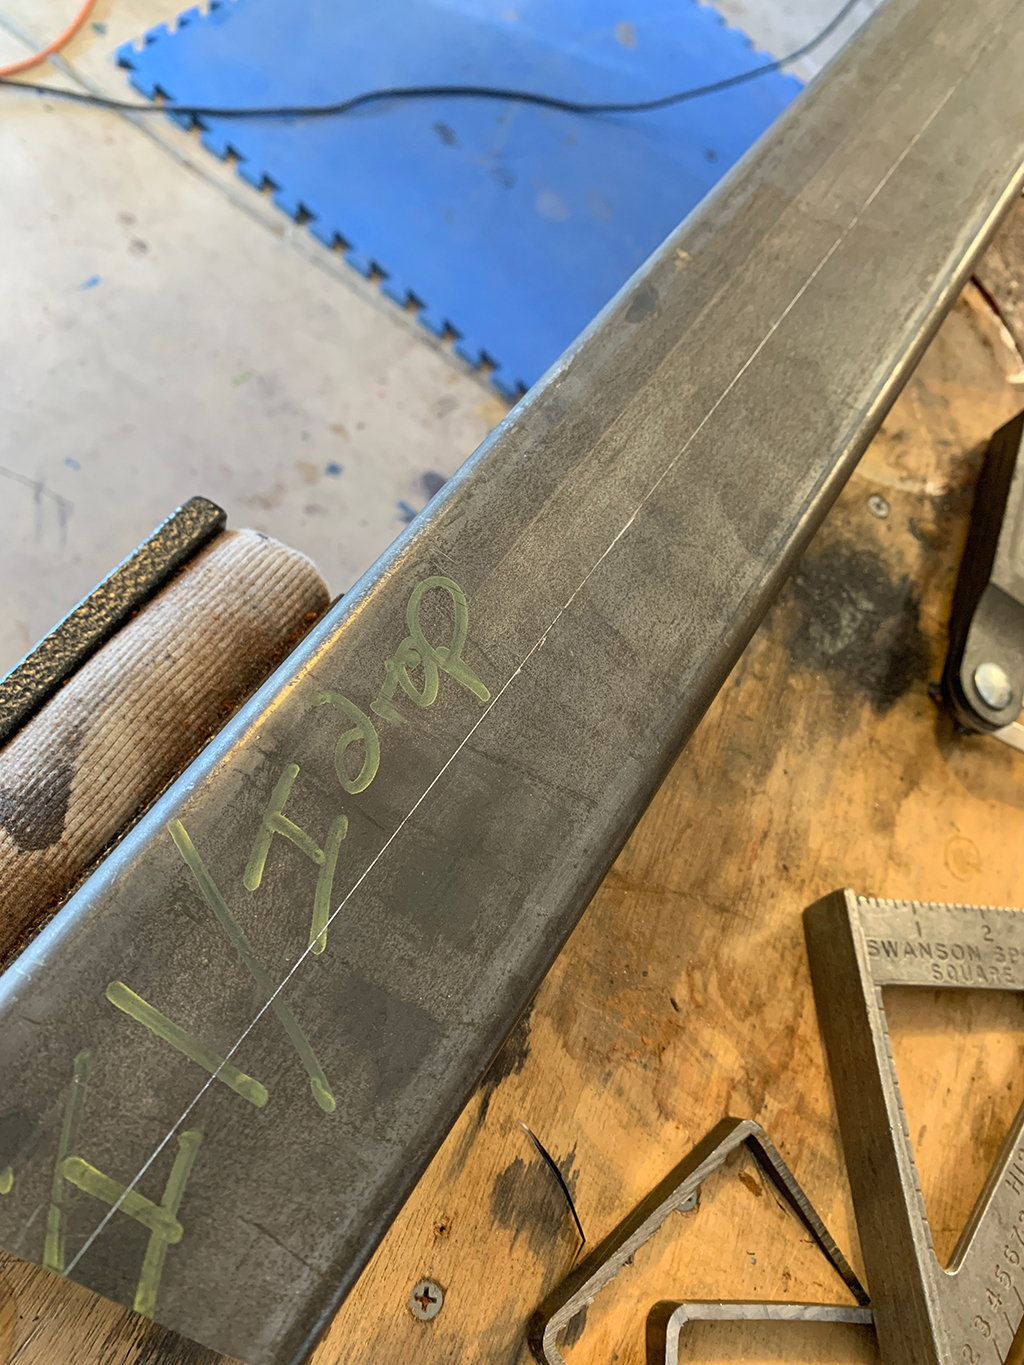
So, I scribe a line dead center down the sides of the uprights where the holes will be drilled. Then I double-check to make sure I’m going to be cutting holes on the correct sides 🙂
Then mark and center-punch each hole location. Center punching is simple. I have a steel punch with a hardened point. I place the point precisely where I want it and smack it with a hammer. This makes a small dimple in the steel.