So unfortunately at this point I had a rather devastating accident 🙂
The photos in this blog were all taken with my iPhone 6 camera, which I kept close at hand throughout so I could grab it and take pix for each piece of this build. Sadly, while working on the first piece of leg apparatus I kept it a bit too close at hand, and I discovered to my delight that the screen doesnt take too well to blobs of molten steel from weld spatter. The screen had blobs of steel embedded in it where it melted its way in, and an amazing spiderweb of cracks between the blobs. It was totally shot 🙂
So, I had to pony up what I still owed on the phone and pay it off before they would let me get another one on contract 🙁
Good thing I already bought all the parts for this bench.
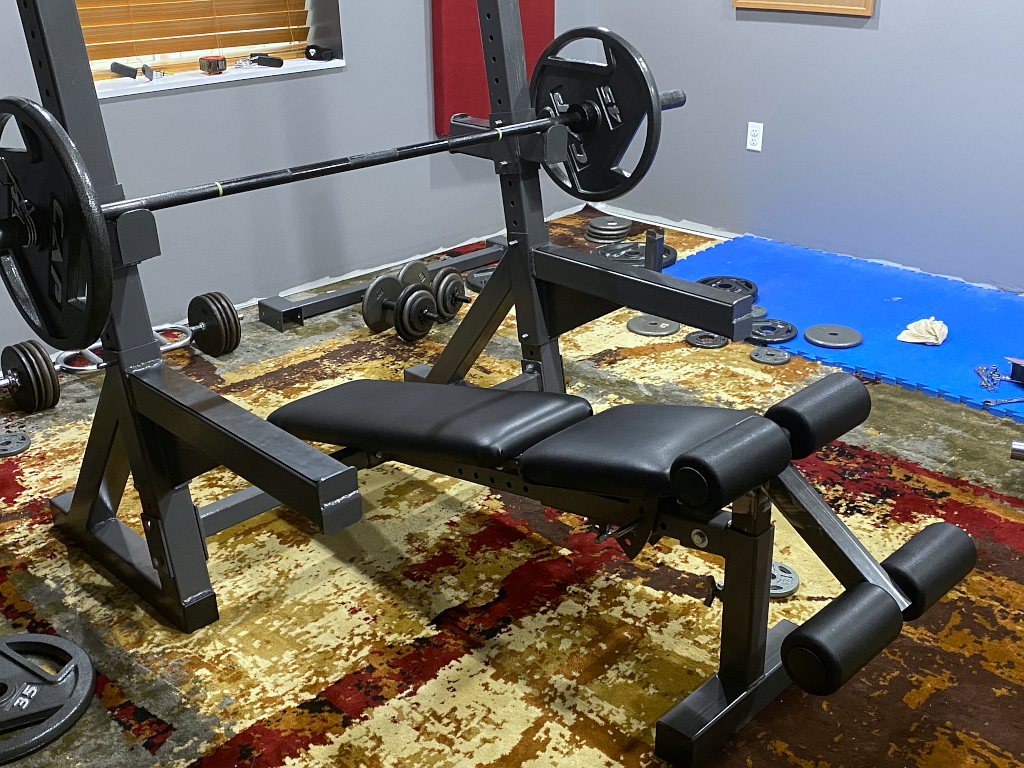
Anyway, the first piece of leg apparatus was completed before my new phone arrived, so I have no photos of the build process, but its essentially 2 pieces of 2×2 tube welded together into a solid piece, then holes drilled at the juncture of the two pieces and the end. Lengths of 1″ round tube through the holes, and the comfort pads slid onto the tubes, and end caps to keep everything in place. You can see the finished (but not yet painted) piece where it installs easily into the bench. This is a totally rigid piece that is used for doing decline bench press or decline sit-ups. You just hook your legs onto it (knees over, feet under) for stability.
Since I paid a big chunk-o-change for the new phone I couldnt really afford to risk a repetition of the event that killed my old one, so I kept it in my back pocket. If molten slag hits it back there I probably had bigger concerns than the well being of my phone 🙂 That is to say that being safely out of the way also means “out of sight, out of mind” so my photos are a bit more sparse from this point on.
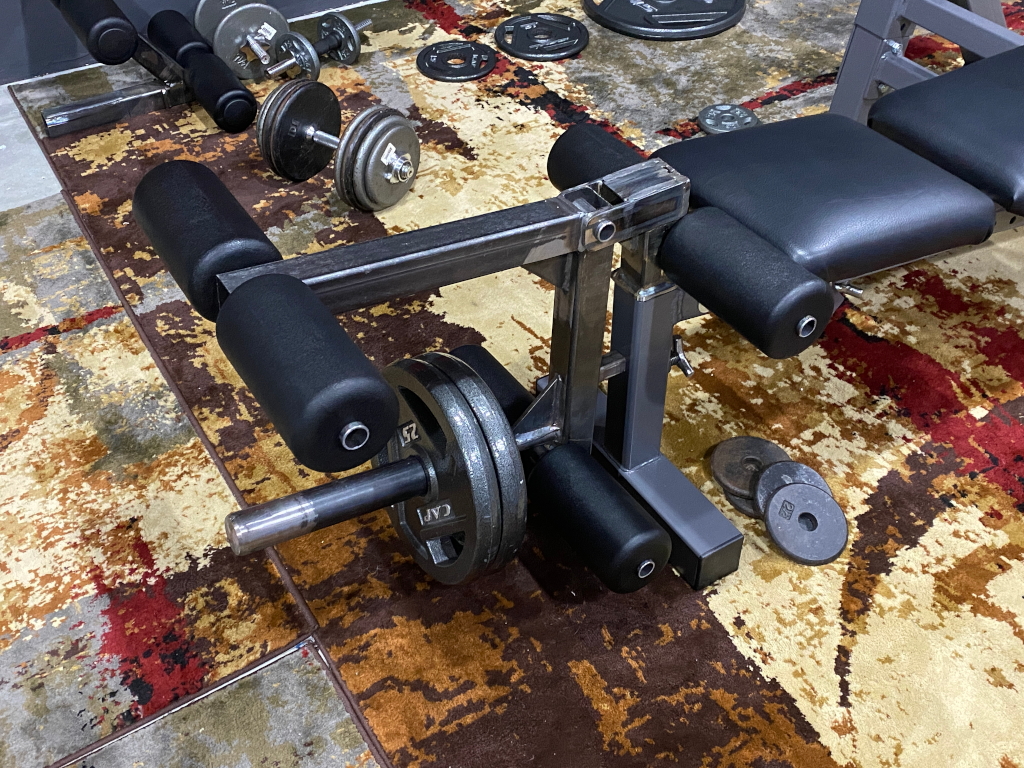
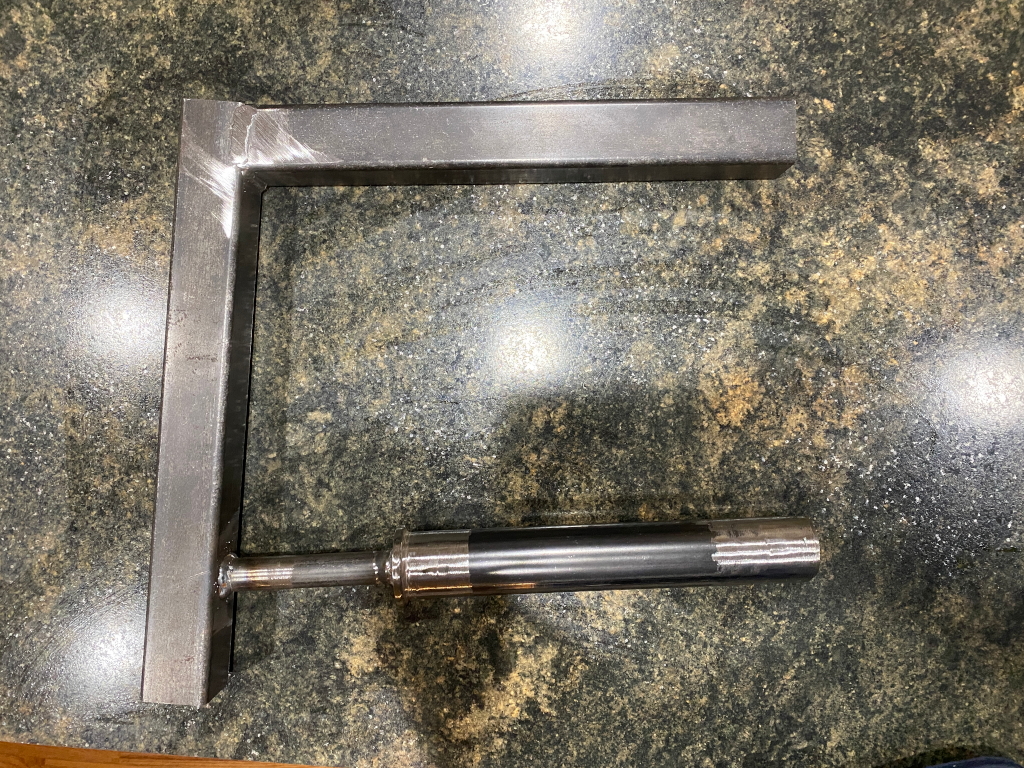
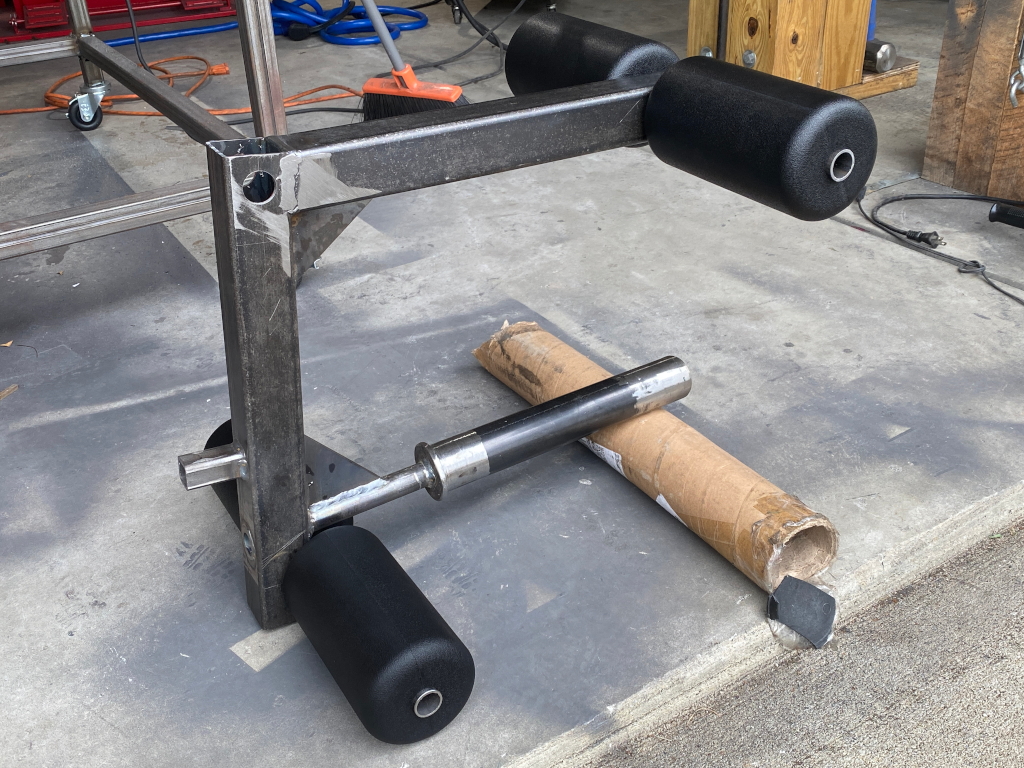
Pictured below is the main pivoting element of the leg extension/leg curl apparatus. Its essentially a big lever made from two pieces of 2×2 square tube welded together at slightly wider than 90 degree angle. At the left end is the mount for holding weights. Its made from a 12″ piece of 2″ round tube, with a longer piece pf 1″ round tube that goes all the way through it to the end where its welded to a 2″ round cap piece, which is in turn welded to the end of the 2″ tube. At the other end of the 2″ tube, the 1″ tube goes through a hole in the center of the 2″ end cap which is welded to that end of the 2″ tube. The cap at this end has a larger diameter than the 2″ tube, and this acts as a stop for the weight plates.
Having the smaller tube pass all the way through the larger one, and be fully welded at each end is significantly stronger than just welding one end of a 1″ tube to one end of a 2″ tube, and strength is the name of the game here.
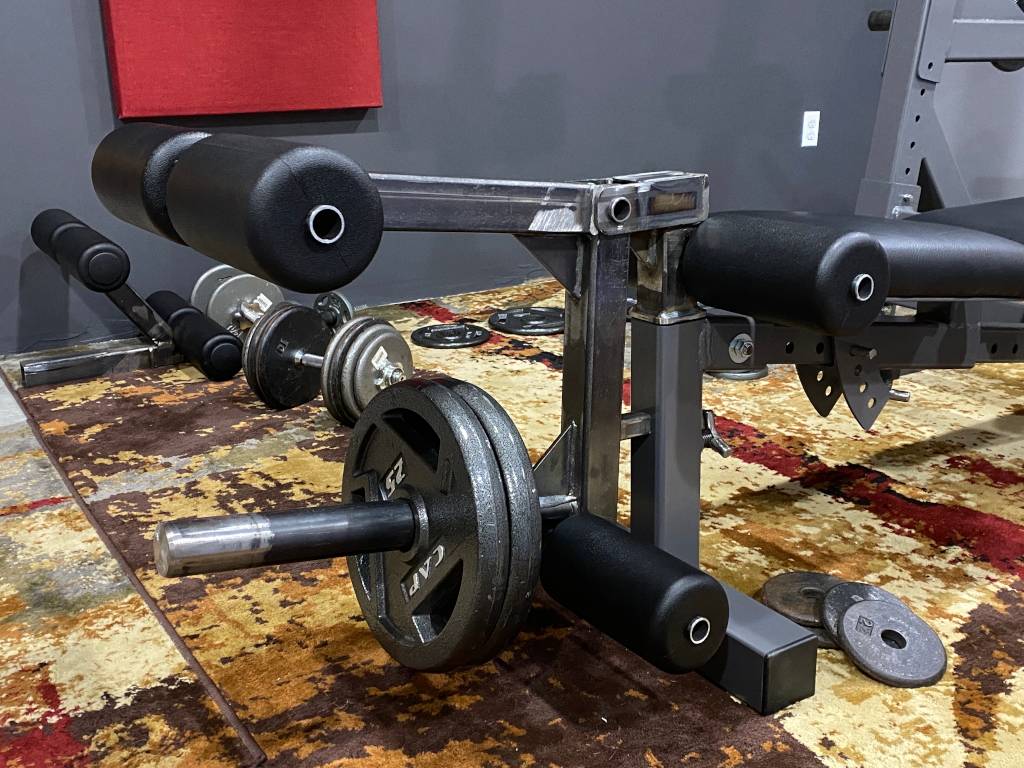
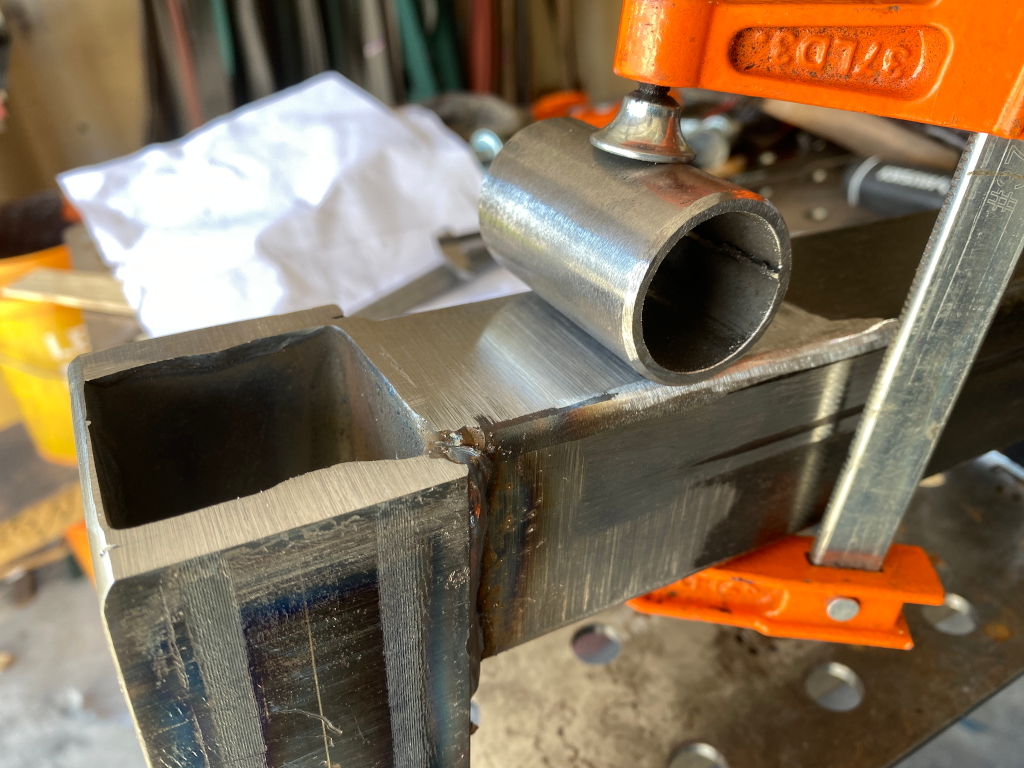
So this weight mounting bar (or whatever you want to call it) in its turn passes all the way through the 2×2 square tube and is welded on both sides of the square tube. Drilling the 1″ hole at the correct angle was a bit of a PITA, but I got it done without taking a single photo 😉
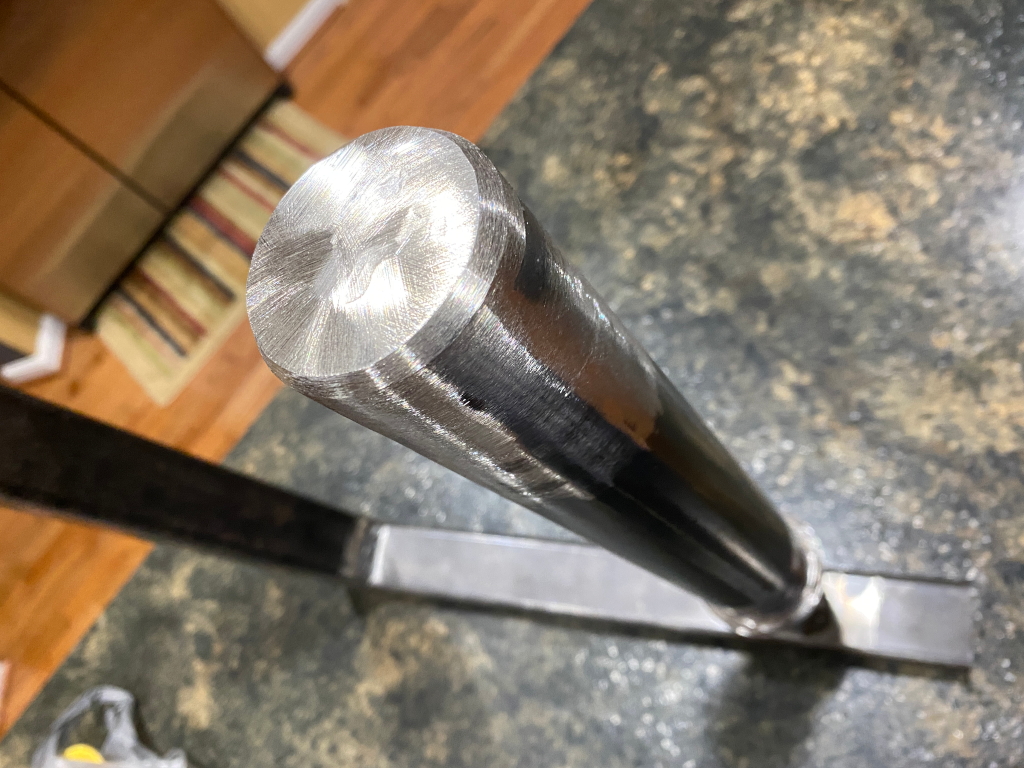
I ground the welds at the end cap flush, and added a slight bevel to make sliding the weights on a bit easier. It looks a bit nicer too.
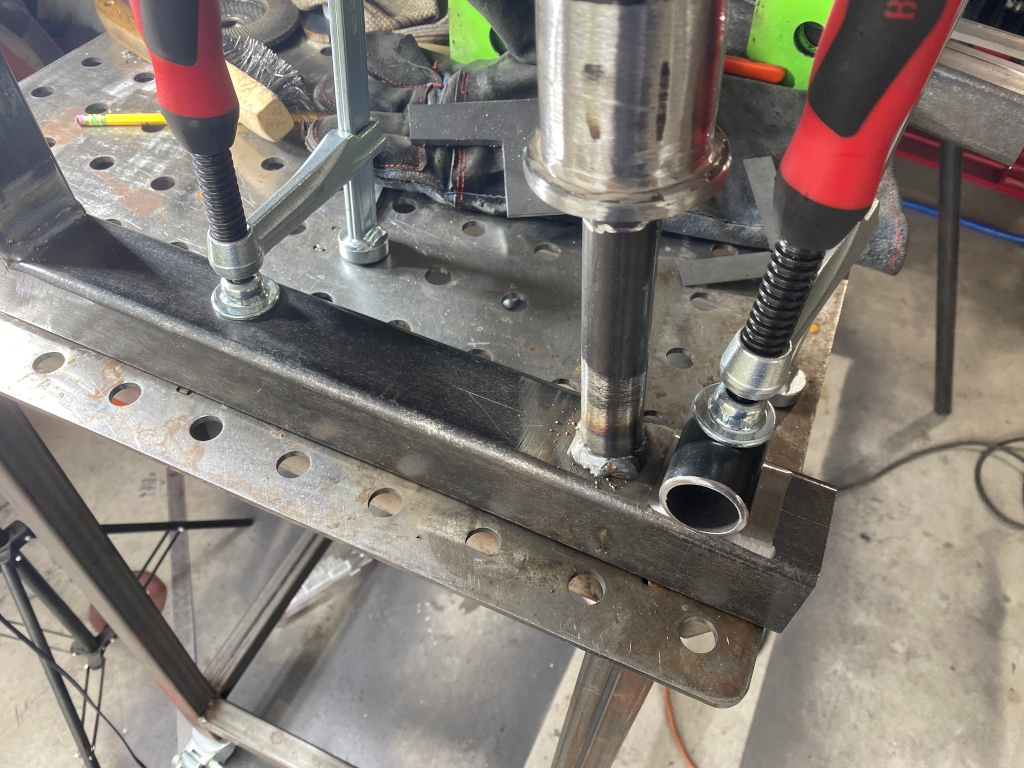
Next, I welded on a piece of 1.25″ round tube below the weight mount bar. The comfort pads for the feet slide onto 1″ round bar, which will pass through this piece of tube. Theres enough play there that it will be able to rotate freely while working.
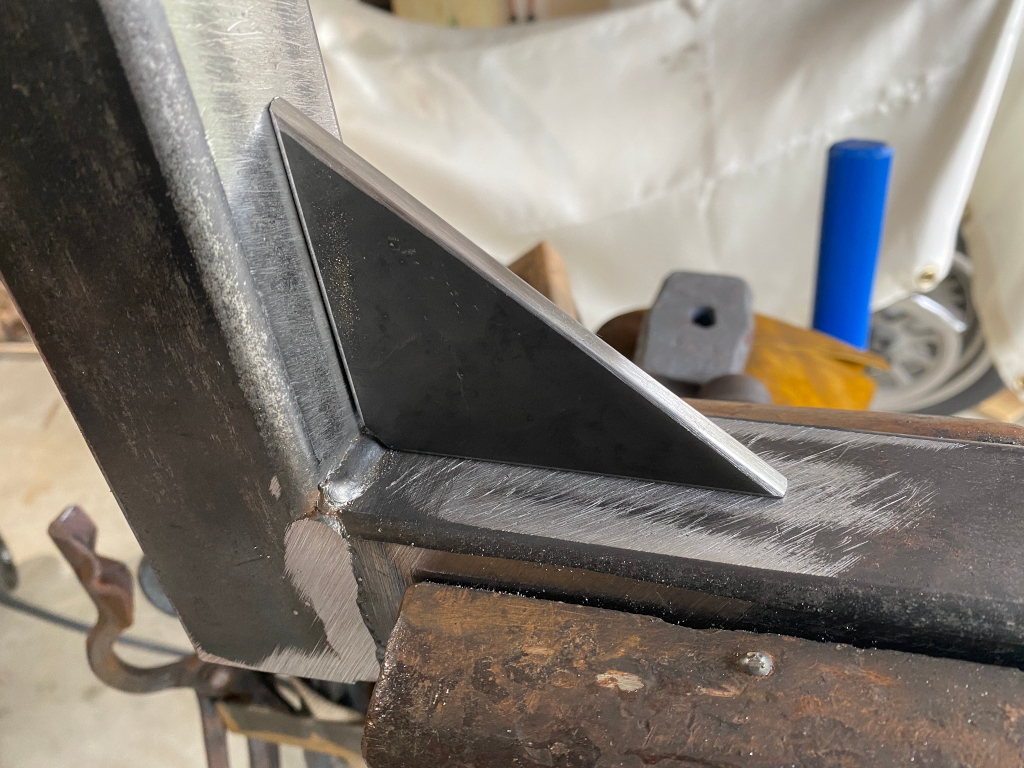
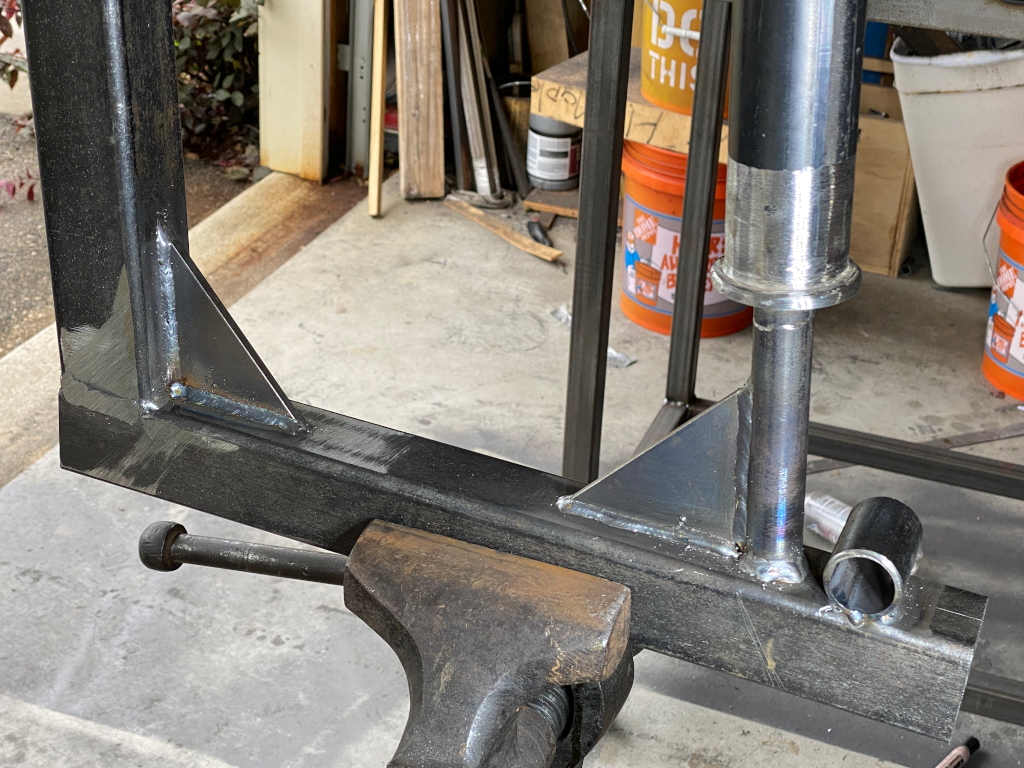
Next, I wanted to reinforce the welded joints where they would be stressed the most. Good use for some scraps pieces from the seat plate. Its 1/4″ thick steel plate, and I cut them to fit the inside angles precisely, and then welded them in place.
Here I’m test-fitting the cross-bars. As you can see I drilled a couple 1″ holes. One at the the angle where it will pivot, and the other at the end where the leg brace pieces go.
Sorry for the bullshit names for things. I dont know what to call each piece so I’m making them up as I go along 😉

Test fitting the pads
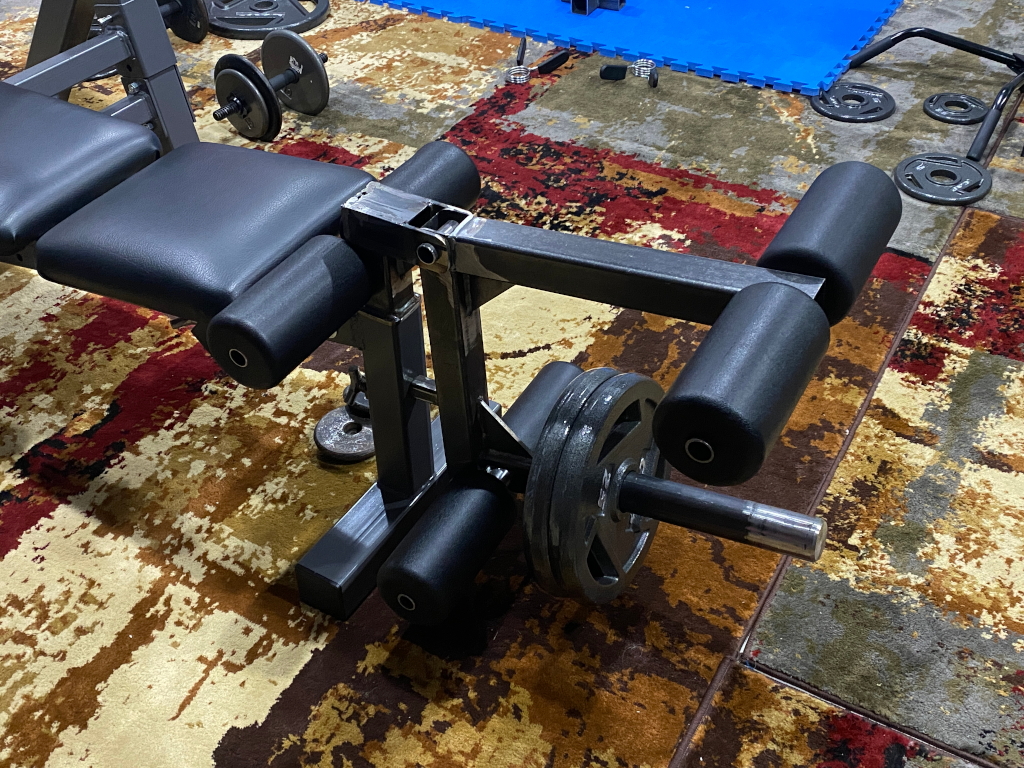
Now we see a clearer idea of how this works. I welded up the other half of this pivoting wonder, which is essentially a piece of 2×2 square tube with another, much shorter piece welded on top at 90 degree angle. Holes to match the corner hole of the pivoting piece are drilled, and the “hinge pin” is just another piece of 1″ round tube shoved through them all, forming a big hinge,
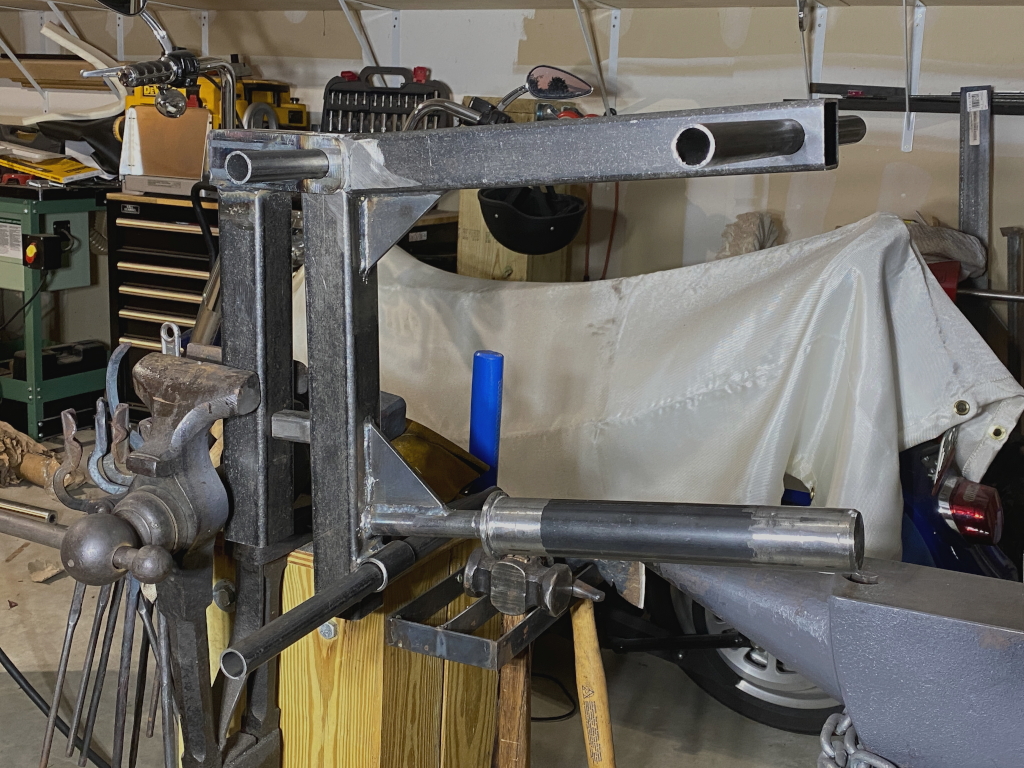
Another piece of 2″ tube is welded onto the back side of the upright for the last leg blace
and like the fixed position brace, that upright piece just slides into the bench and is locked in place with the clamping screw.