Well this is going to be a preacher curling bench for my workout room, and I’ll have another thread for the multi-function weight bench. I have no intention of getting into the fitness equipment manufacture business, these are for my own personal use. You’ll note I have a tendency to over-engineer. I get sick of the cheap materials and manufacturing that you find with consumer/home-use exercise equipment. Most of it is 16 gauge steel, and sized for people smaller than myself.
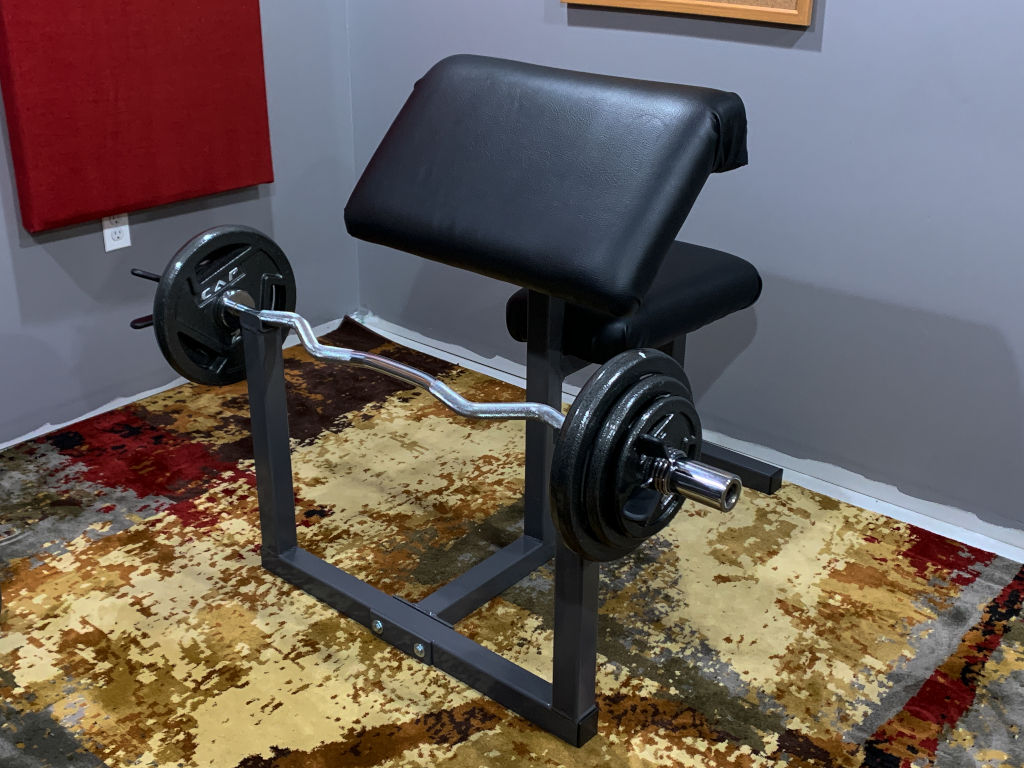
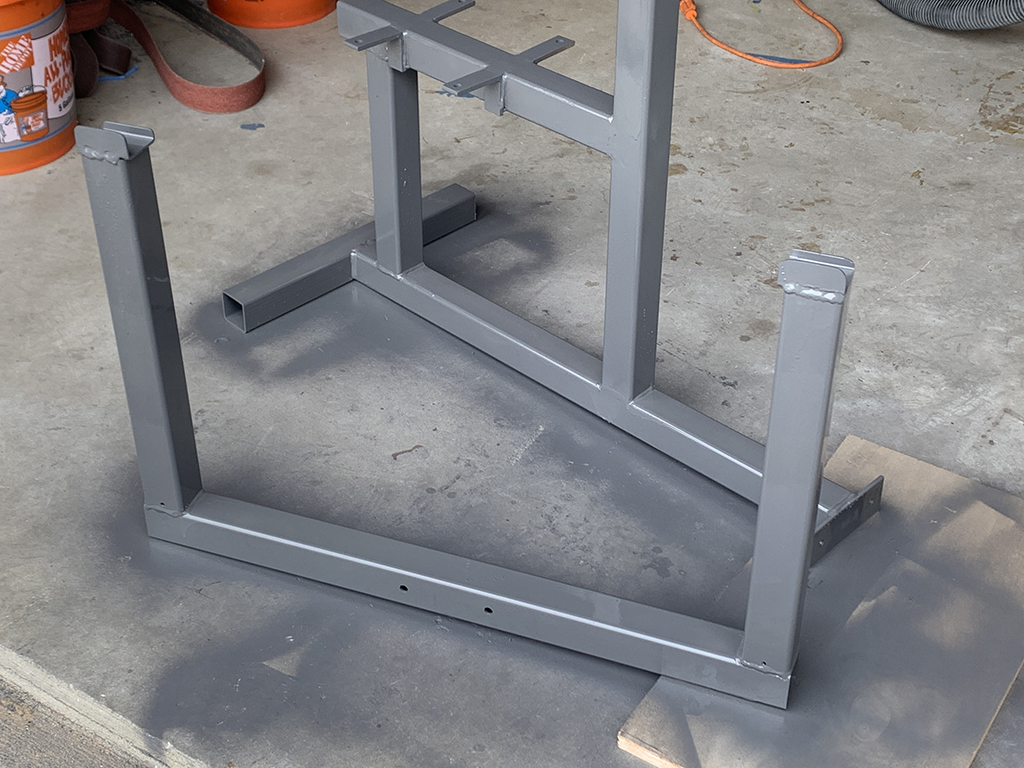
For starters, all my tubing is 11 gauge, which is double the thickness of 16 gauge, so roughly 8 times stronger. Also, this bench is not adjustible. I cut everything to my own exact measurements and its fully welded, so it will handle about 10x more weight than I will ever put on it.
Thats what I like in workout equipment. I dont EVER want to wonder if its going to break. You simply cant get that peace of mind or confidence with consumer-grade workout equipment.
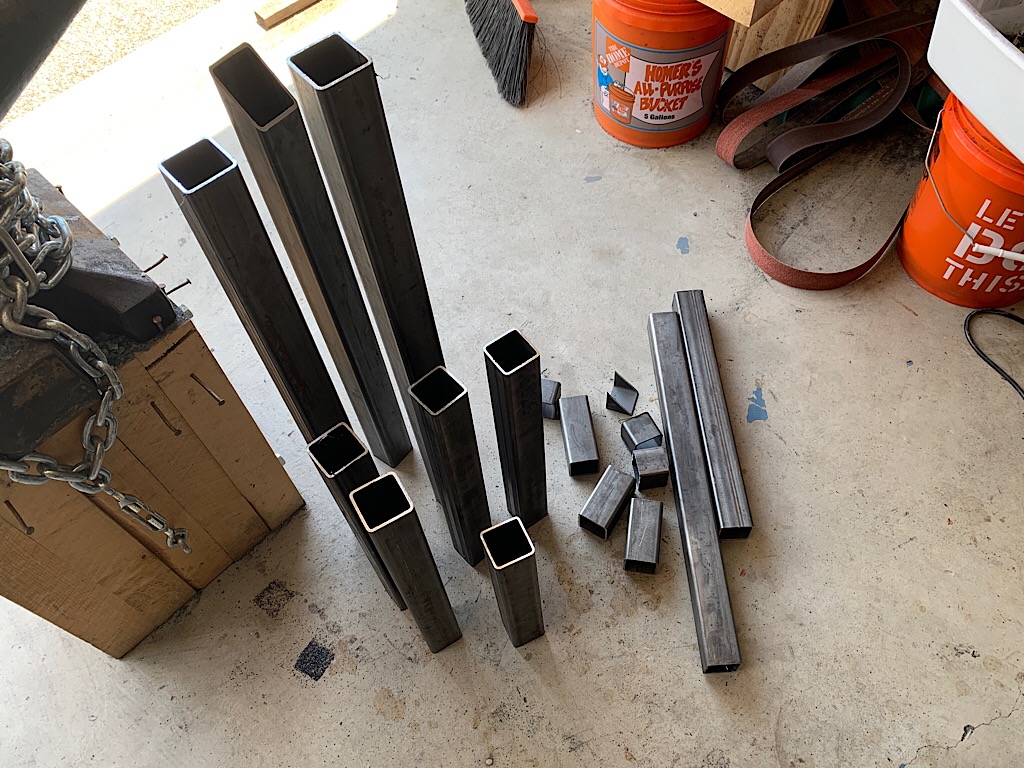
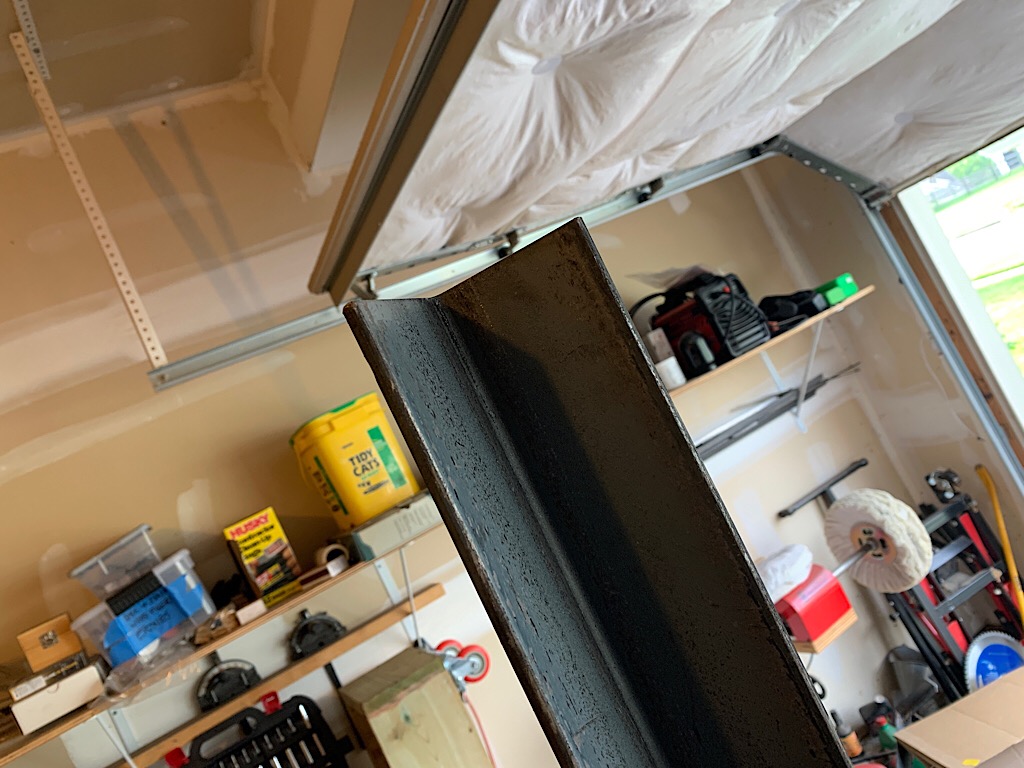
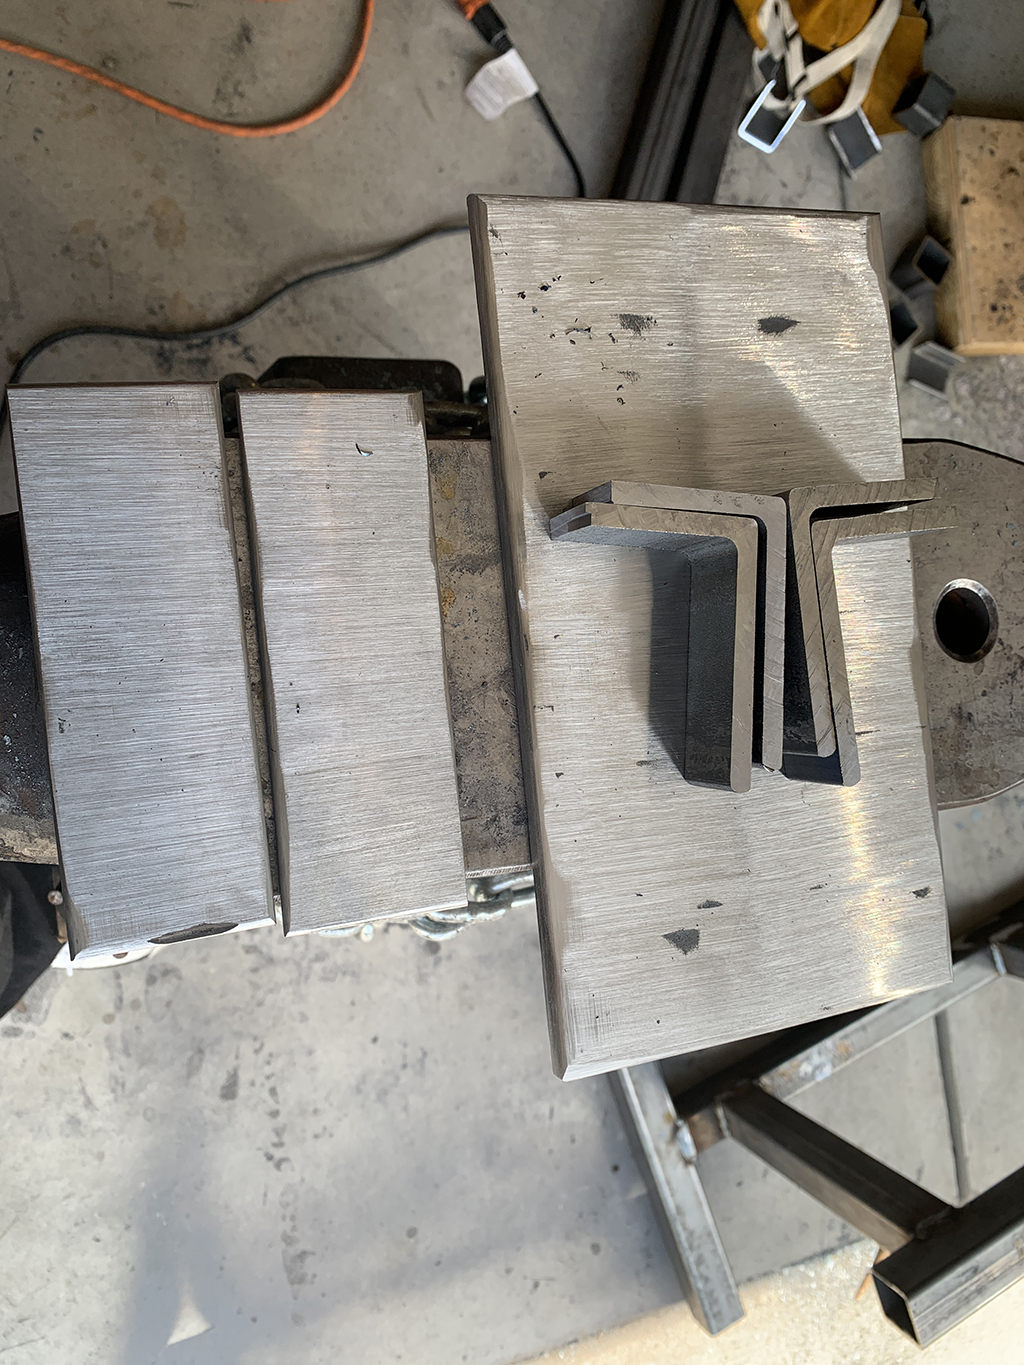
My stock is 2″ x 2″ square, hot-rolled, 11 gauge steel. In this shot I’ve already gone through my cut list, so these sections are all ready to weld.
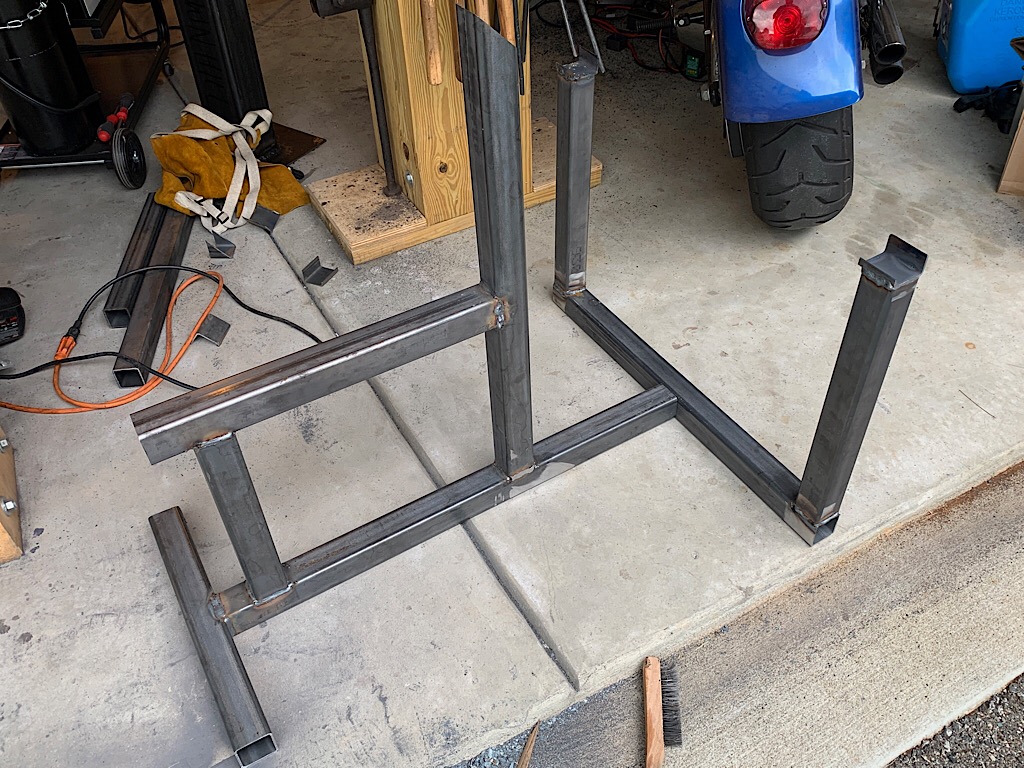
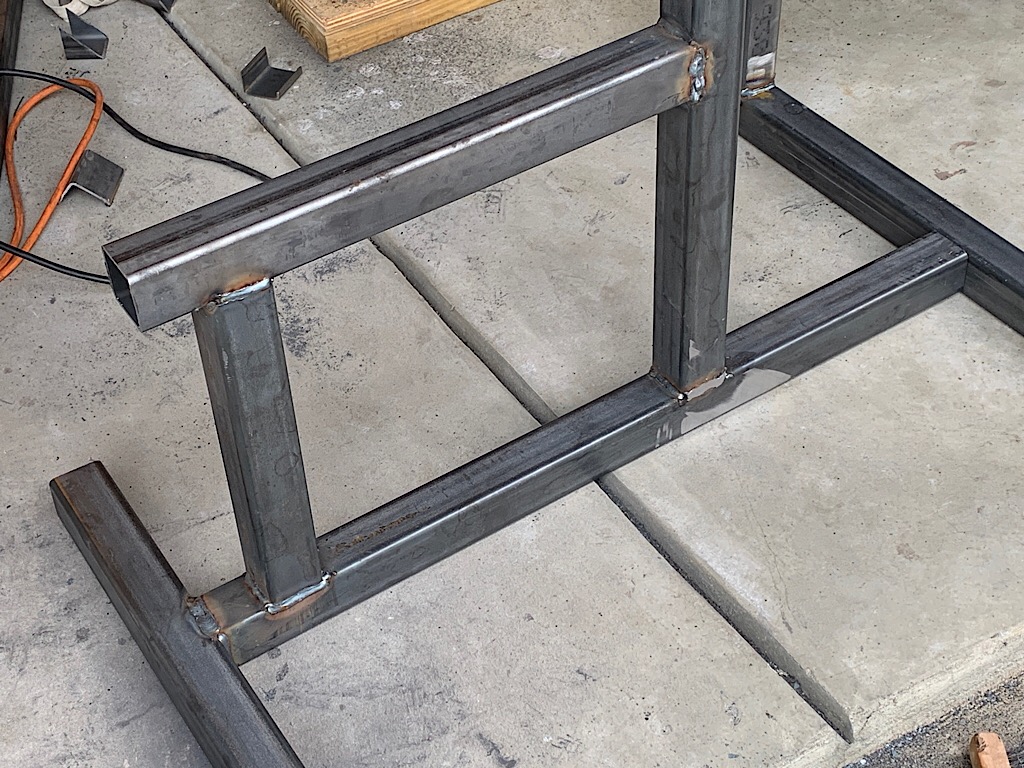
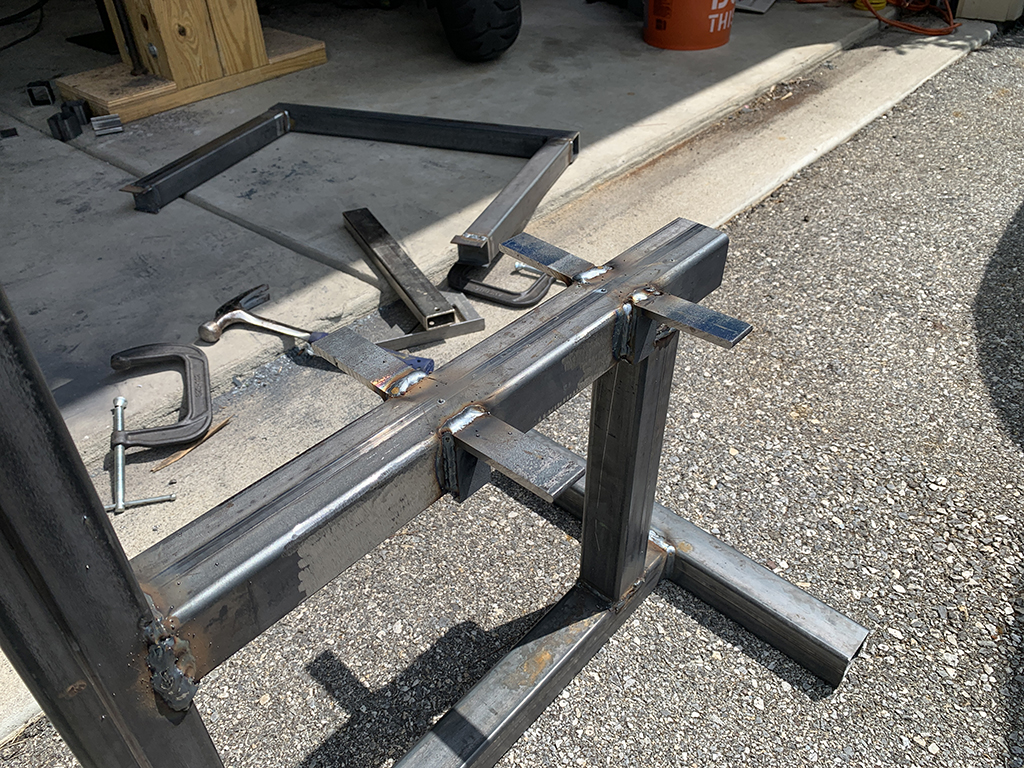
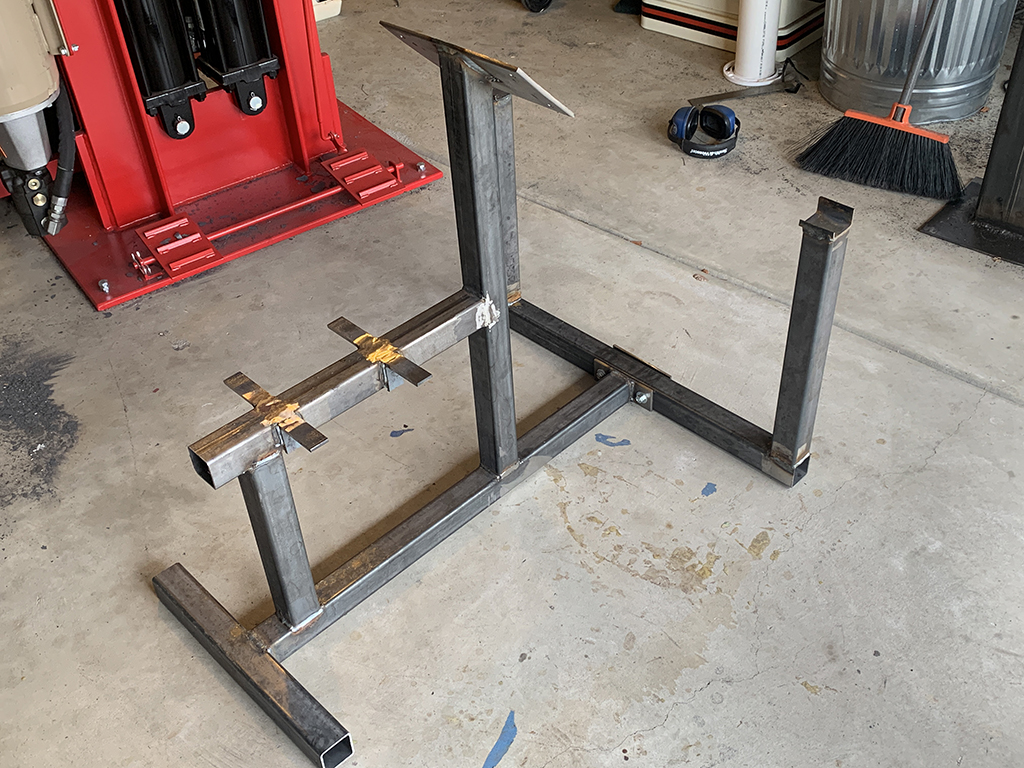
And since I cant take pix and weld at the same time, I went with welding. Here are the major pieces all welded up.
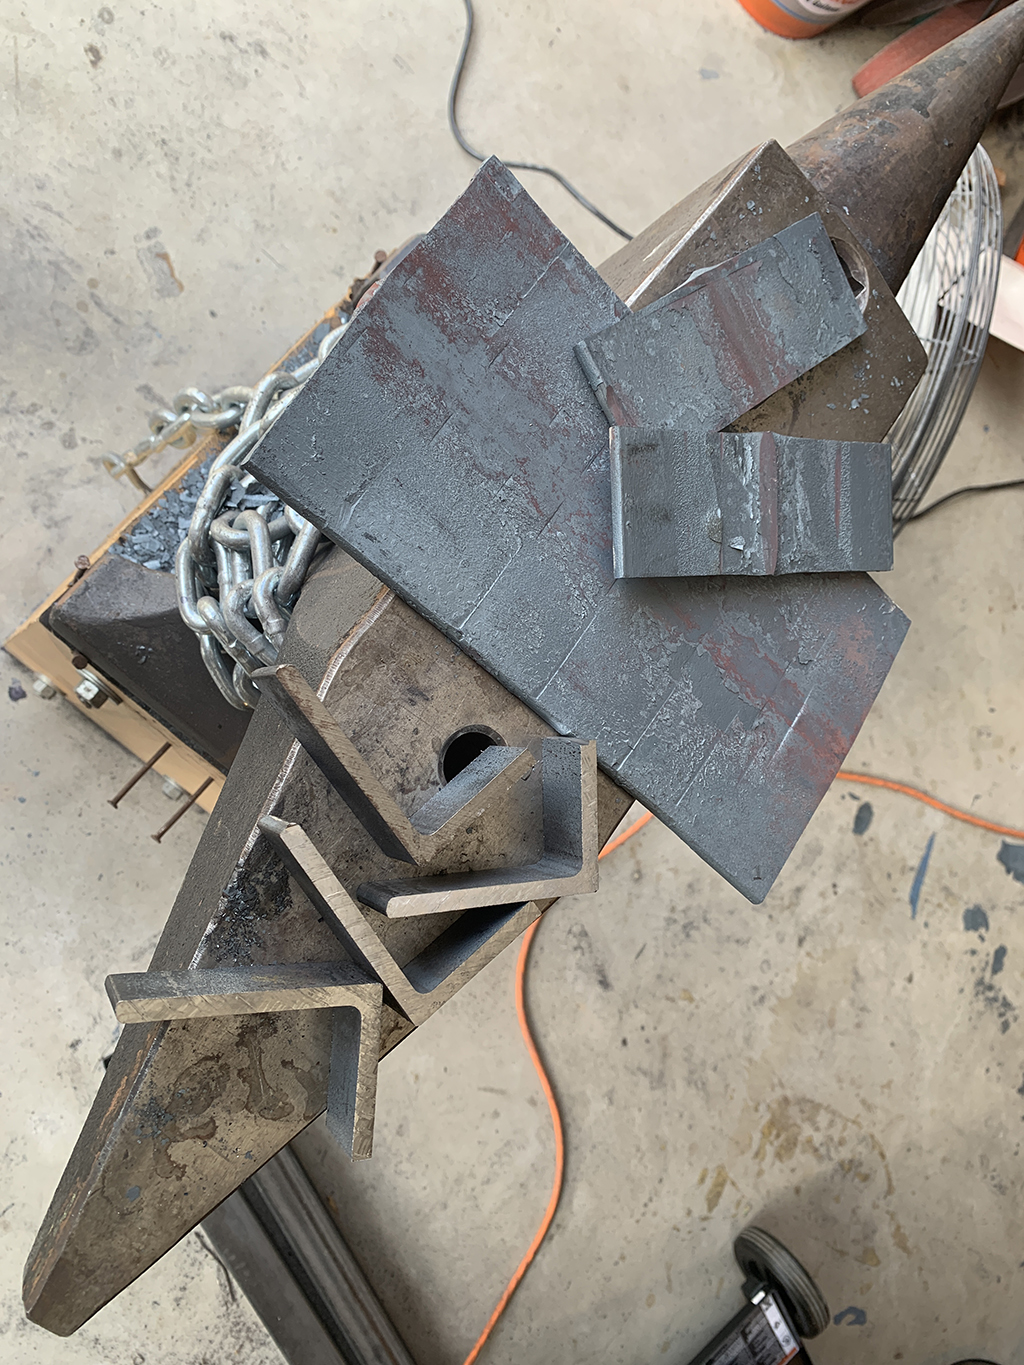
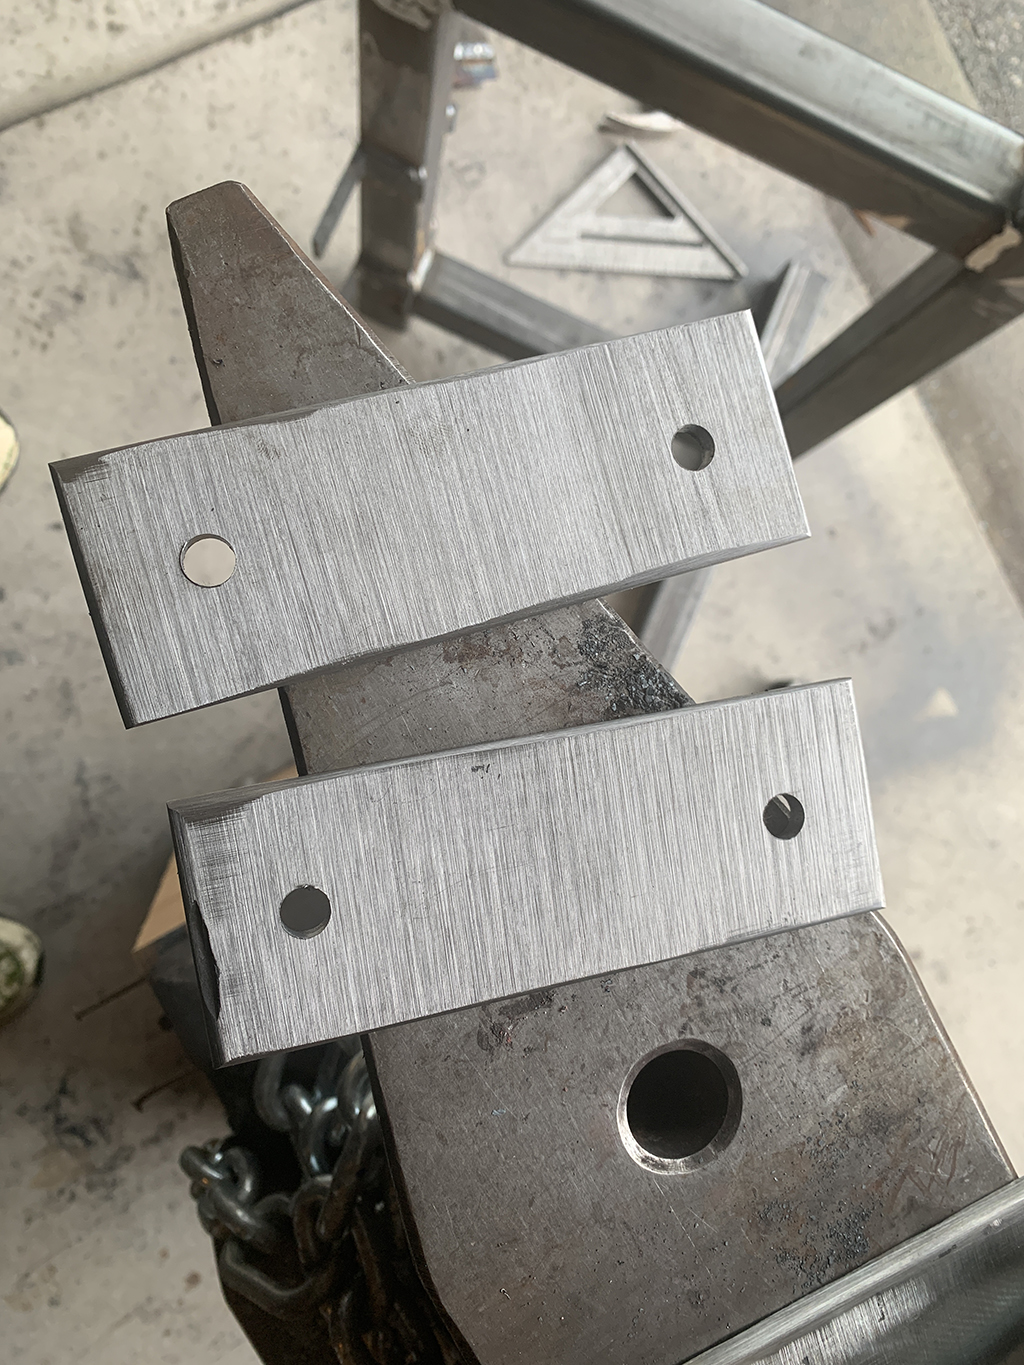
Next, I used a piece of leftover 3″ x 3″ x 0.25″ angle iron for my plates and flanges.
I took 4 slices off for my seat brackets…
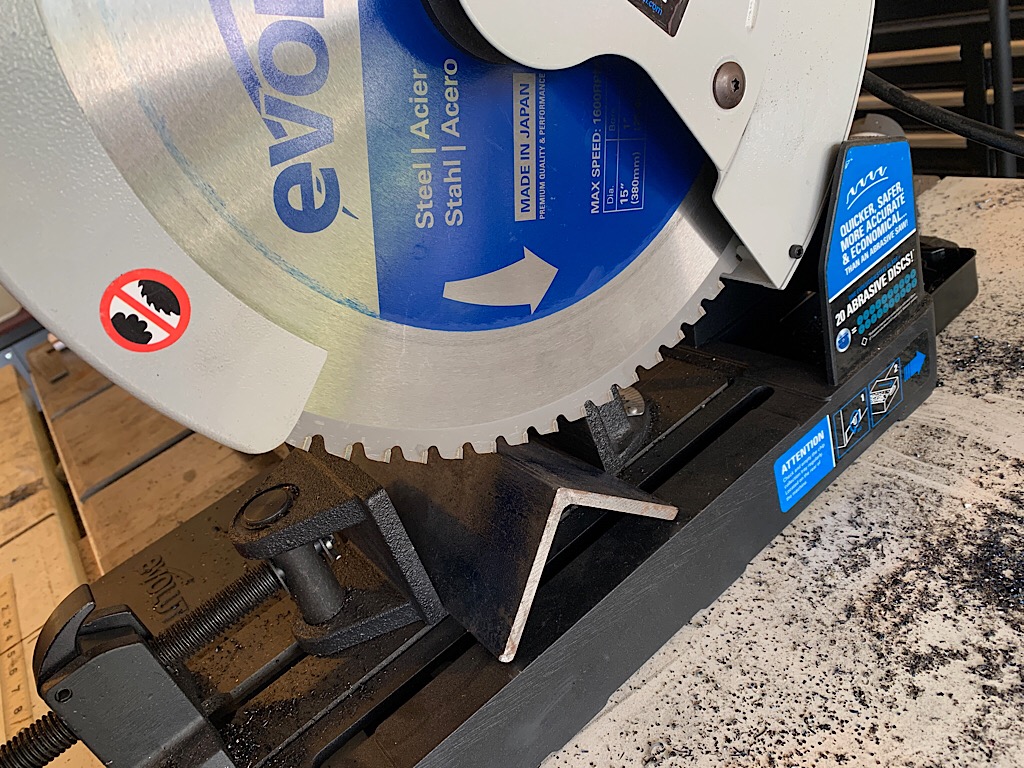
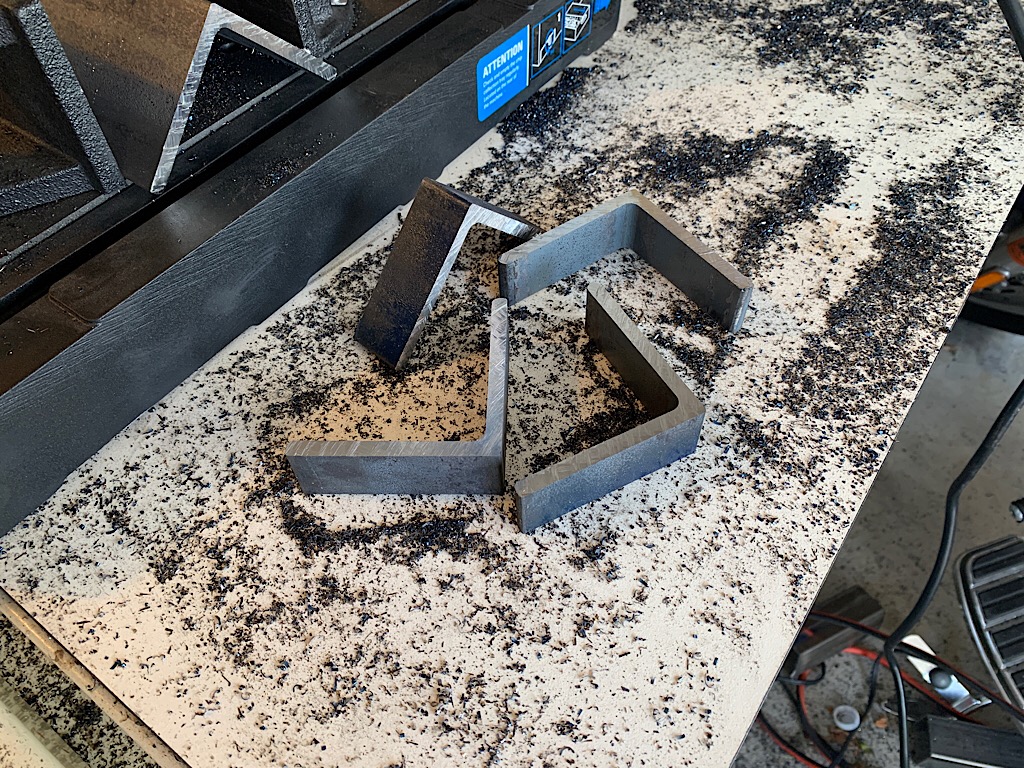
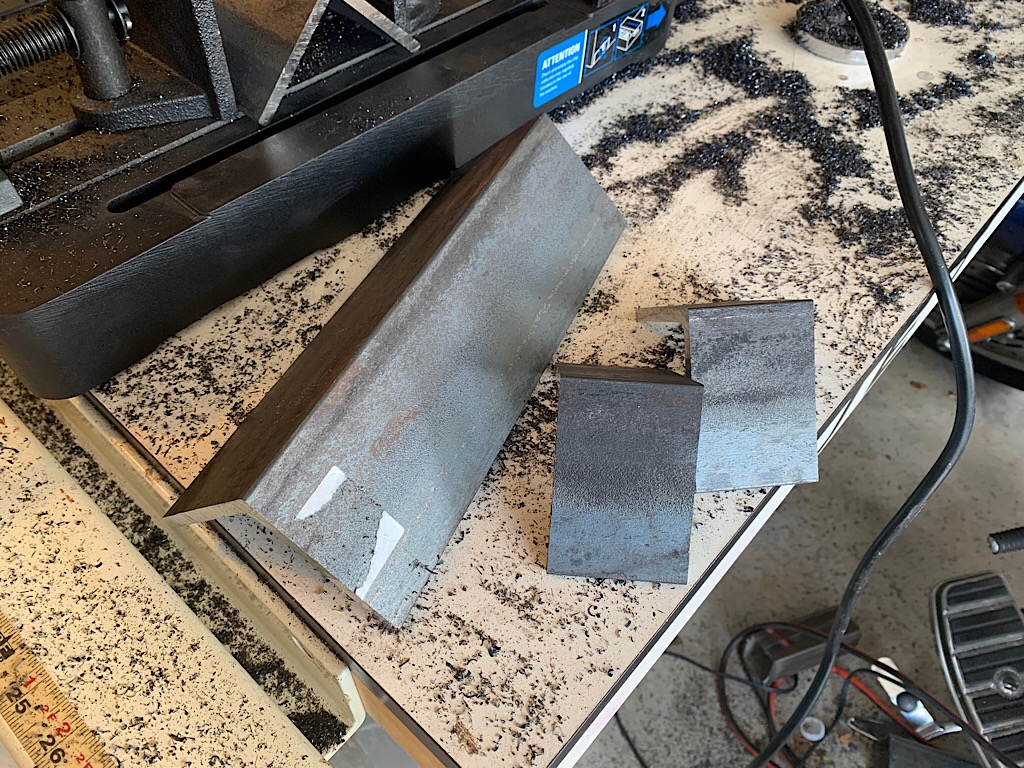
Two larger 2″ slices for the flanges, and one 10″ piece for the arm rest deck plate.
Wit the exception of the seat brackets, the flanges and deck plate need to be flat, so into the forge they go
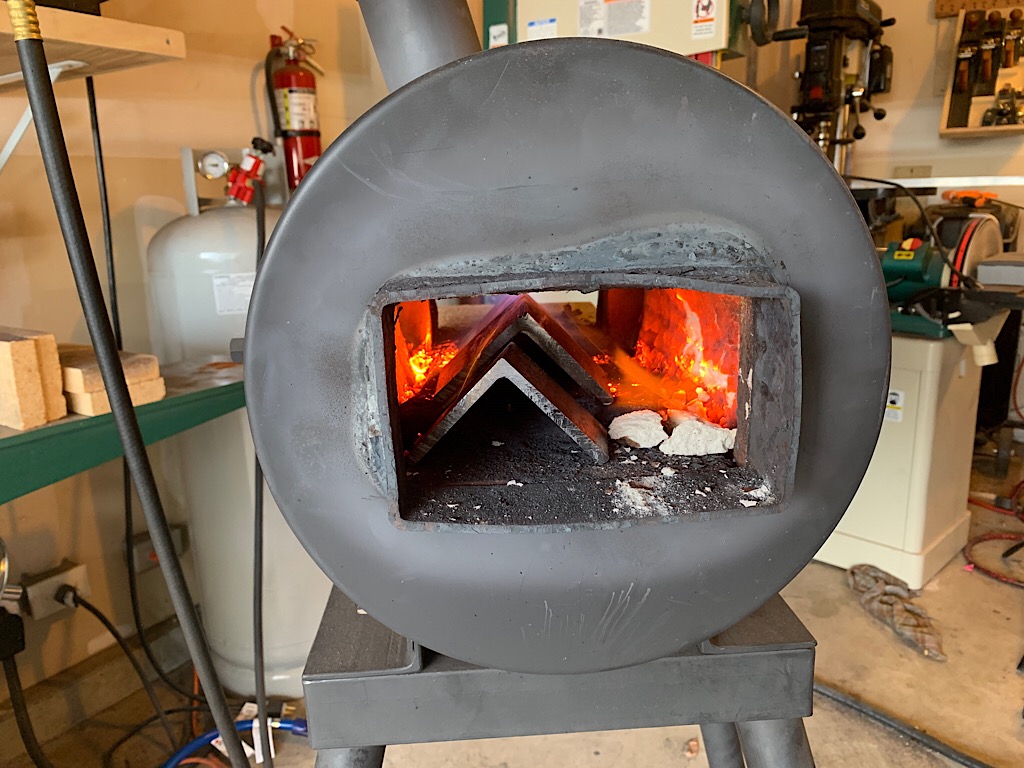
Heated to about 1800 F, I can then mash them flat in my hydraulic press

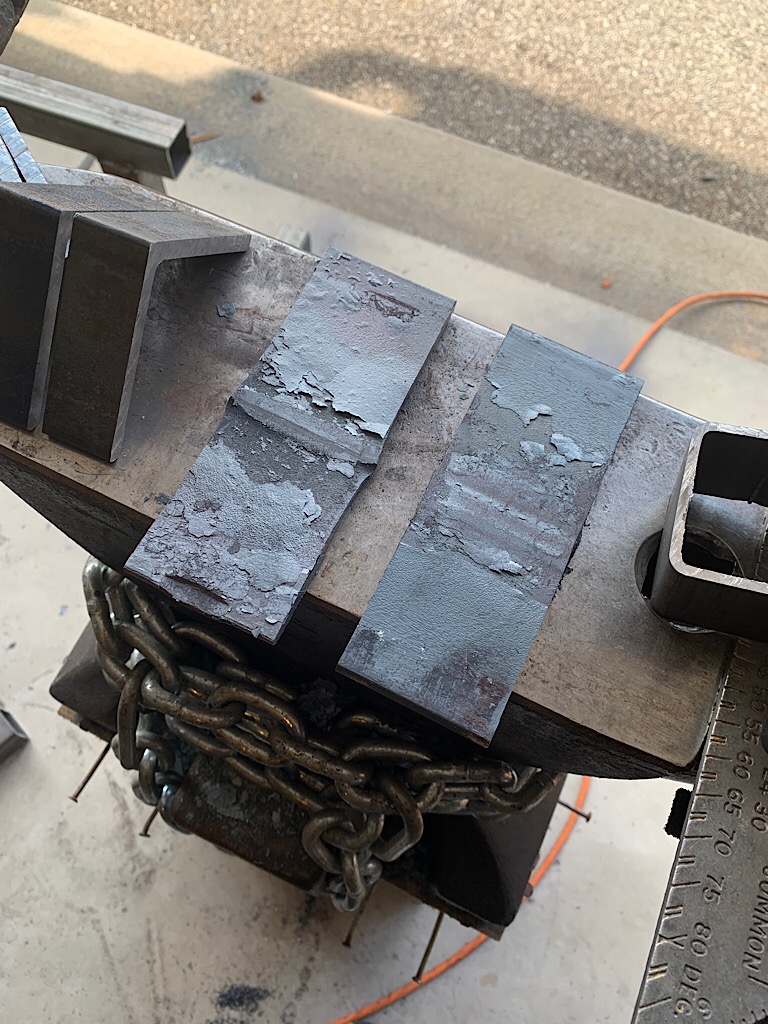
2 flat(ish) pieces. The rest can be ground flat on the grinder
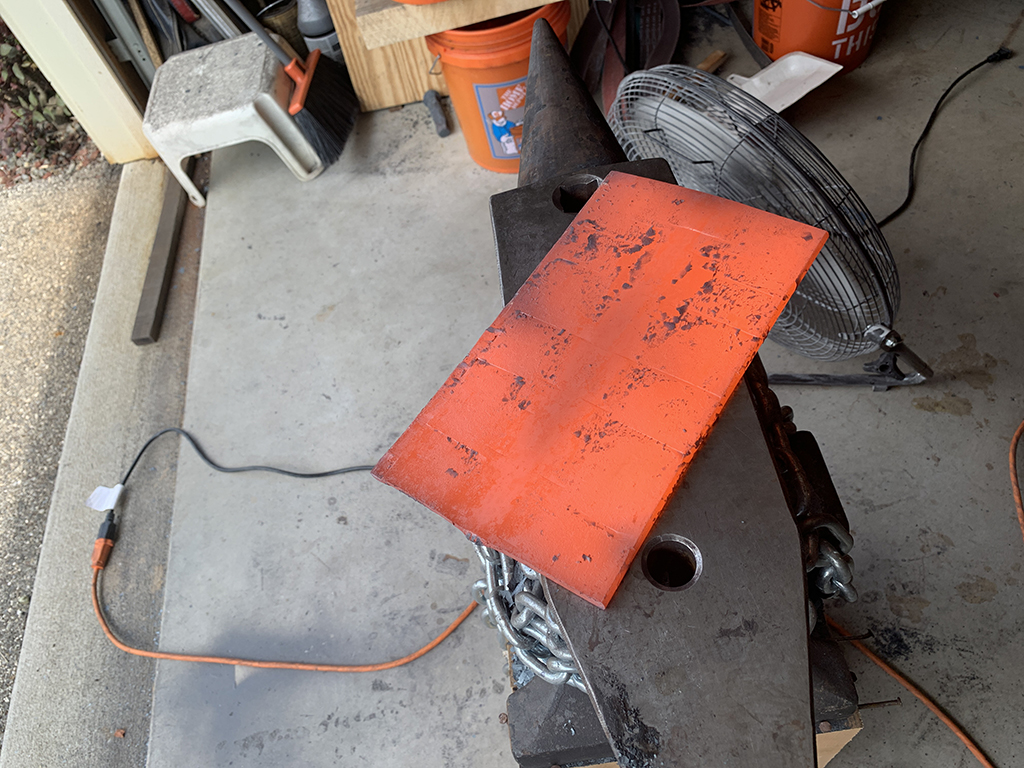
This is the 10″ piece of angle iron fresh out of the press…
Ta da. Cooled off. Some time on the grinder will remove the forge scale…
All cleaned up (mostly)
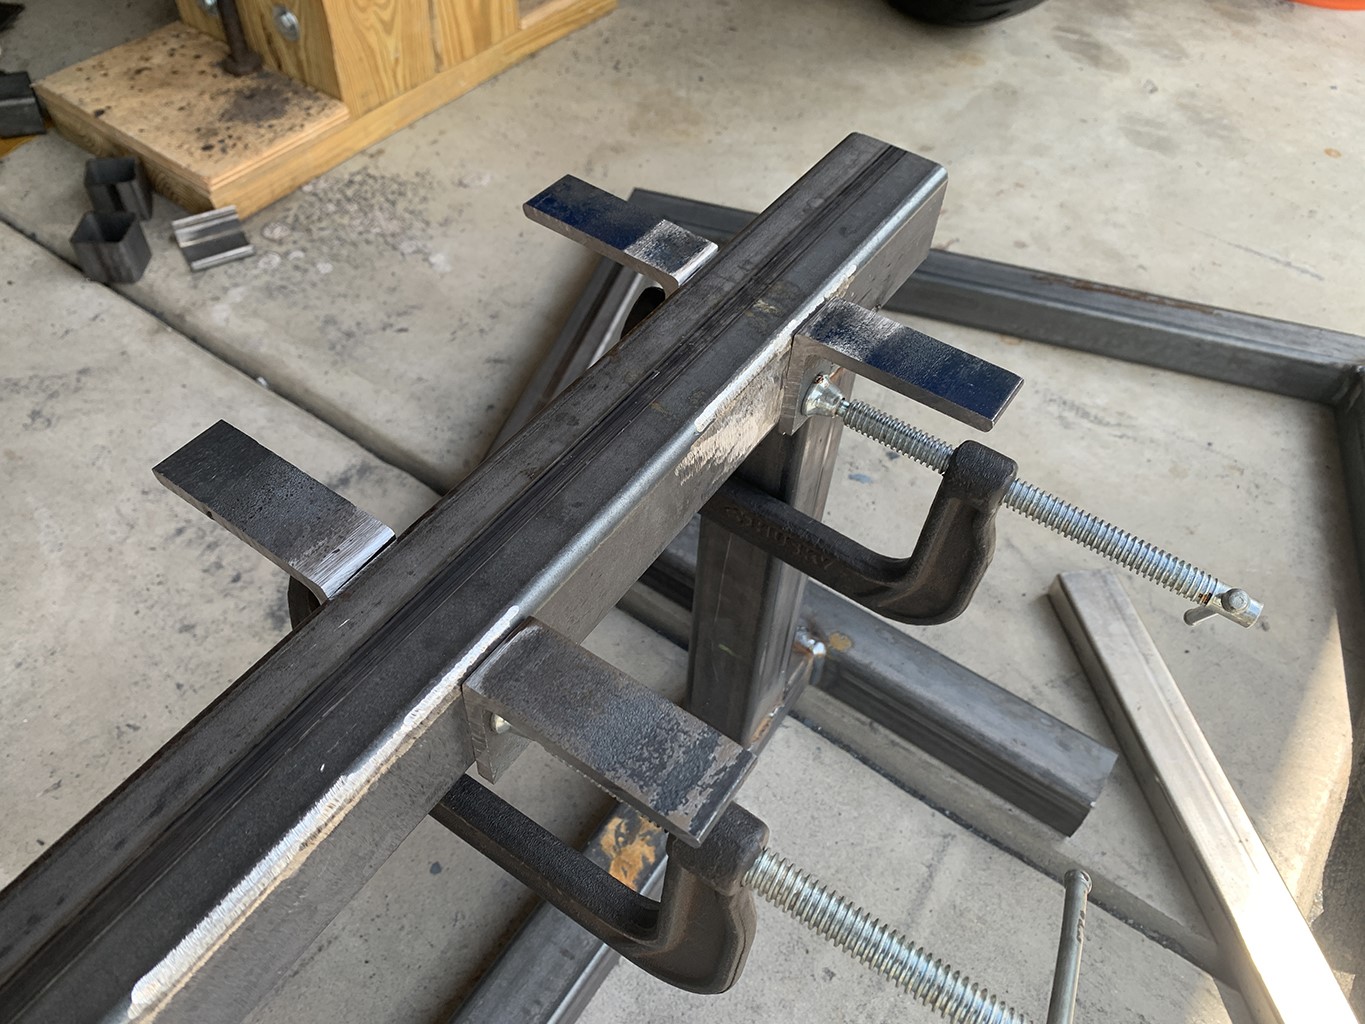
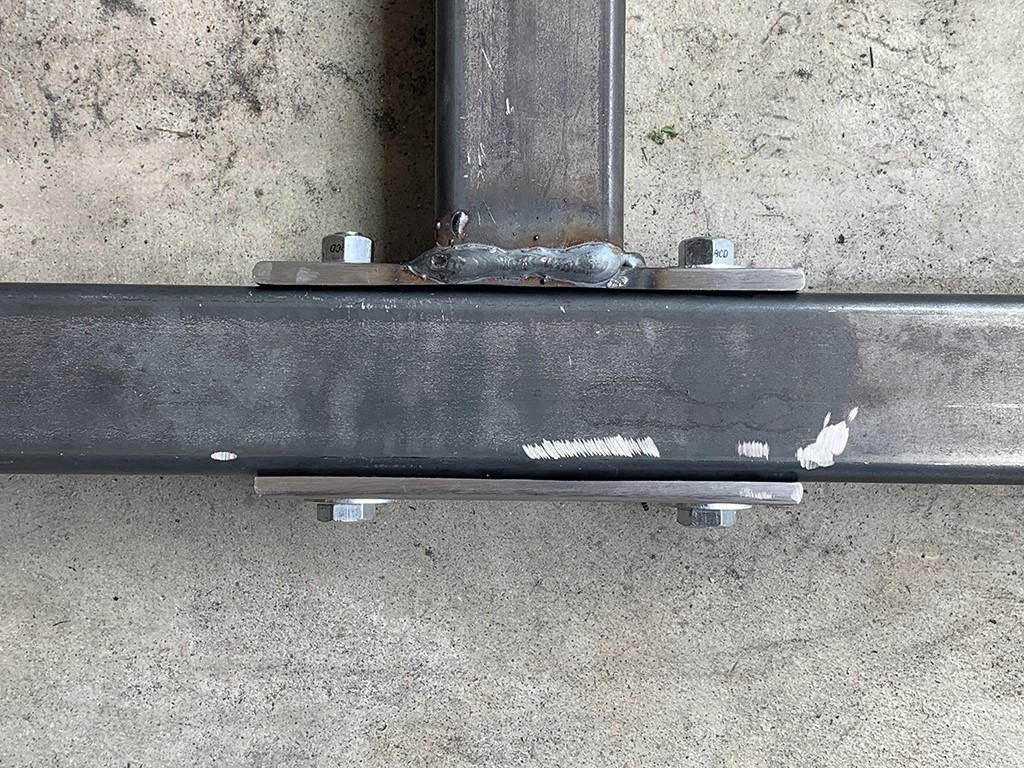
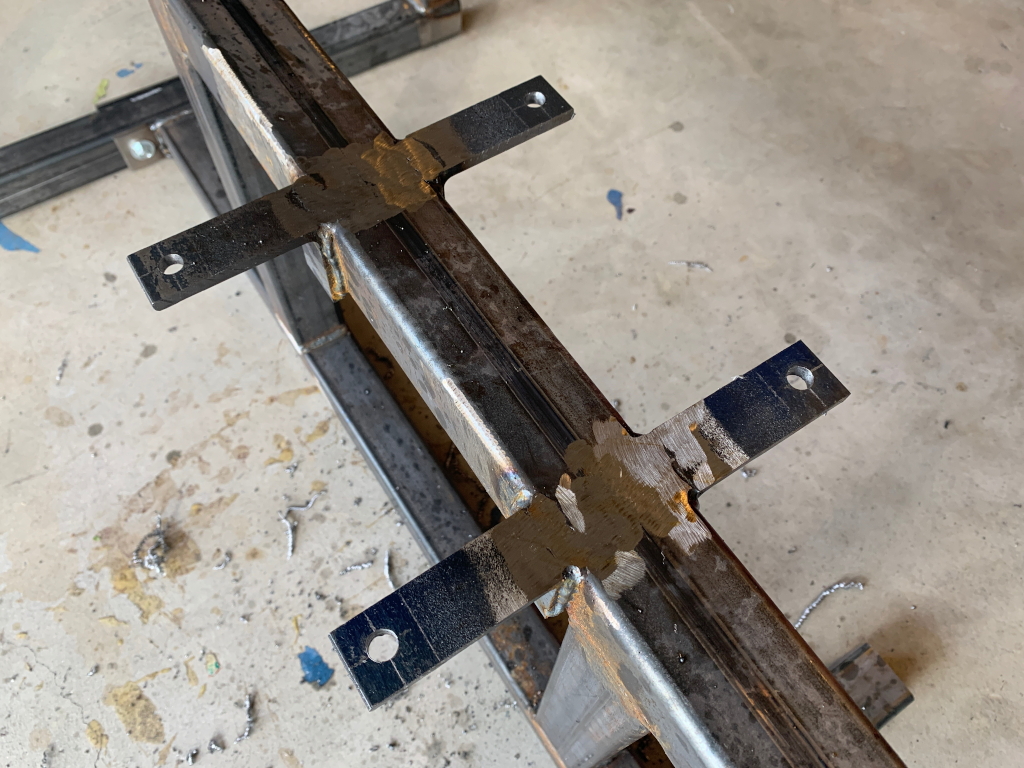
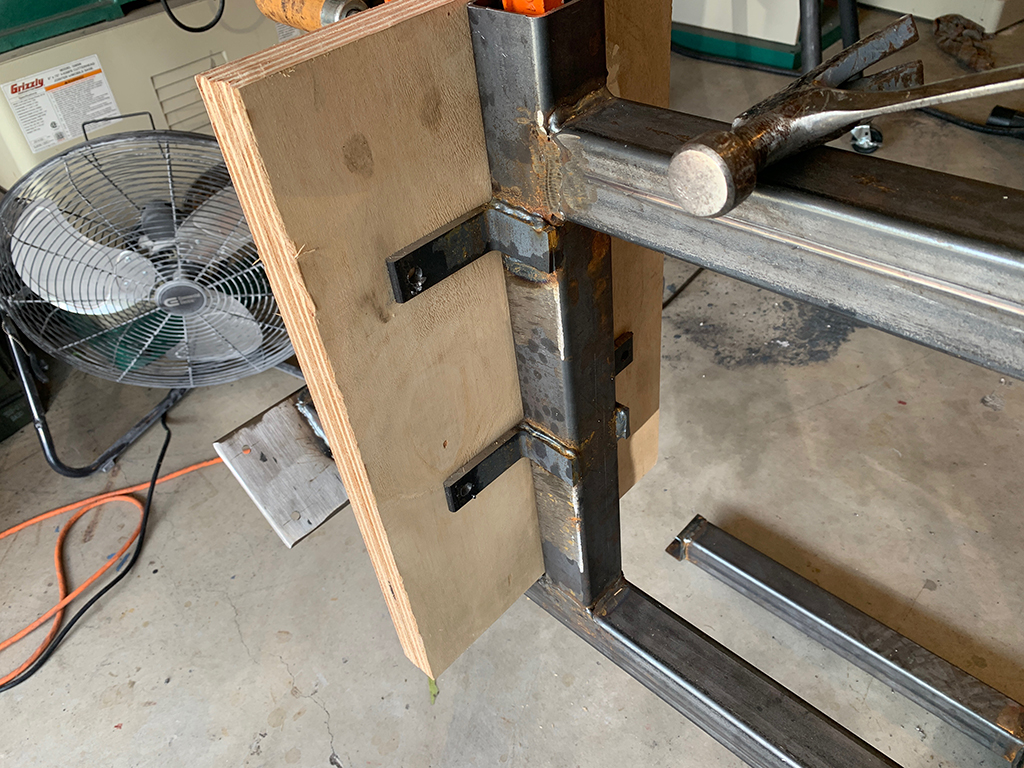
The pieces of angle iron are positioned and held in place on the sides of the seat beam with clamps, and then welded permanently in place.
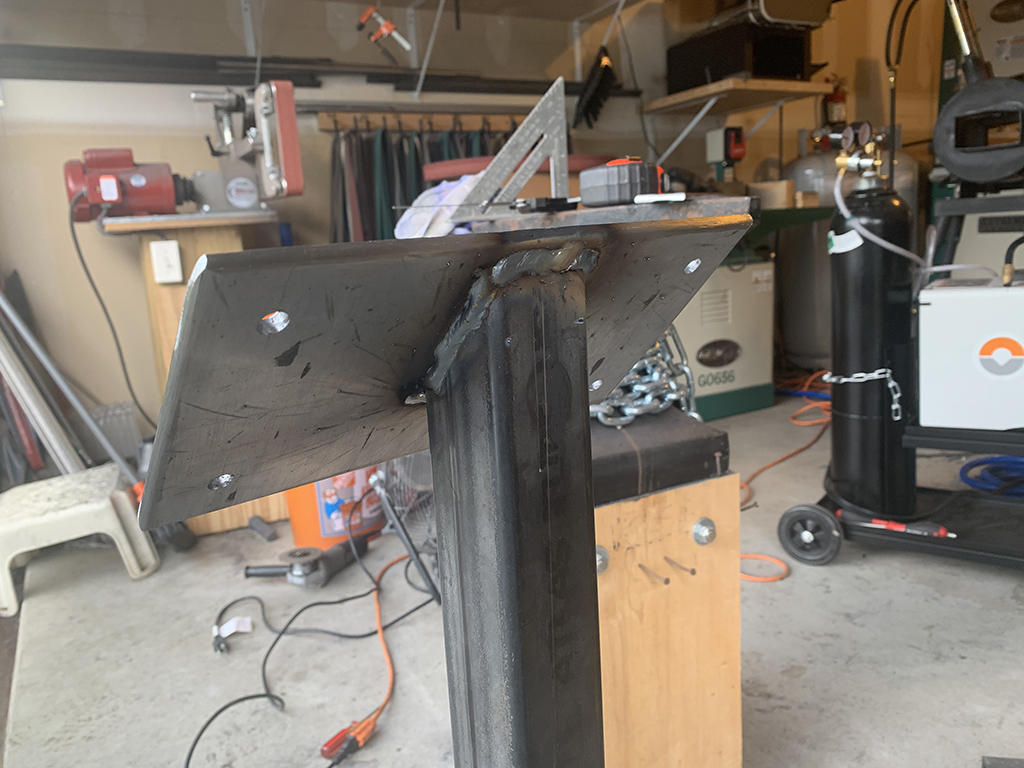
Holes are drilled in the flanges and deck plate.

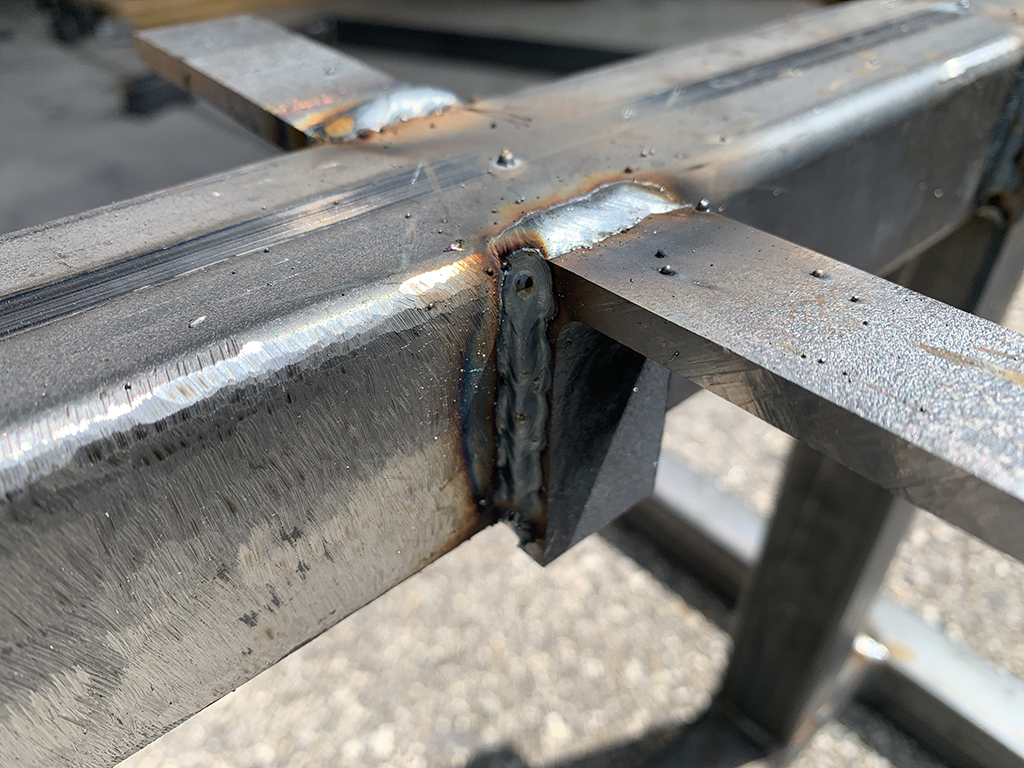
The deck plate is welded to the 45 degree cut top of the vertical support
and one of the smaller plates is welded to the end of the long base bar.
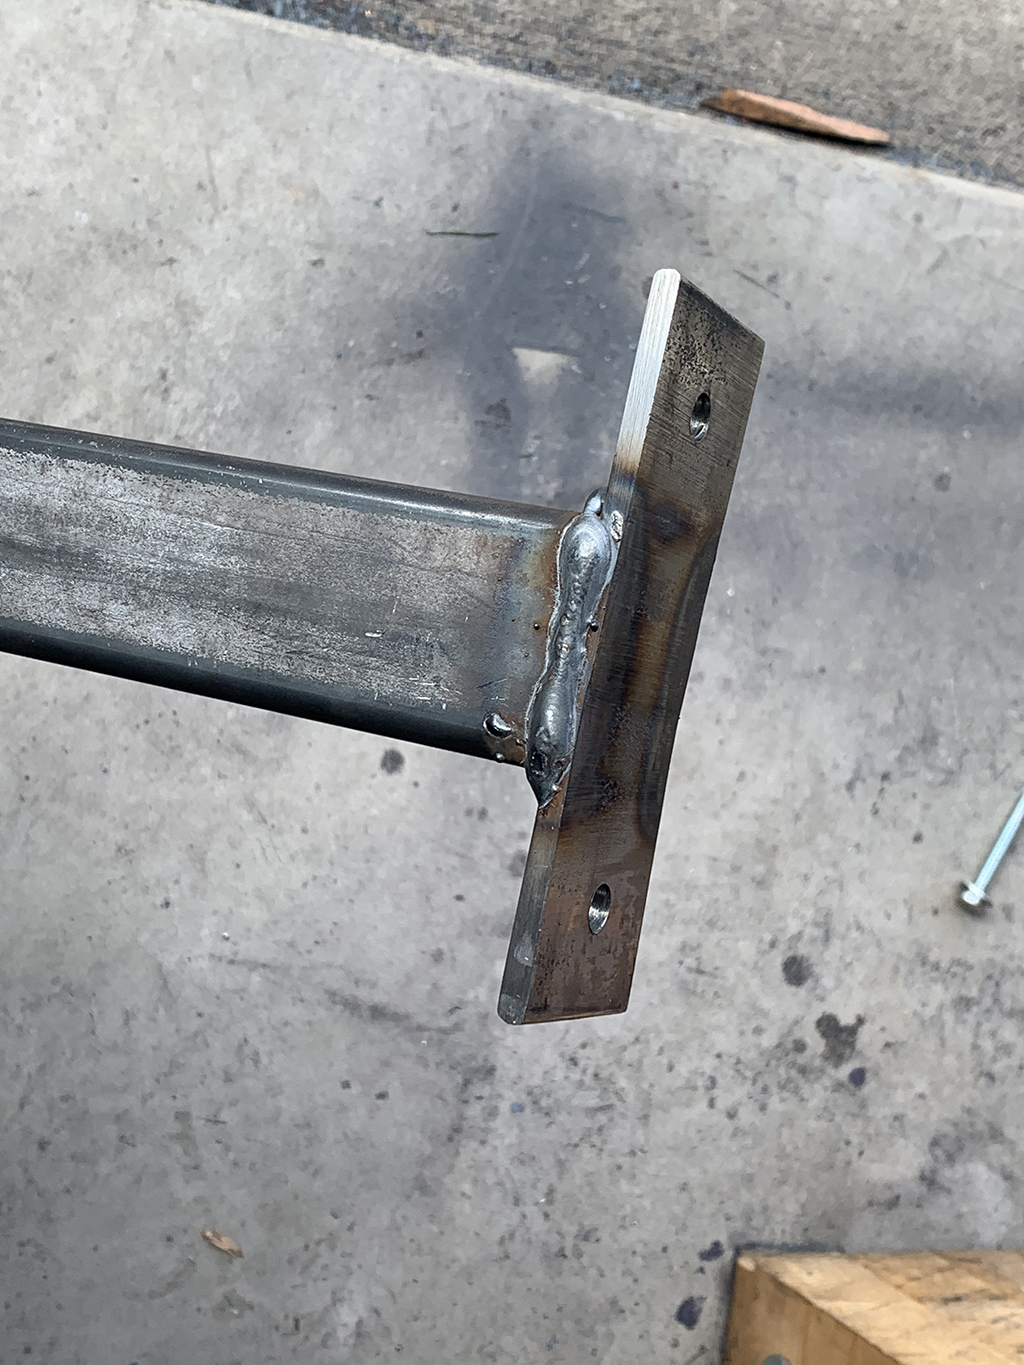
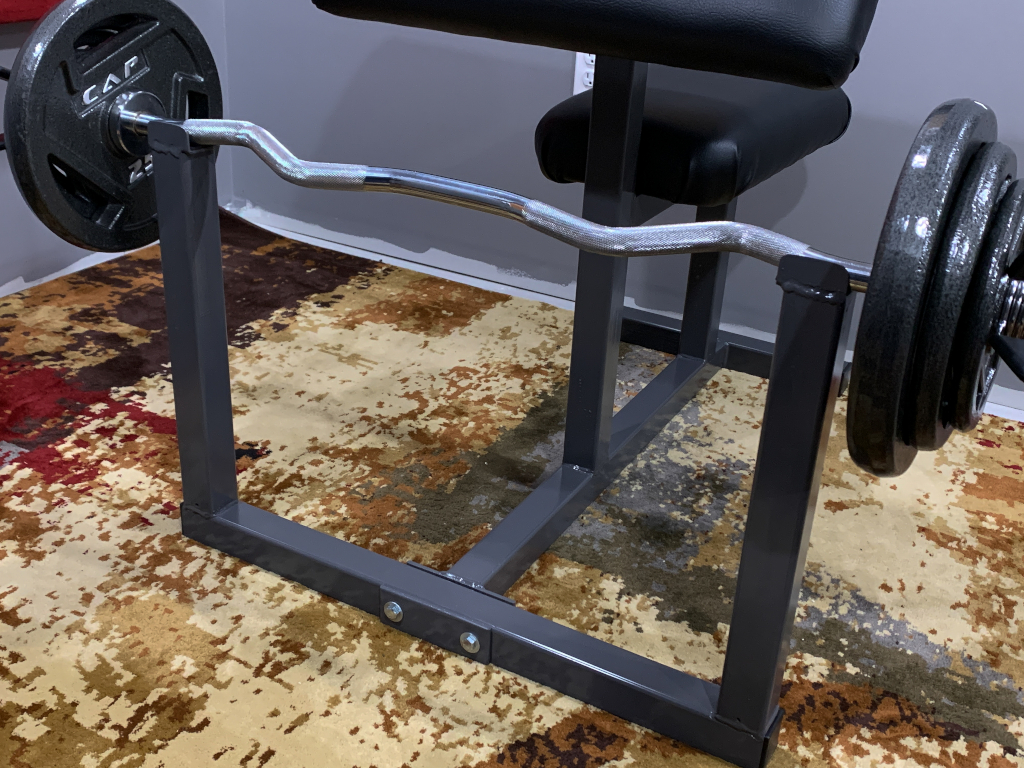
This can then be bolted to the bar support through the 3/8″ holes I drilled using 3/8″ bolts.
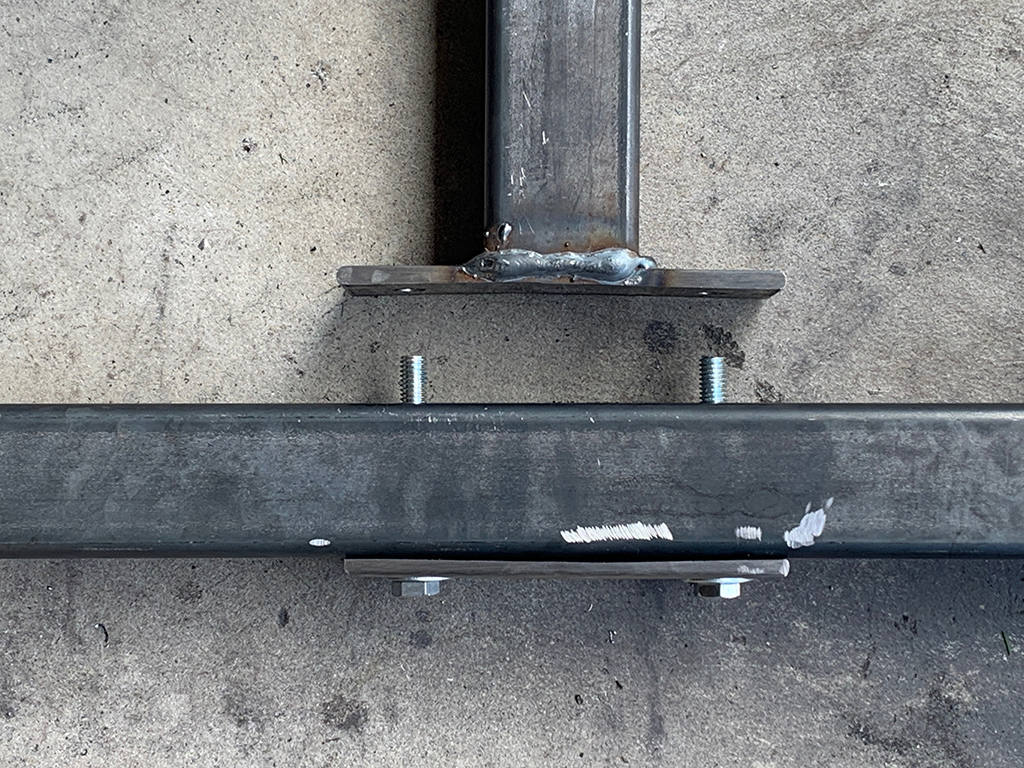
The reason I didn’t just weld this all into one piece is simply because its a LOT easier to manage the twp pieces on stairs and doorways as separate pieces.
I’ve seen this design in a couple different consumer curl benches, and I like it, so I used it with my own.
Getting ready fir the seat, I drilled 3/8″ holes in each of the seat brackets, and ground down some of the weld beads so the seat would sit flat and flush.
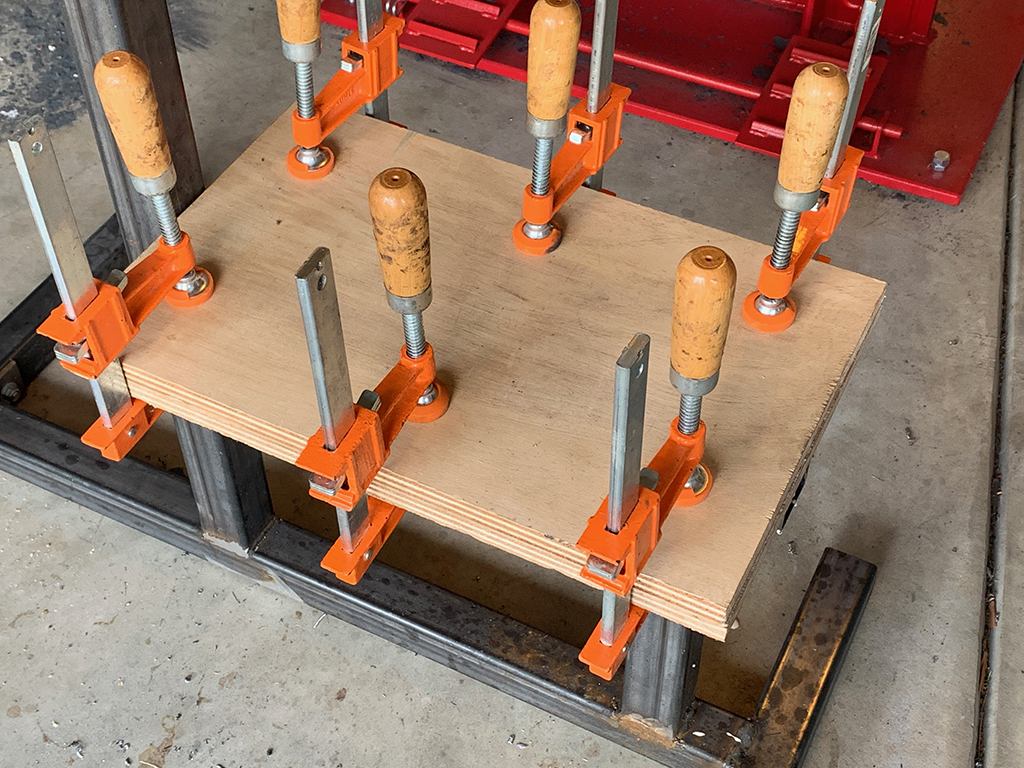
Next, for the seat I used 2 layers of 3/4″ plywood
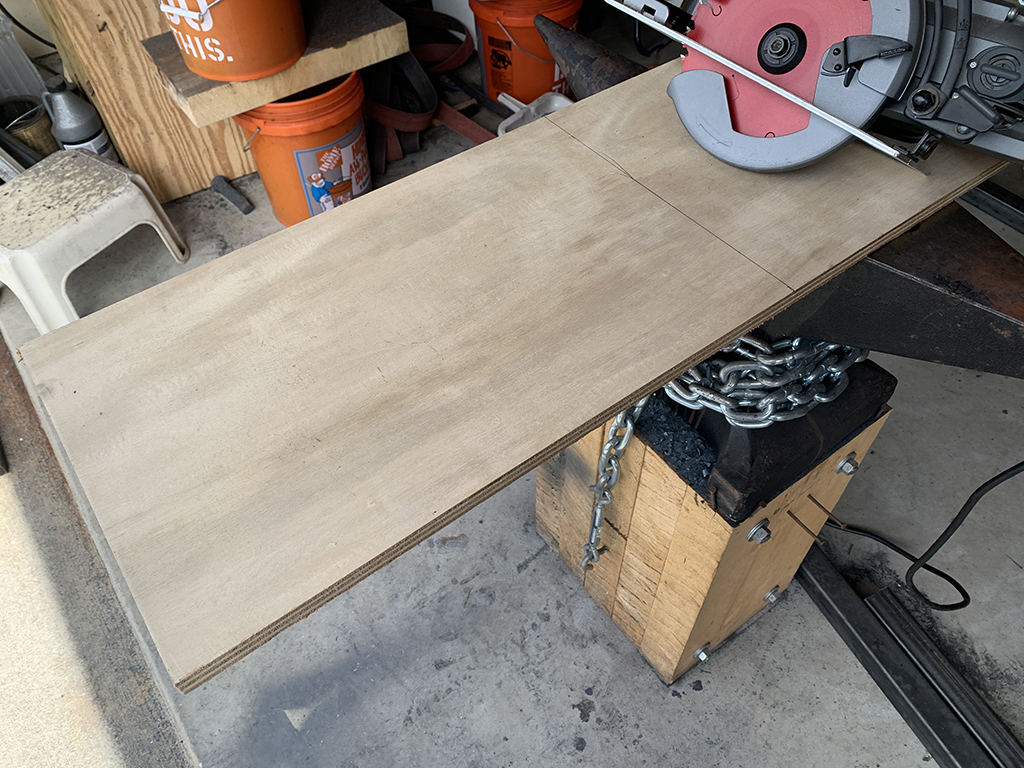
I cut and stacked them, and then places them on the bench and used my brackets to locate the holes for the bolts.
These are called “T nuts”. You drill through the board and tap them in, then you can use threaded bolts inserted from the opposite side.

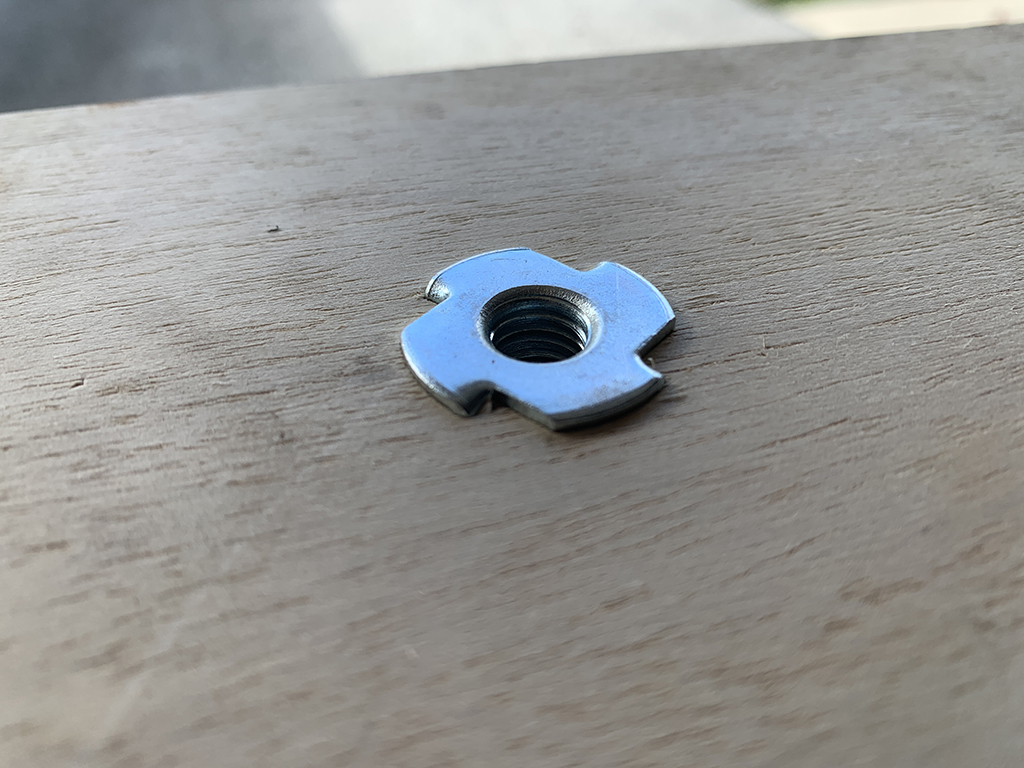
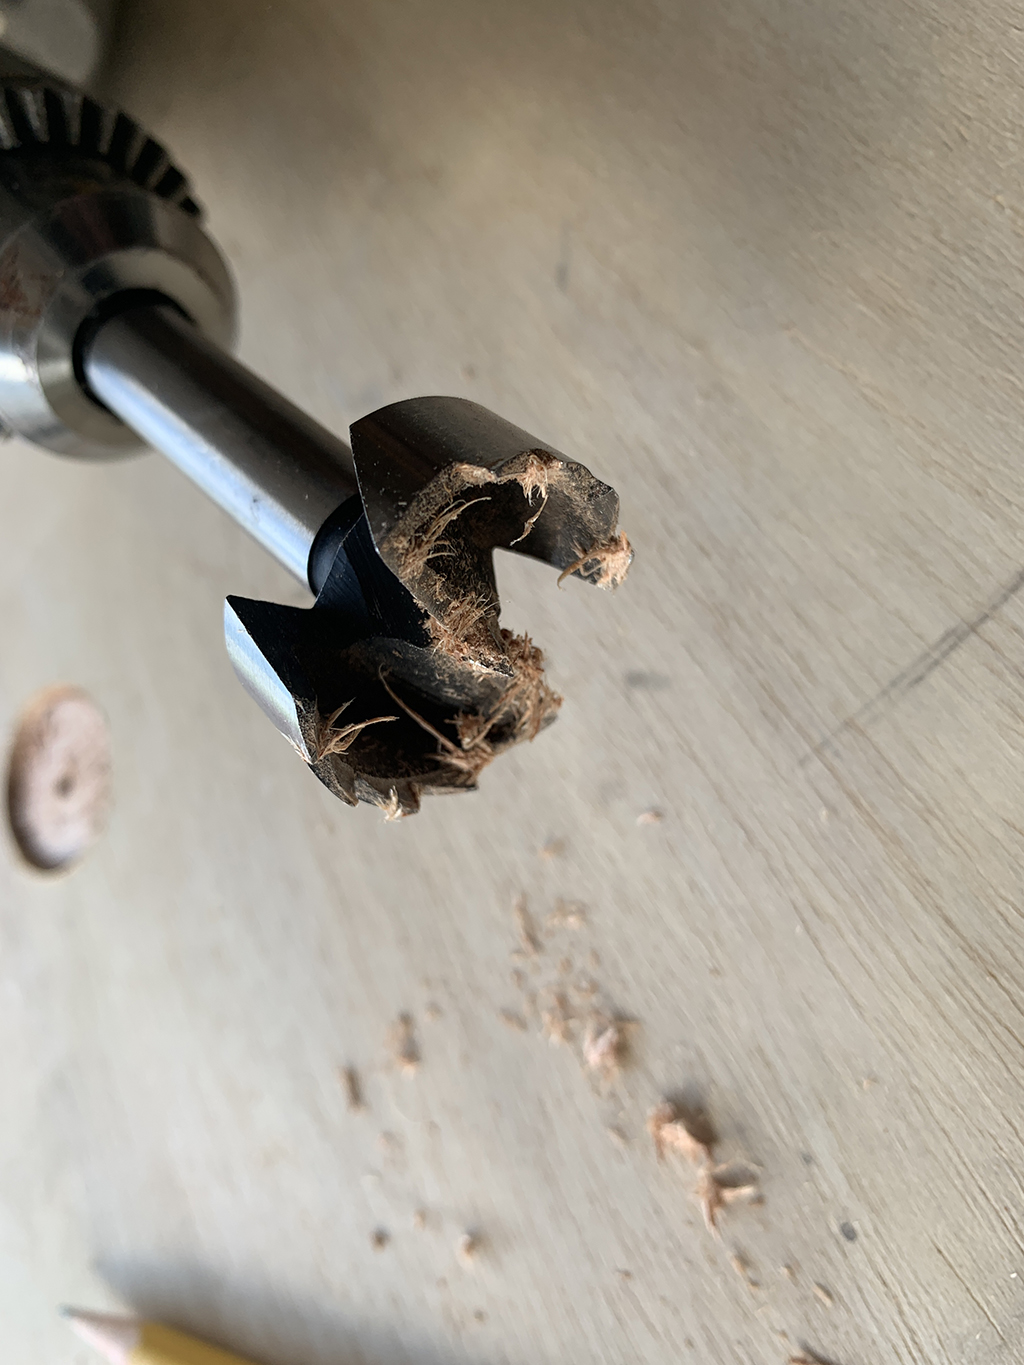
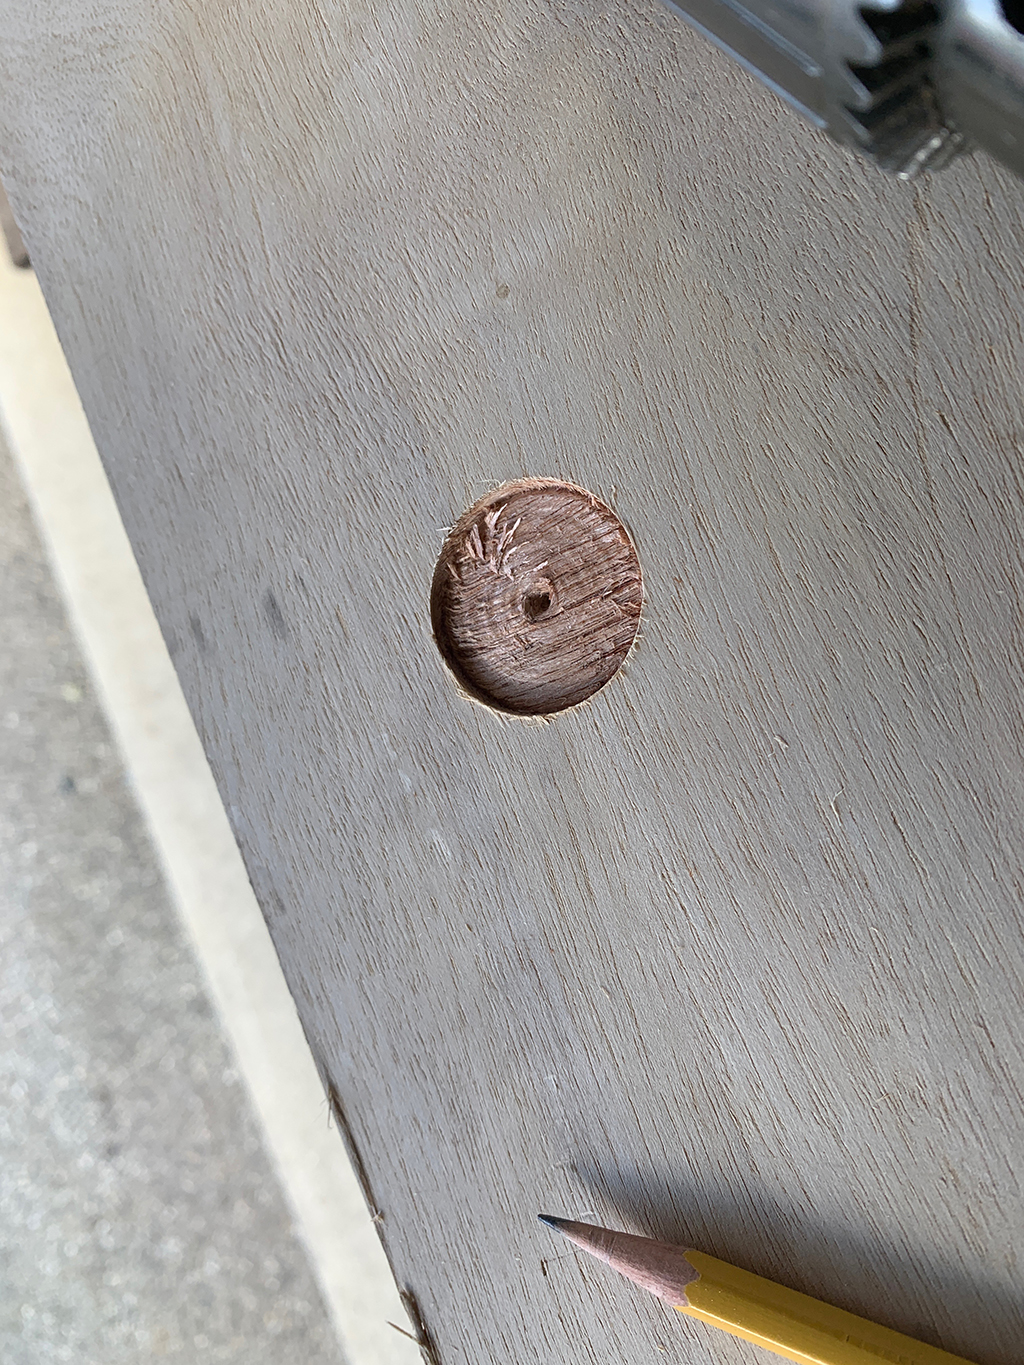
Because I used 2 layers of plywood with the T nuts in between, I used a forstner bit to drill relief holes in the other piece so it would sit flat on the T nuts.
then glued and clamped the top piece to the bottom.
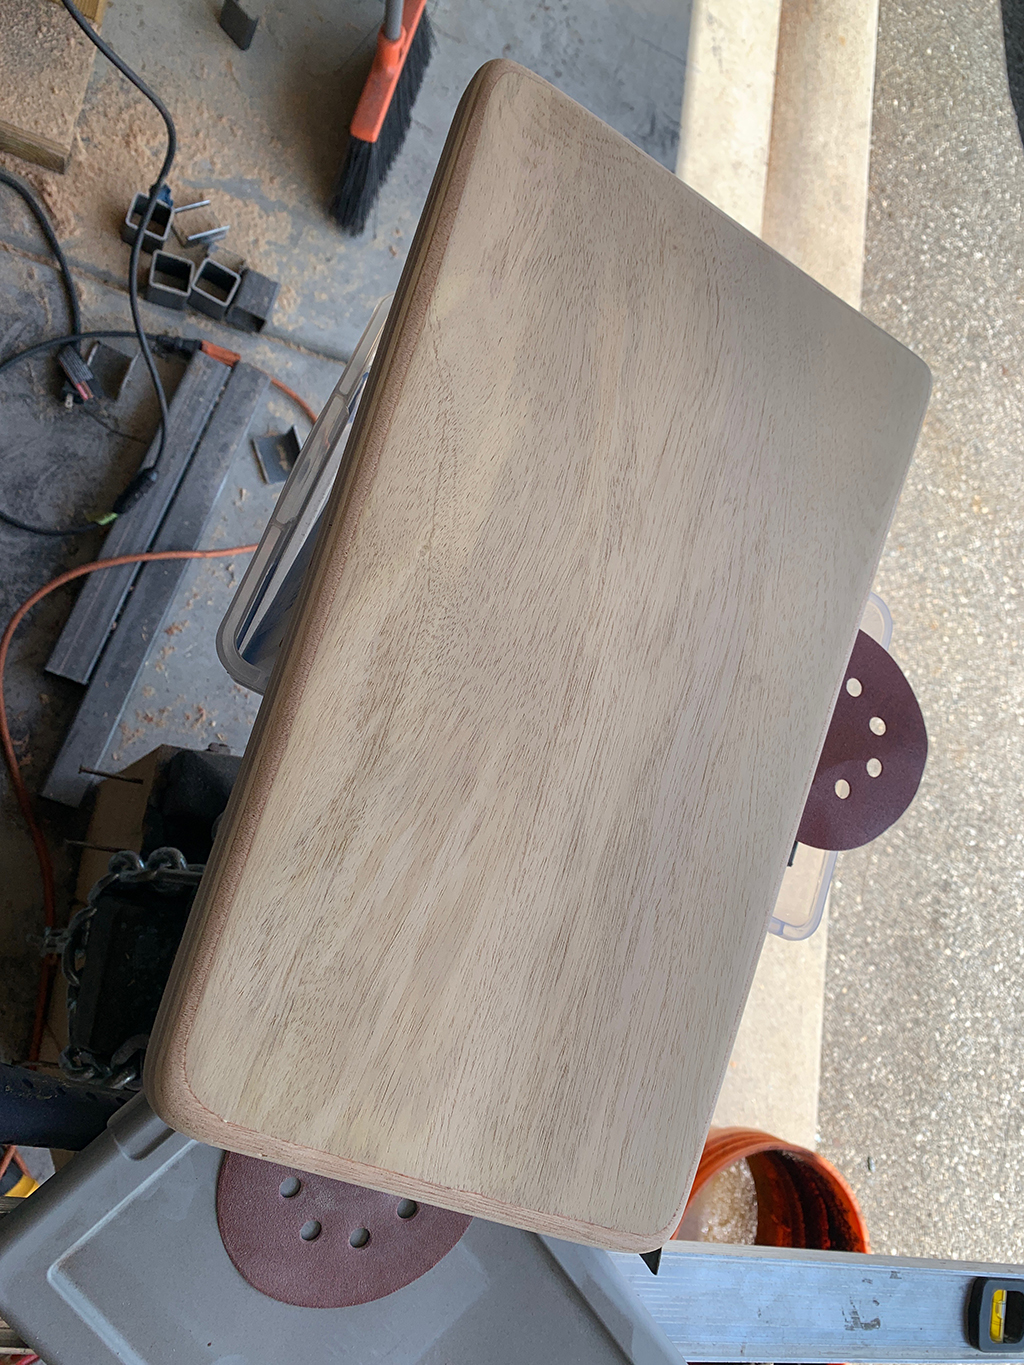
Once the glue dried I cut tapers in the seat for comfort.

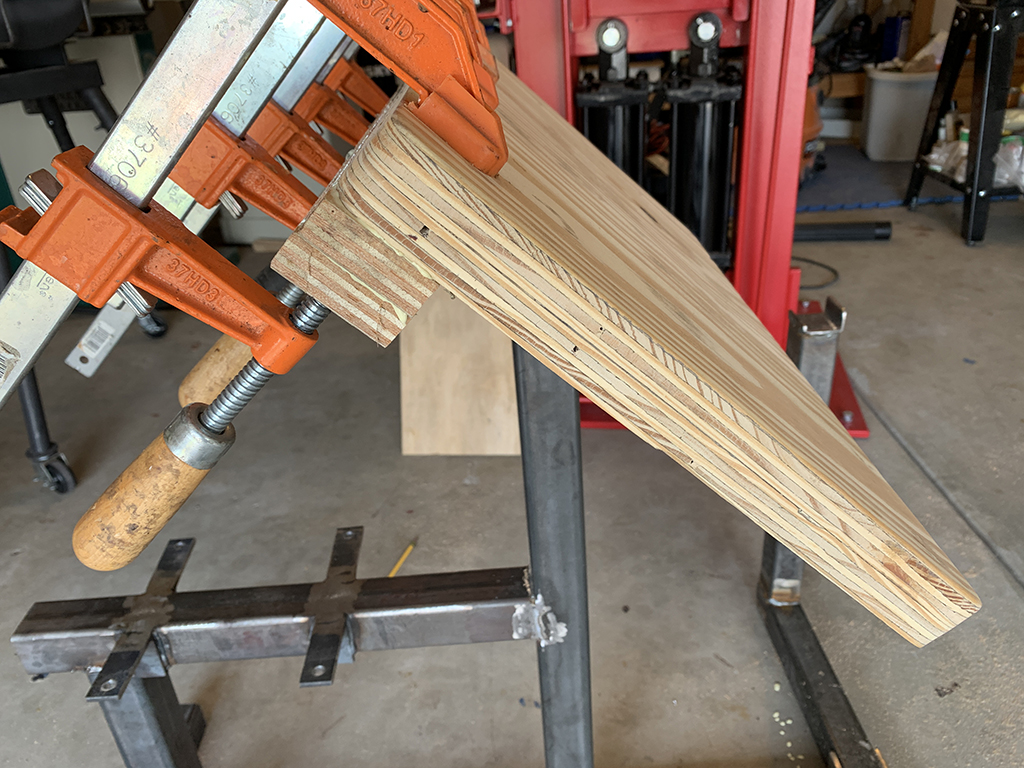
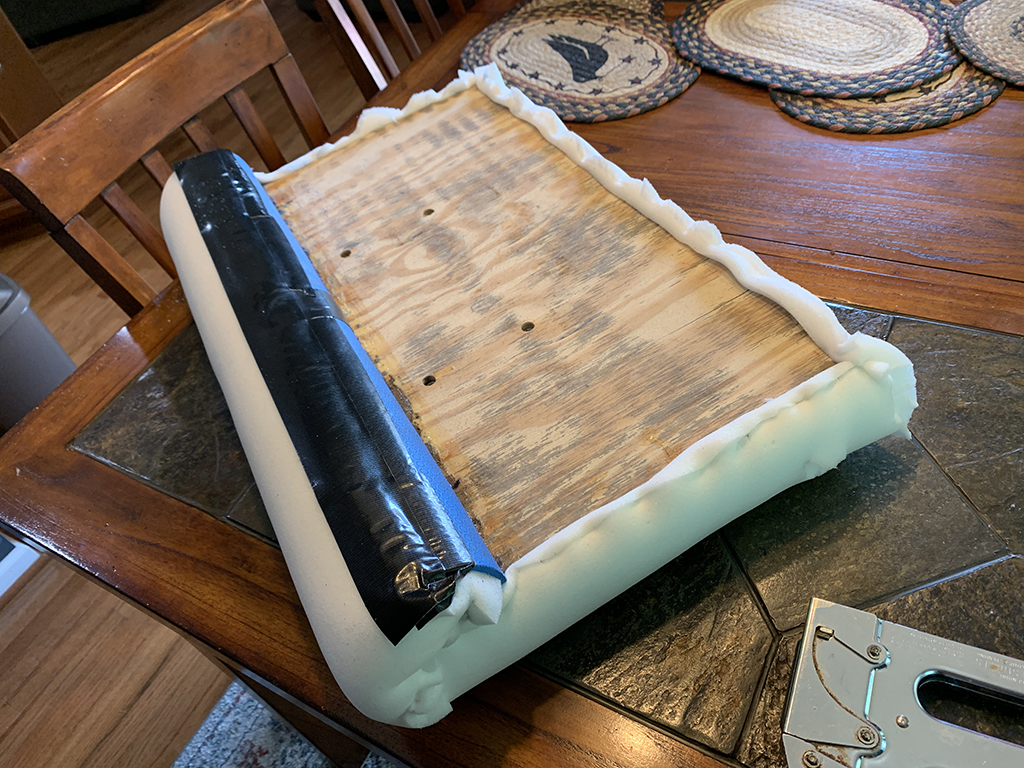
The arm deck I also made the same way with two layers of 3/4″ plywood, and T nuts. Then I added a couple extra layers on the top edge
Once that was dry I used the edge sander to carve the top edge round, and then wrapped a fitted piece of high density closed cell foam around it. Its fairly rigid so I had to make relief cuts on the inside edge to get it to wrap tightly.
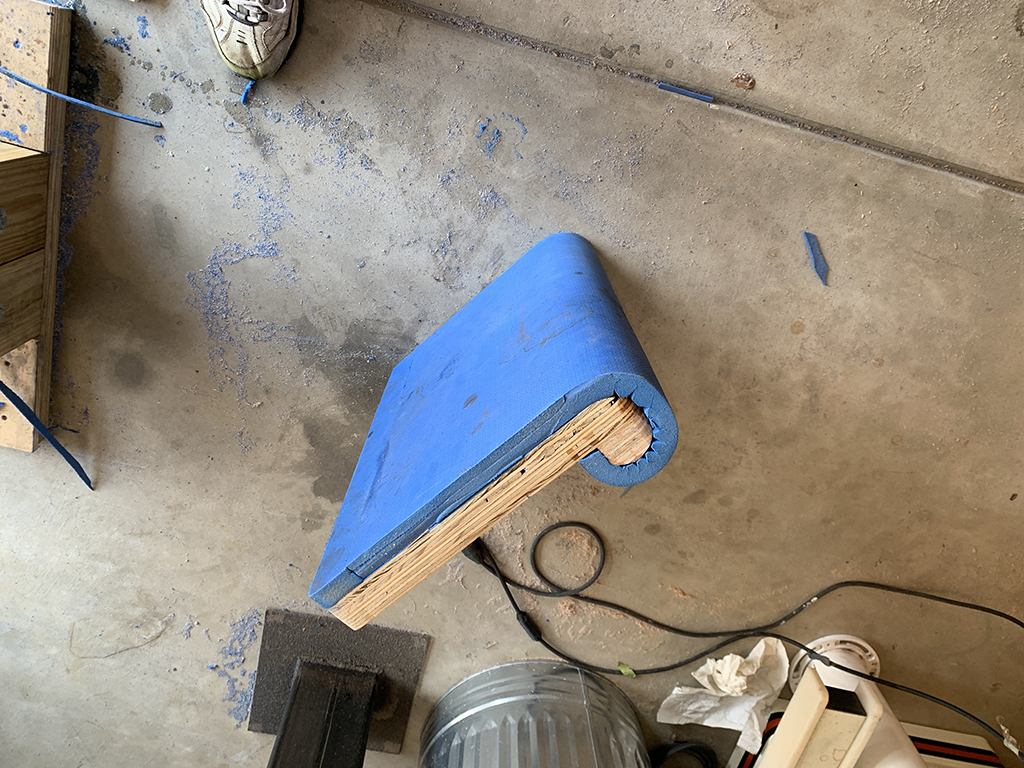

the blue foam is very firm, but has some give. Its commonly used as flooring in gums and dojo’s. Its not meant to be squashy and soft, but provide give under greater pressure.
On top of that I wrapped a layer of softer, (but still firm) foam, and then wrapped the whole thing in black heavy-duty marine grade vinyl. the end result is a comfortable pad for sitting and resting arms on, but firm and strong to withstand long-term abuse with heavy weights.
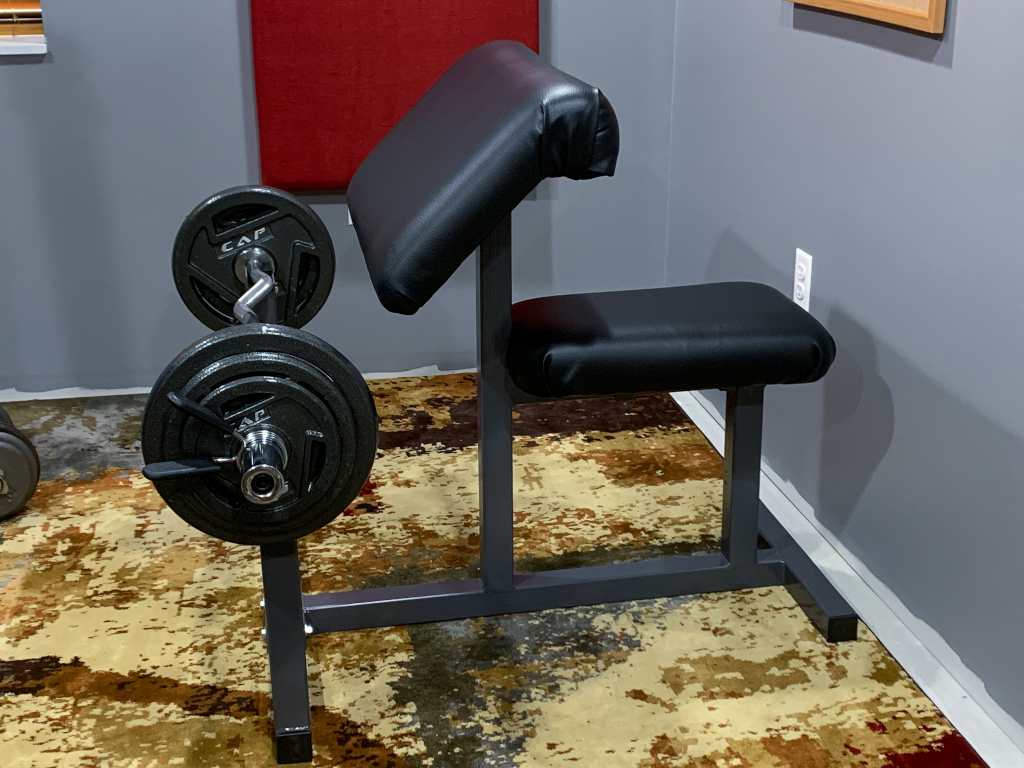
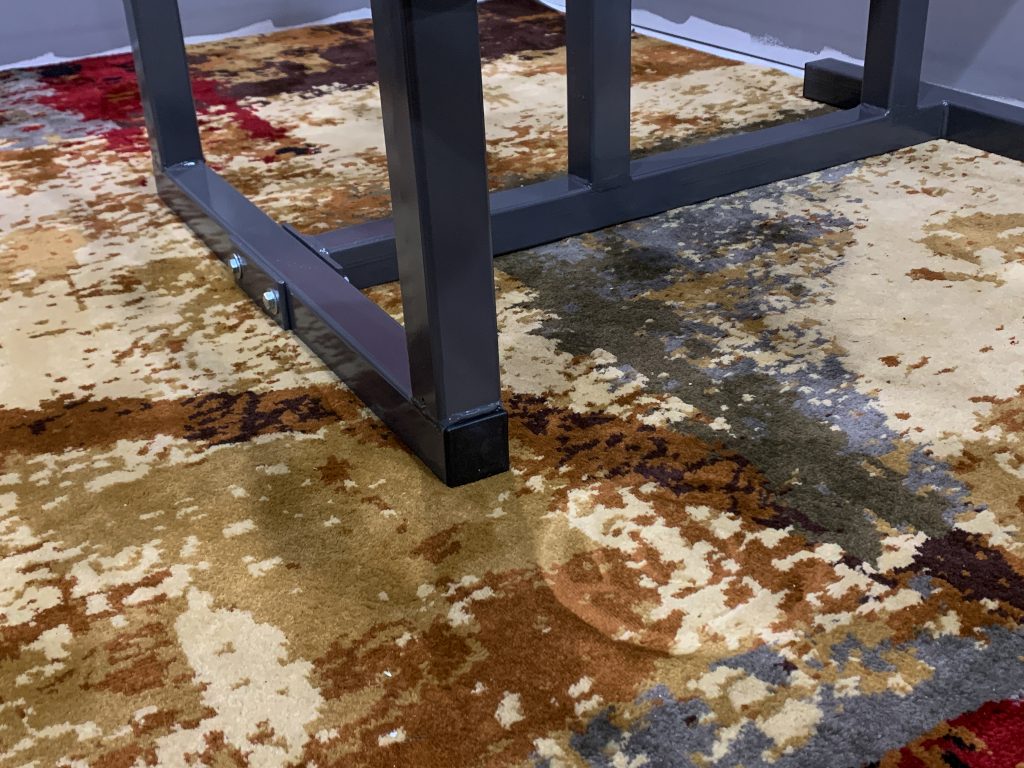
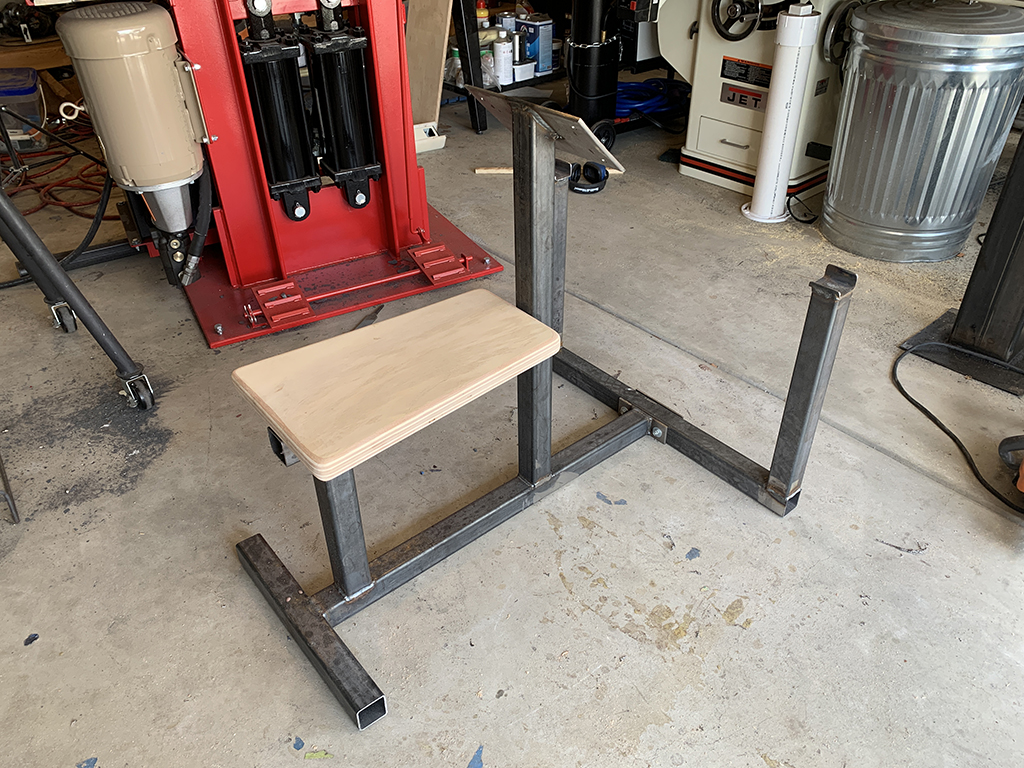
De-greased the frame and applied a couple coats of charcoal gray paint
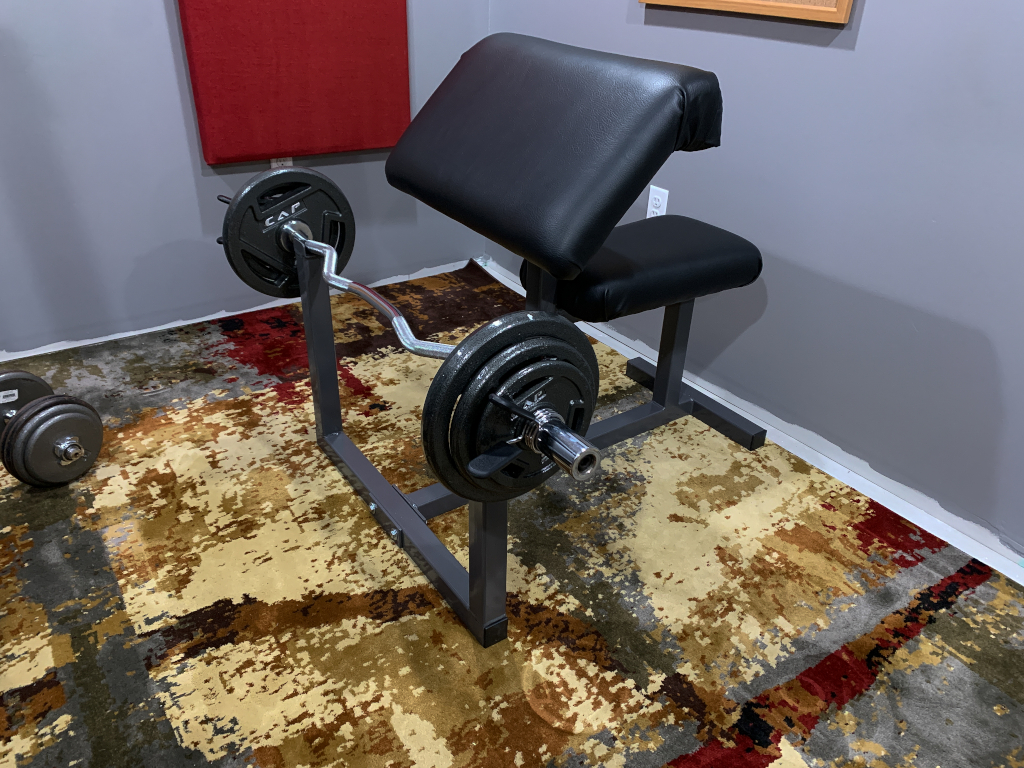
Assembled and done!