We start out this knife for my sister with about a 6″ piece of 1″ round W1 tool steel
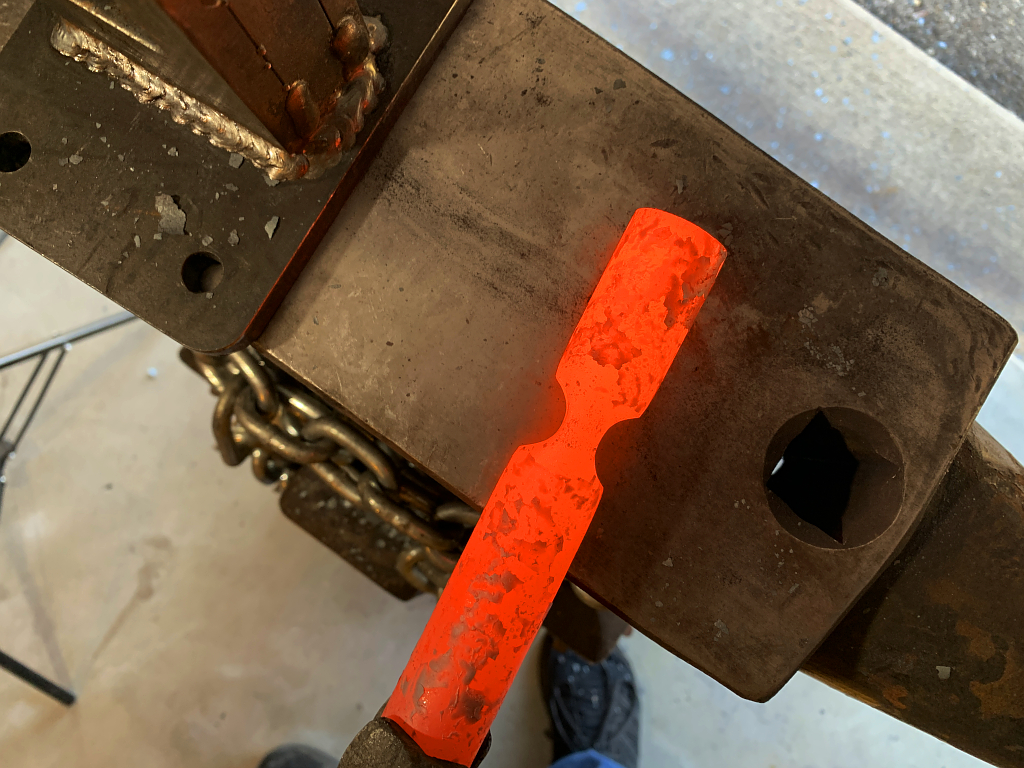
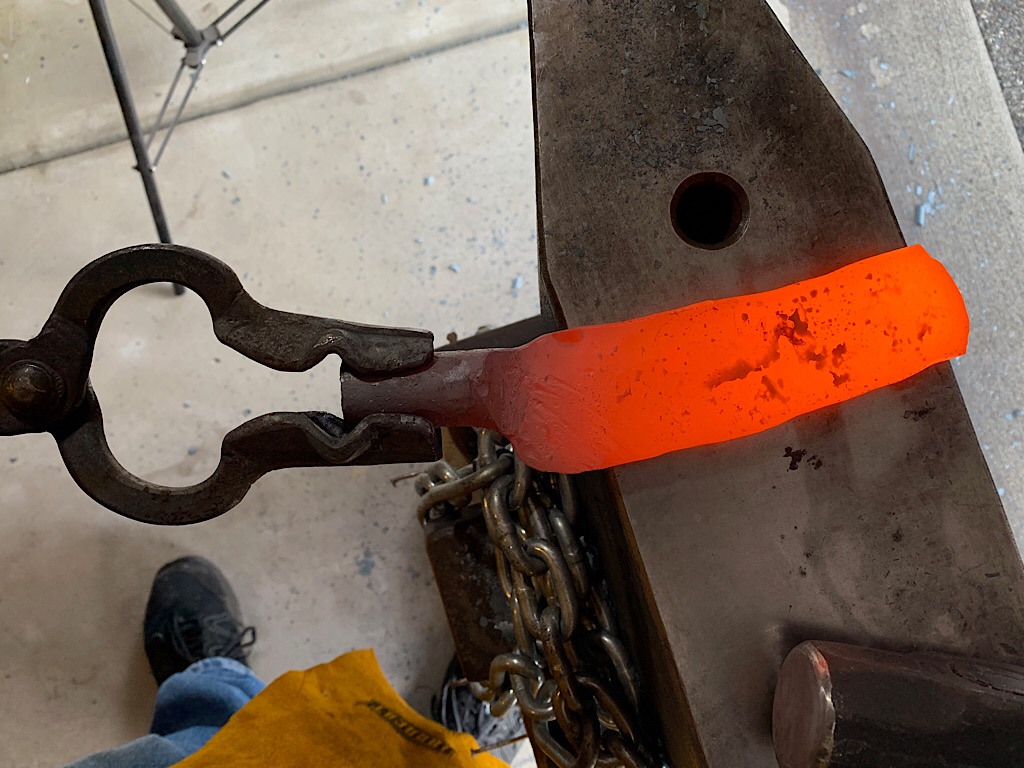
I use a tool called a guillotine to forge a separation between the blade area and the bolster area
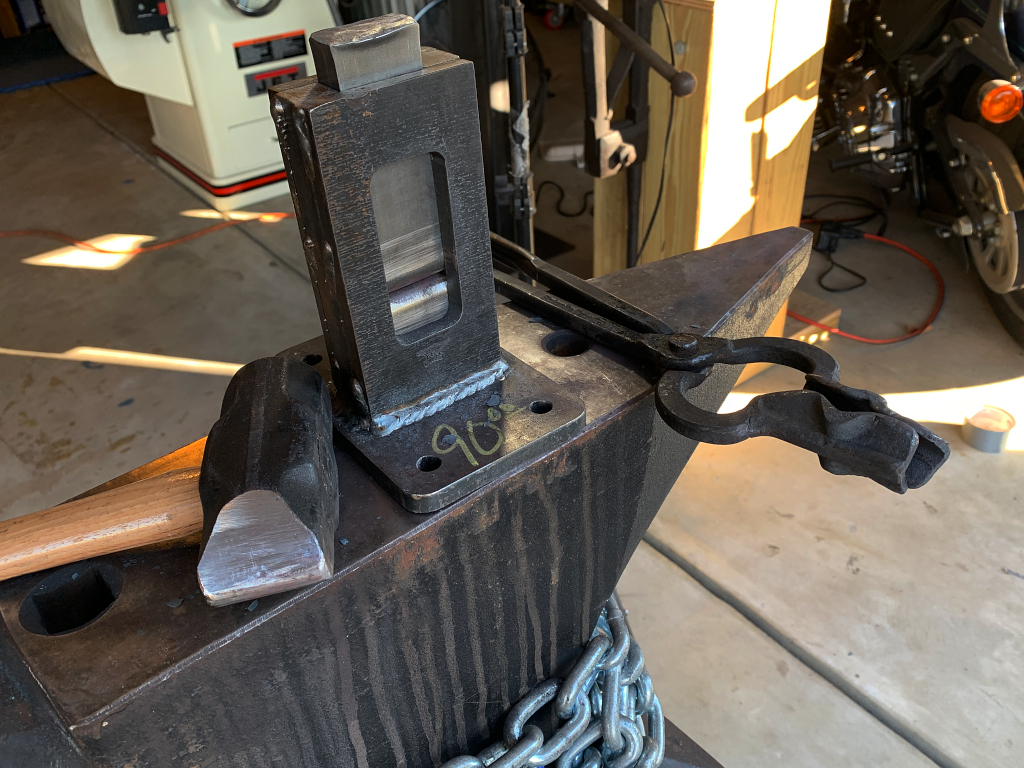
The shorter section will be the bolster and tang, the longer section will be the blade
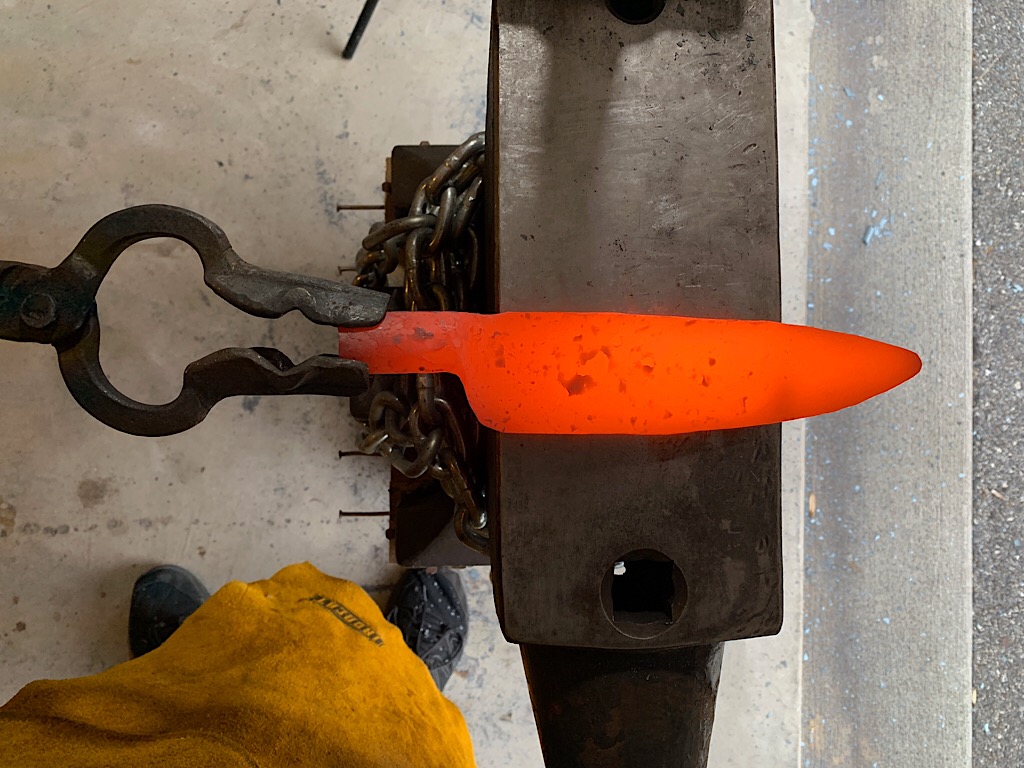
Most of the forging is done “old school” just using a hammer and tongs on the anvil.
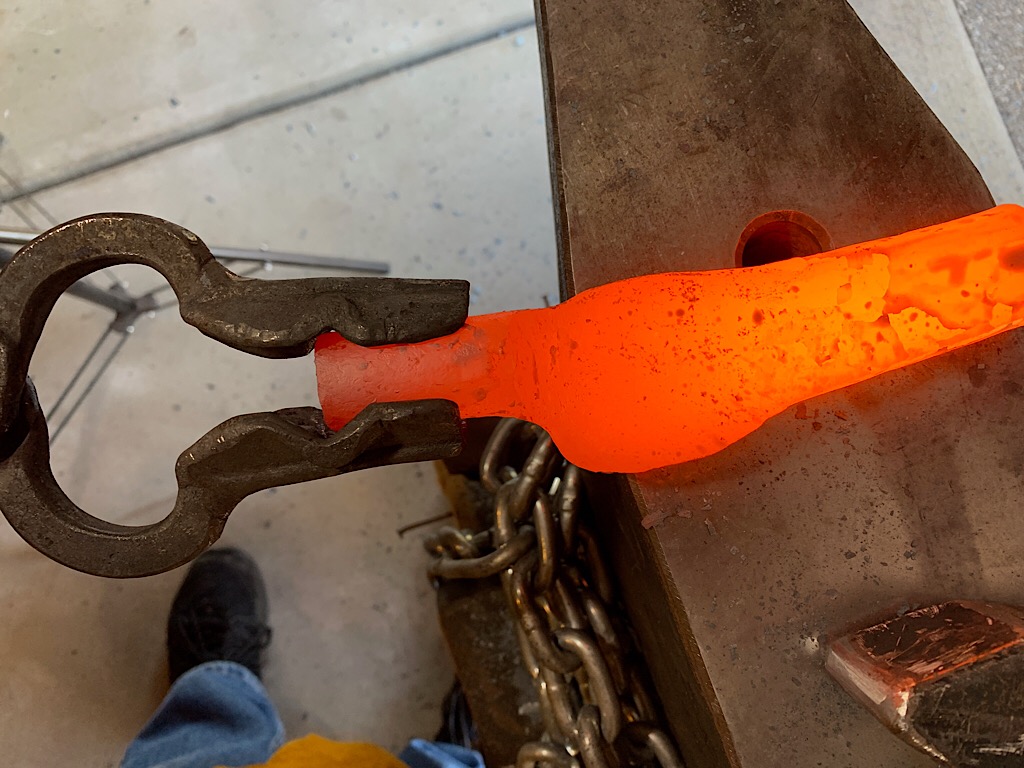
In this image you can see diagonal grooves in the “heel” area of the blade. These are from using a cross-peen hammer to force the steel to move down and back.
Under the hammer, steel will always move in the direction of least resistance. This means that just hammering it will make it longer, but not wider. the cross-peen hammer forces it in the direction I need it to go to get the right shape for the blade.
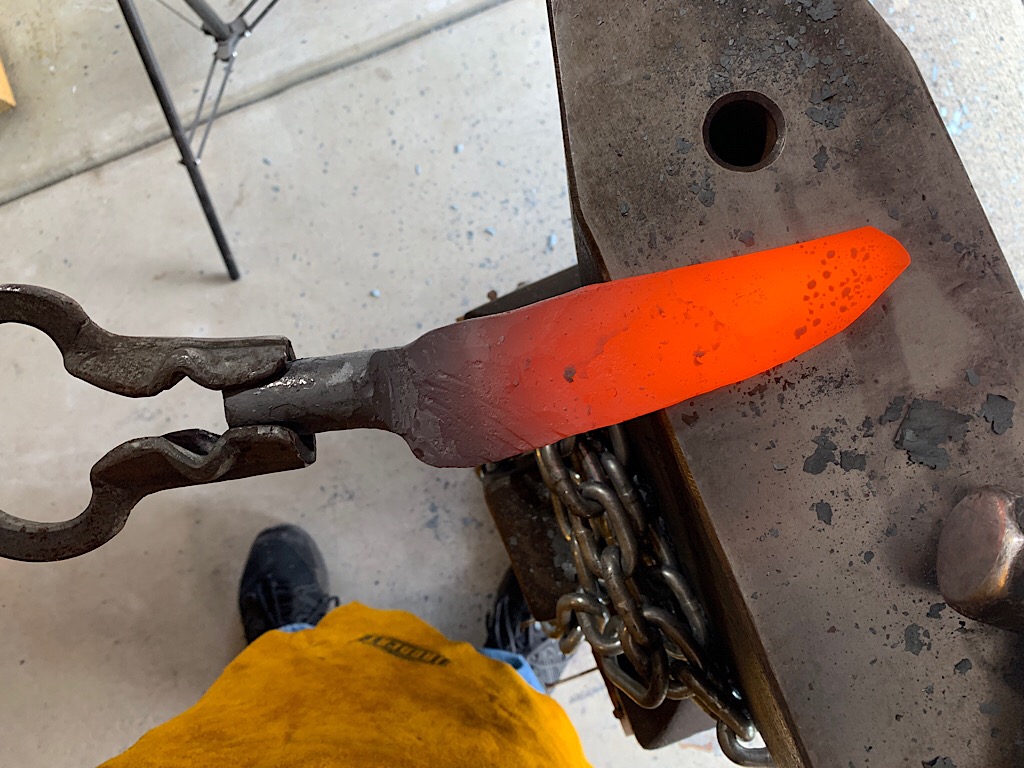
Once the blade is roughly shaped I use the guillotine tool again to separate out a chunk that will be the tang with a clean cut. This allows me to forge out the tang without distorting the bolster area too much.
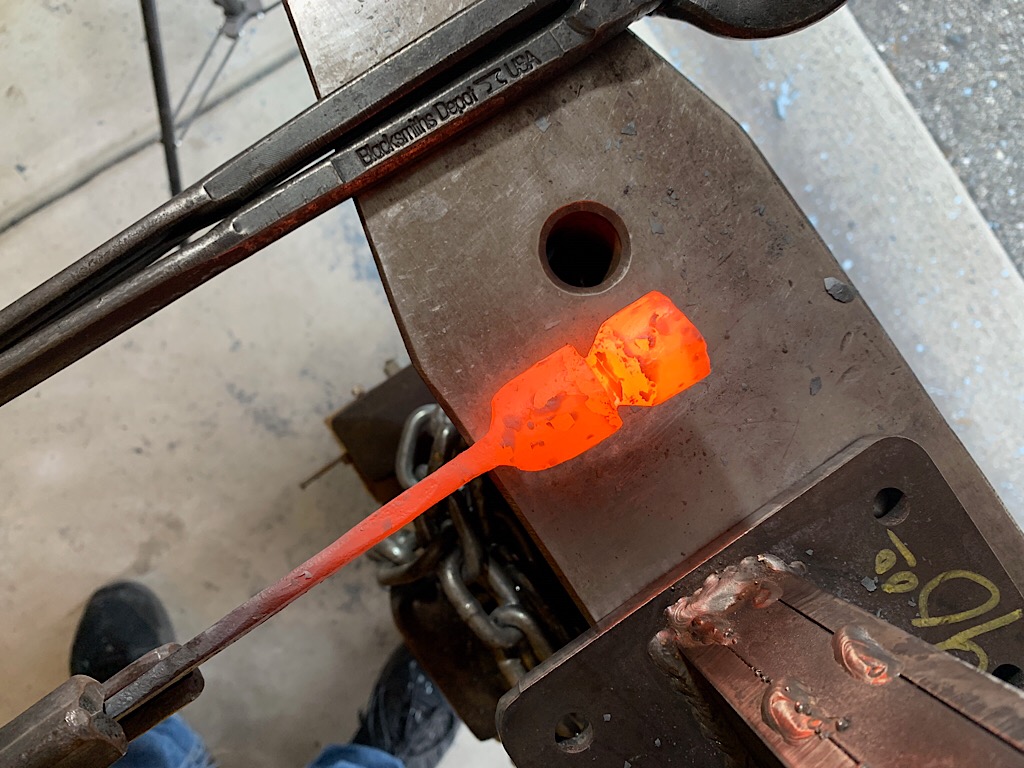
Looks rough, right?
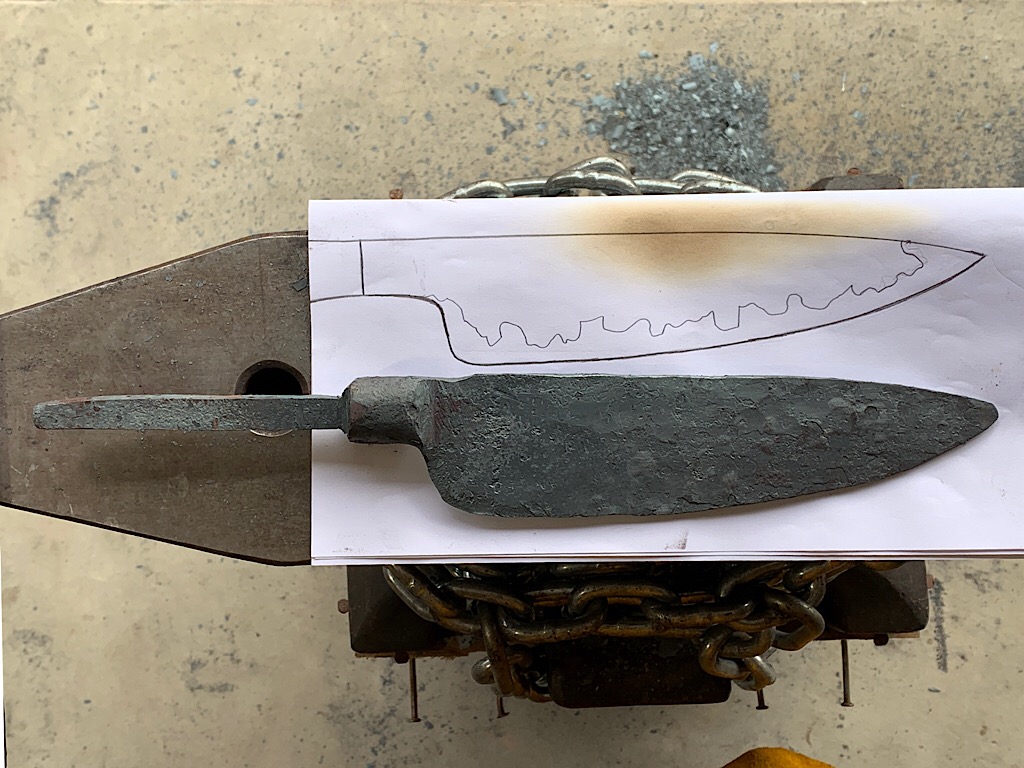
Grinding off the forge scale and refining the shape. I use a 2×72 belt grinder for this

At this stage theres a big gap in the process shown here because I didnt capture any of it 🙁
This is the heat treatment, which in the case of this knife is a bit different than the usual. This blade is “differentially hardened” like a traditional japanese sword. Most of the blade is coated with a refractory clay, but the edge is left exposed. the blade is then heated to 1475 F. and then plunged into water, followed by parks 50 quench oil.
What this does is to fully harden the edge of the blade, but since the rest is coated with clay it cools more slowly and doesnt fully harden. In the case of a sword, the reason they did this was so the edge would hold a super harp edge, but because the back/spine of the blade was more ductile the blade would not crack if struck with force. I think you can see the value of this in a sword.
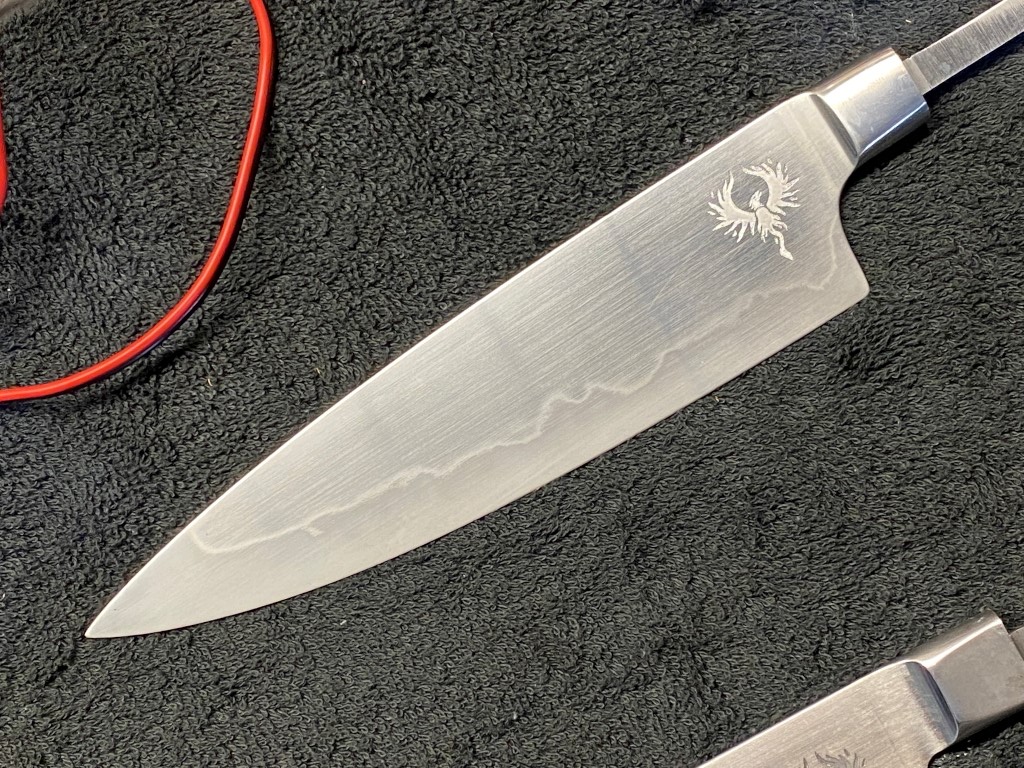
On a chef knife it simply adds to the aesthetic appeal with a visual feature of the blade called the “hamon”, which is a light, wavy line in between the different crystalline structures in the steel.
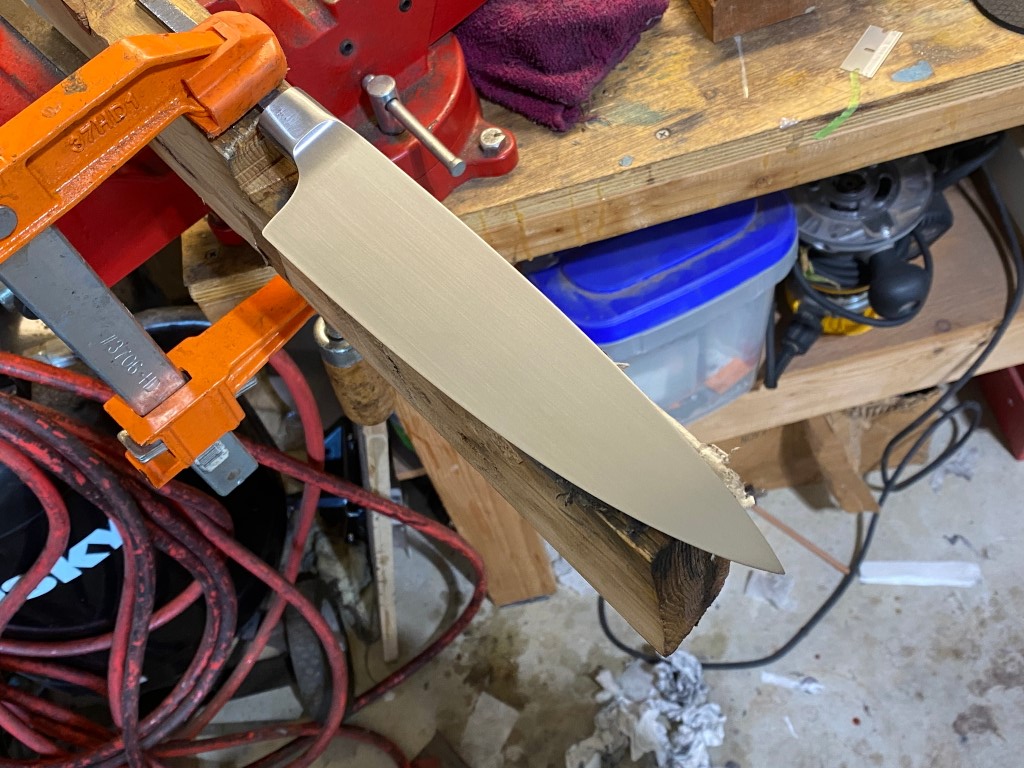
The next step after the heat treatment is to sand the blade, moving through progressively finer grits to get from the rough grind to the finished blade. I start at 36 grit, and progress through 80, 120, 220, 320, 400, 600, 800, 1000, and on this blade I finish at 1200. This is a tedious, time consuming, and laborious process that is the least fun part of making knives 🙂
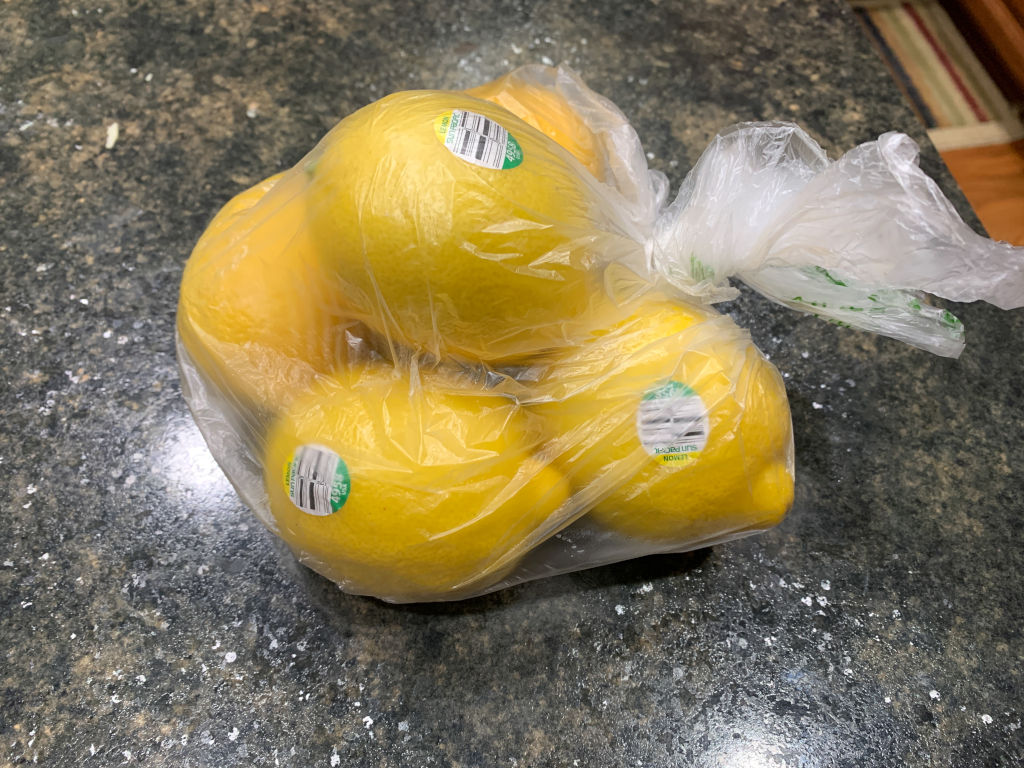
once the final finish is reached, lemon juice is used to oxidize the surface of the blade.
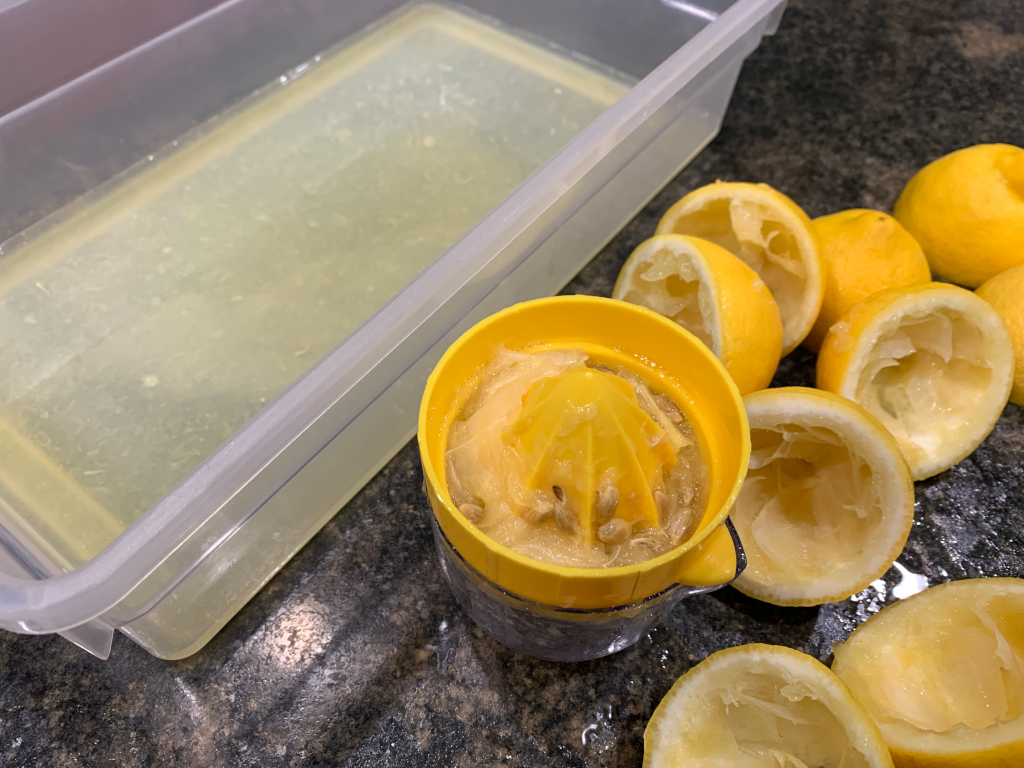
The lemon juice contains a mild acid (citric acid) and when its wiped on the metal it corrodes, or oxidizes the surface of the blade and darkens it.
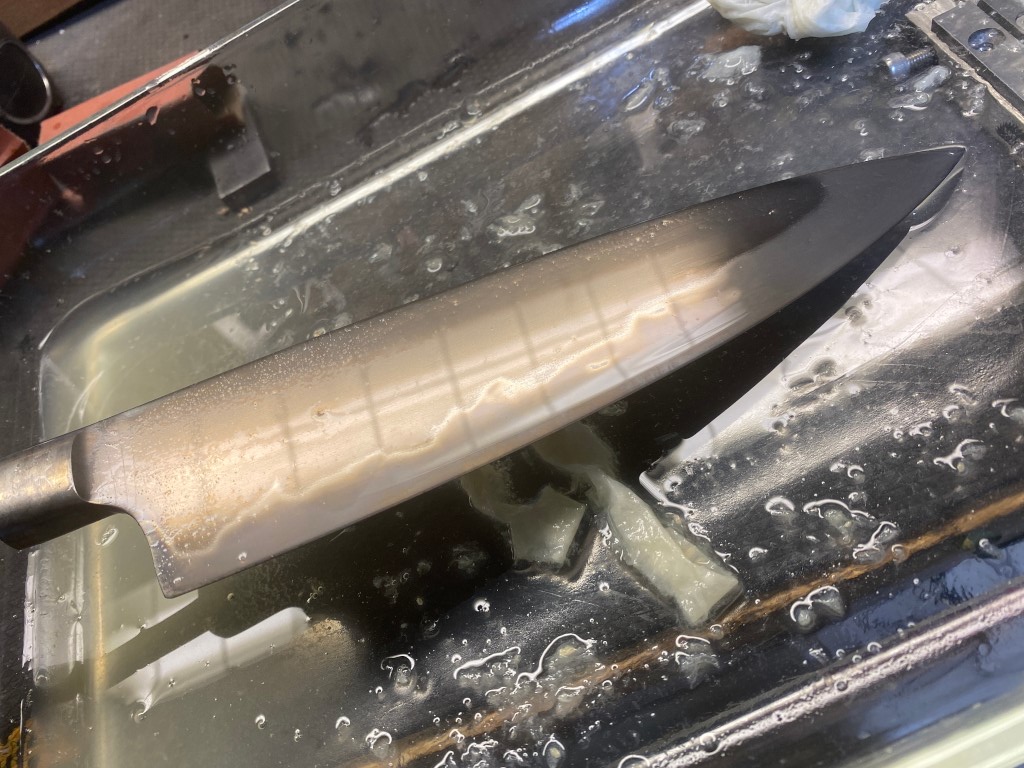
continual wiping over a period of about 20 minutes it oxidizes the steel uniformly gray except the edge. The harder steel along the edge doesnt corrode the same and stays a lighter color.

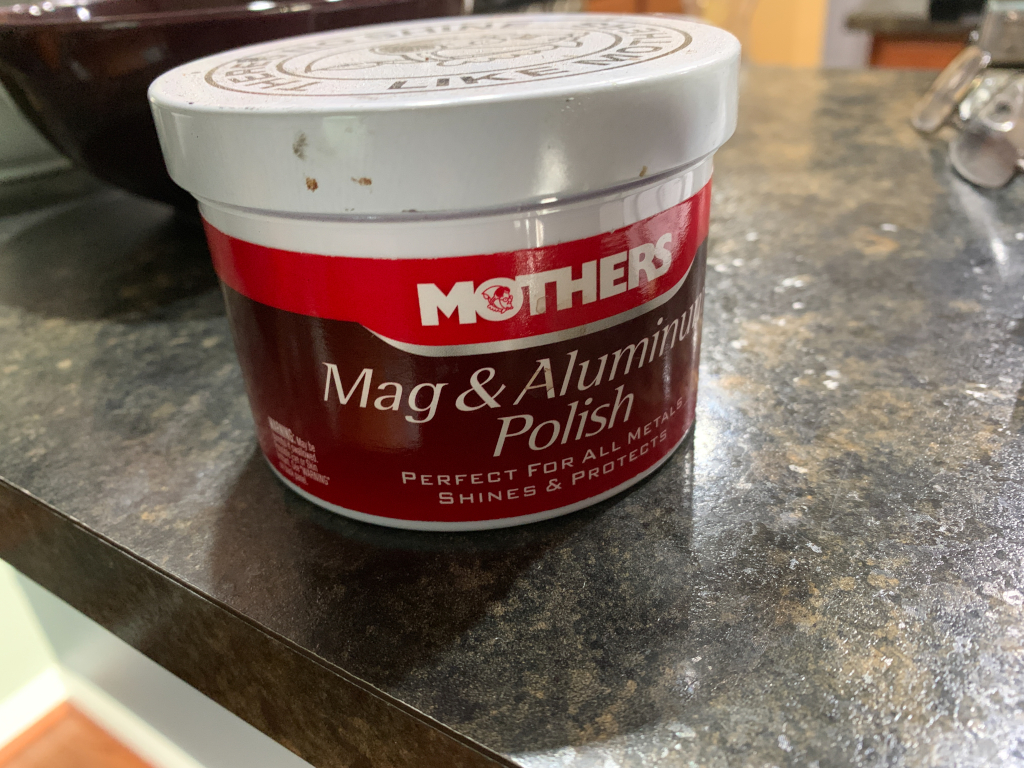
next I use this mothers mag polish to polish off the oxidation
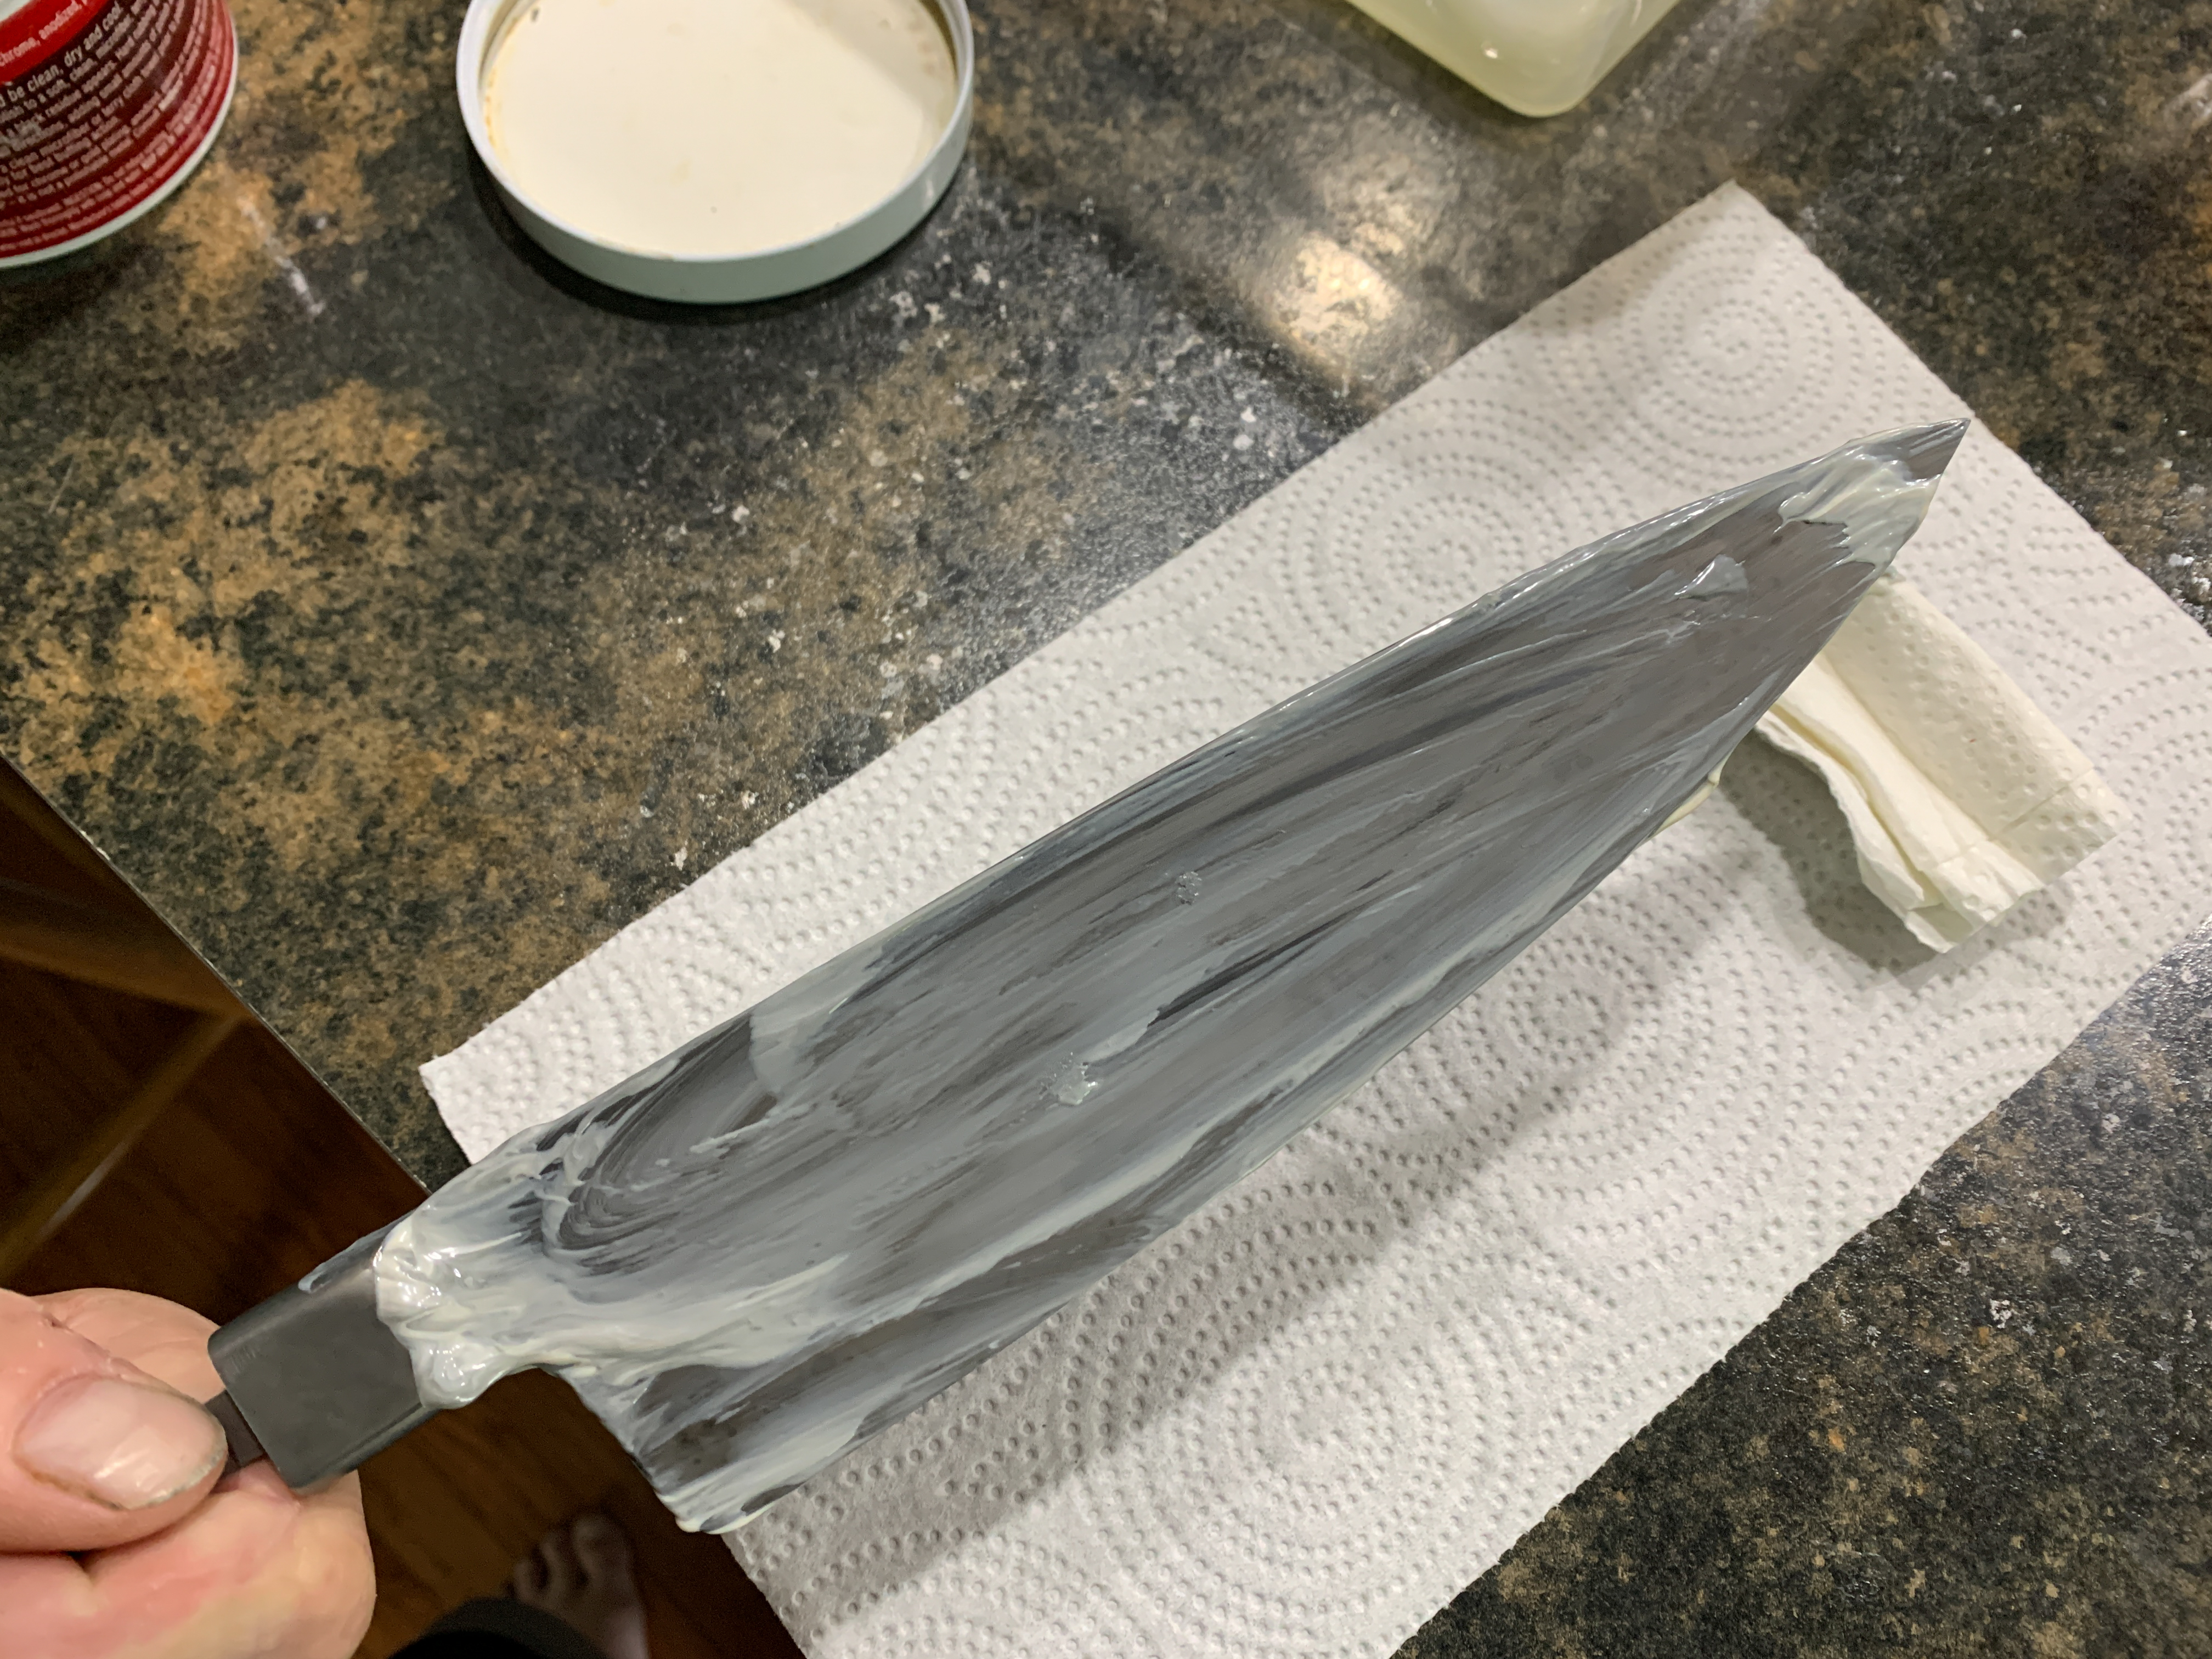
this process is repeated several times, and the result is the hamon is clearly visible and the edge appears with a slightly milky haze

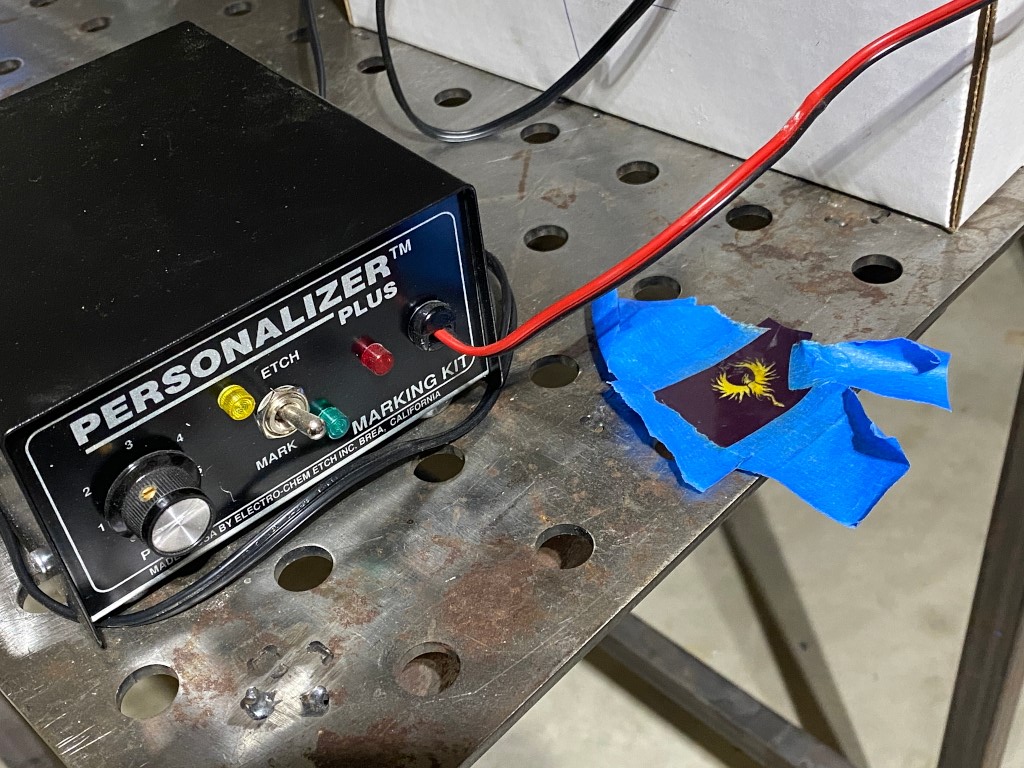
Next I etch my logo on the blade using this fancy gizmo 🙂