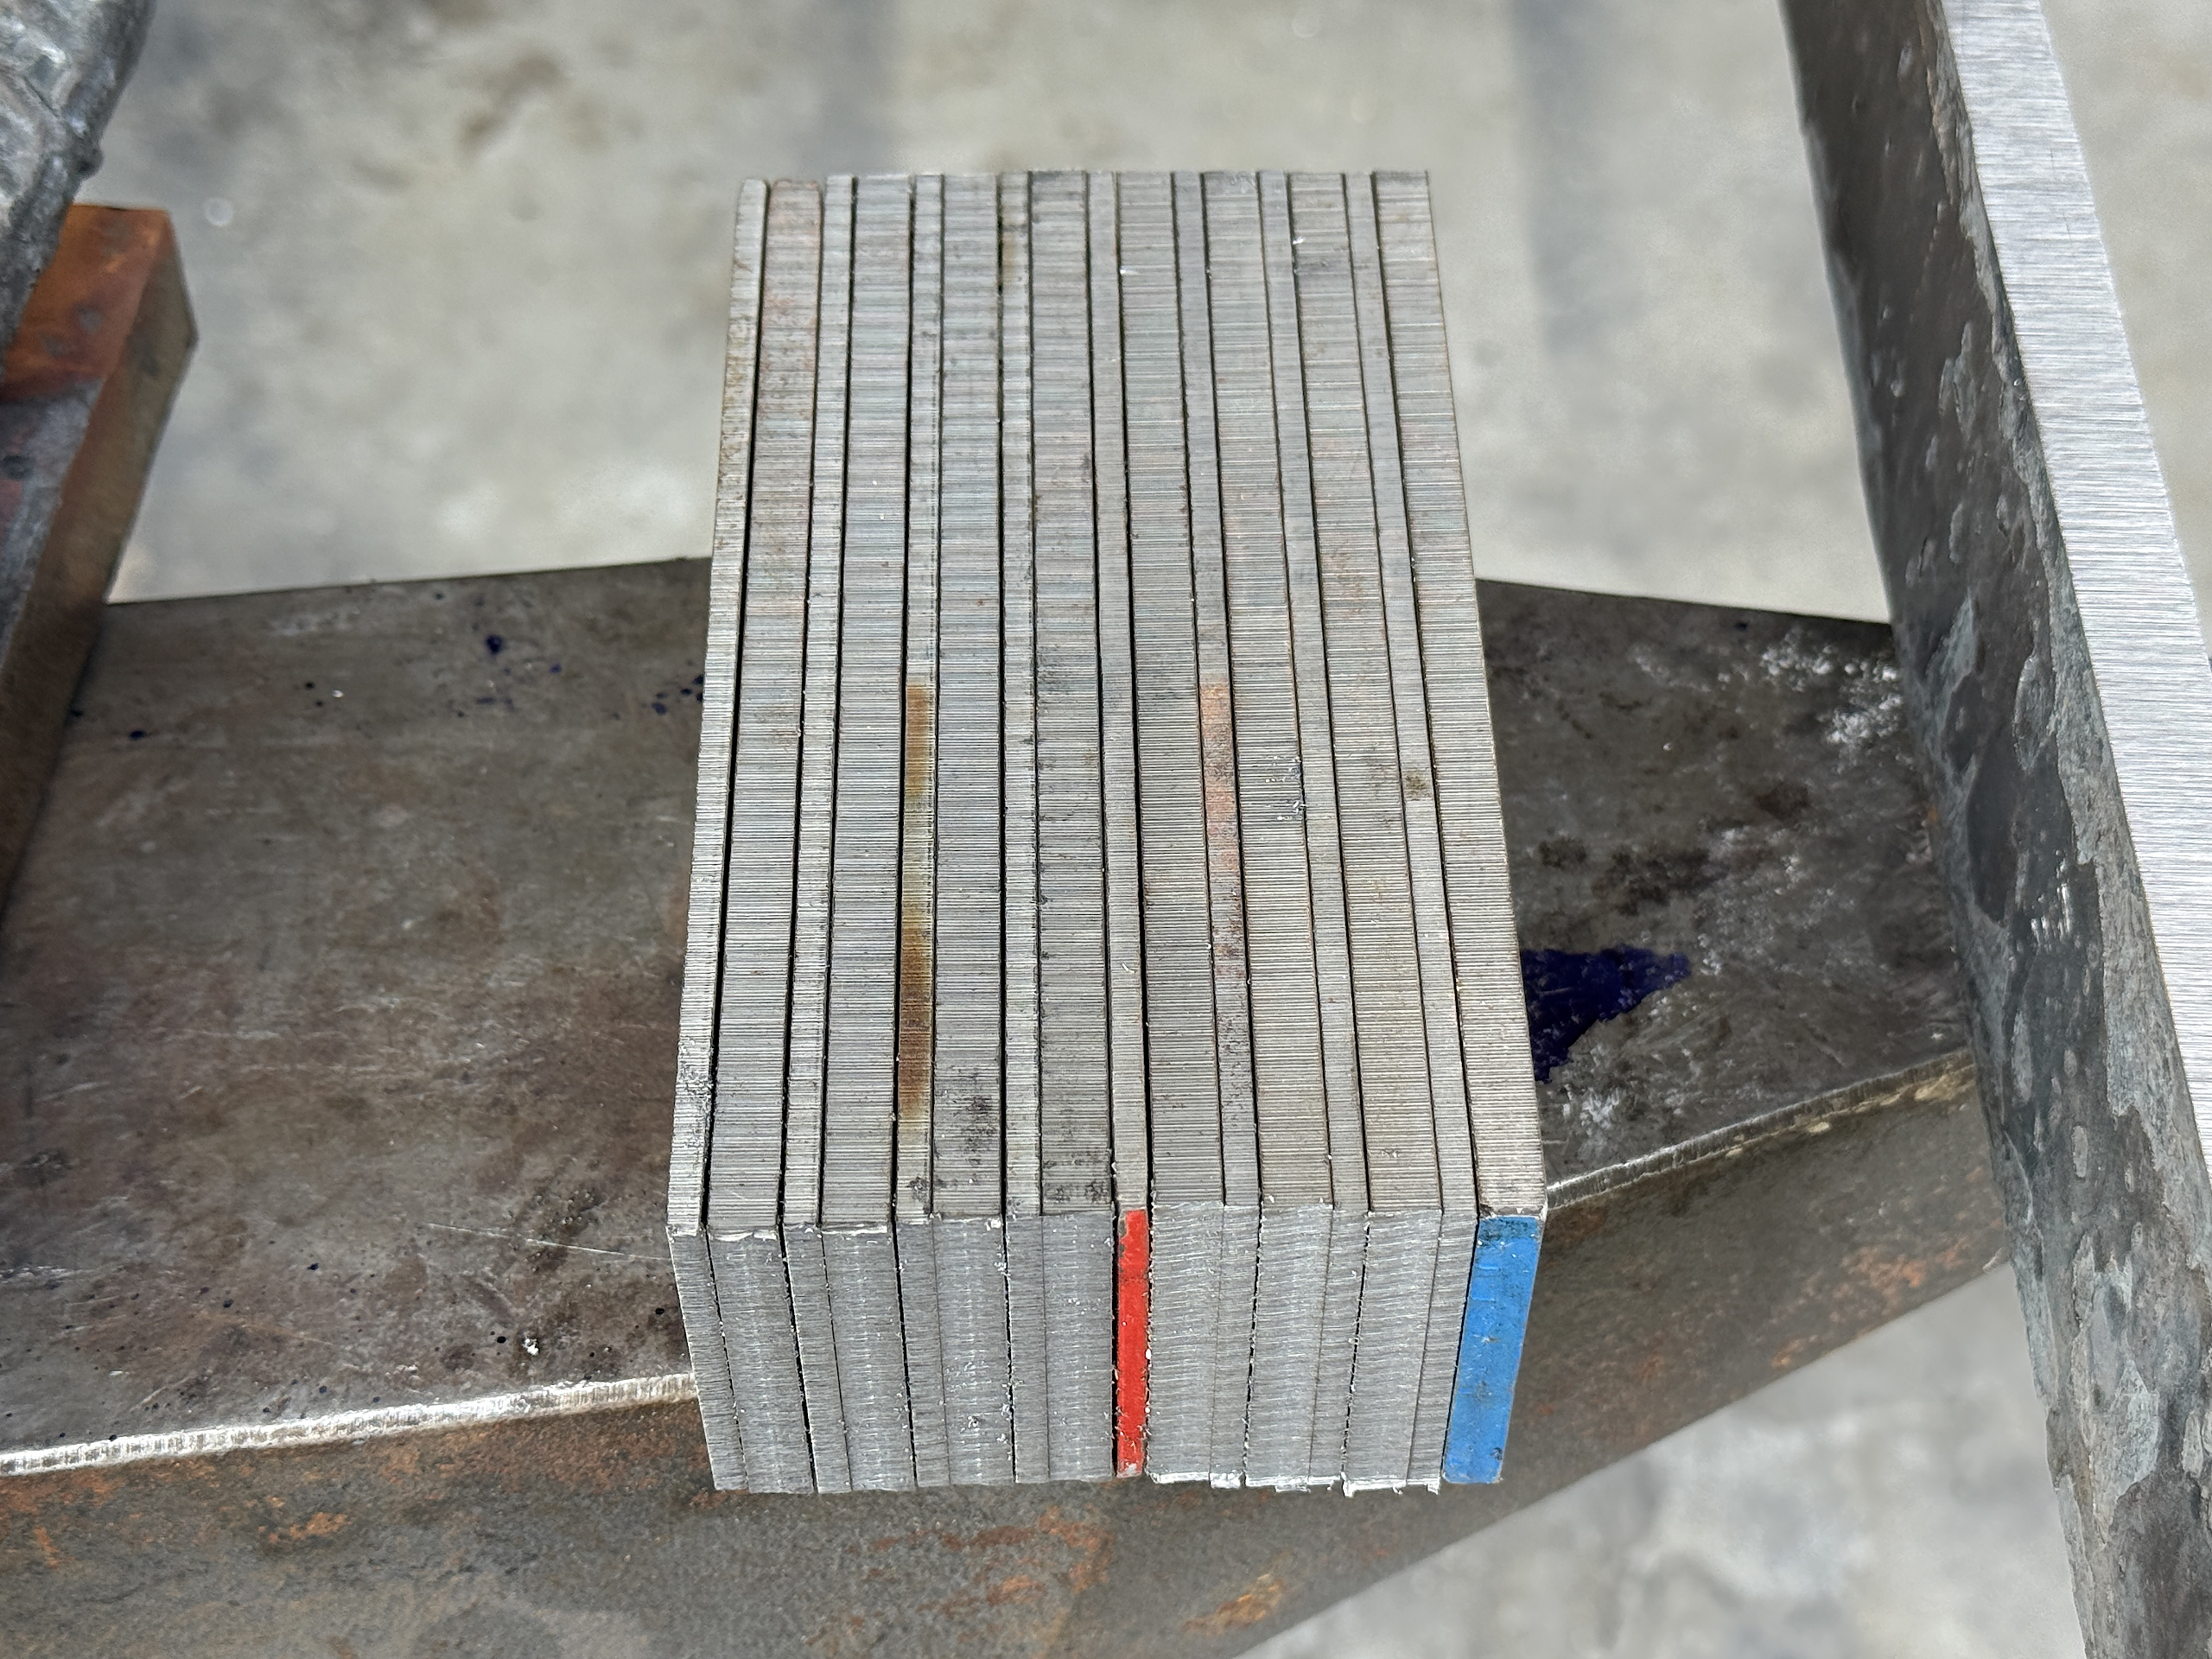
Initial stack of 16 layers. Note that the 1084 layers are thicker than the 15n20 layers. my hope is this results in a darker overall look after etching.
We’ll see 🙂
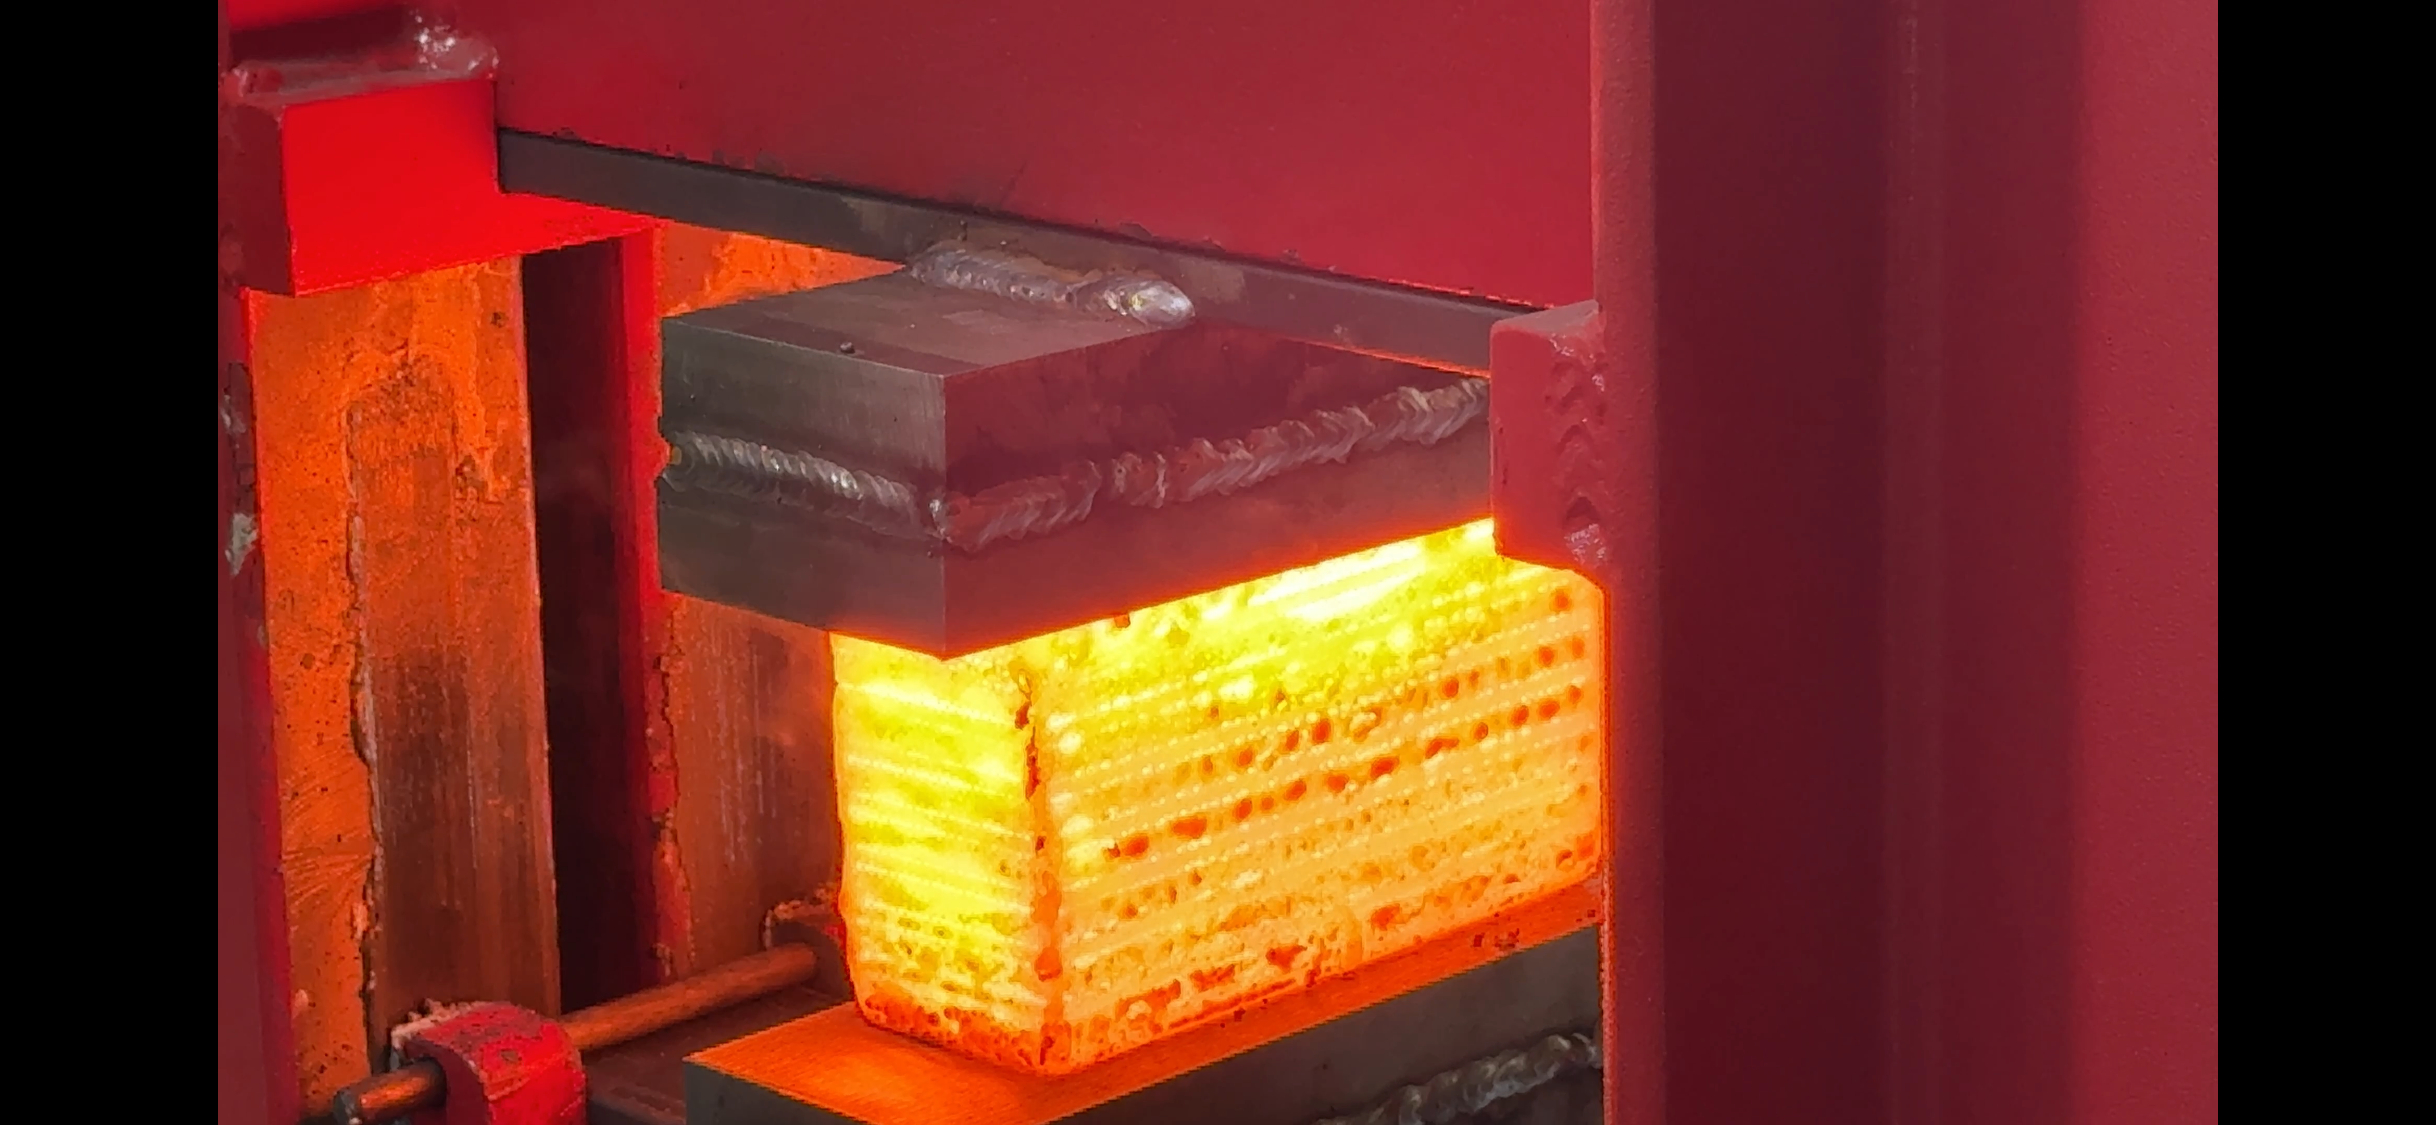
First press in the new dies that allow the entire billet to be pressed in a single shot.
First billet of 16 layers drawn out to allow one cut and restack
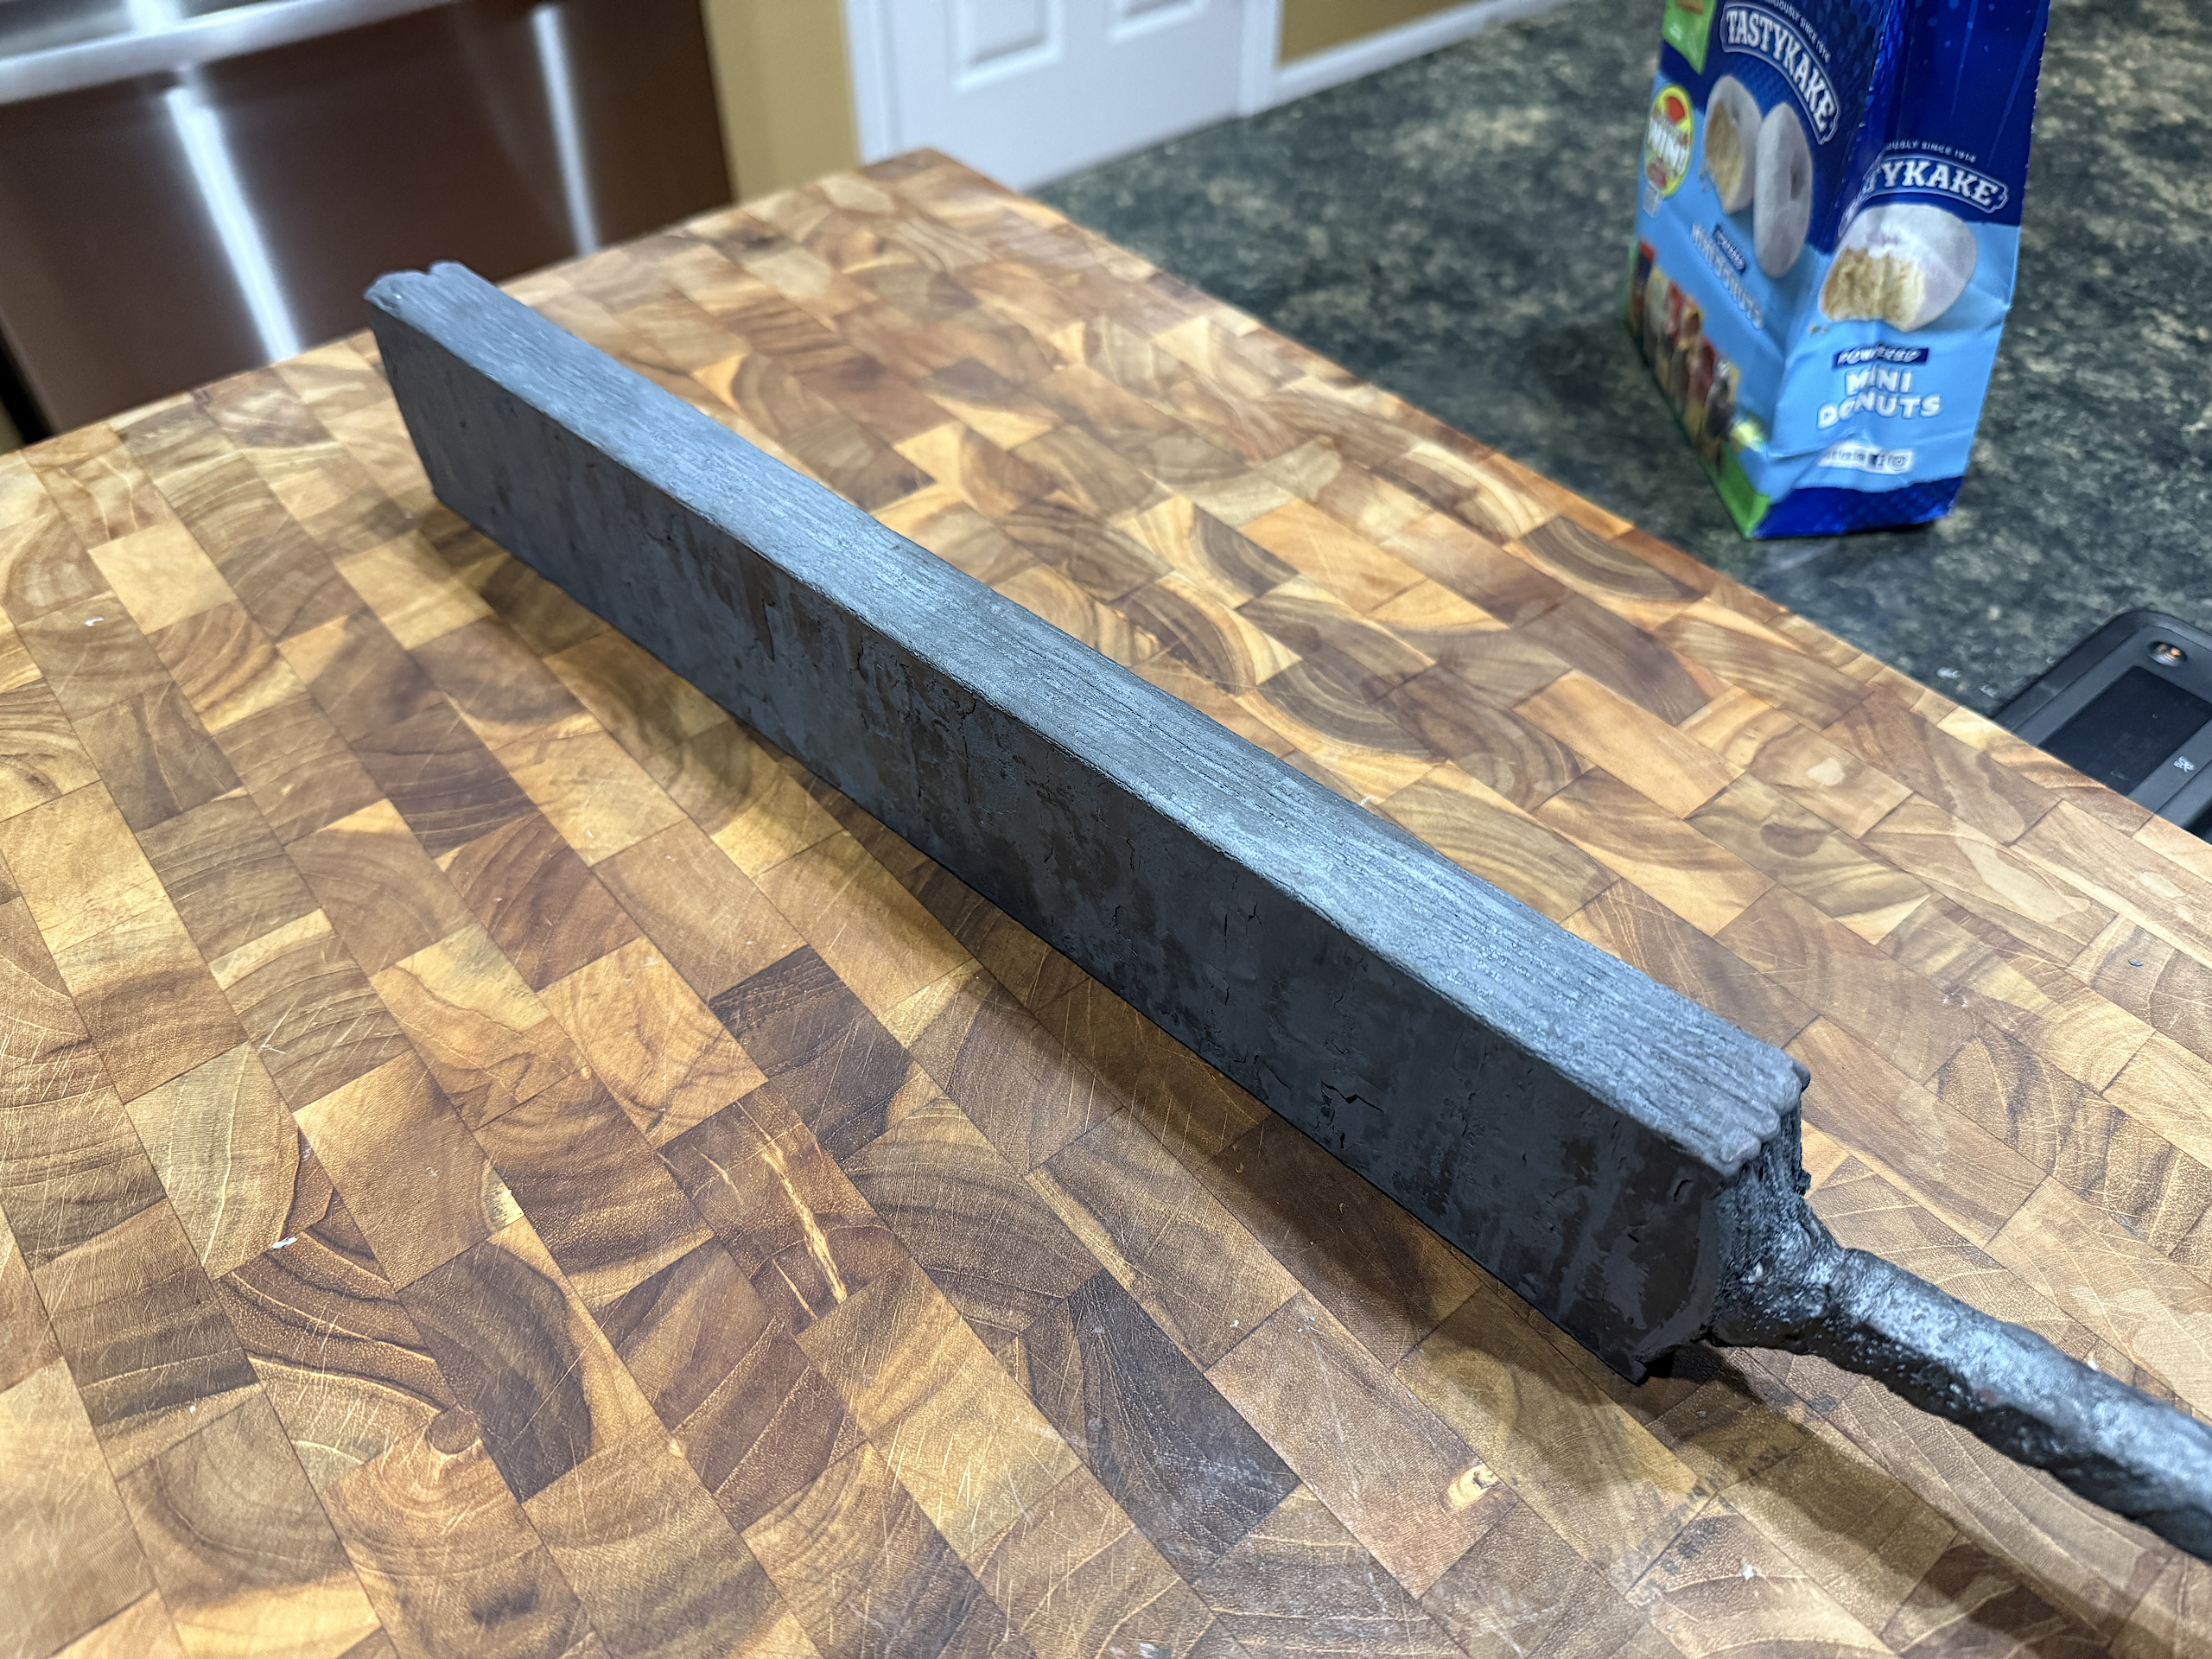
Cleaned majority of scale off with an angle grinder.
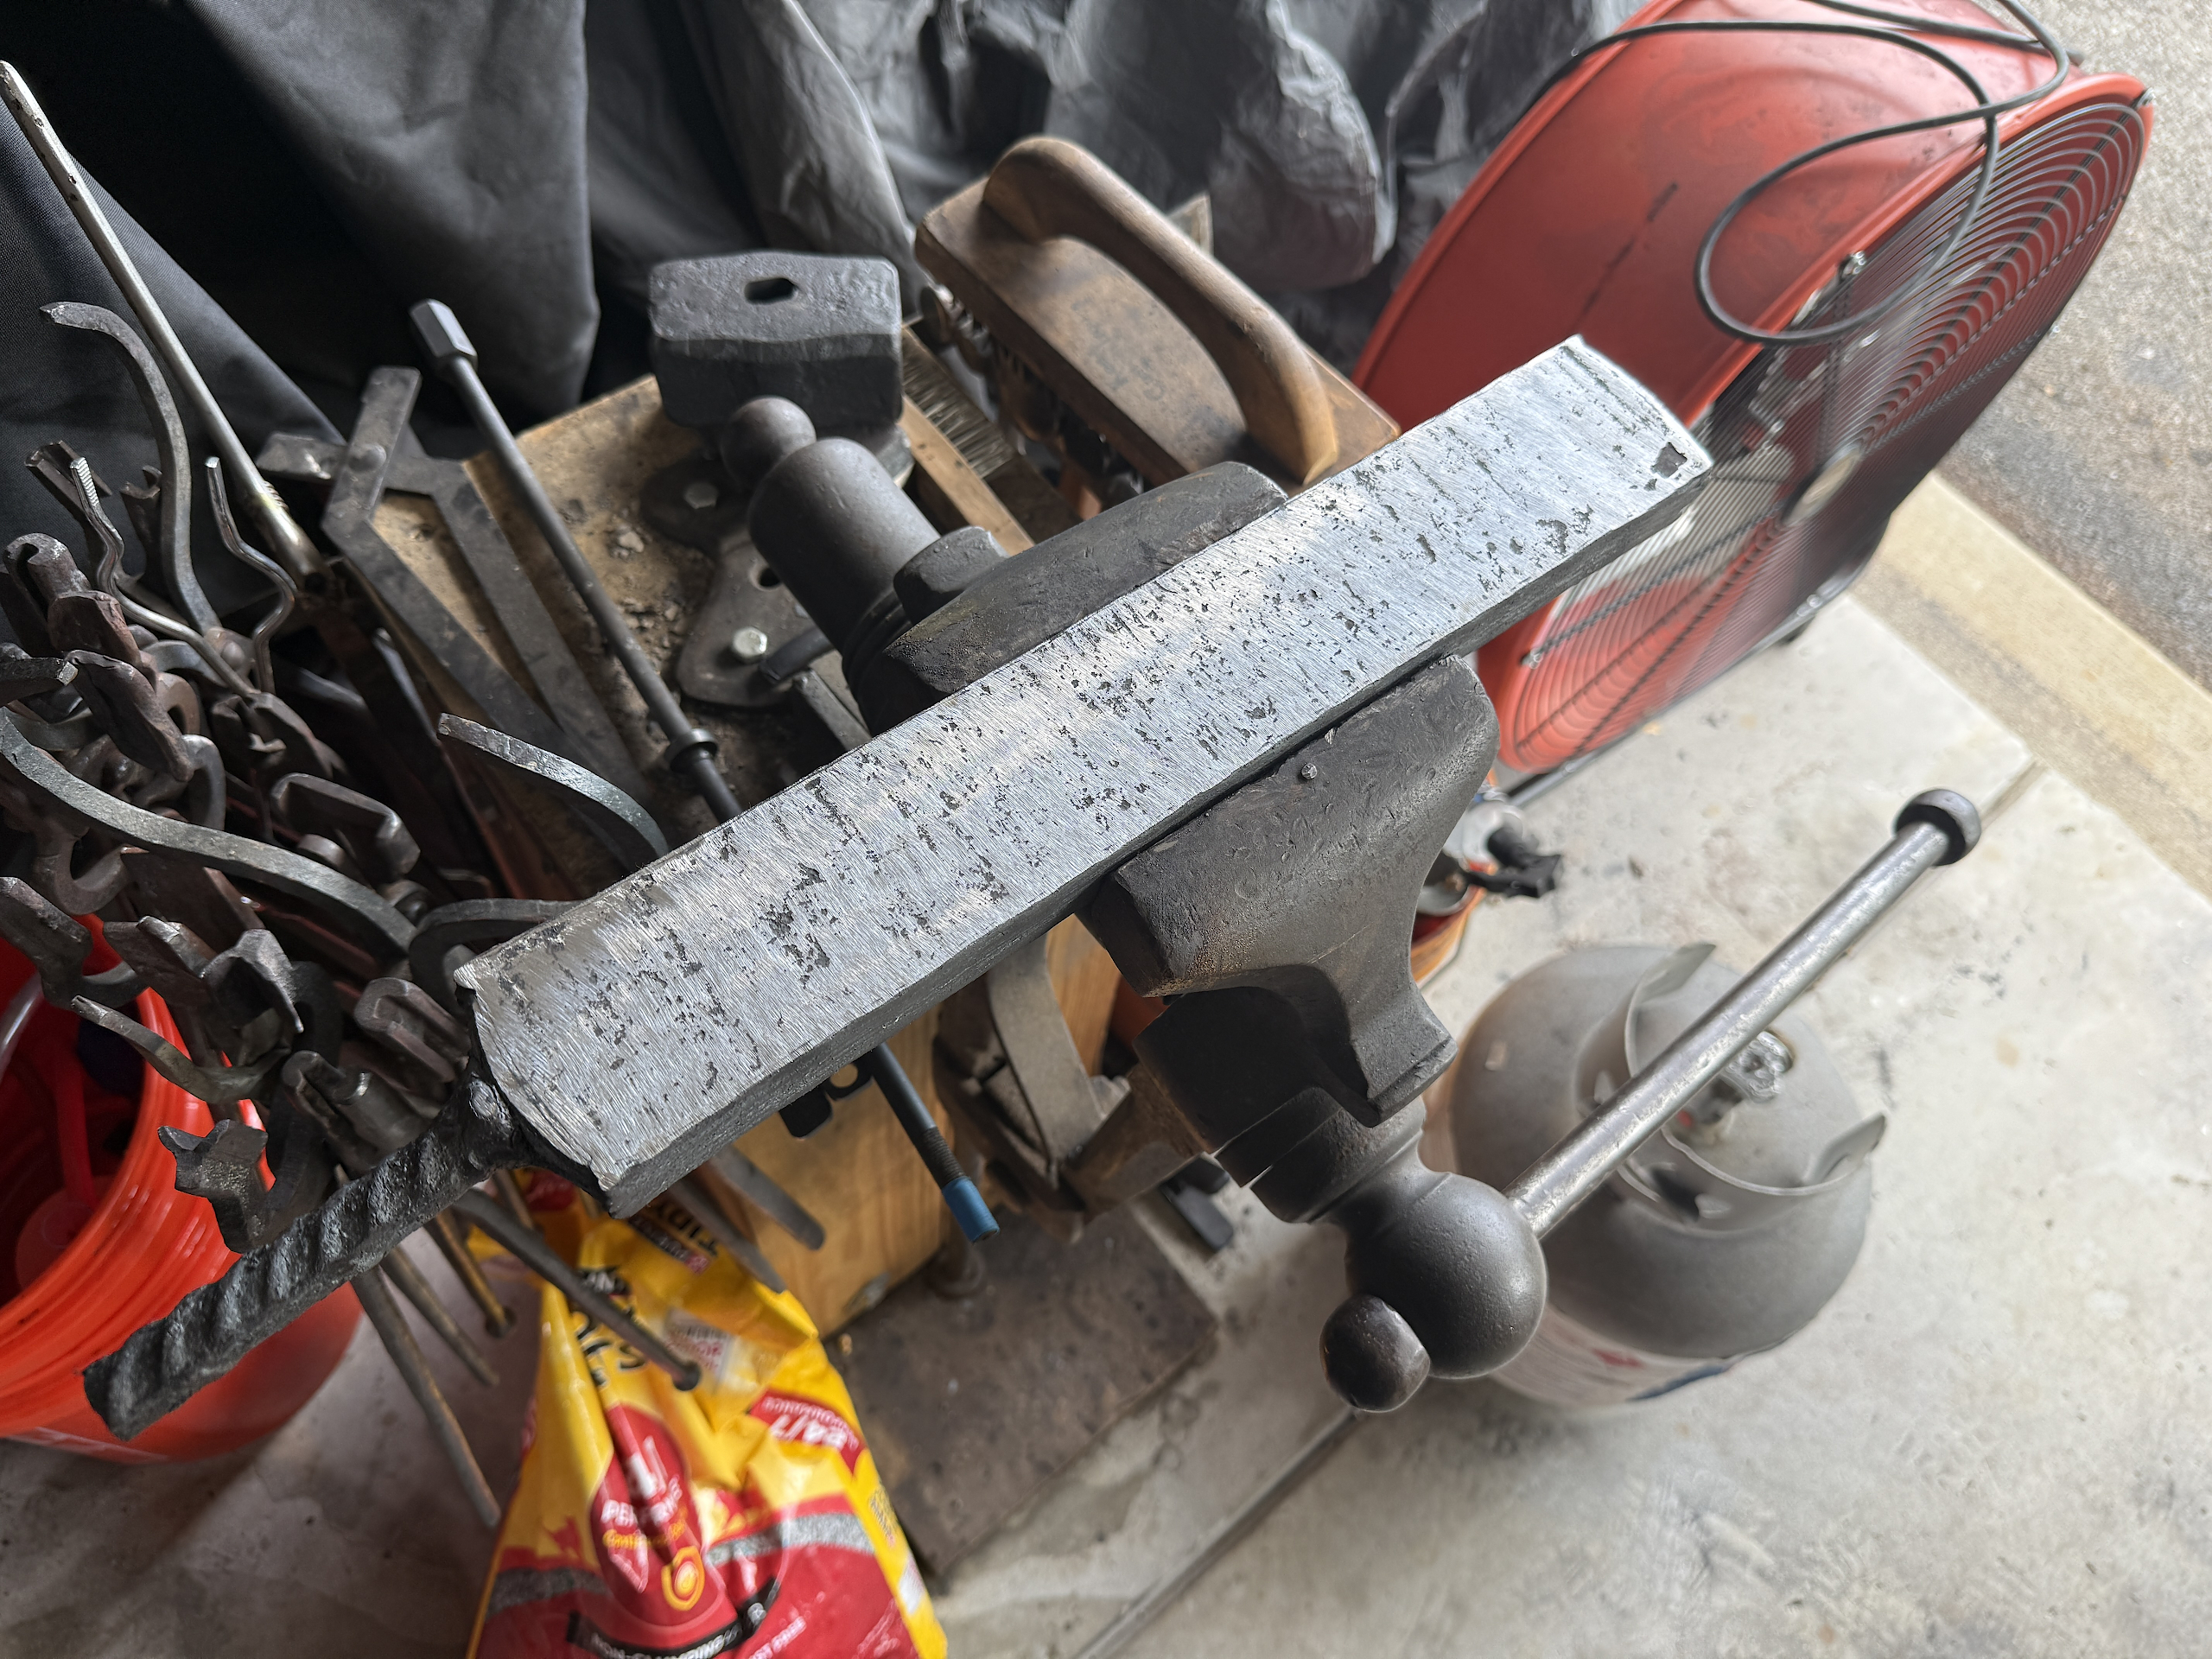
Cut into two bars
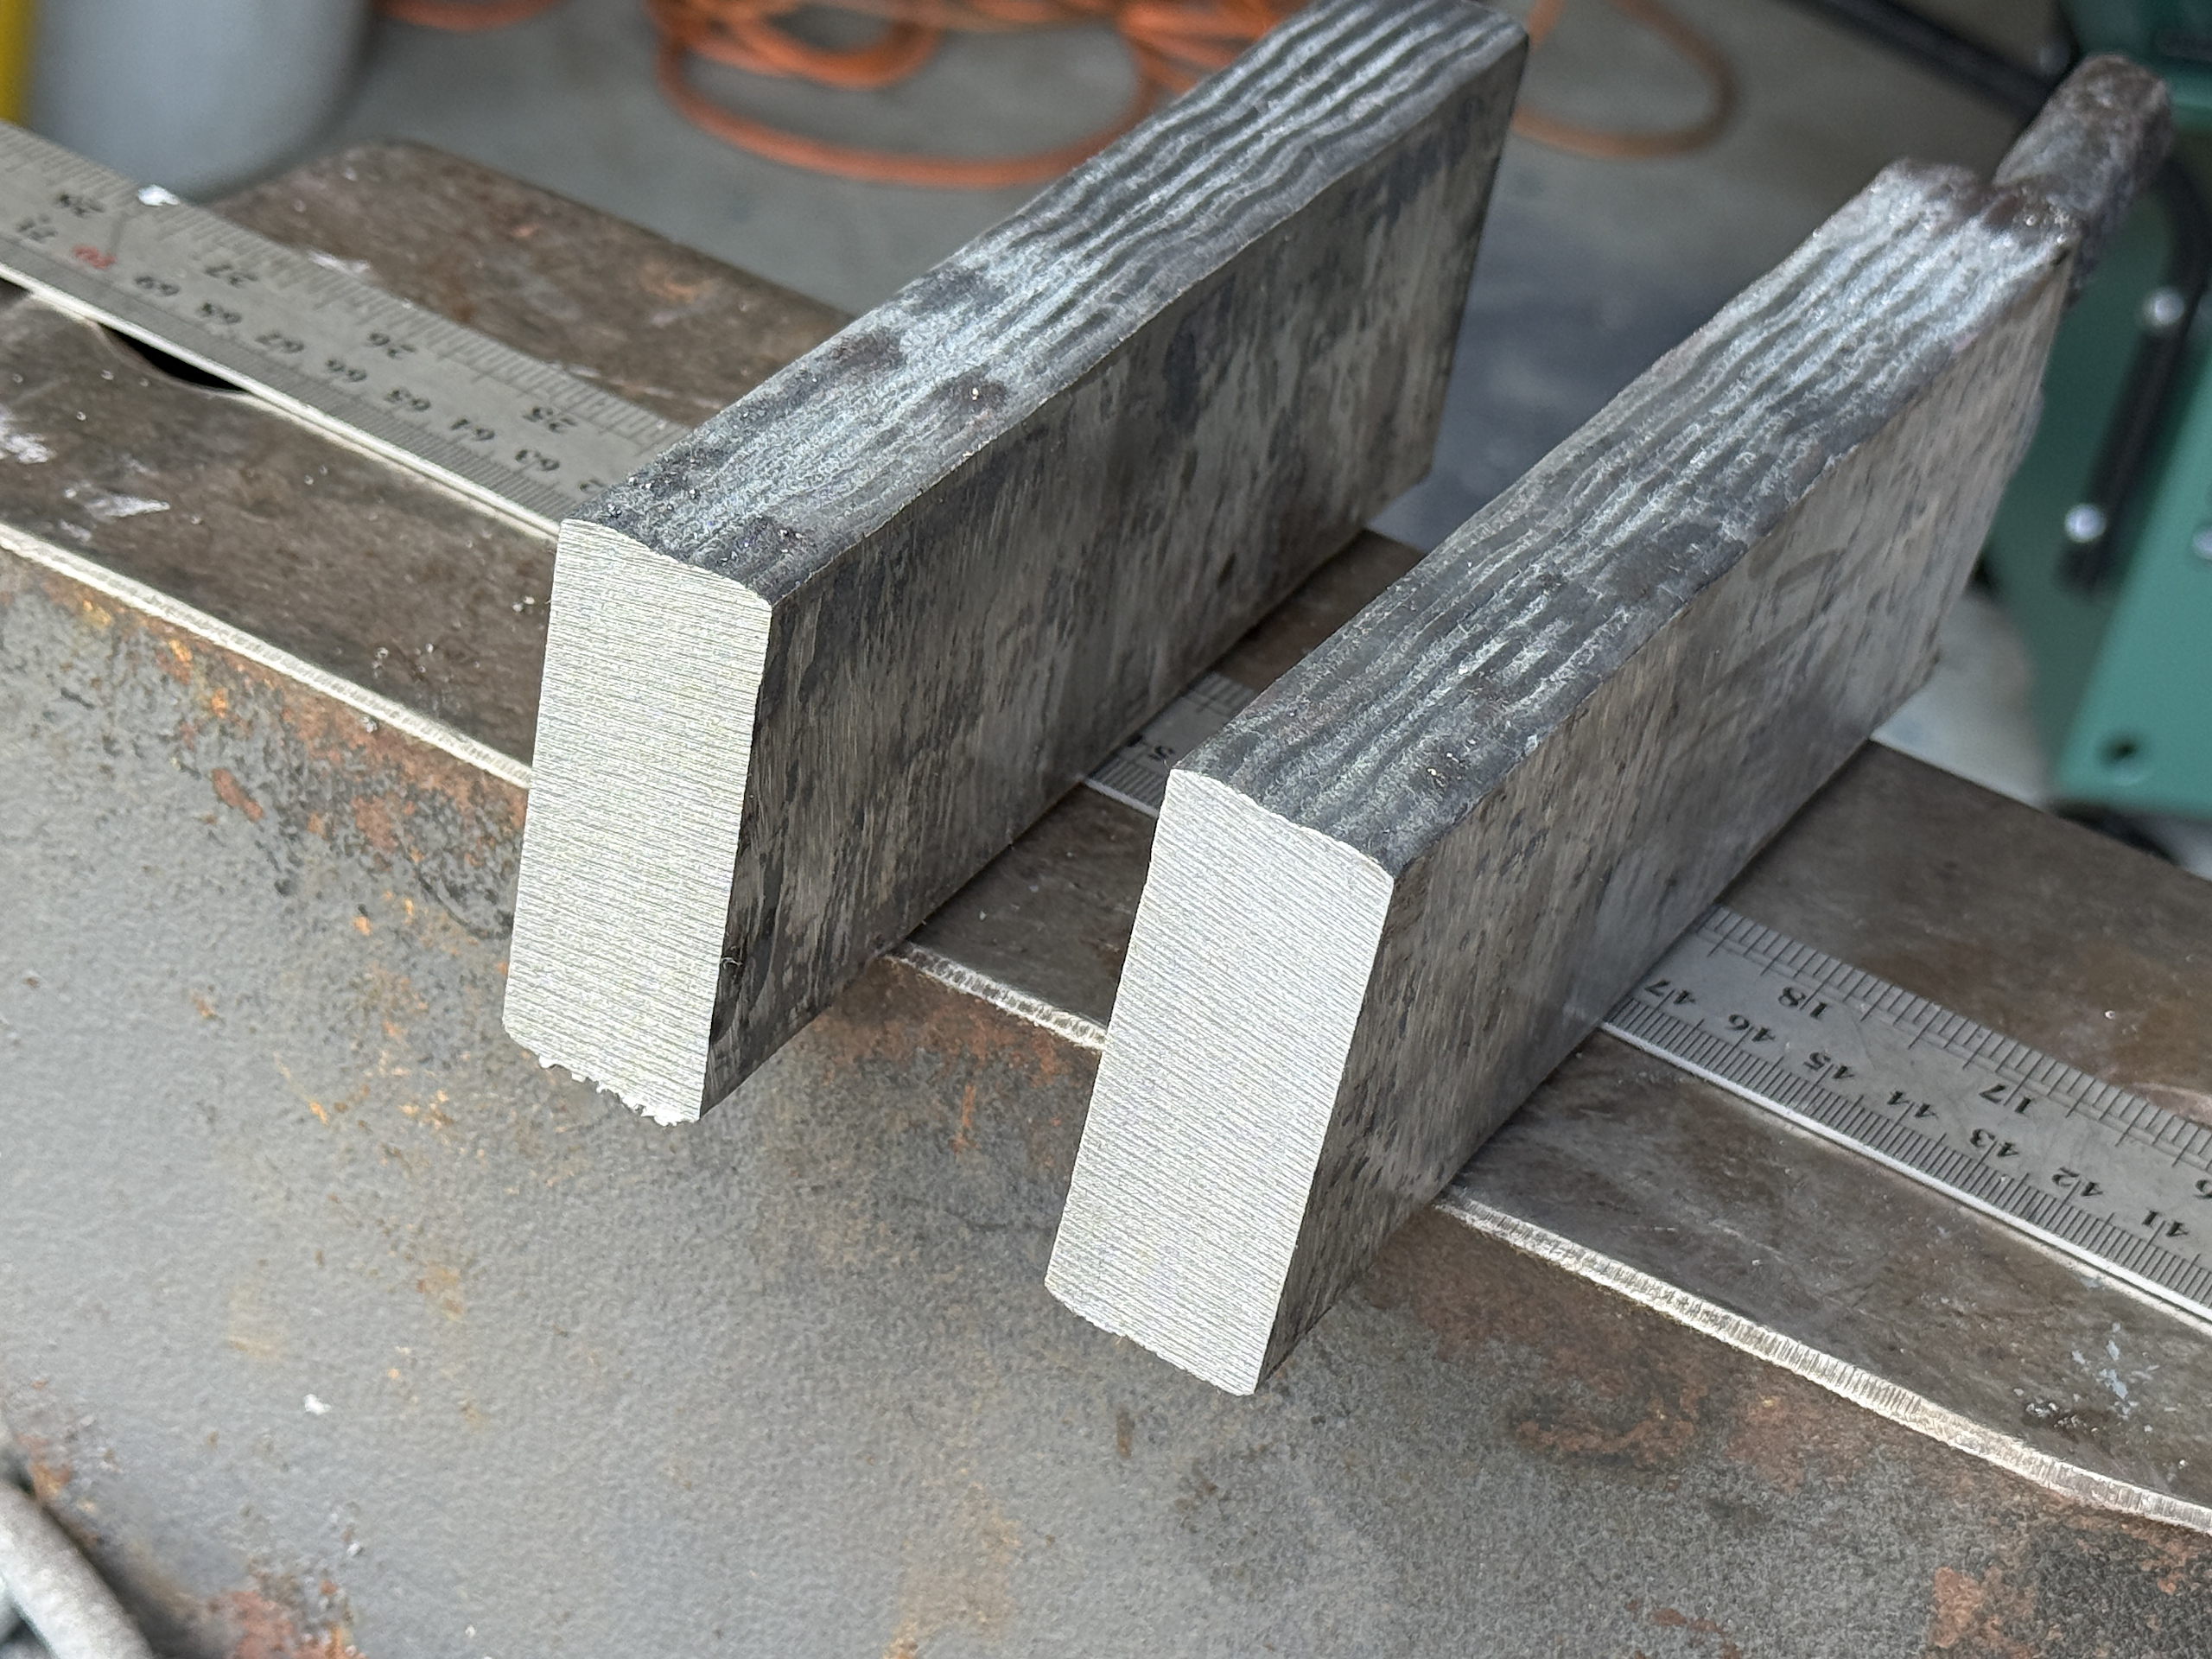
Once face on each bar ground perfectly clean and flat
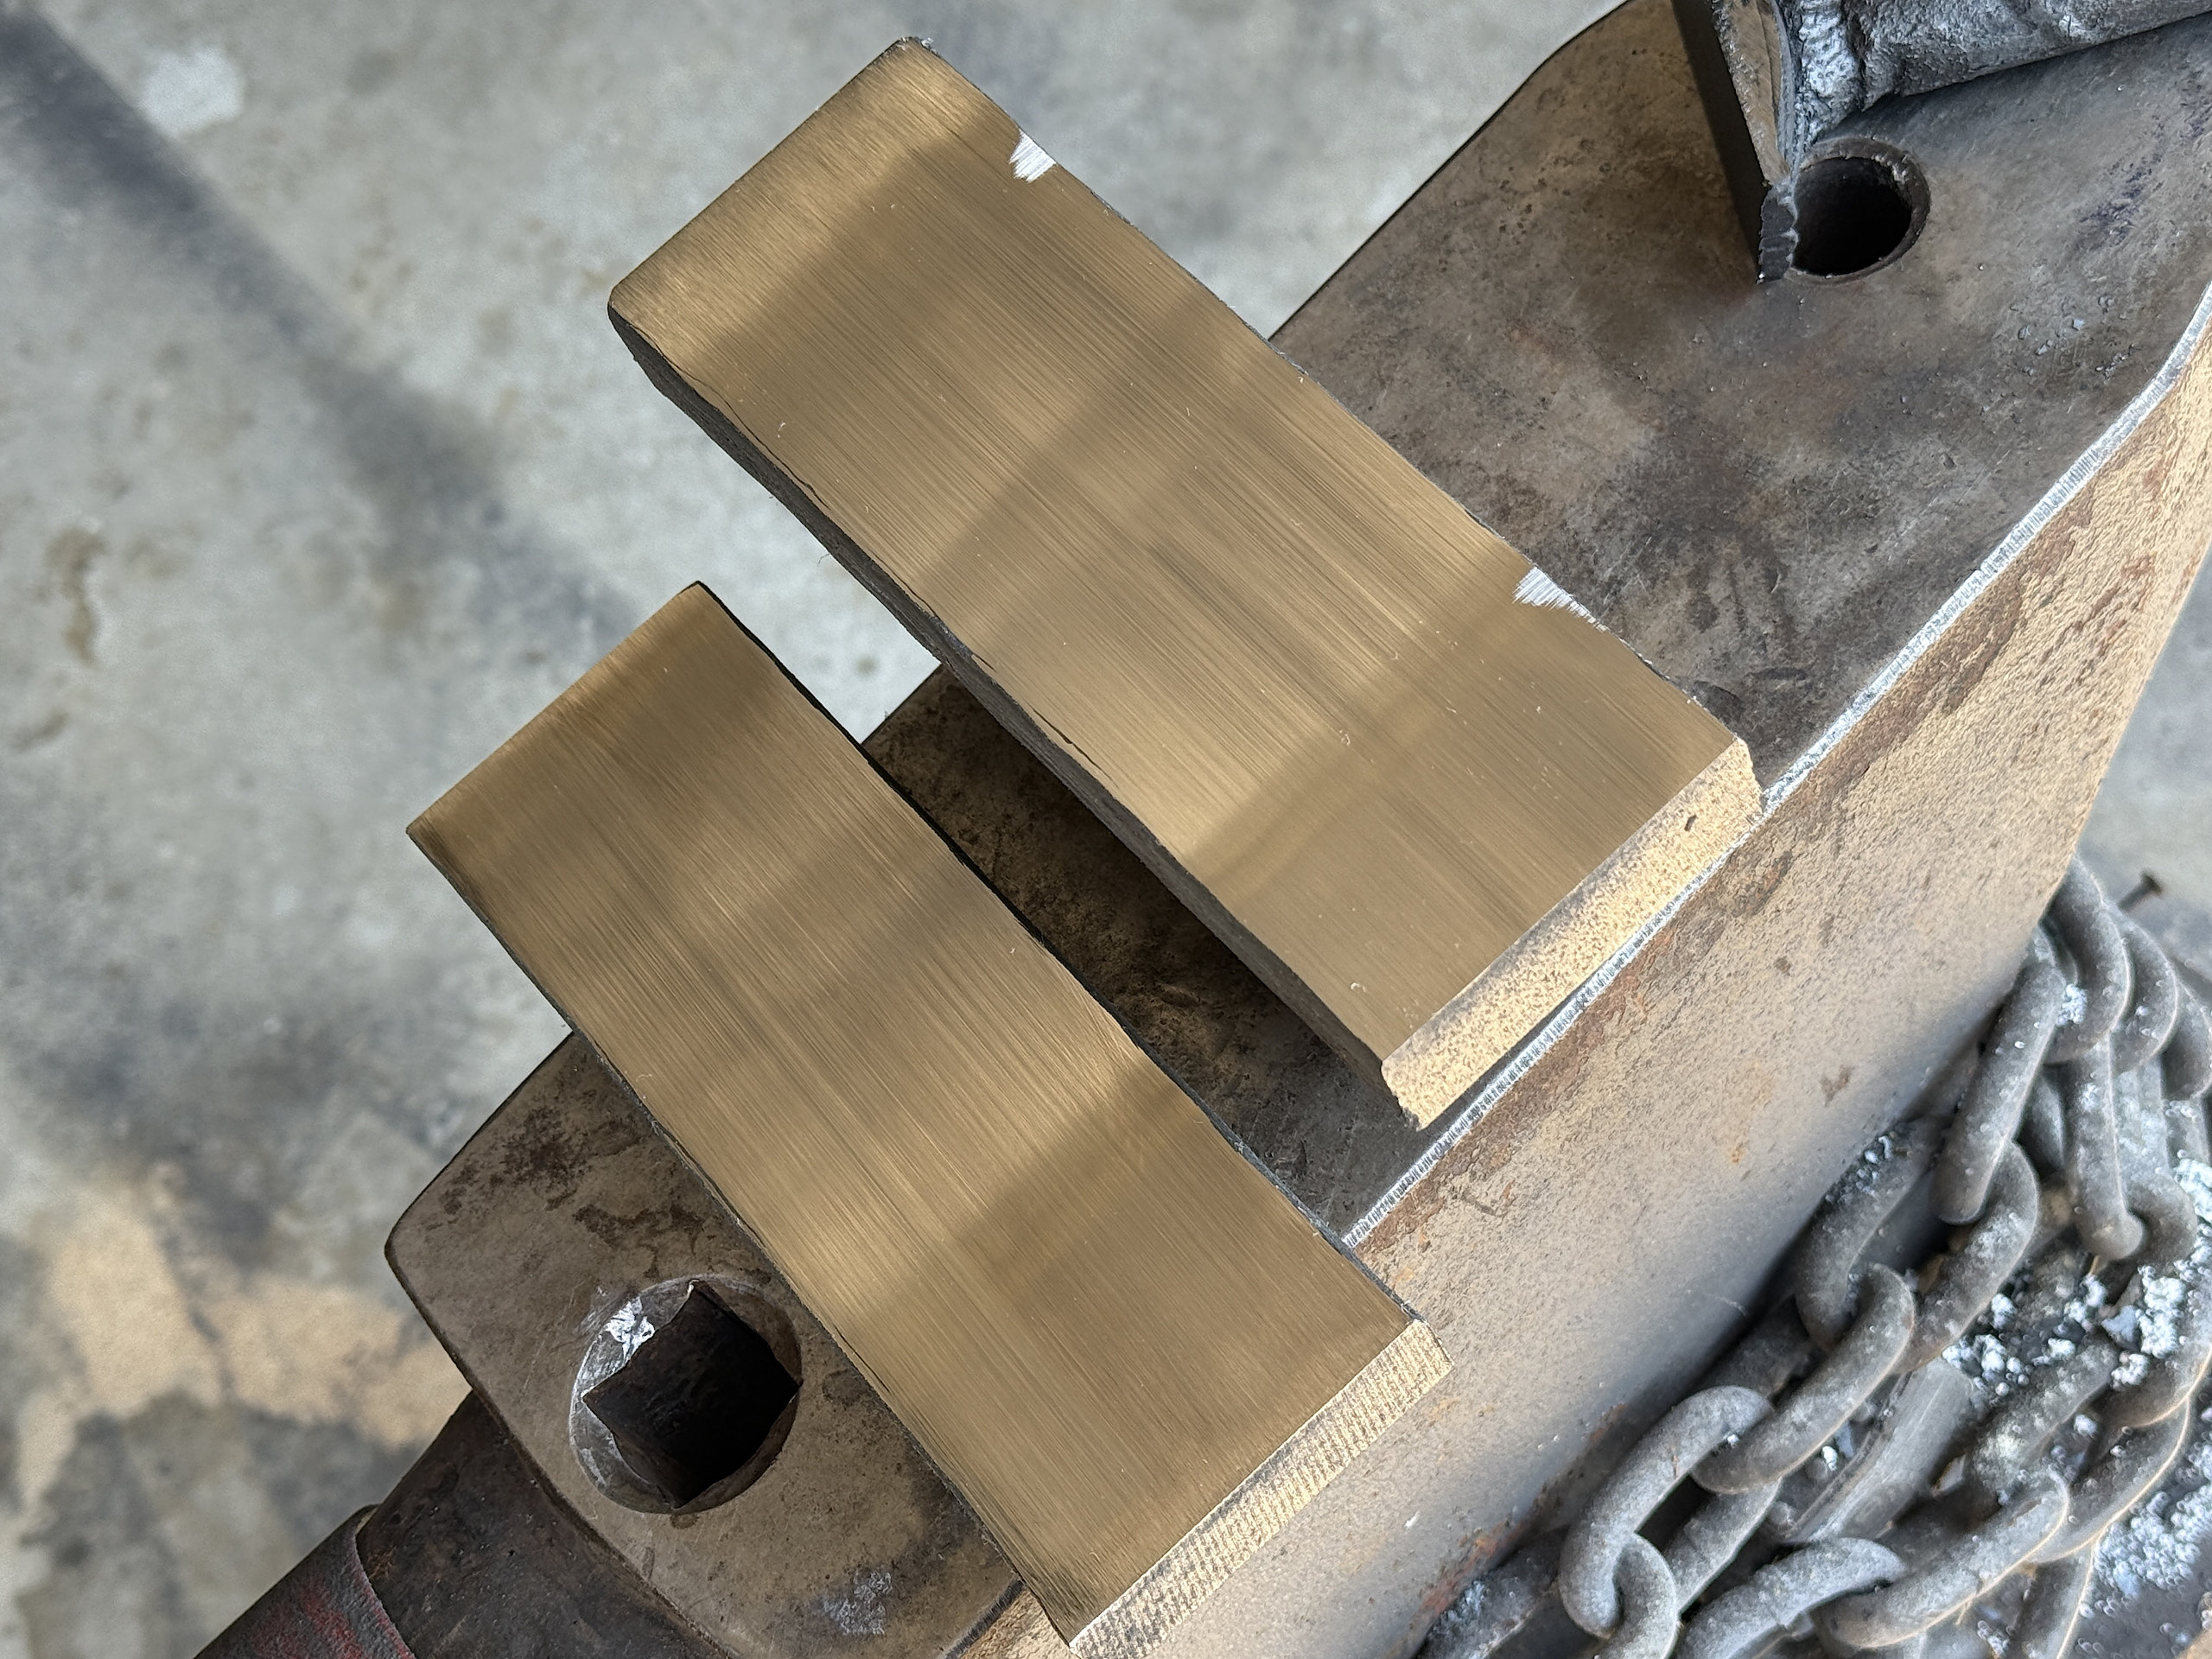
Tack welded together for forging
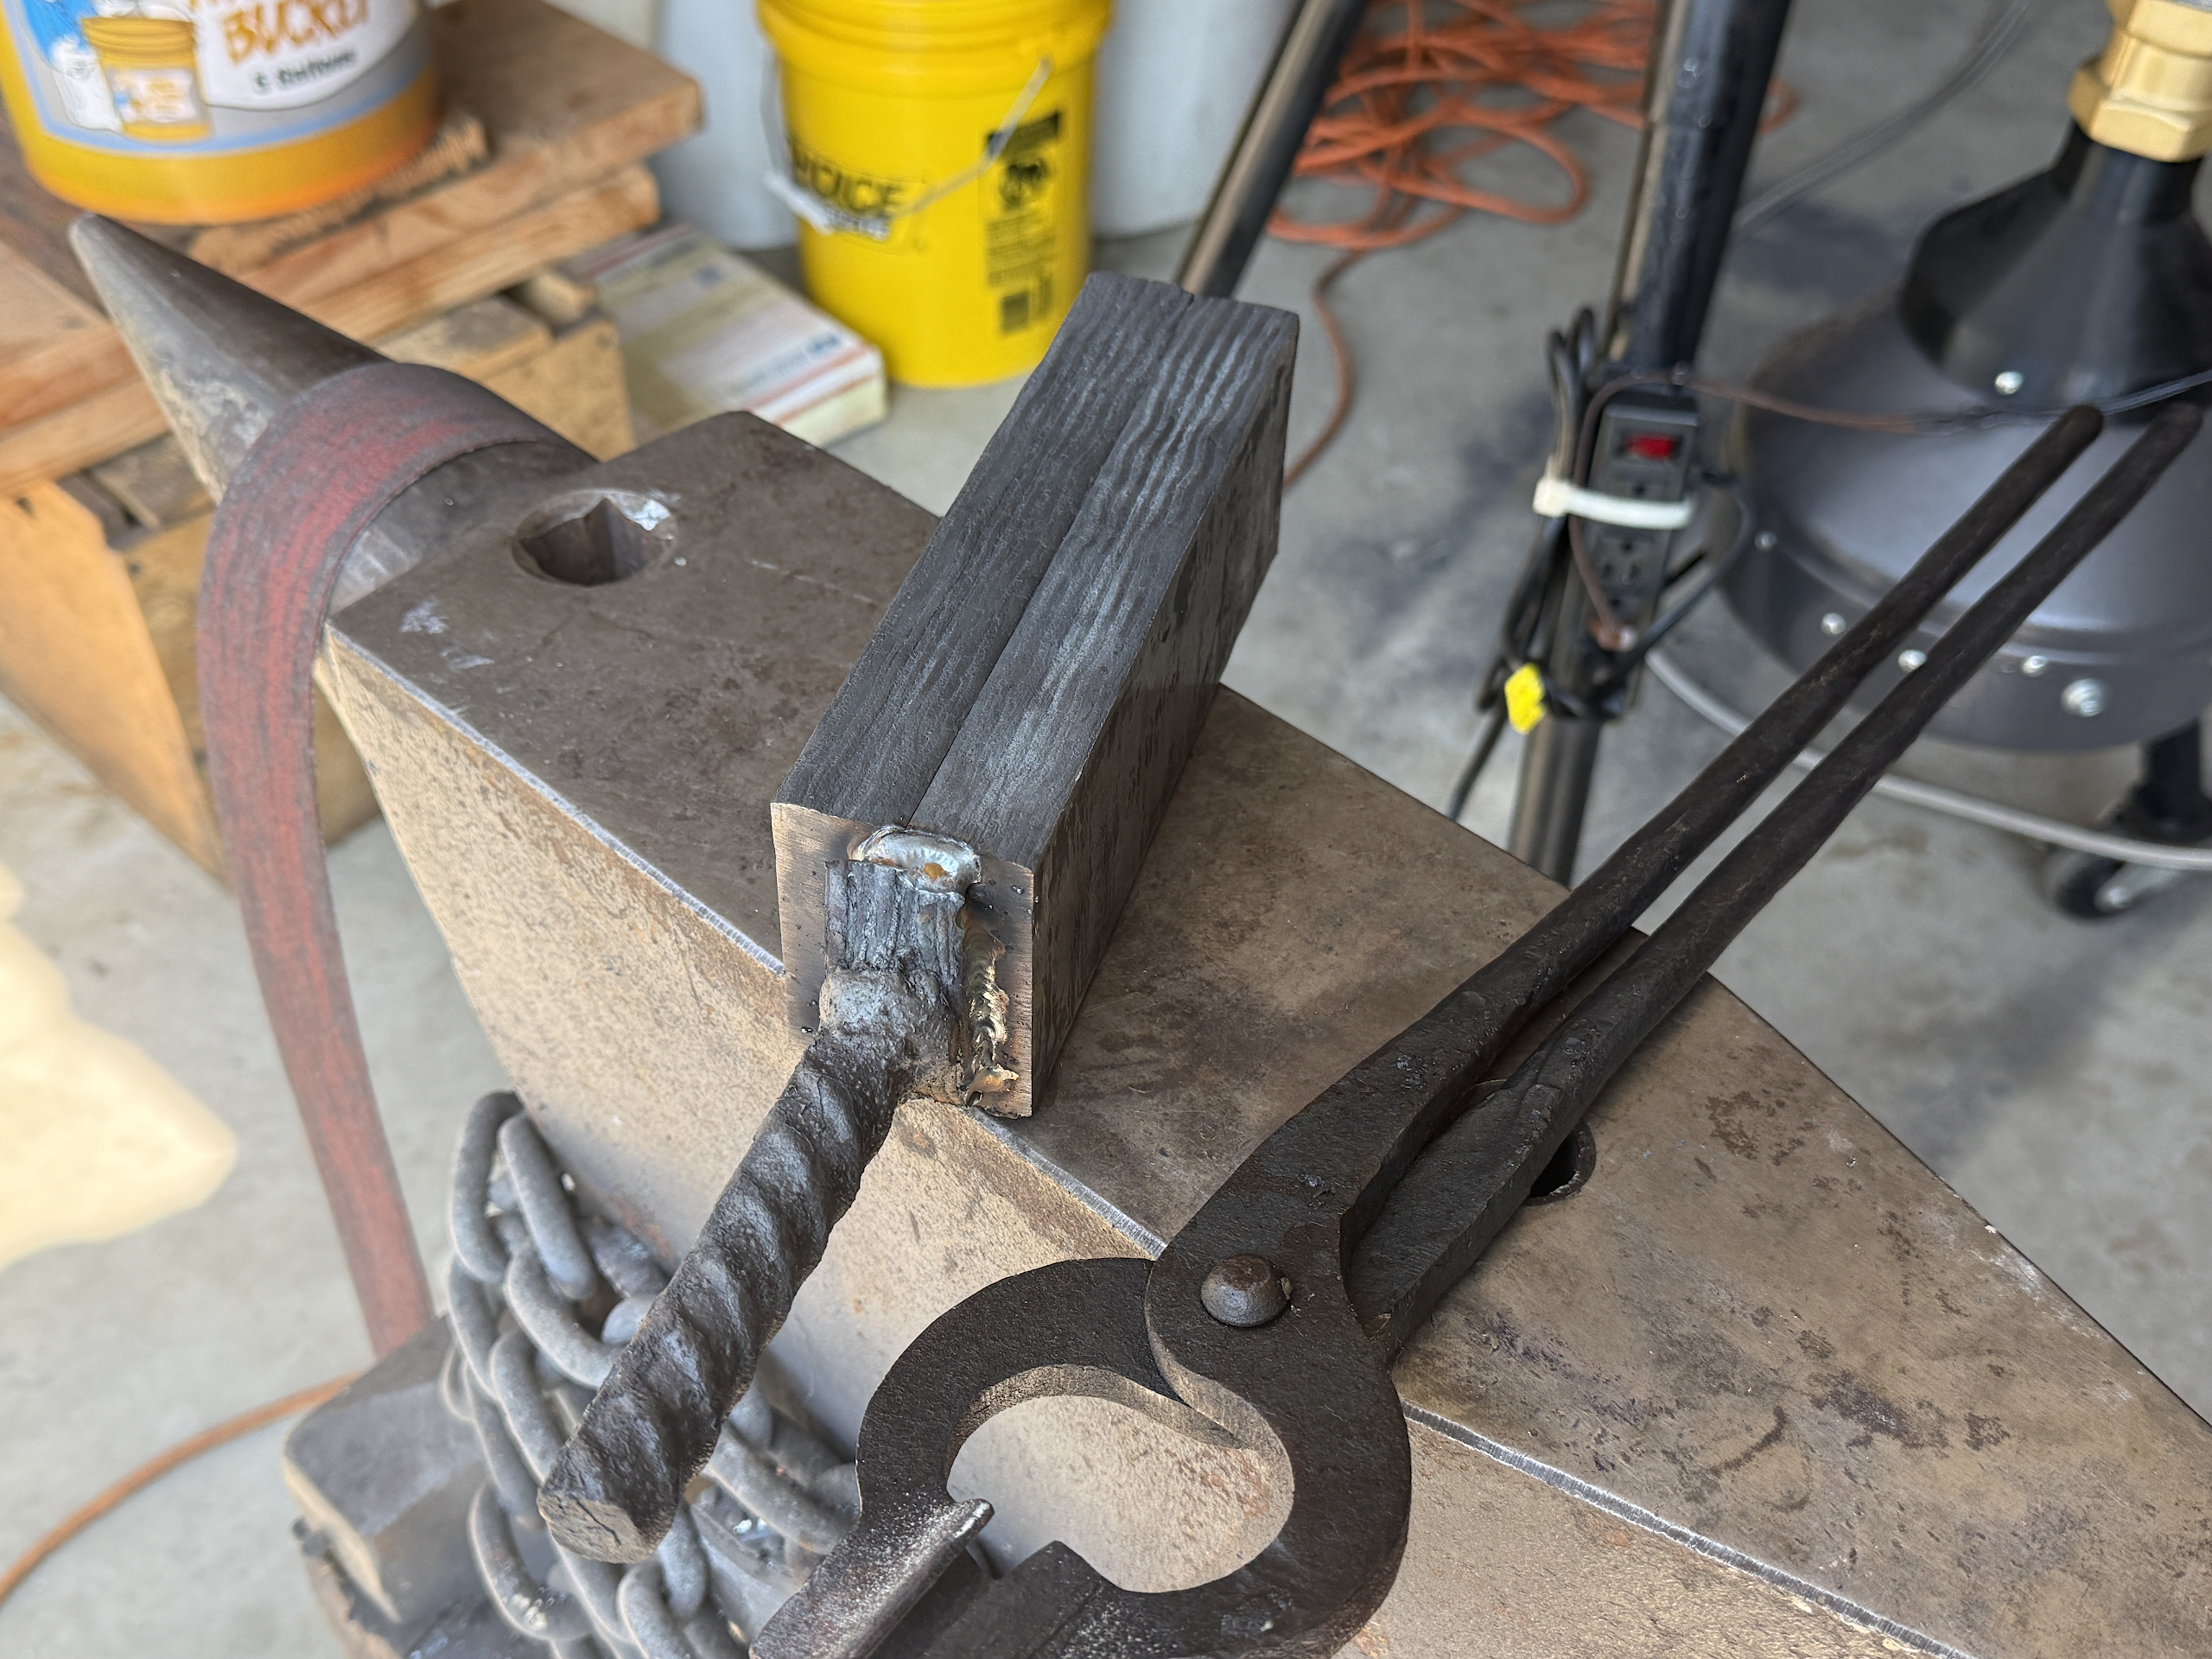
A juicy squash.
Resulting 32 layer bar
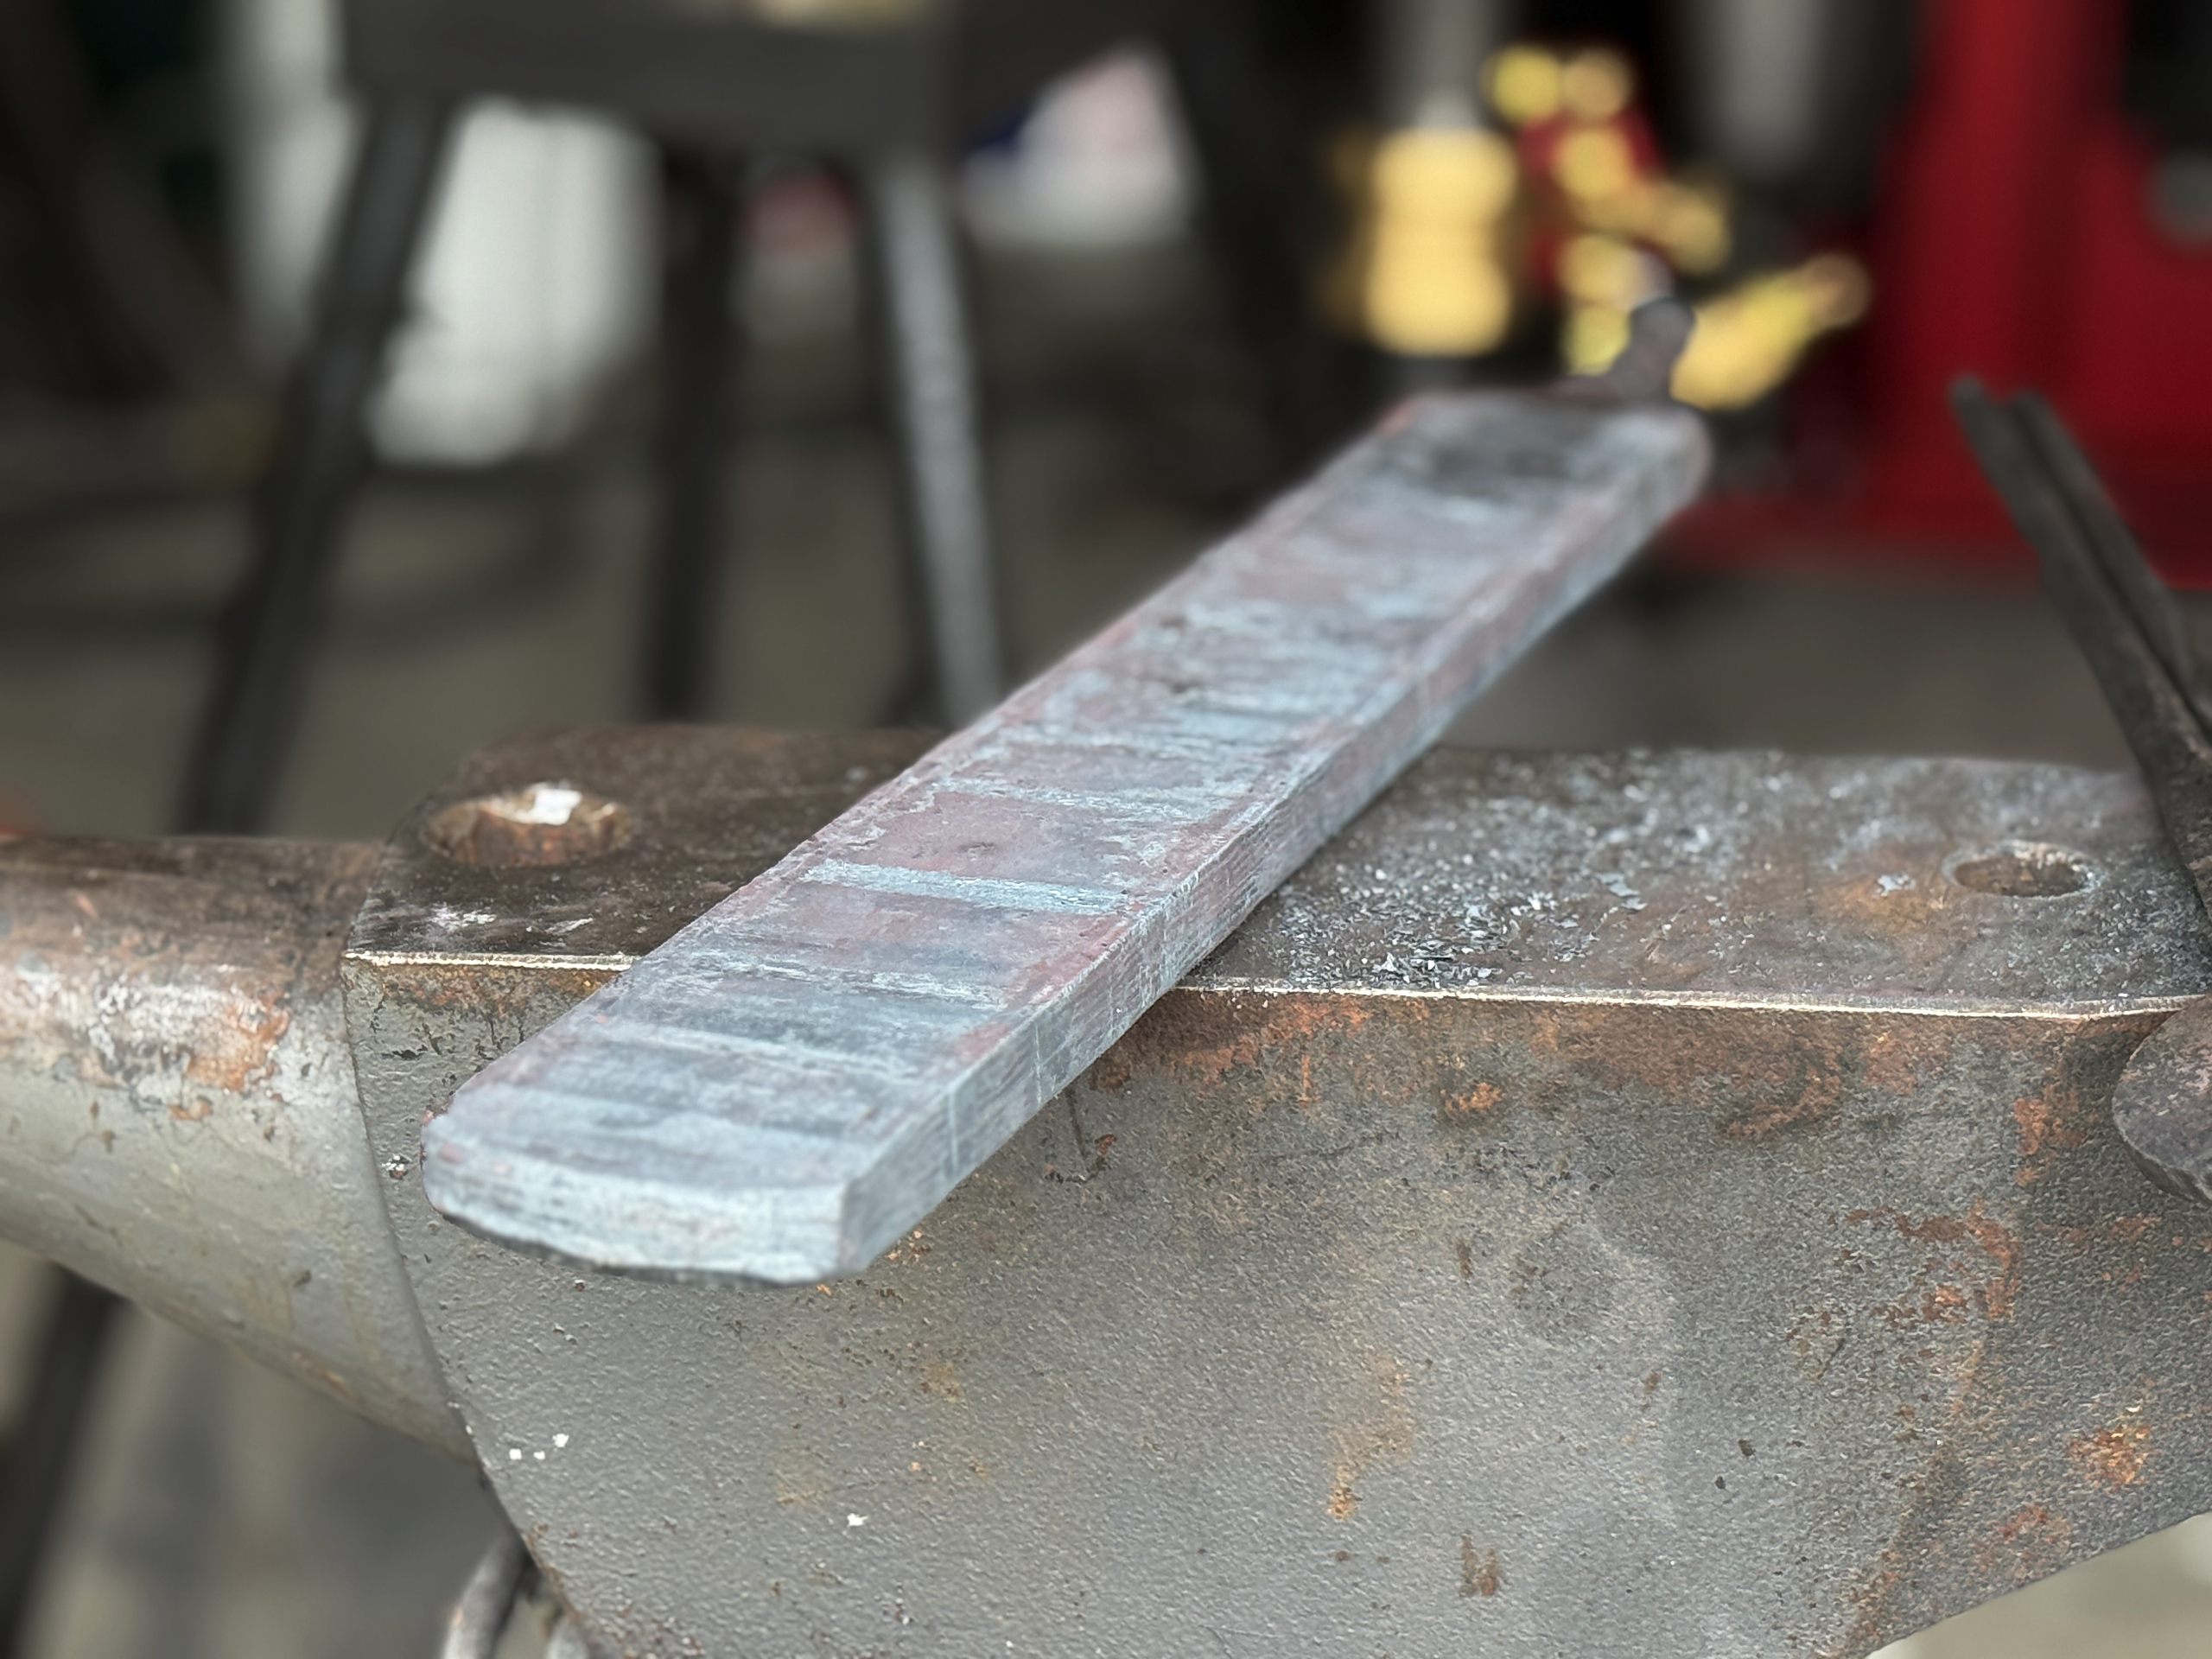
Drawn out to 18″, but I only really need 16 for this.
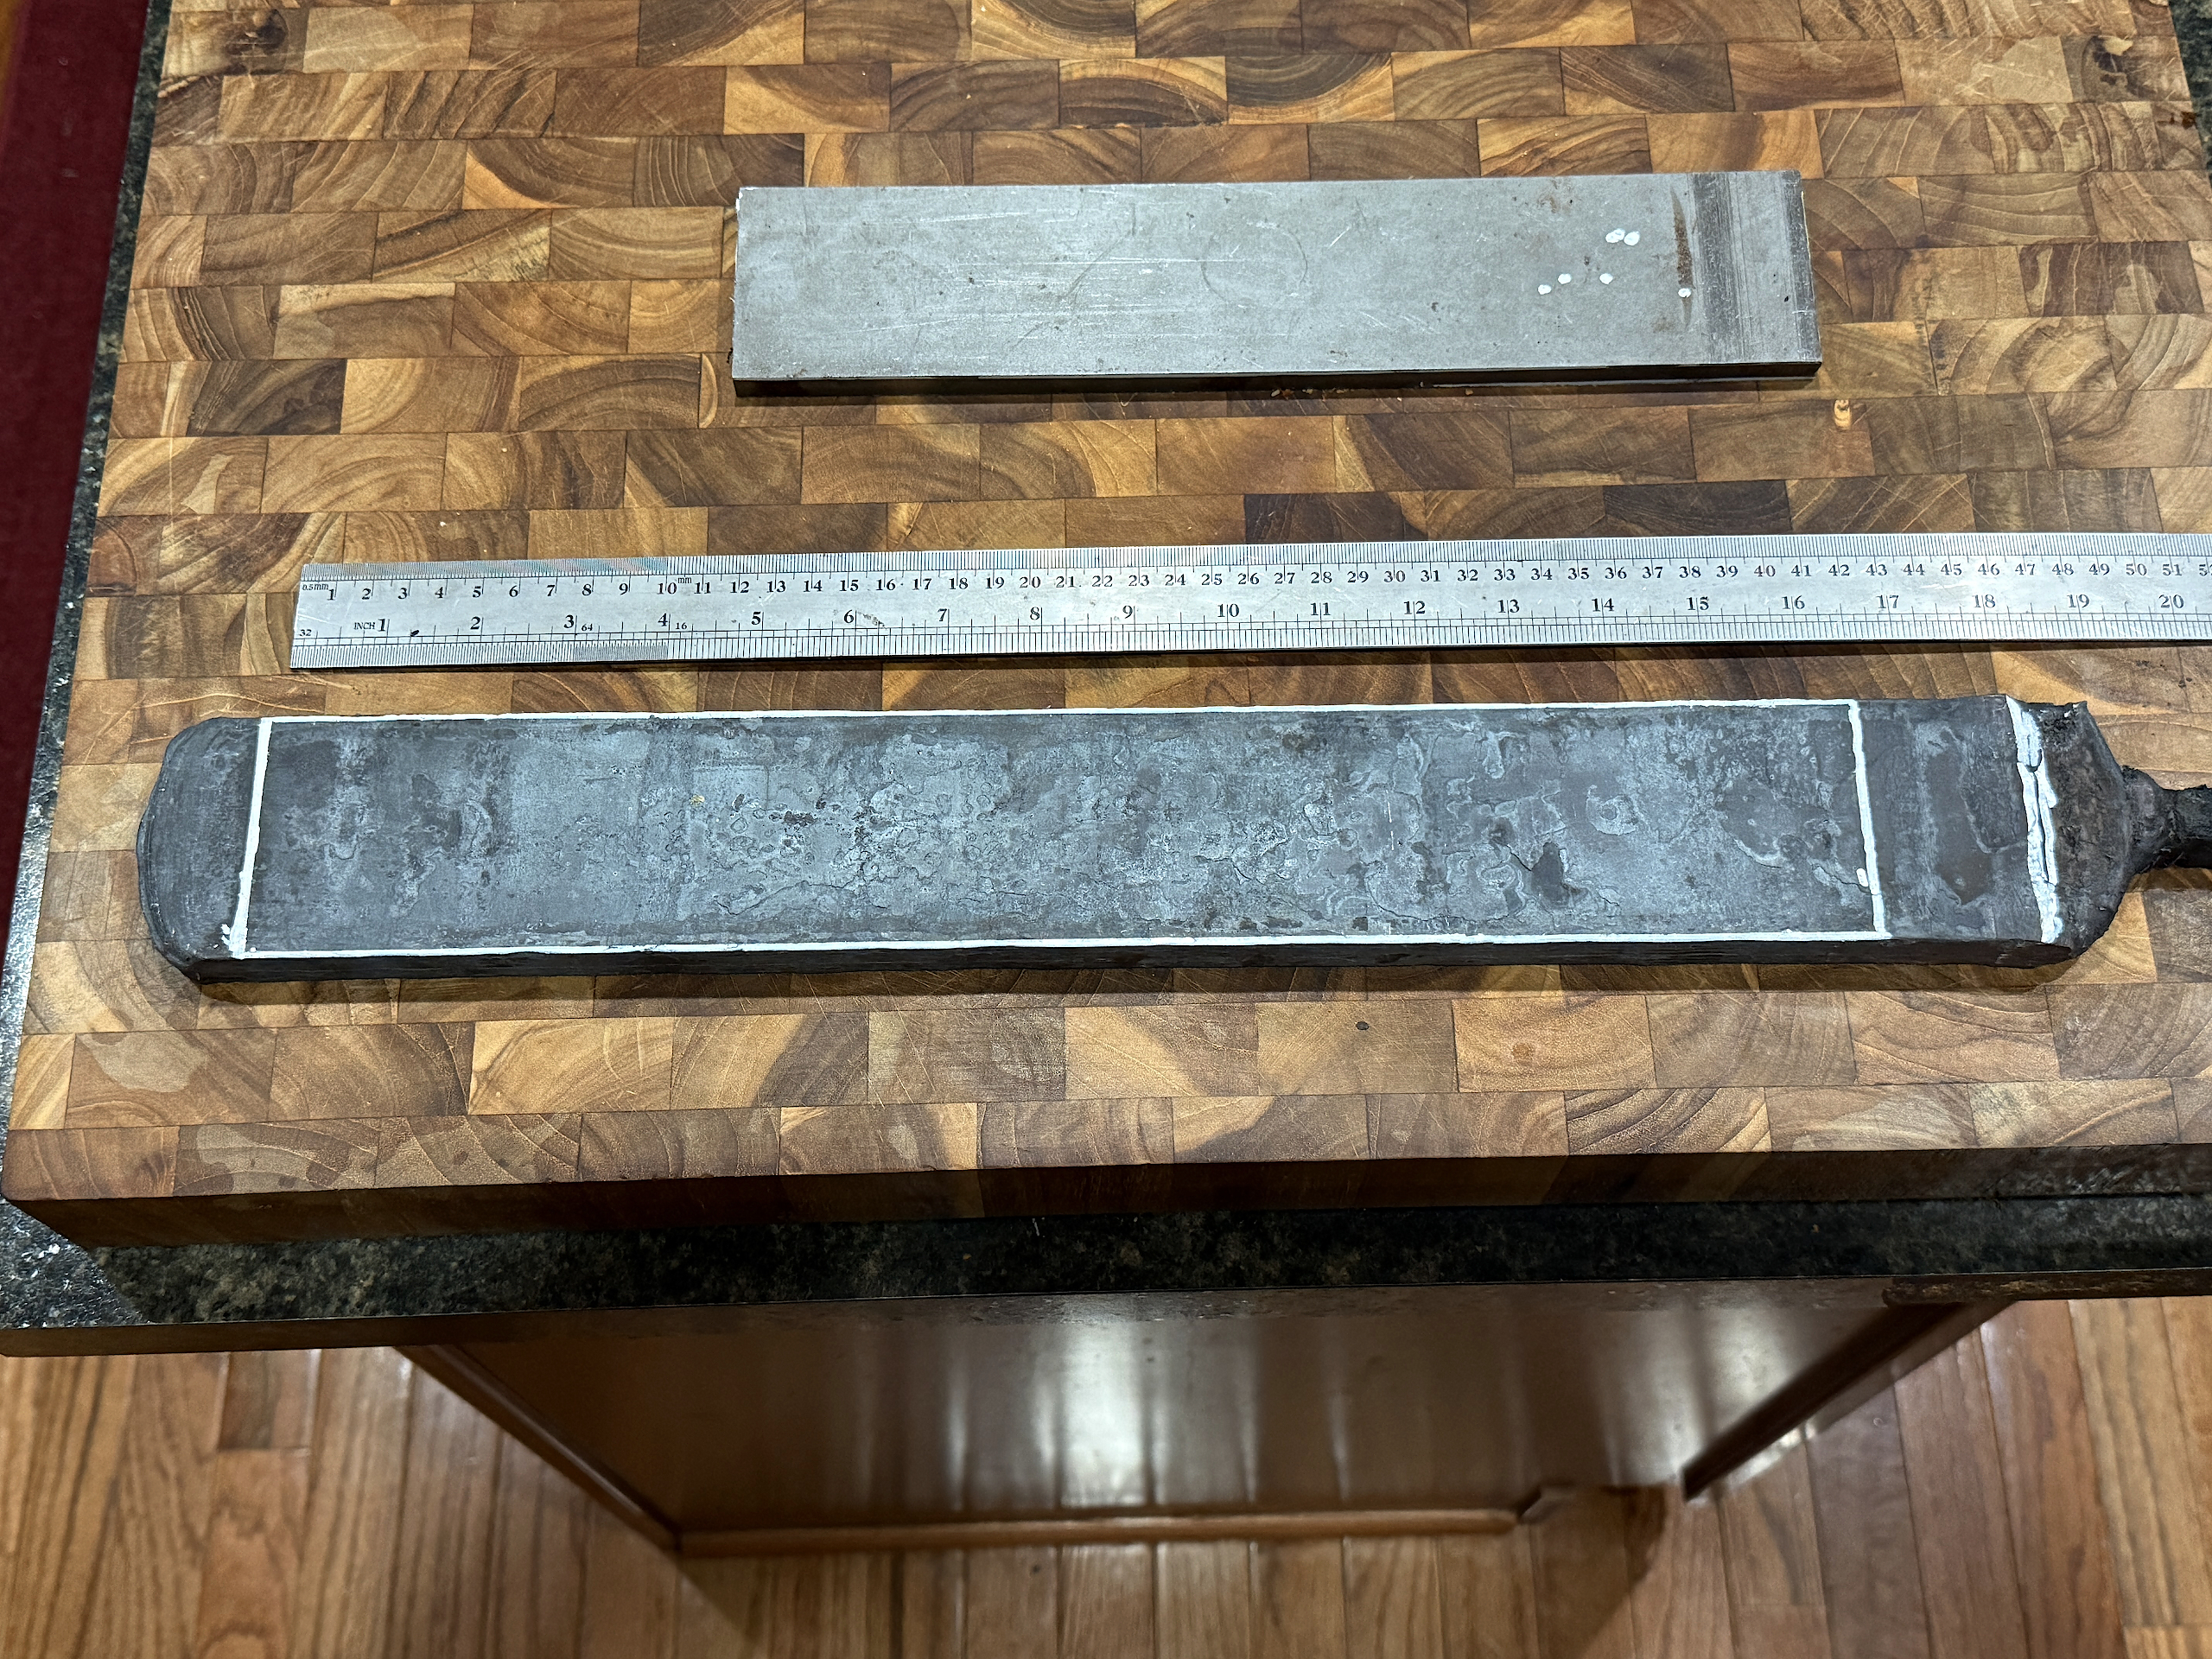
Cut into two 8″ pieces
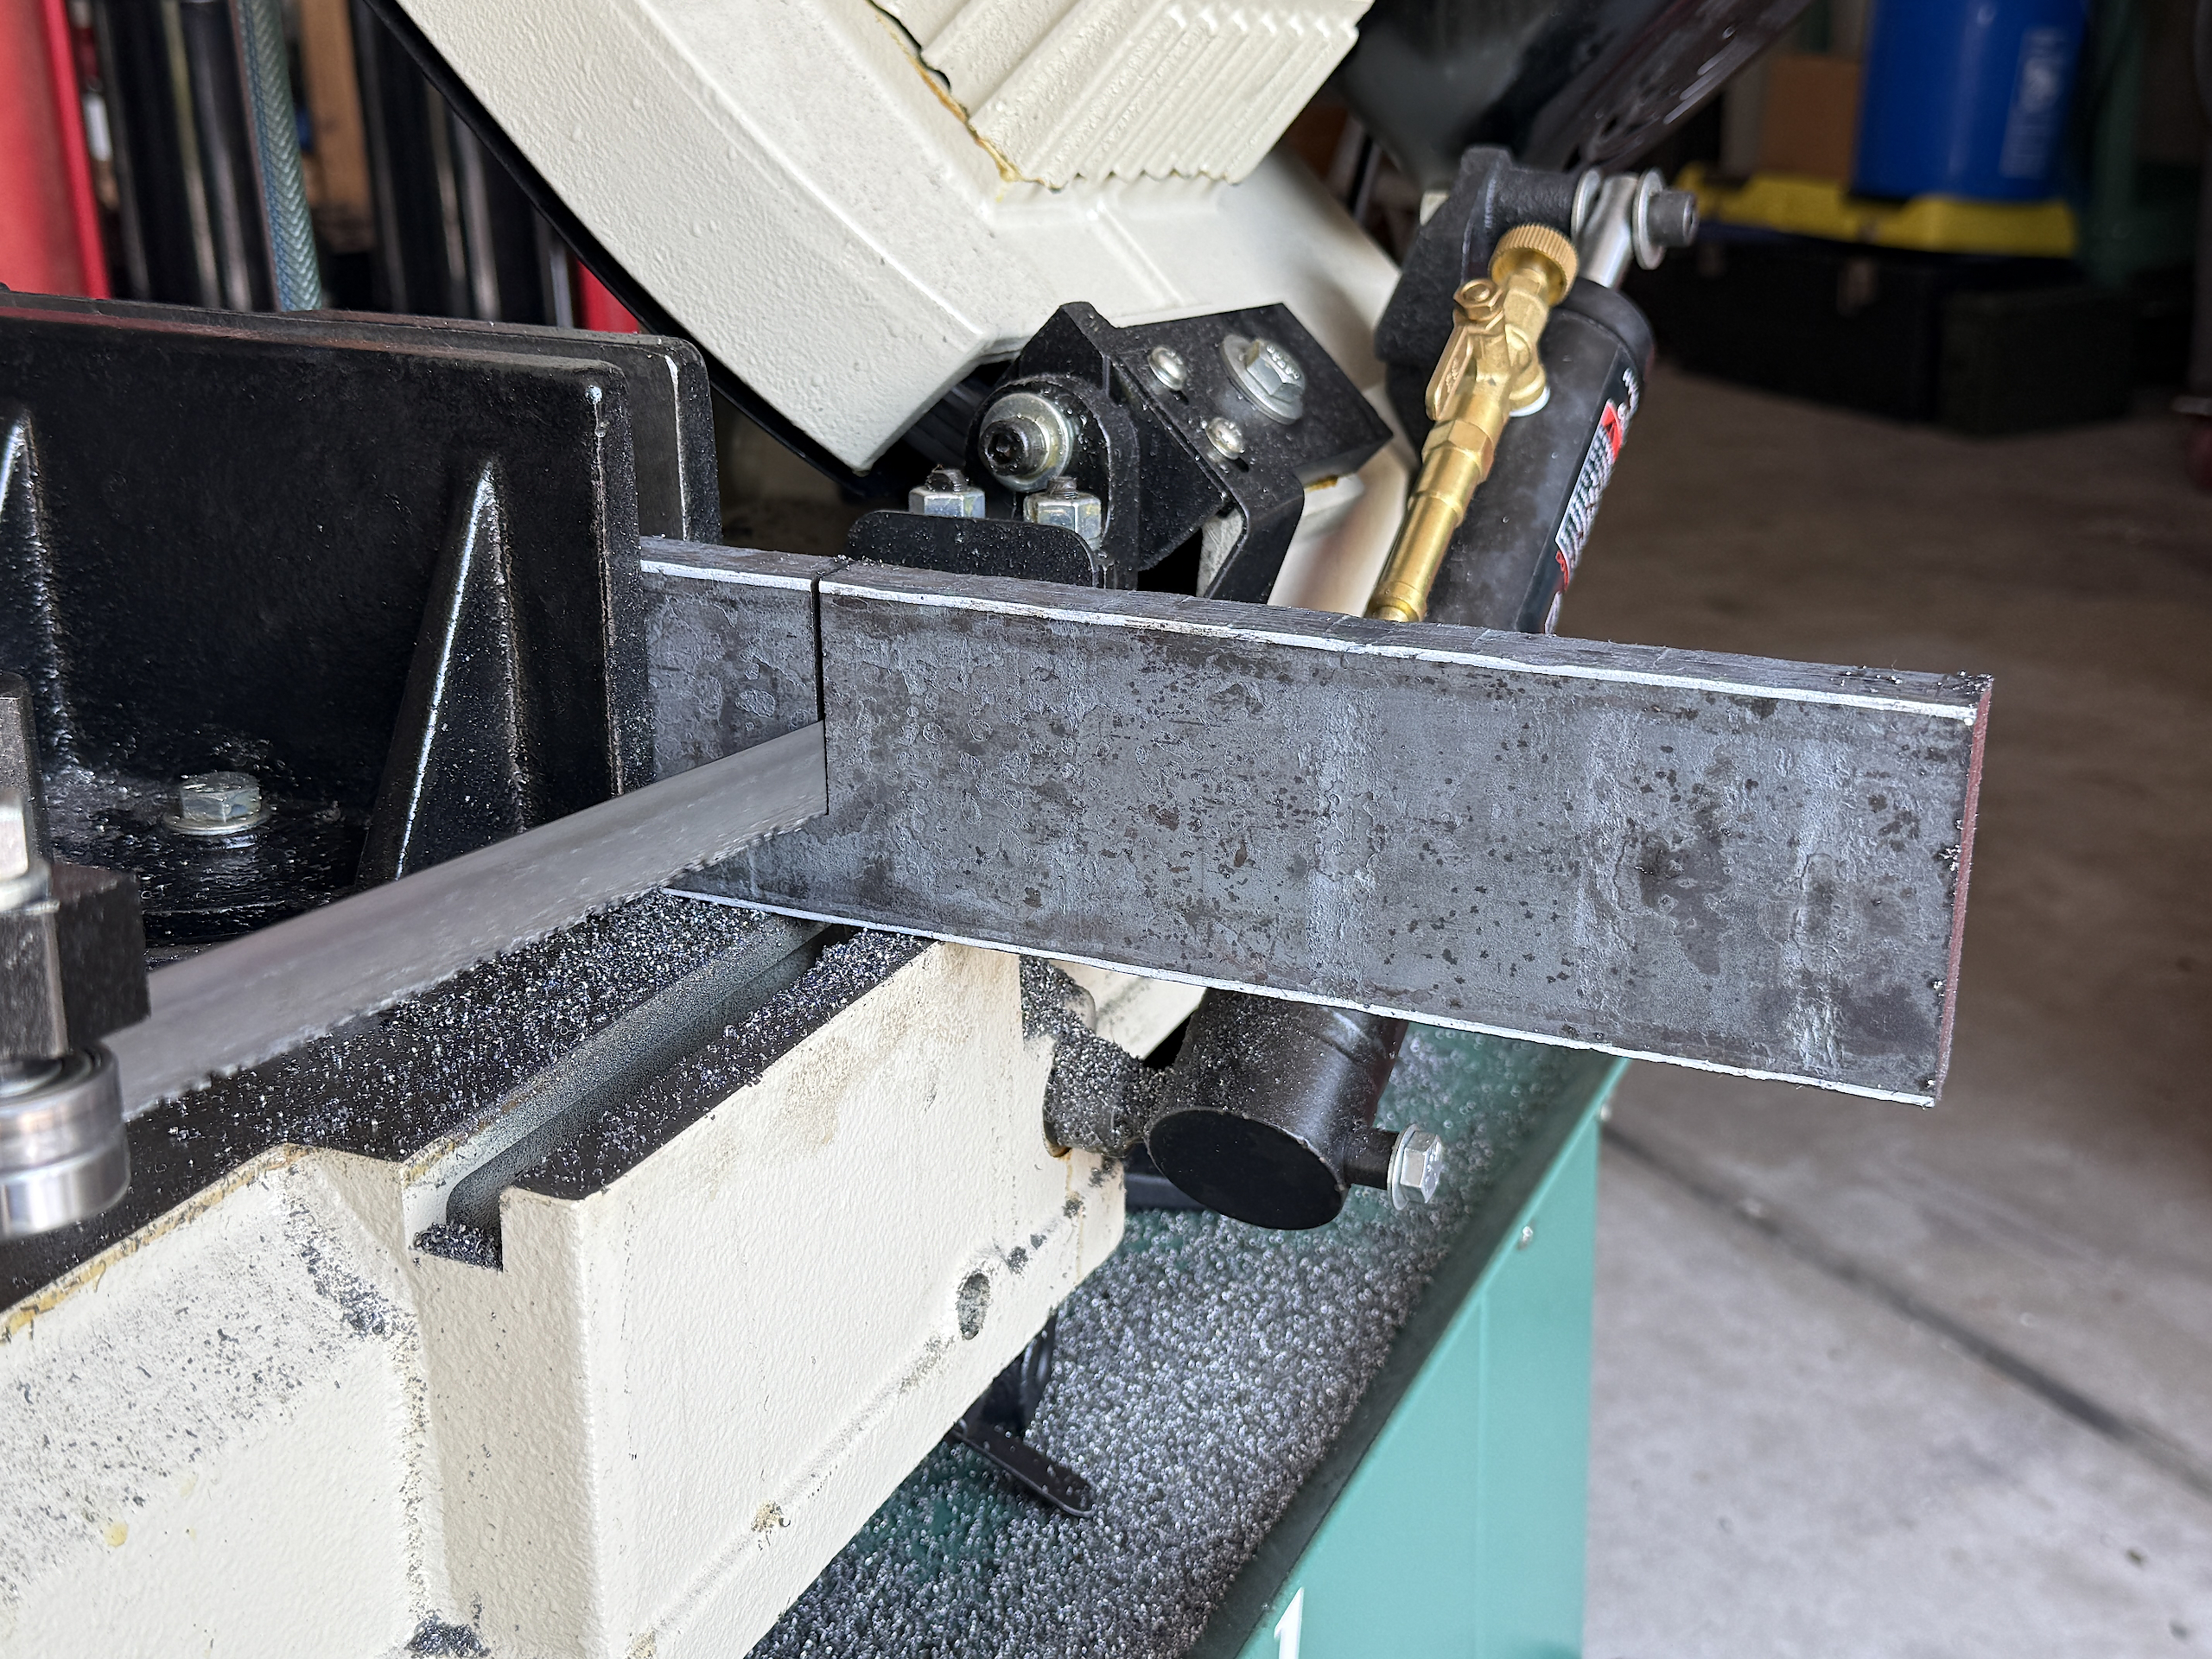
Other steel bars cut to equal lengths to match the damascus pieces. You want sides and ends as flush as possible before forging to avoid cold shuts that would necessitate grinding or cutting away more steel to get into clean, solid billet
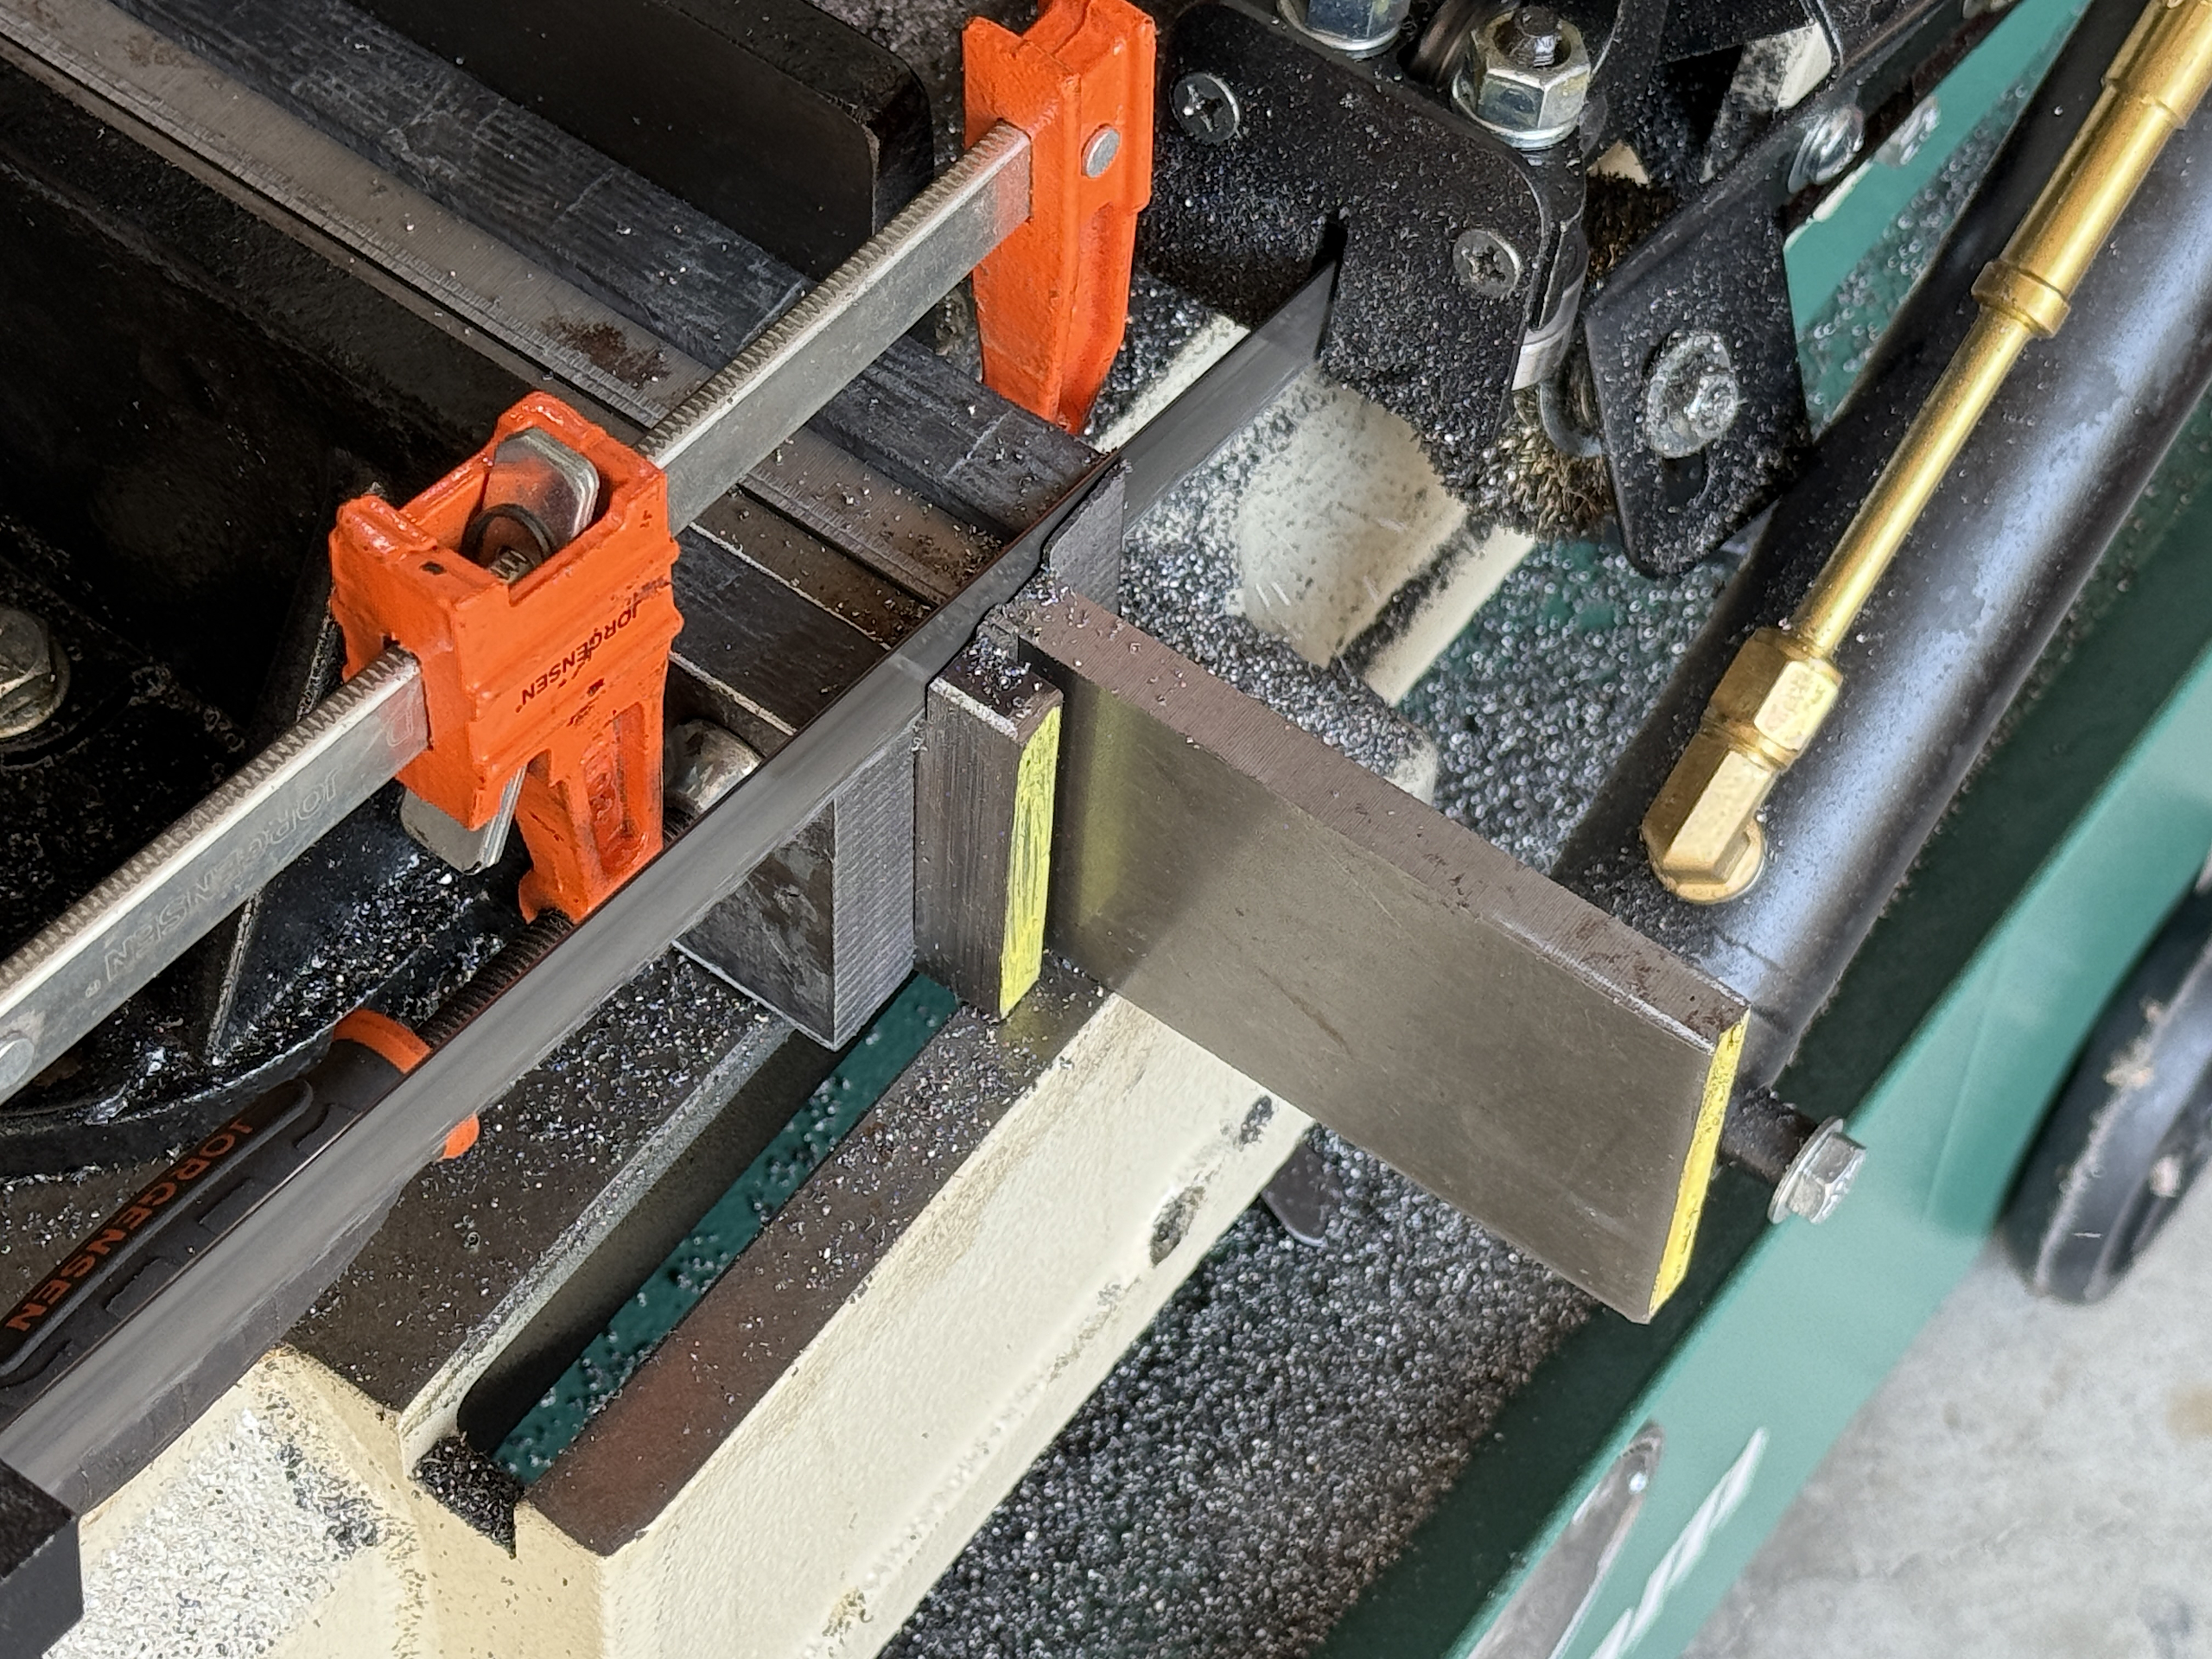
Clamped and stacked together
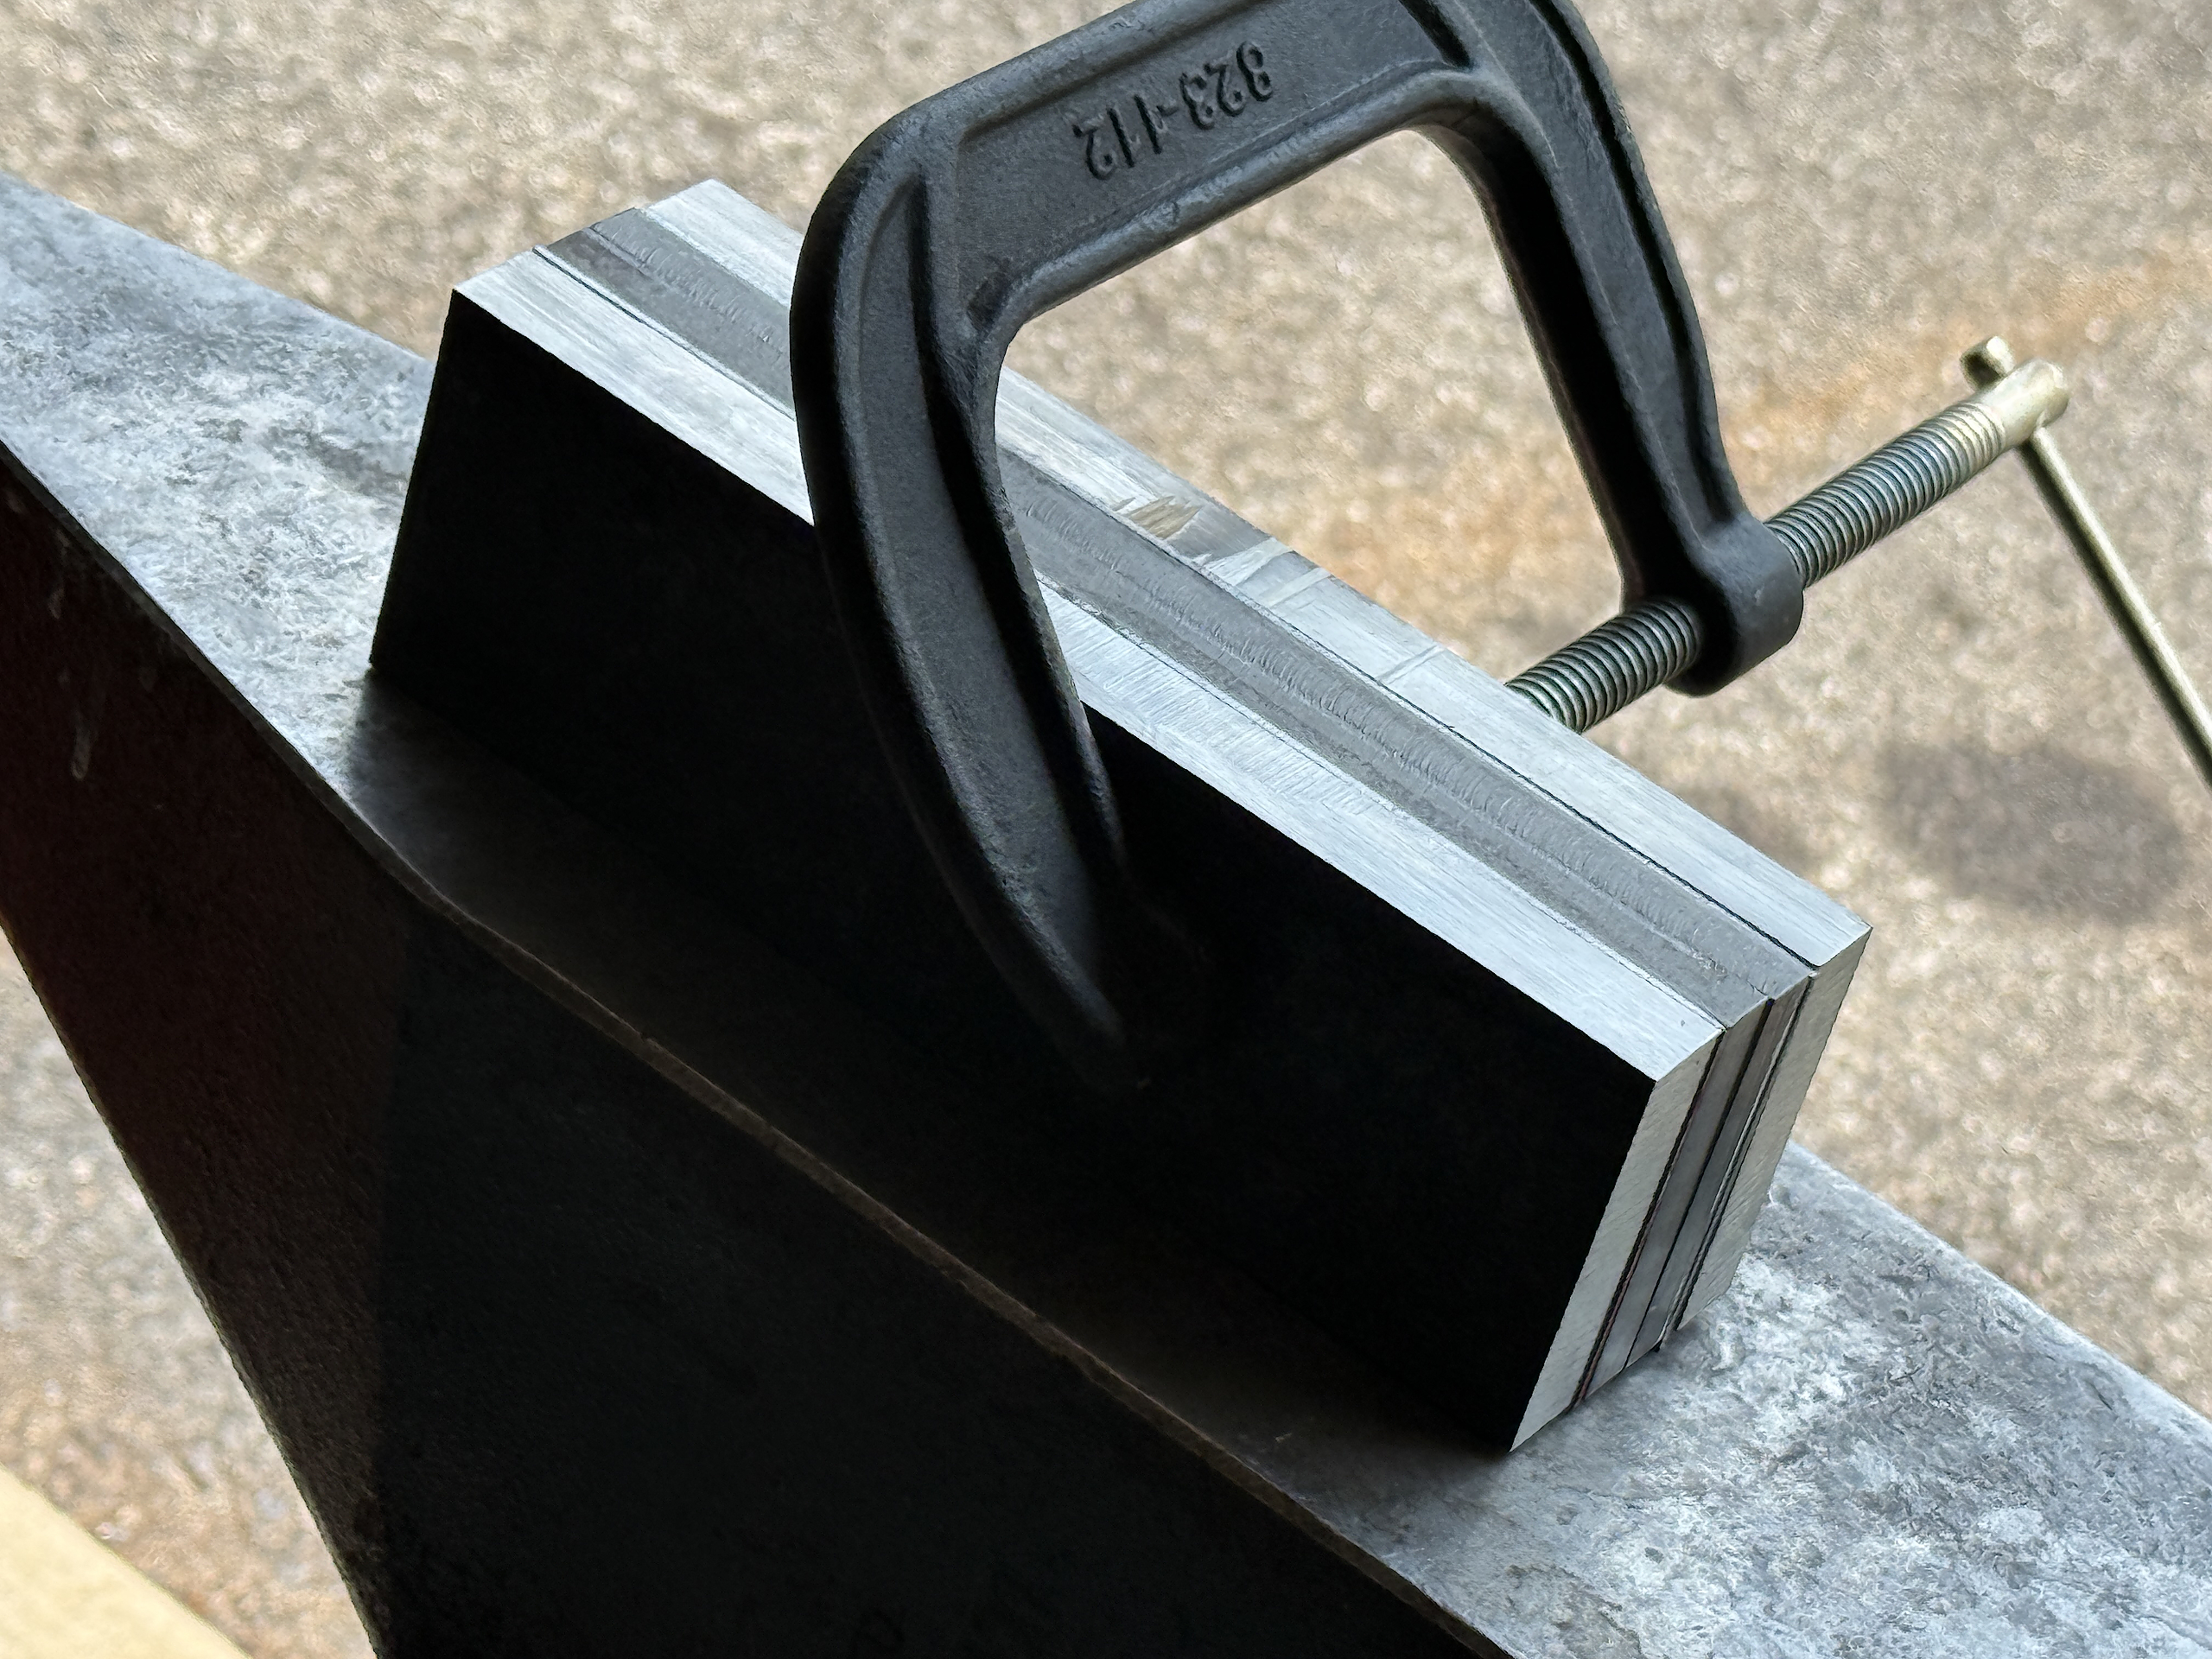
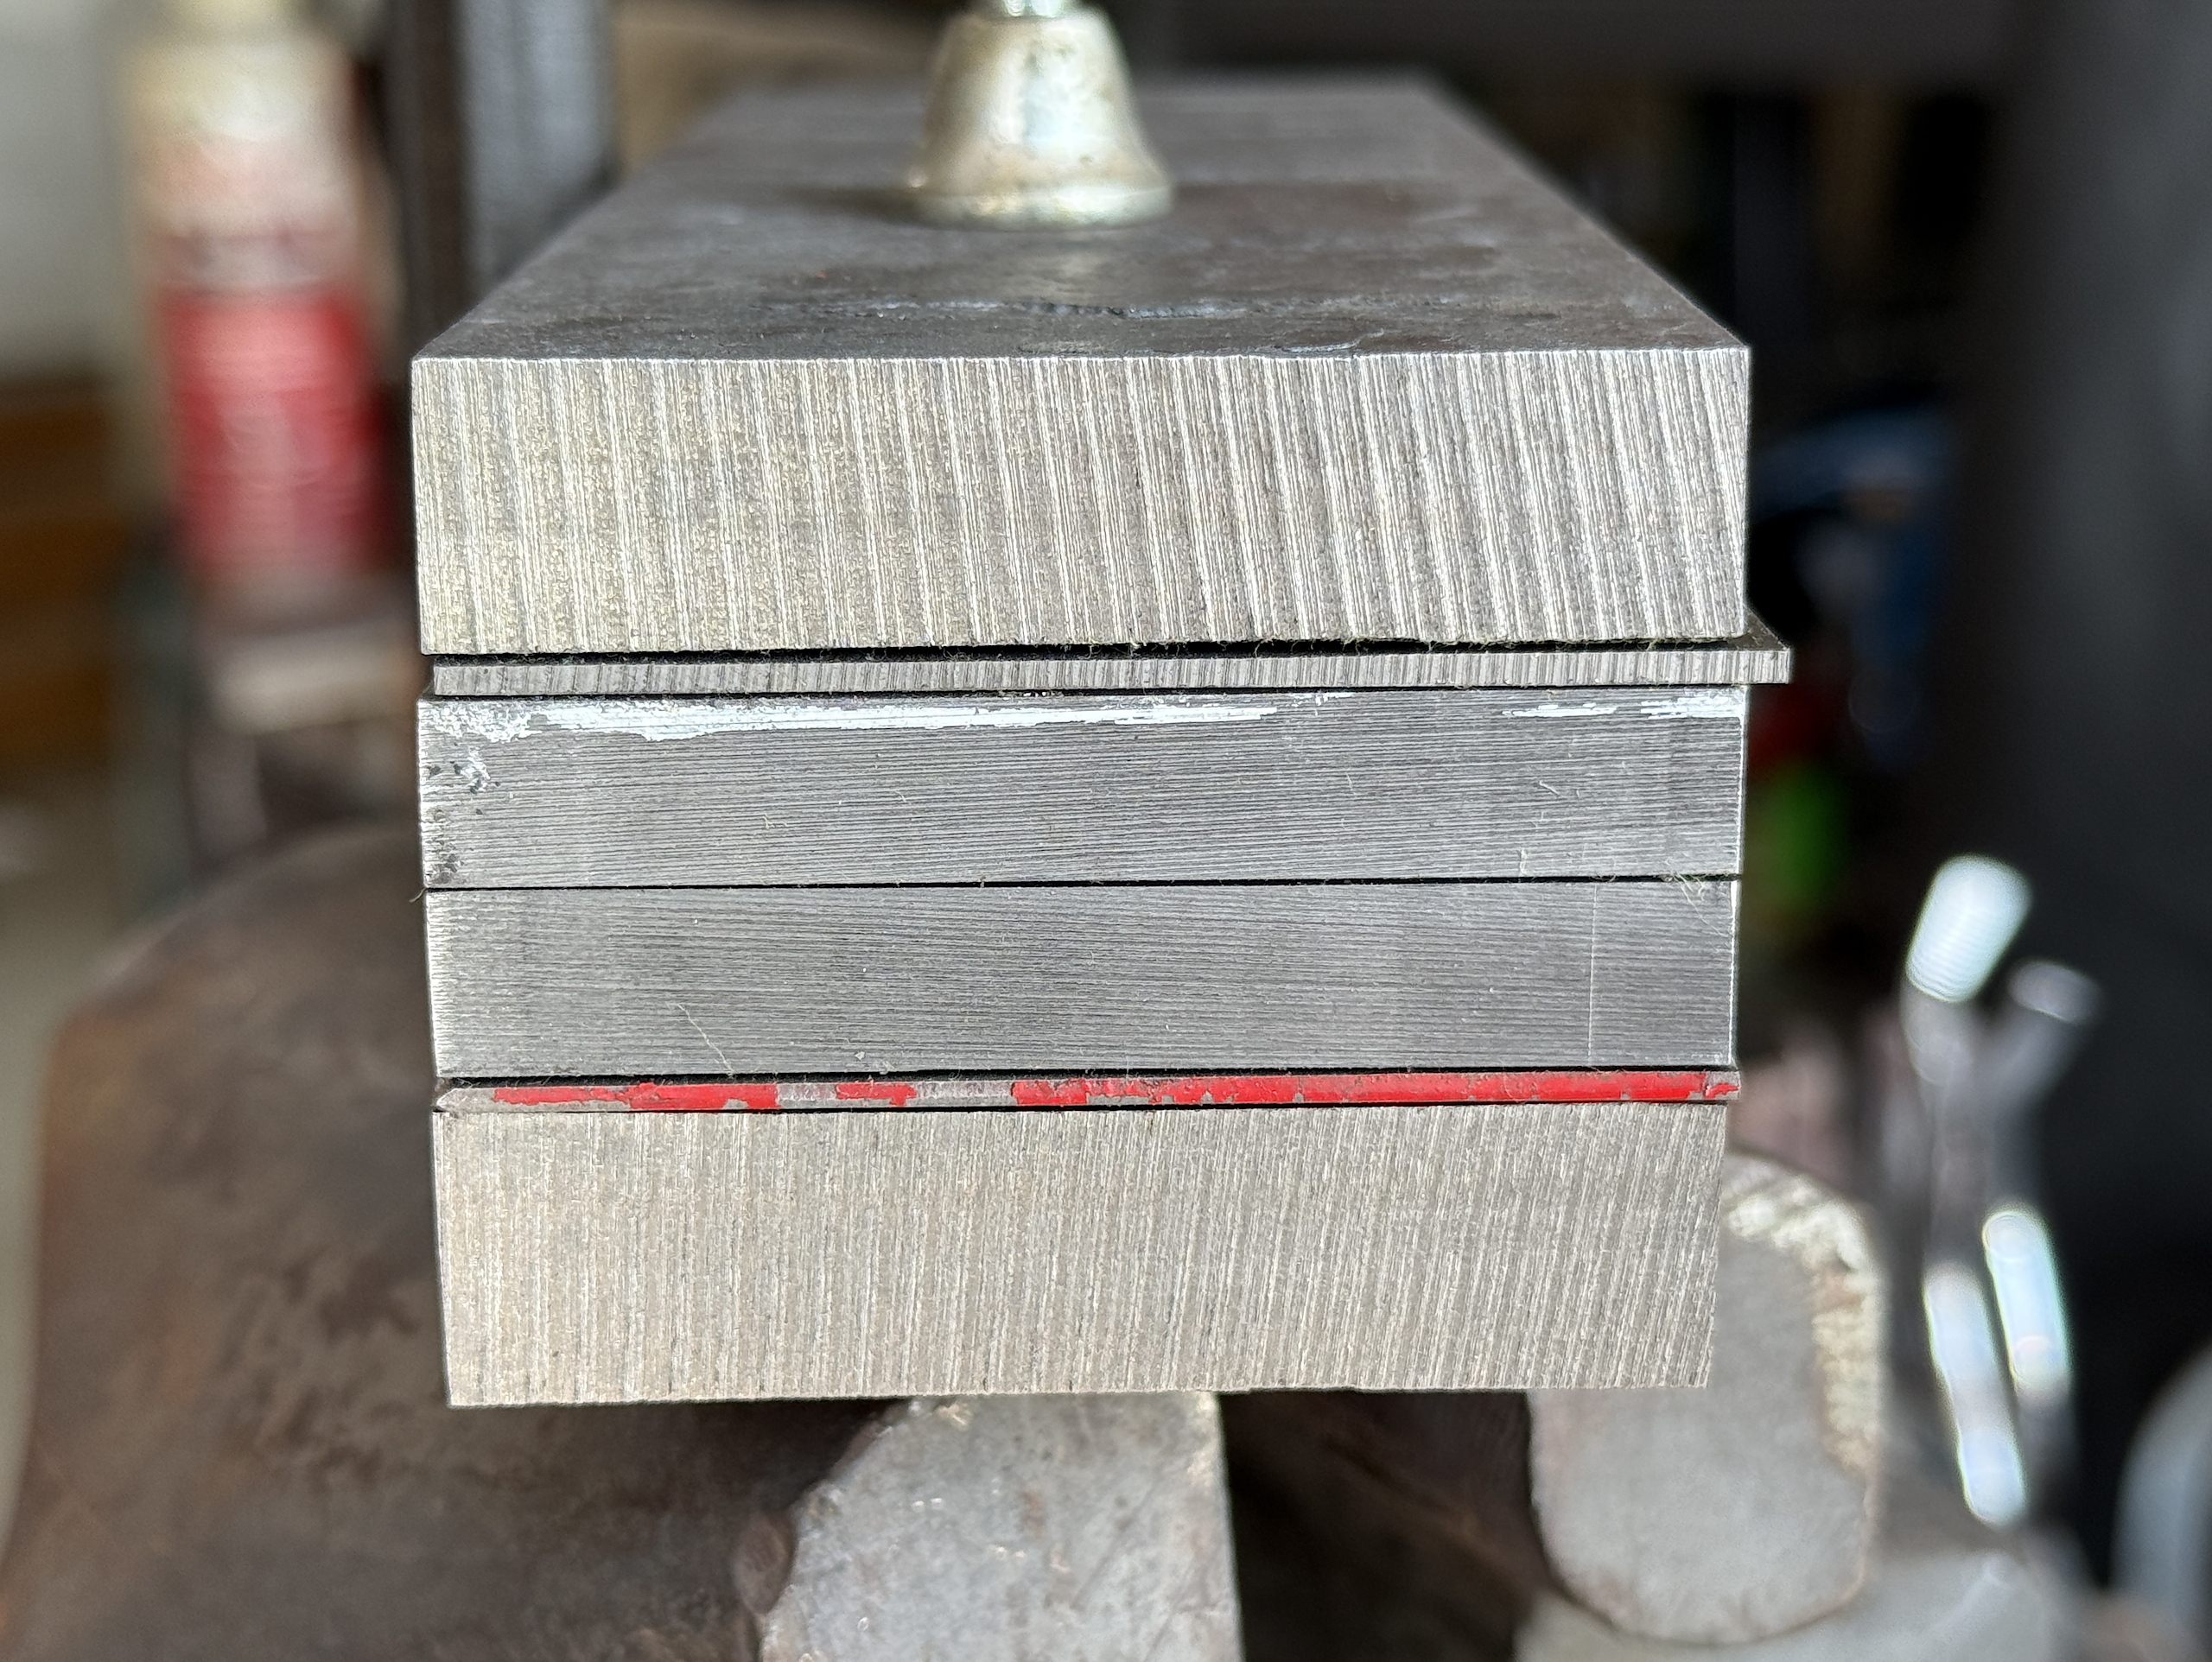
The final billet is composed of the damascus pieces (top and bottom), a core of two 1095 bars, and 2 shims of 15n20 separating the damascus from the 1095
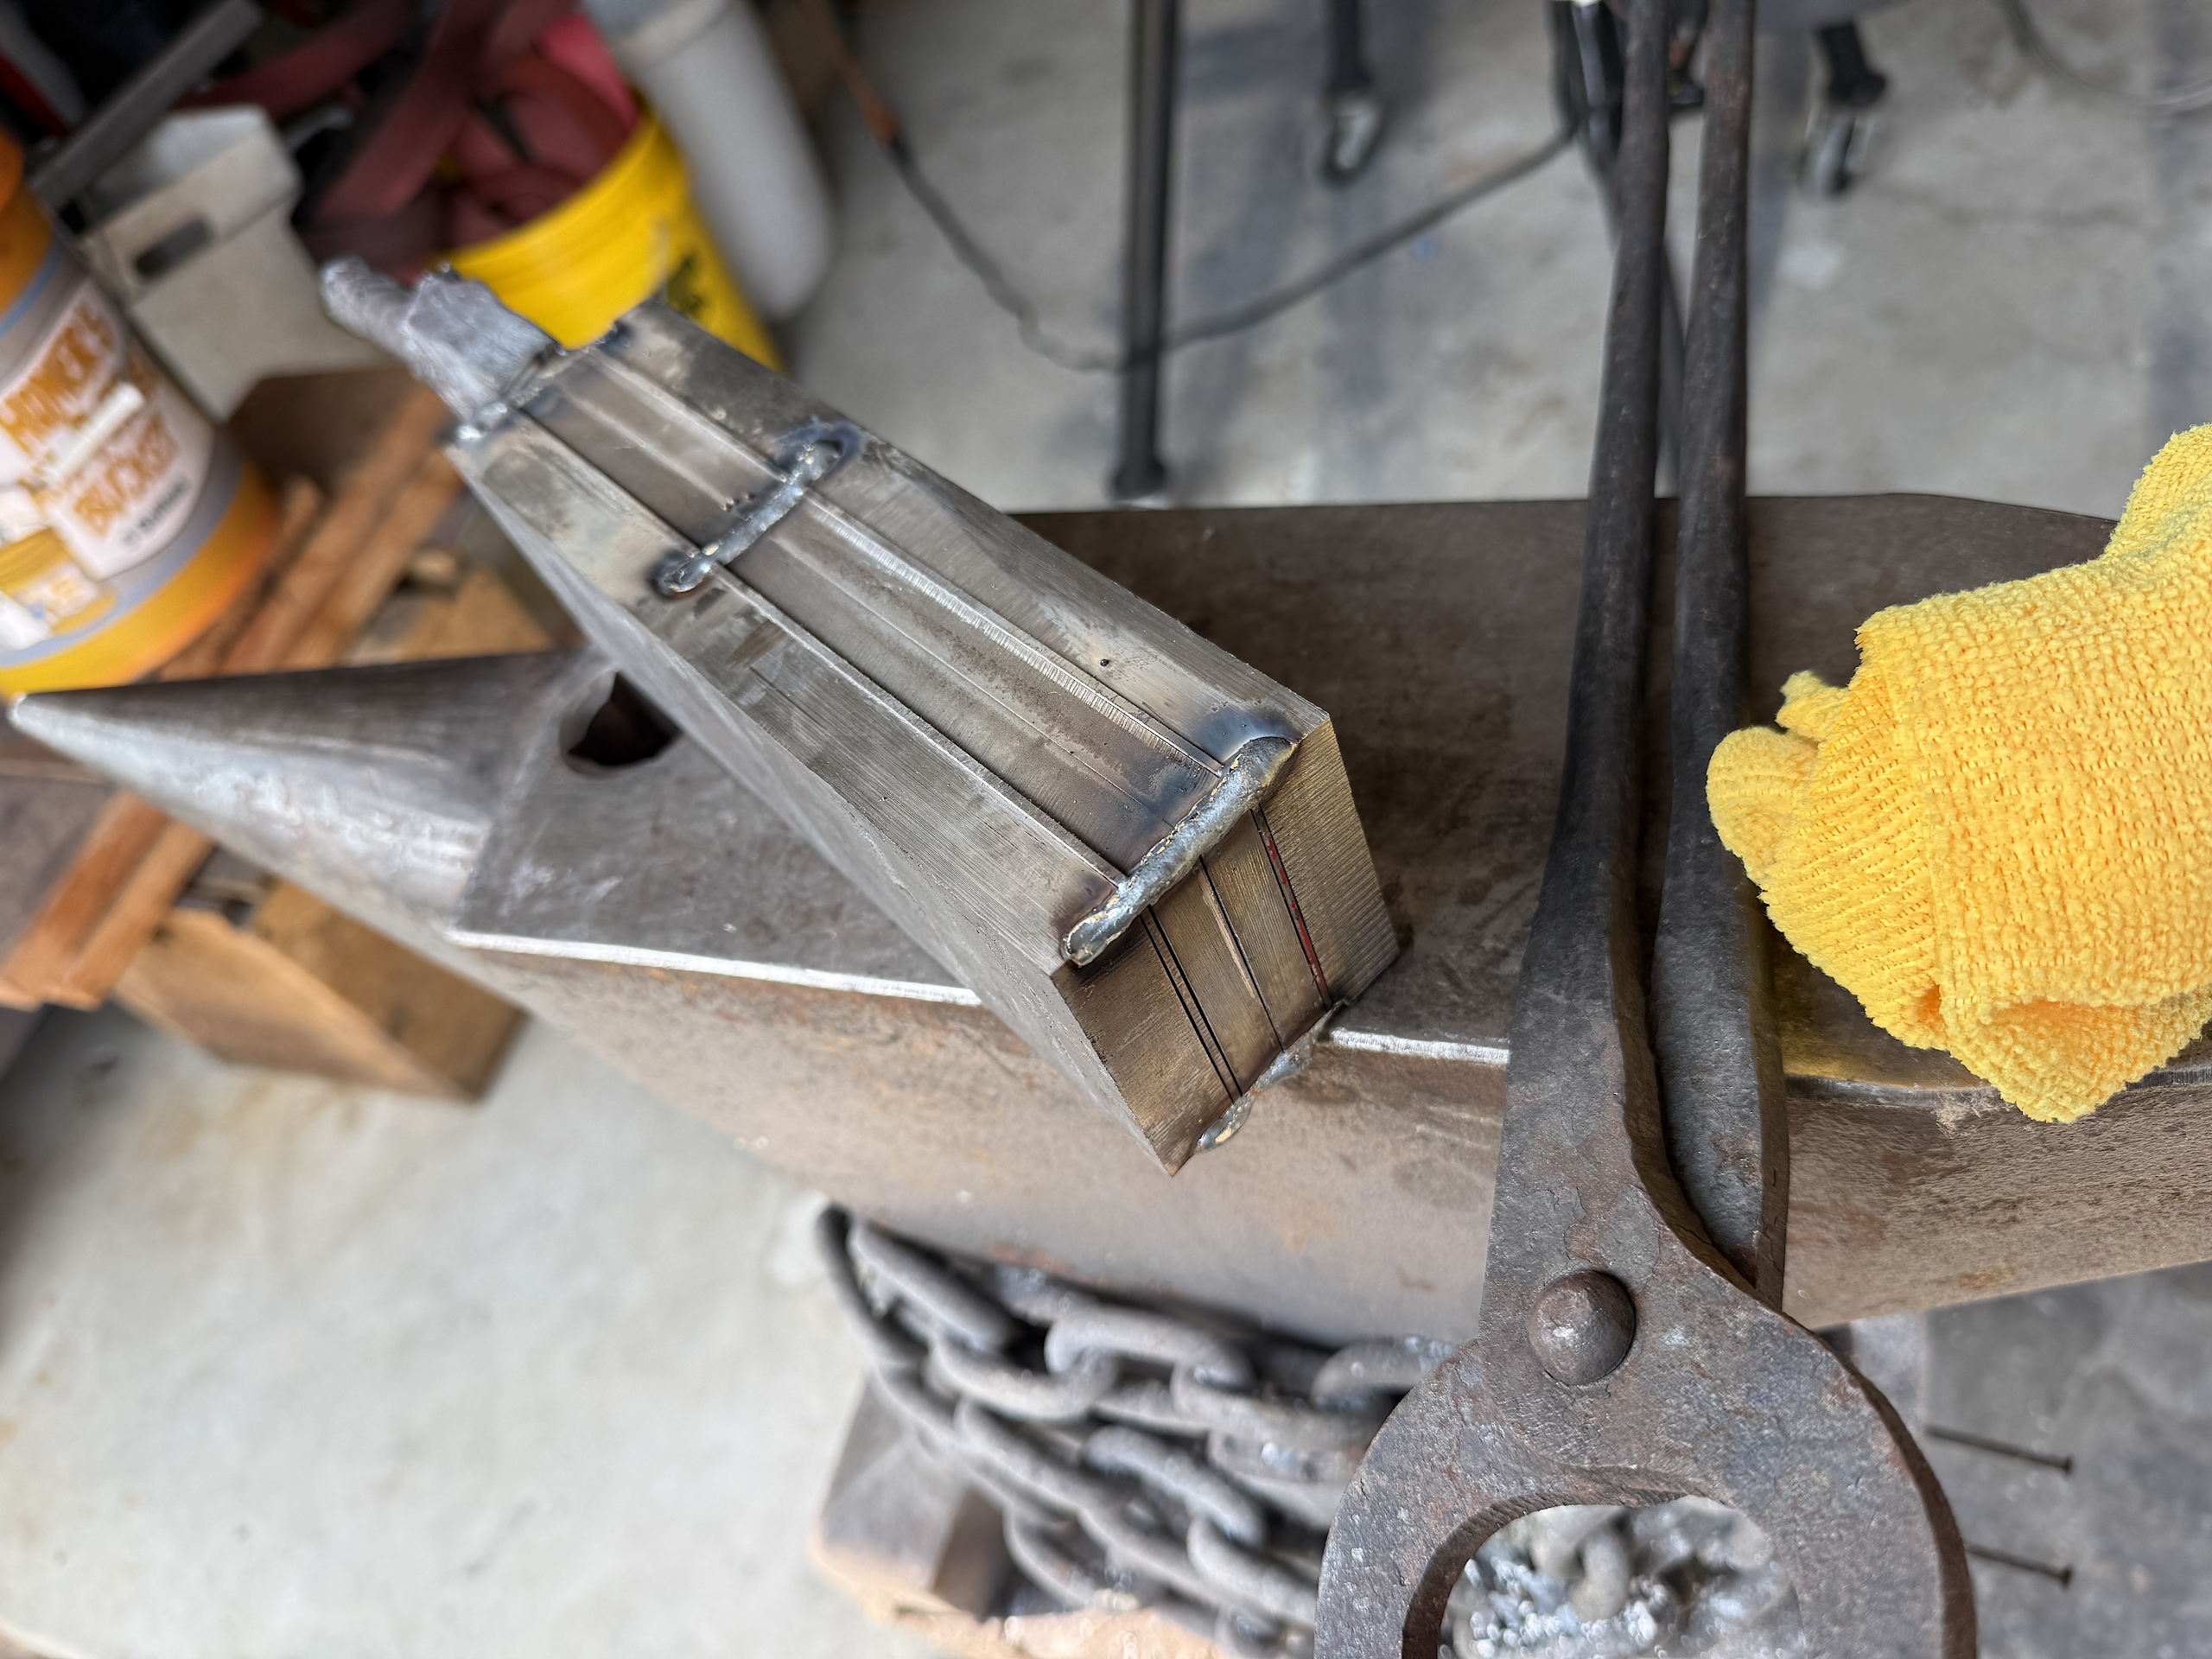
tack-welded for forging…
crackle crackle crackle
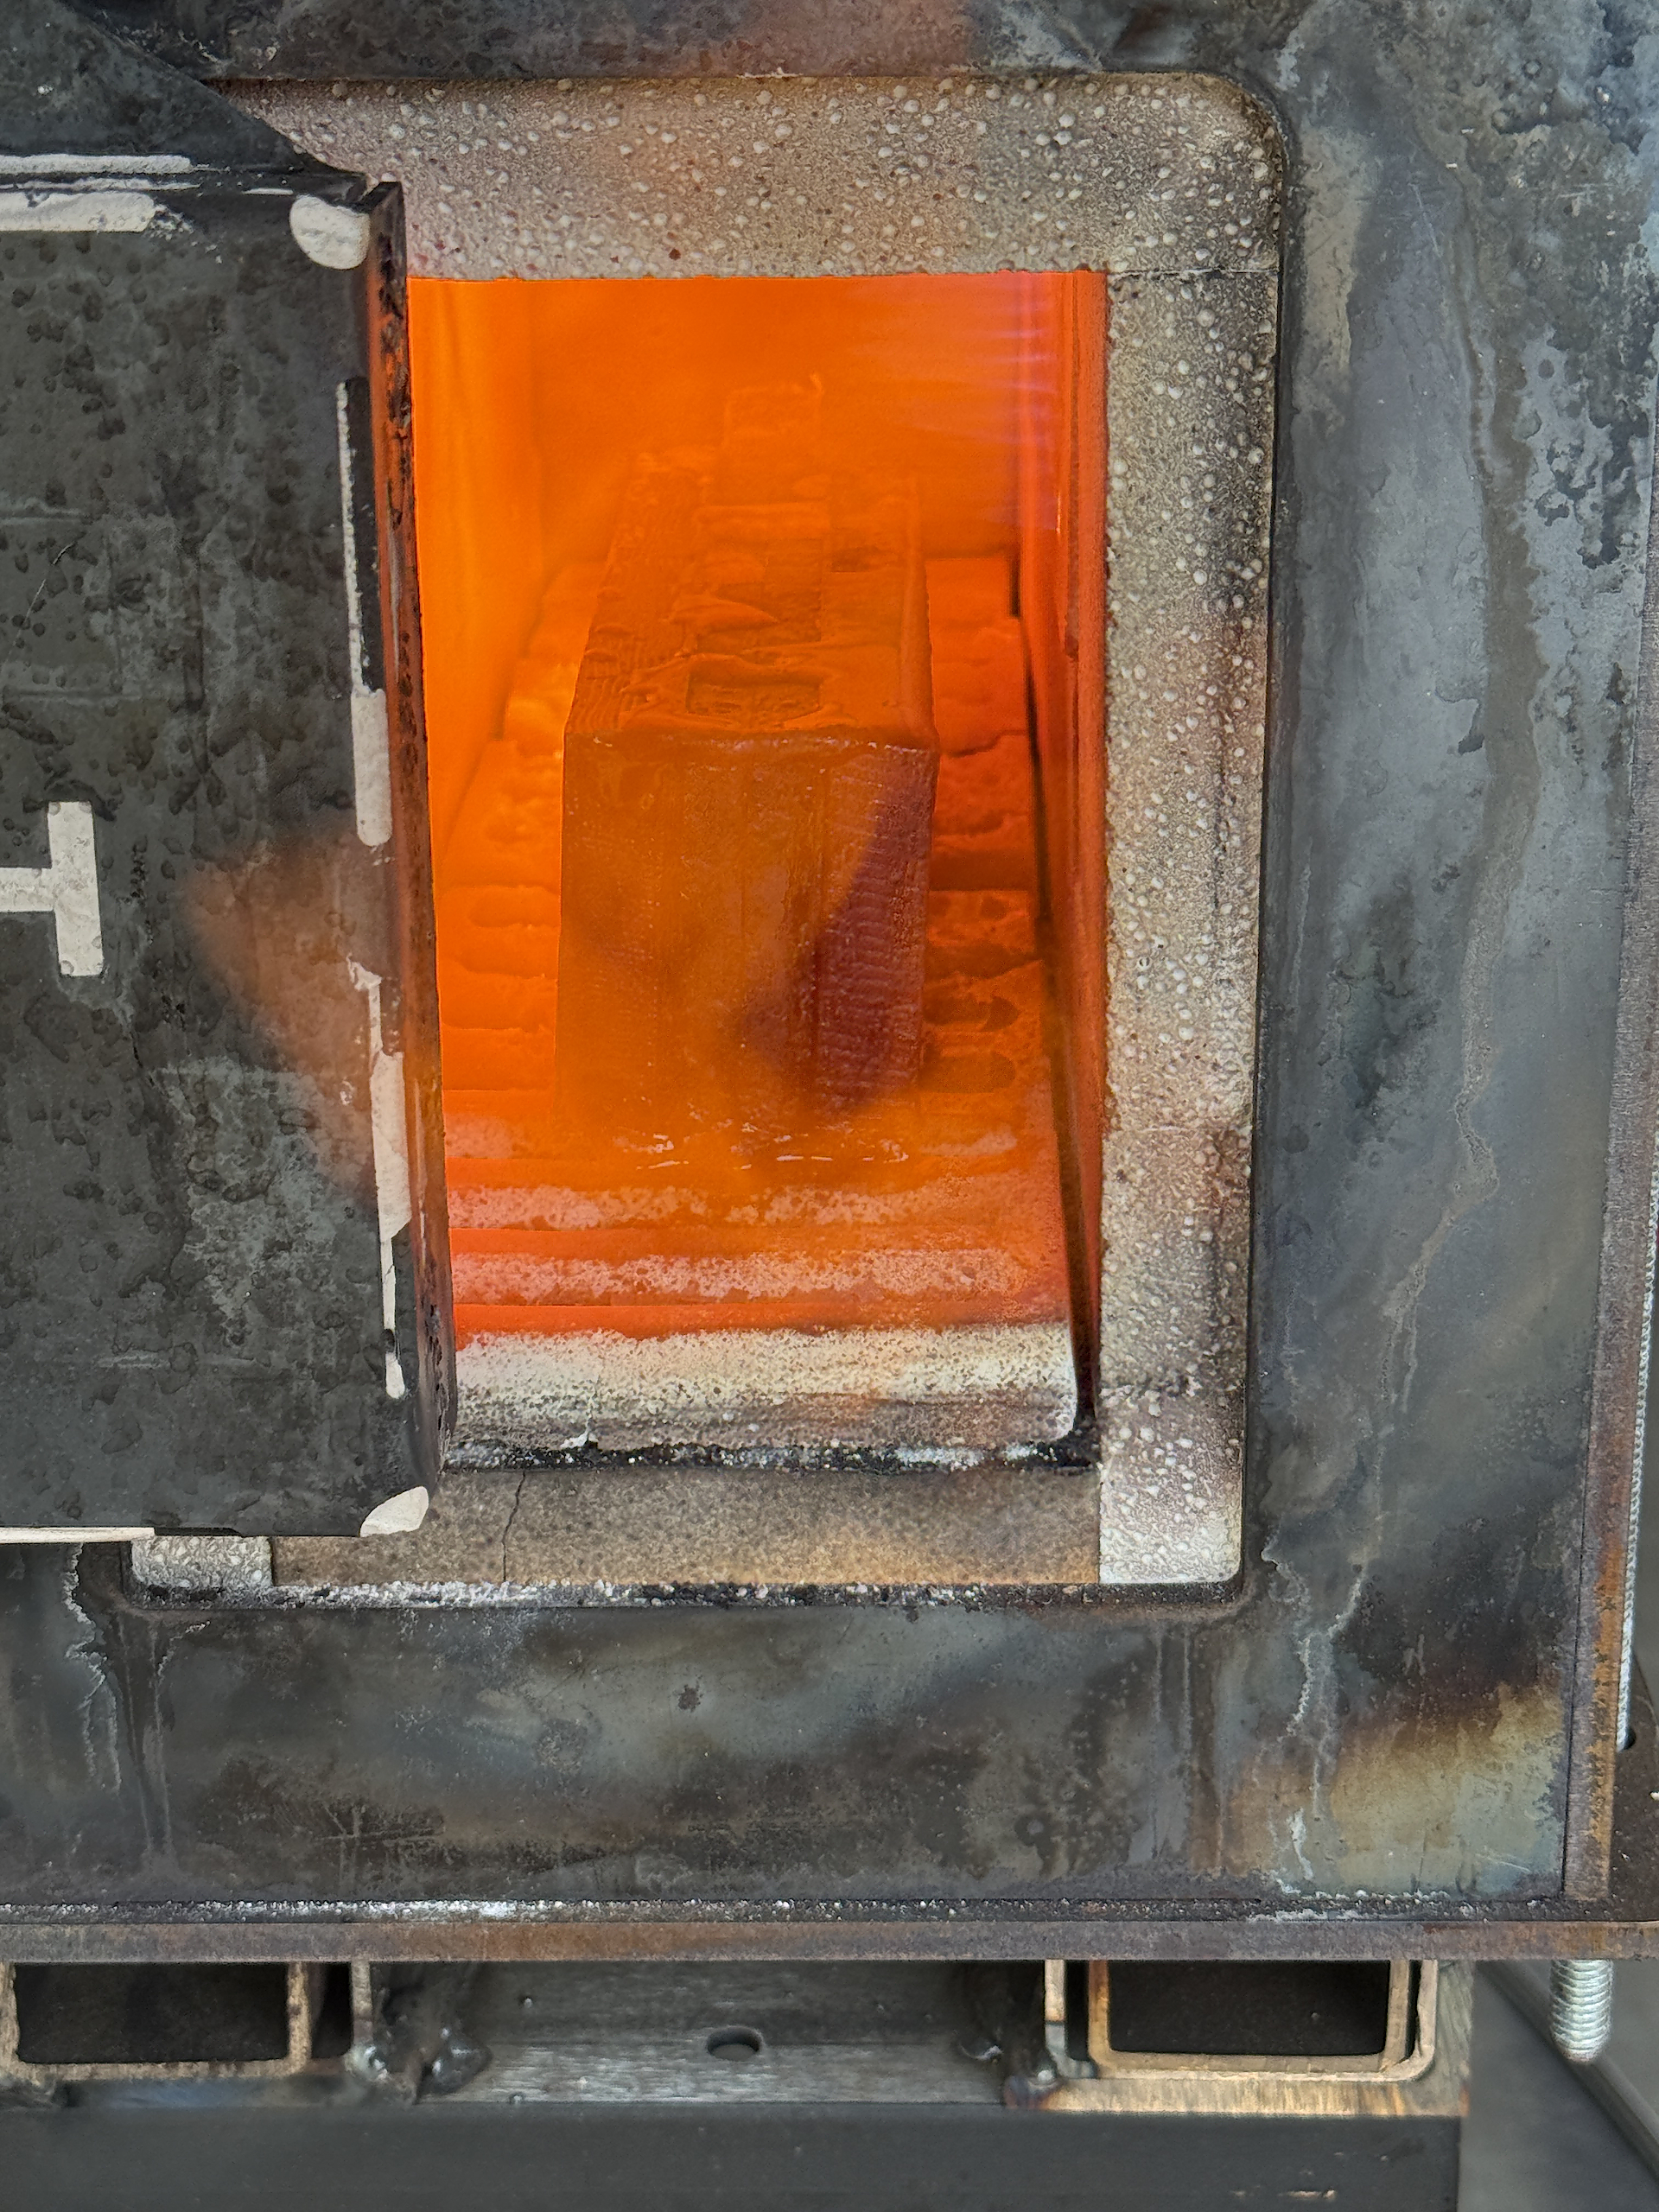
All (nearly) squashed out. This bar is still a bit short, bent, and twisted. This is because Elmo (my hydraulic press) blew a gasket and I had to stop before it was done.
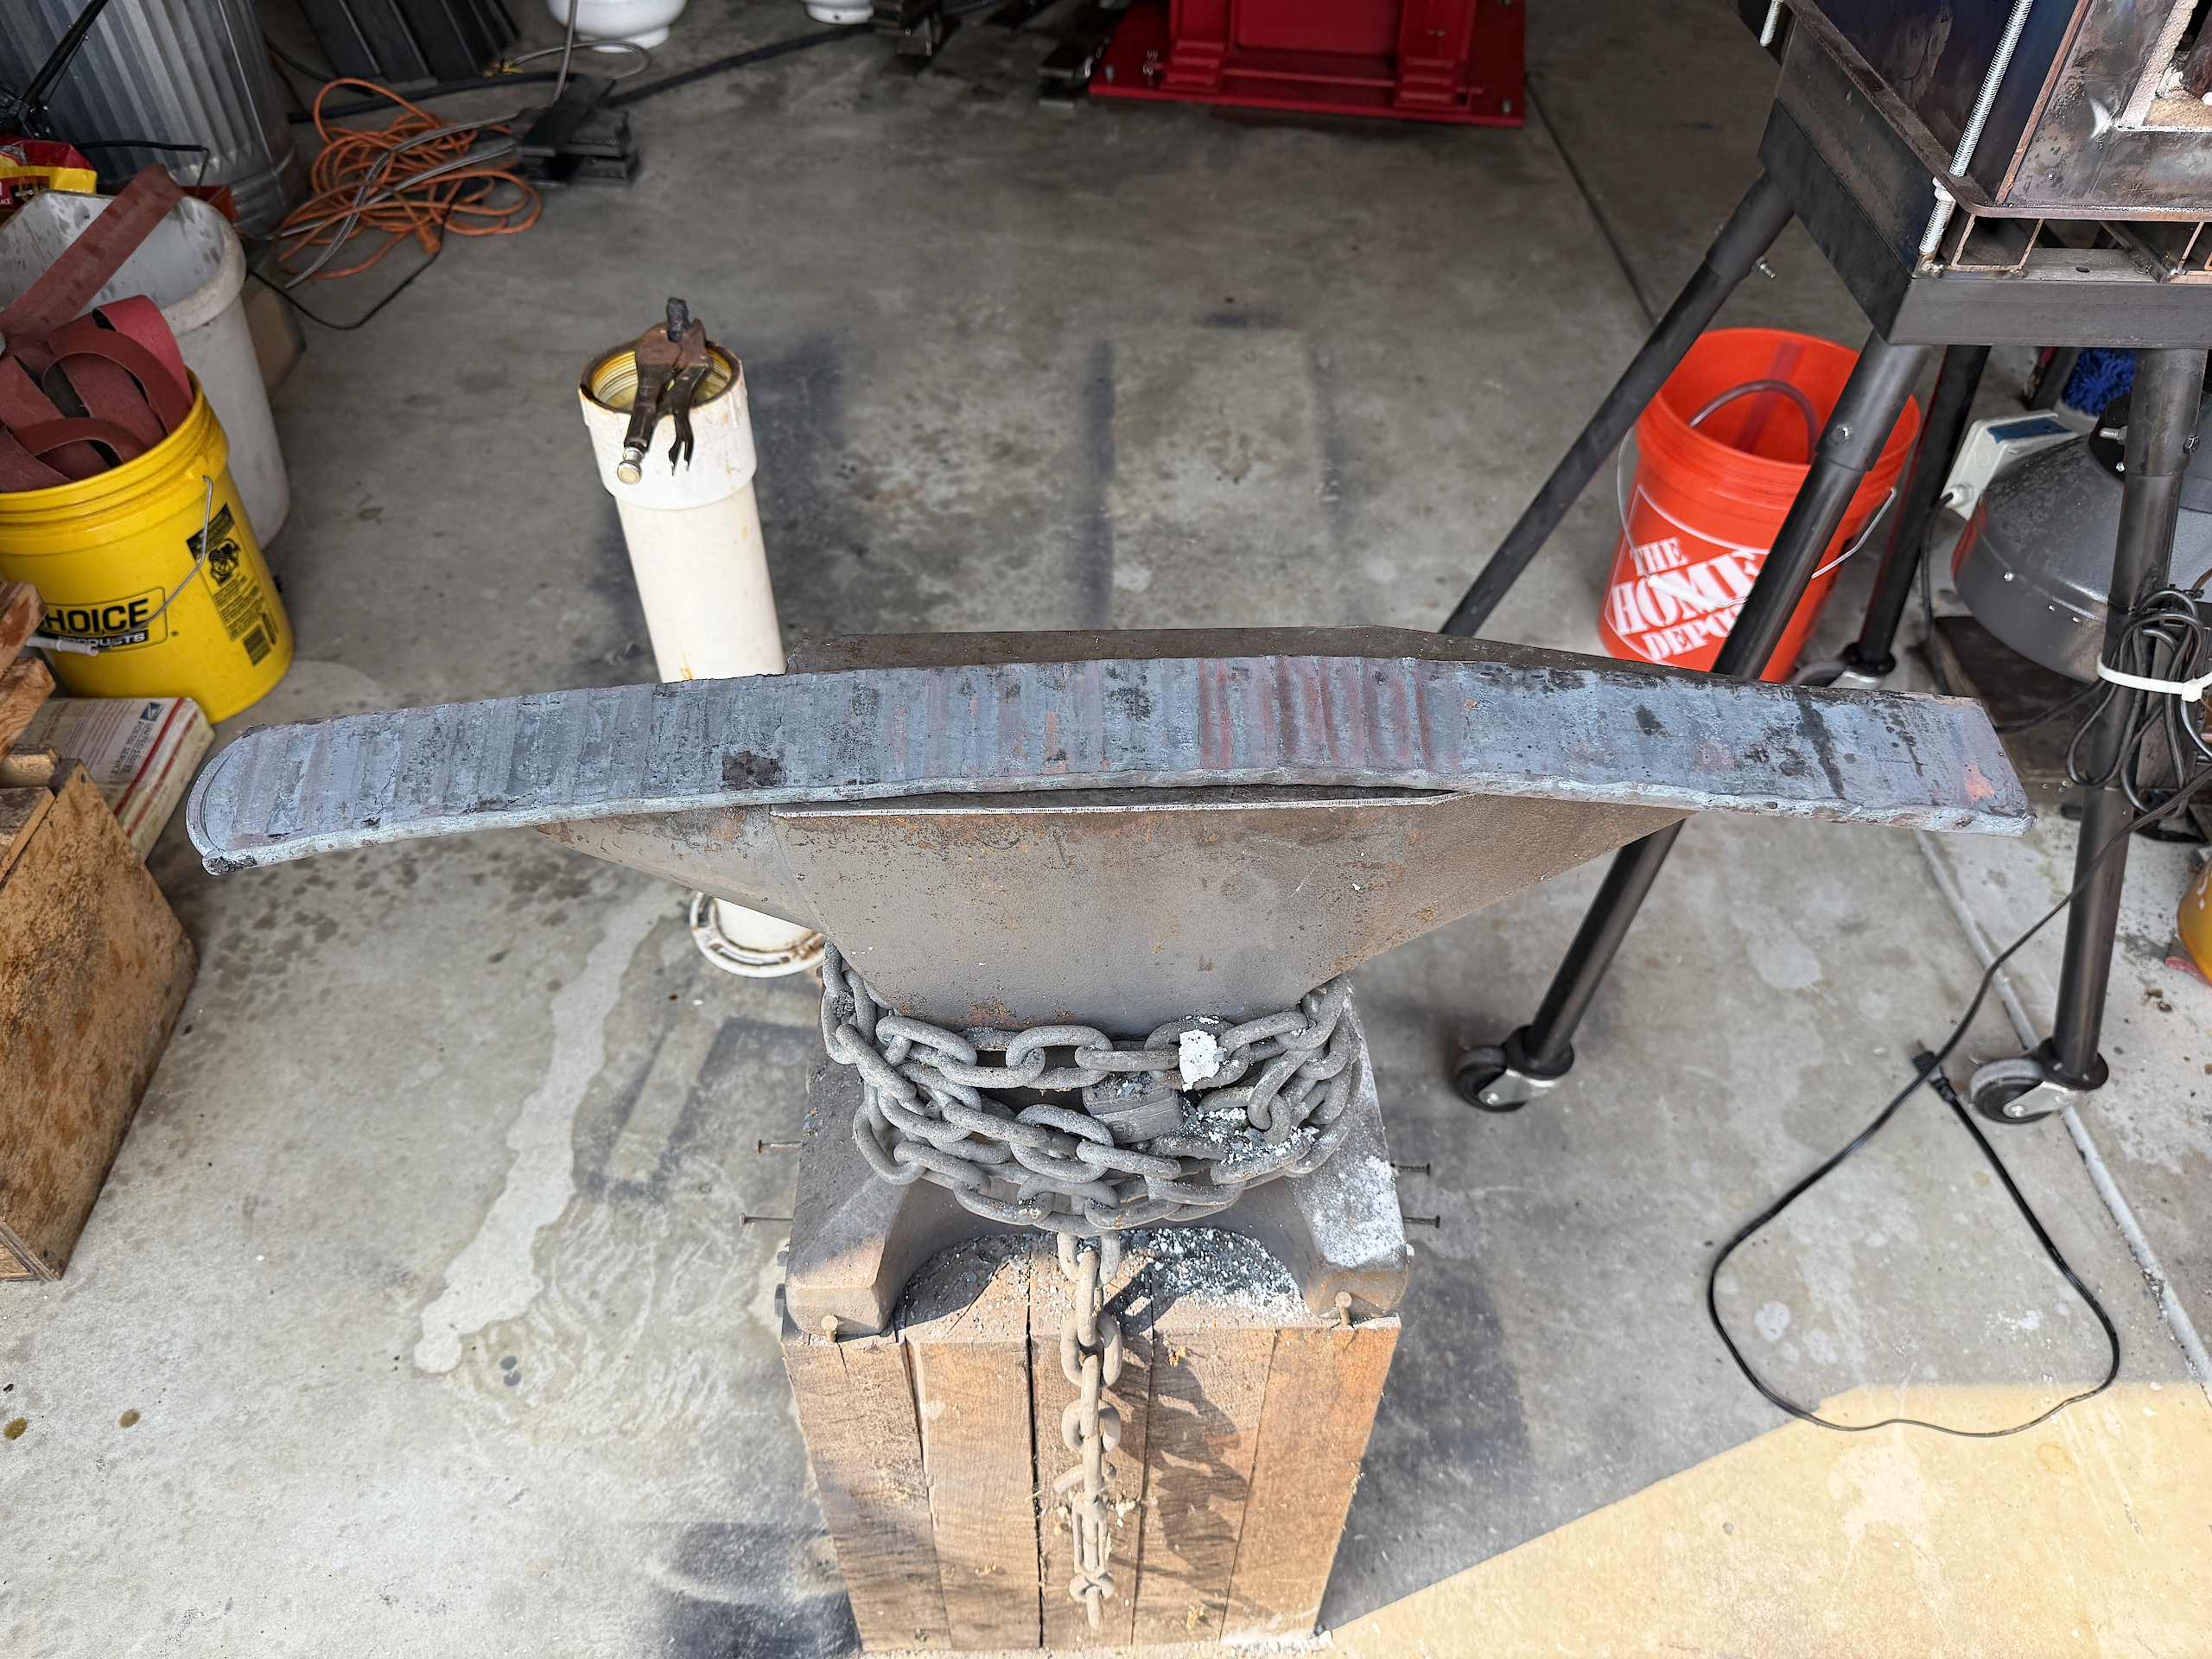
It did present an opportunity to cut the end off, which I had to do anyway becauyse the ends of the billets are always messed up. Its clear that the welds are nice and clean. no visible delamination even at the billet end. Delaminations are places where the layers did not forge cleanly into solid steel. They are very bad ebcause you cant fix them at that point. a billet with delaminations becomes junk. Expensive junk.
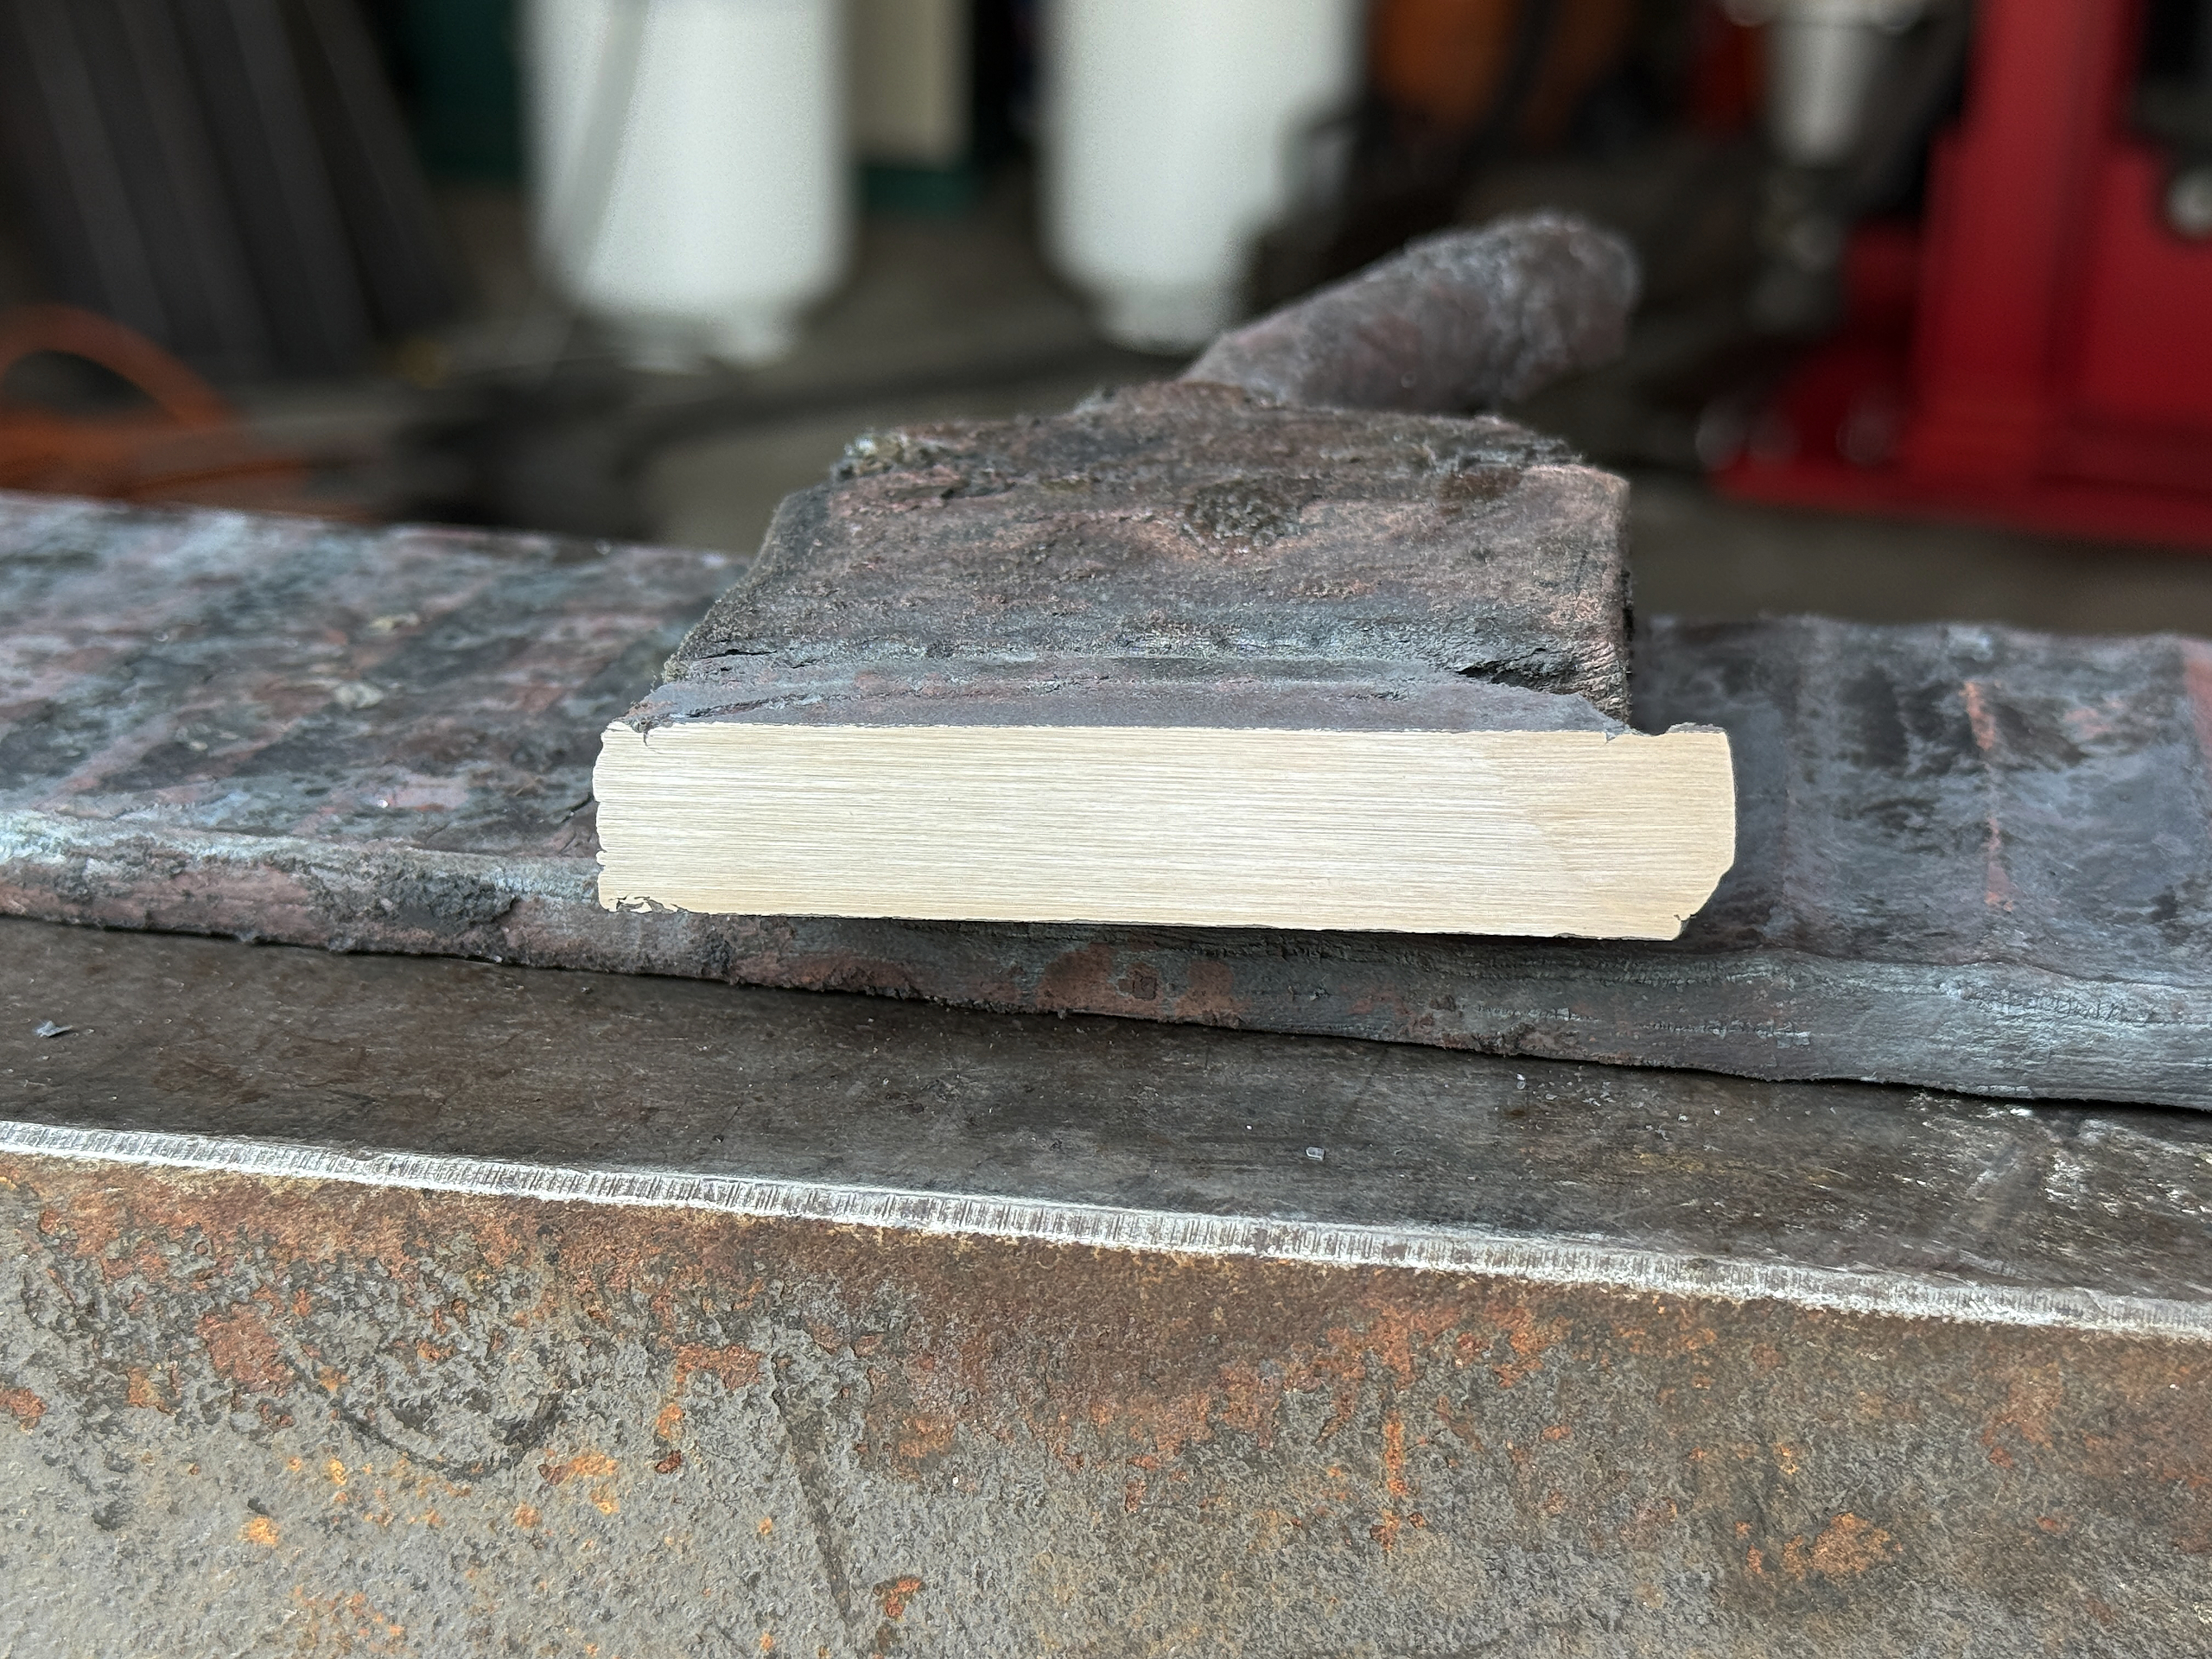
A quick test etch to see how the layers look. Farther into the billet these layers will be less distorted at the edges, plus the forging has expanded the width to 3″, so I’ll be trimming 0.5″ from each side as well.
Also, this steel has not been hardened yet. the hardened steel with etch witha lot more contrast, where the dark areas will be a lot darker and more uniform, especially though the center layer, thus making the lighter areas appear a lot more distinct.
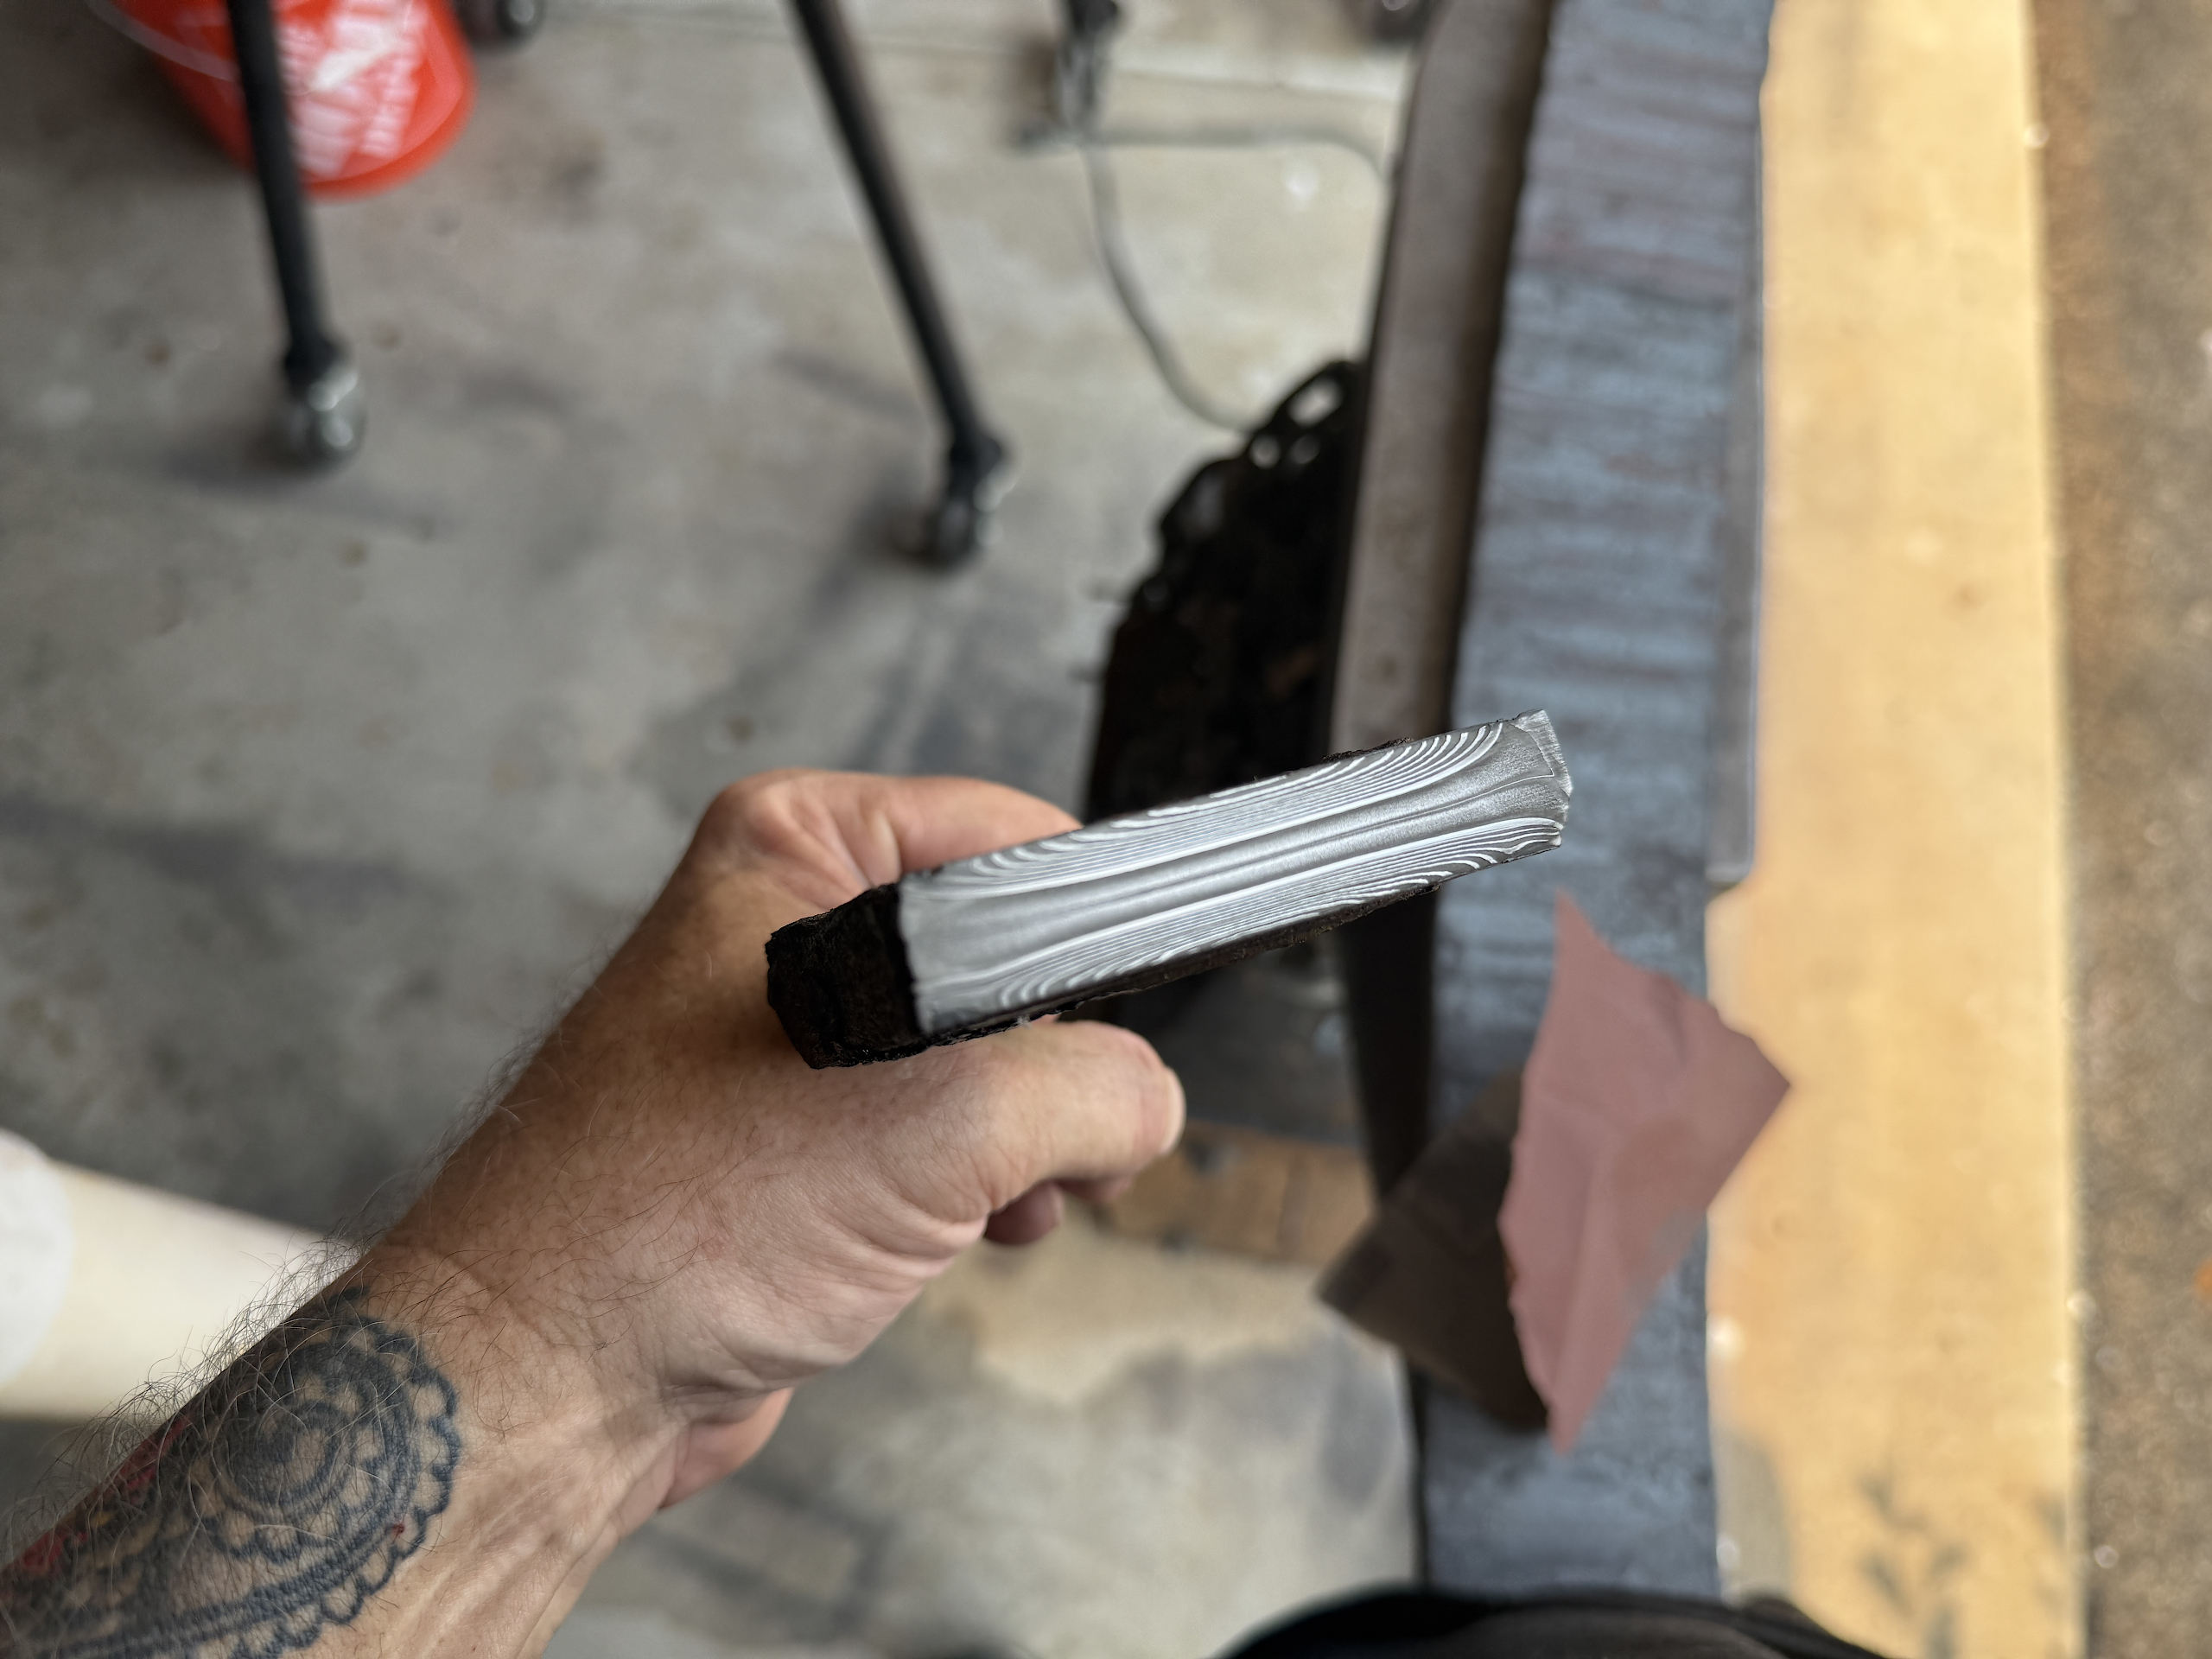
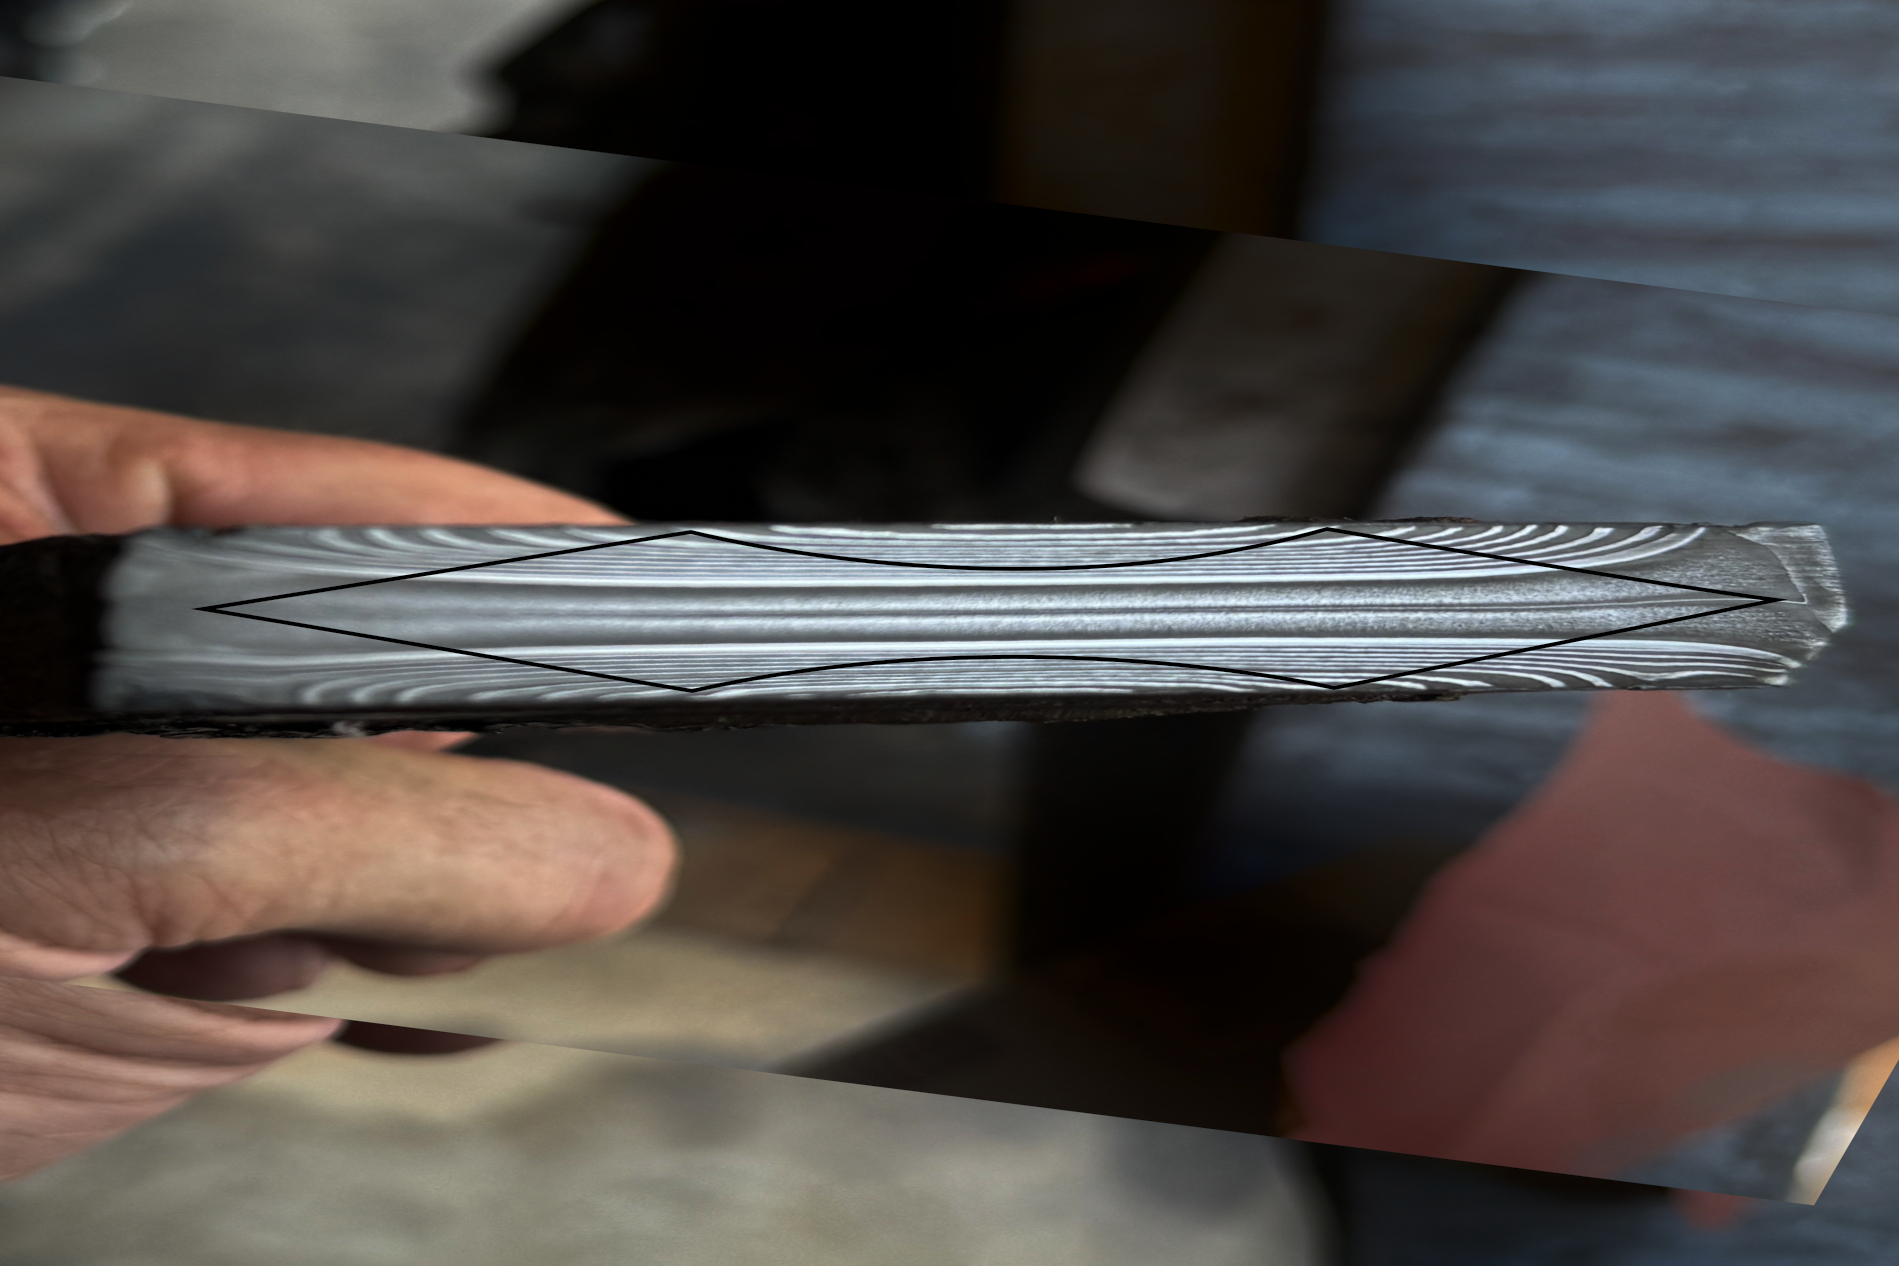
How the grinding should reveal the layers…
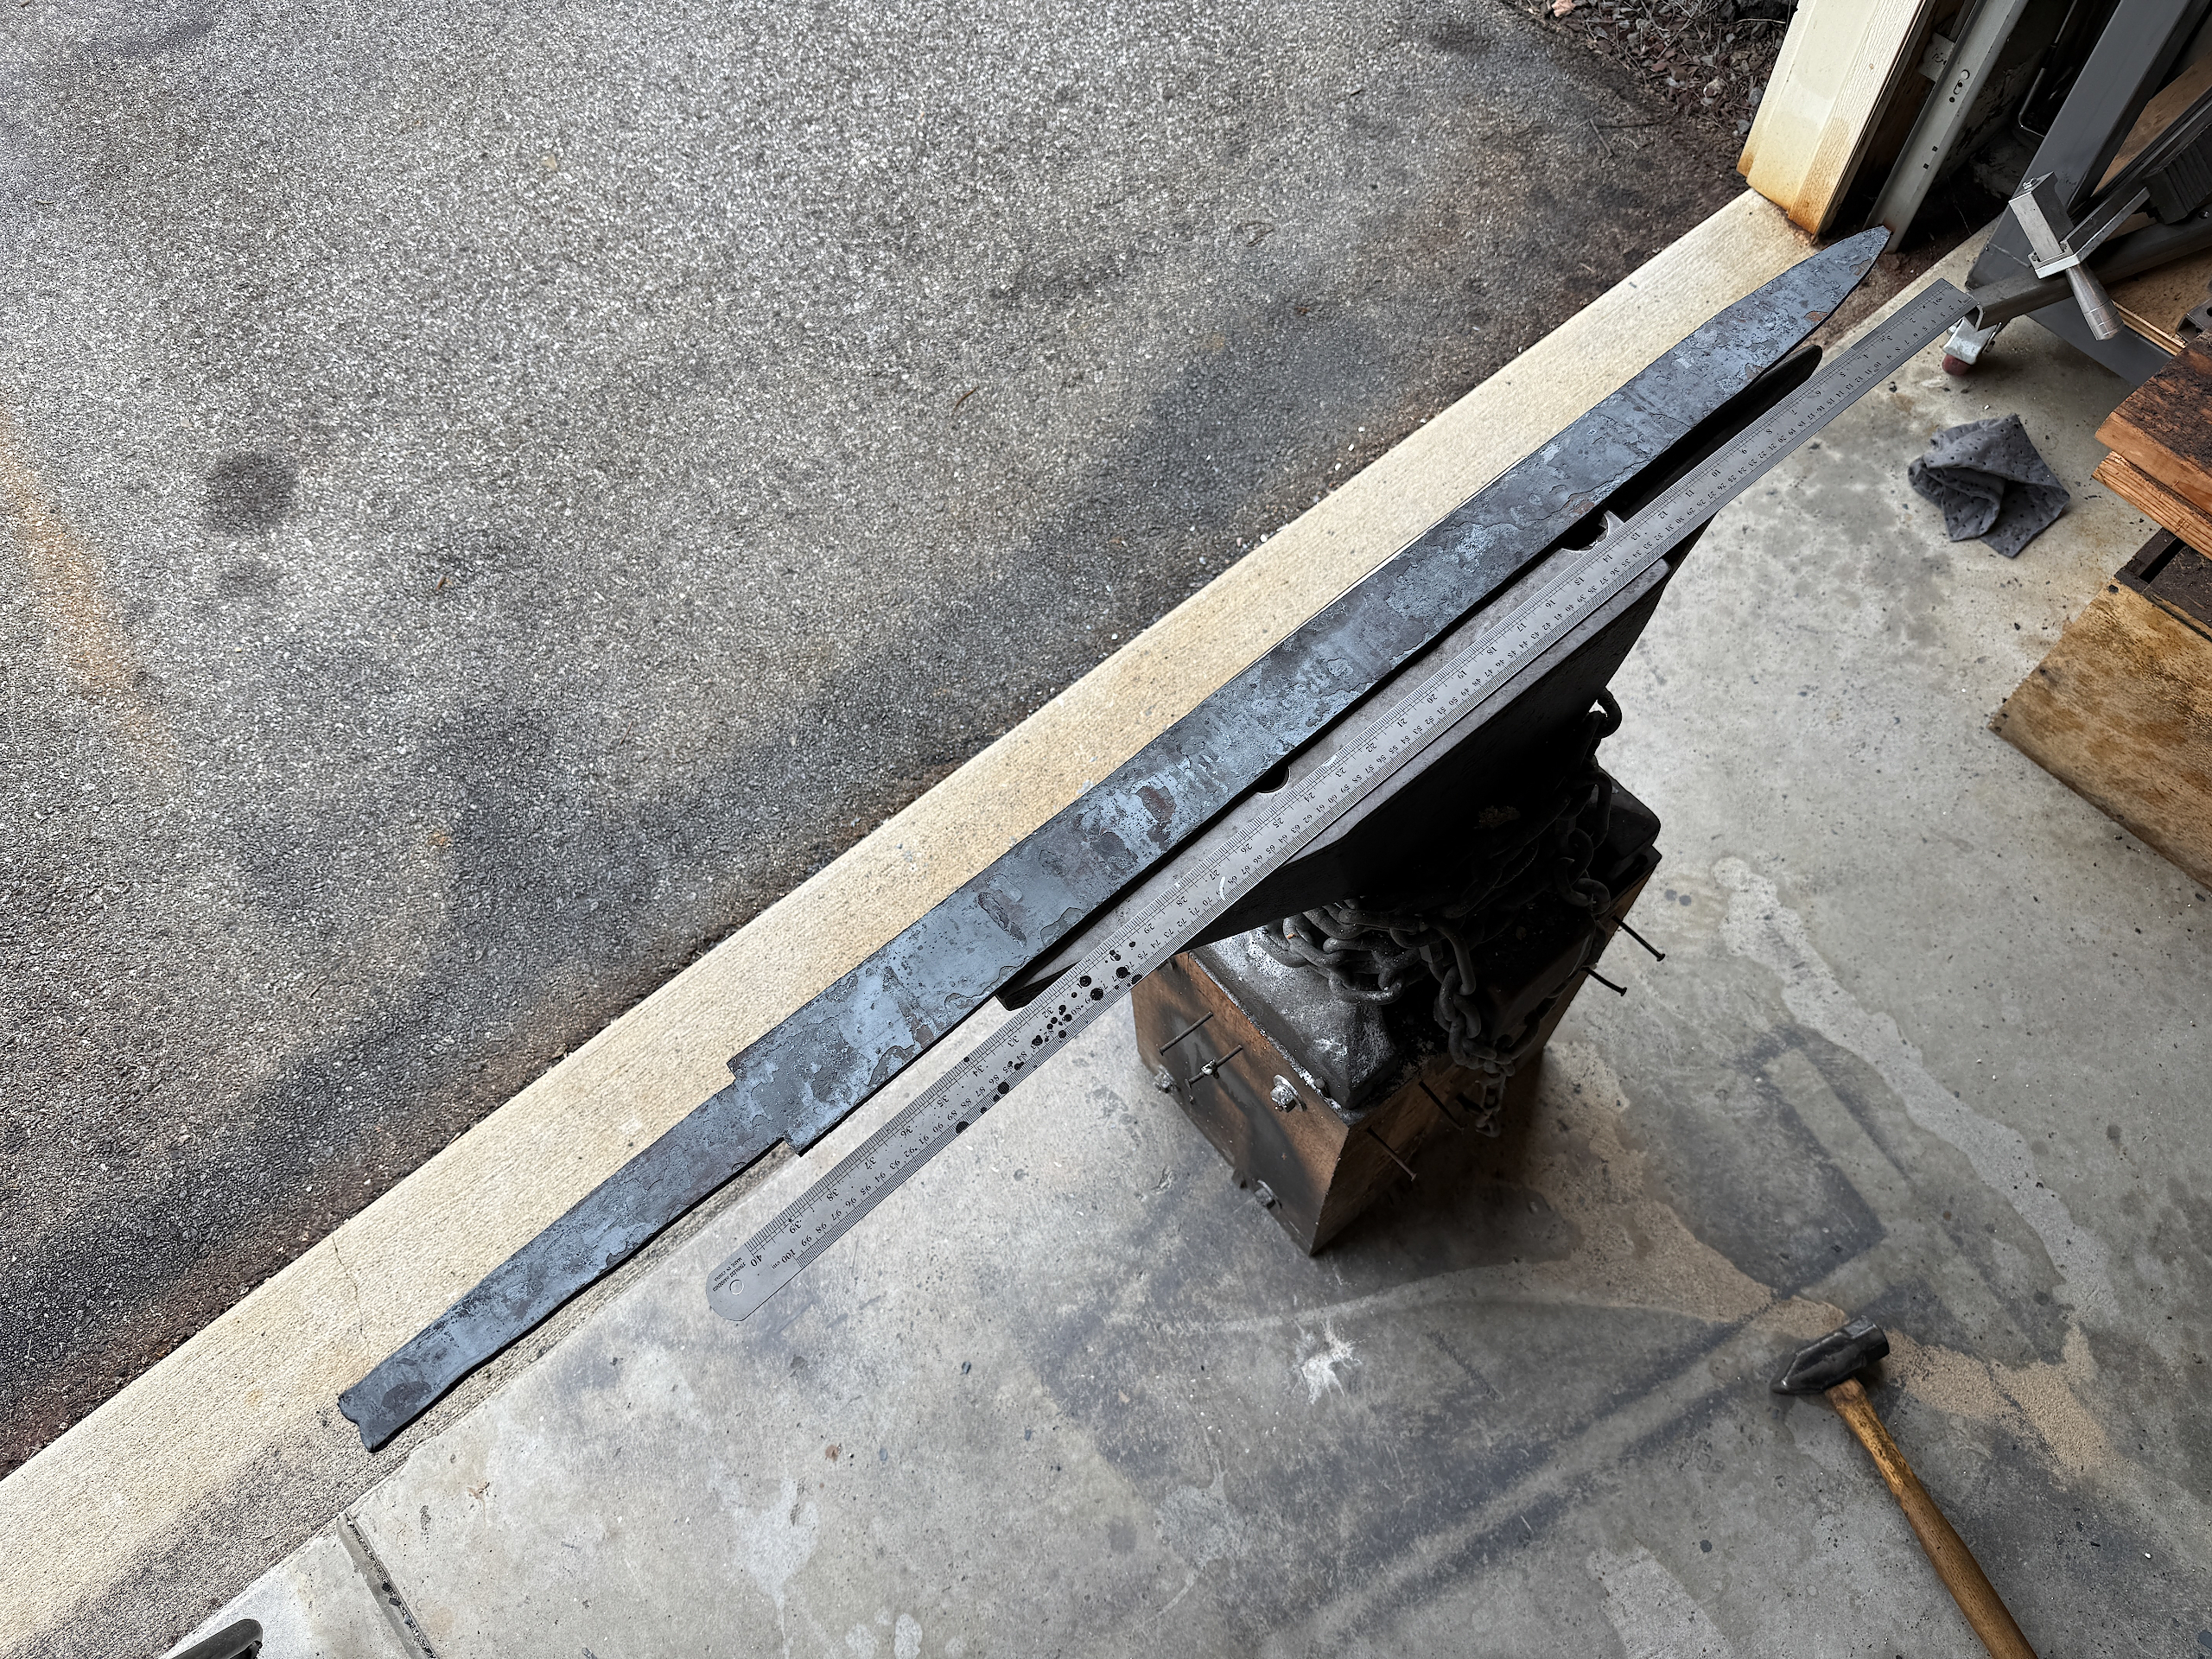
OK, well after much wailing and gnashing of teeth repairing Elmo, I’ve managed to get this billet forged out to its final dimensions of 3″ x 0.375″ x 34″. Substantially more than I need actually. It would have been nice if I could have kept the width down and get a few more inches of length to use with another blade, but this sword was the primary goal and I have it more than covered. At 0.375″ thick, its actually still a bit too thick
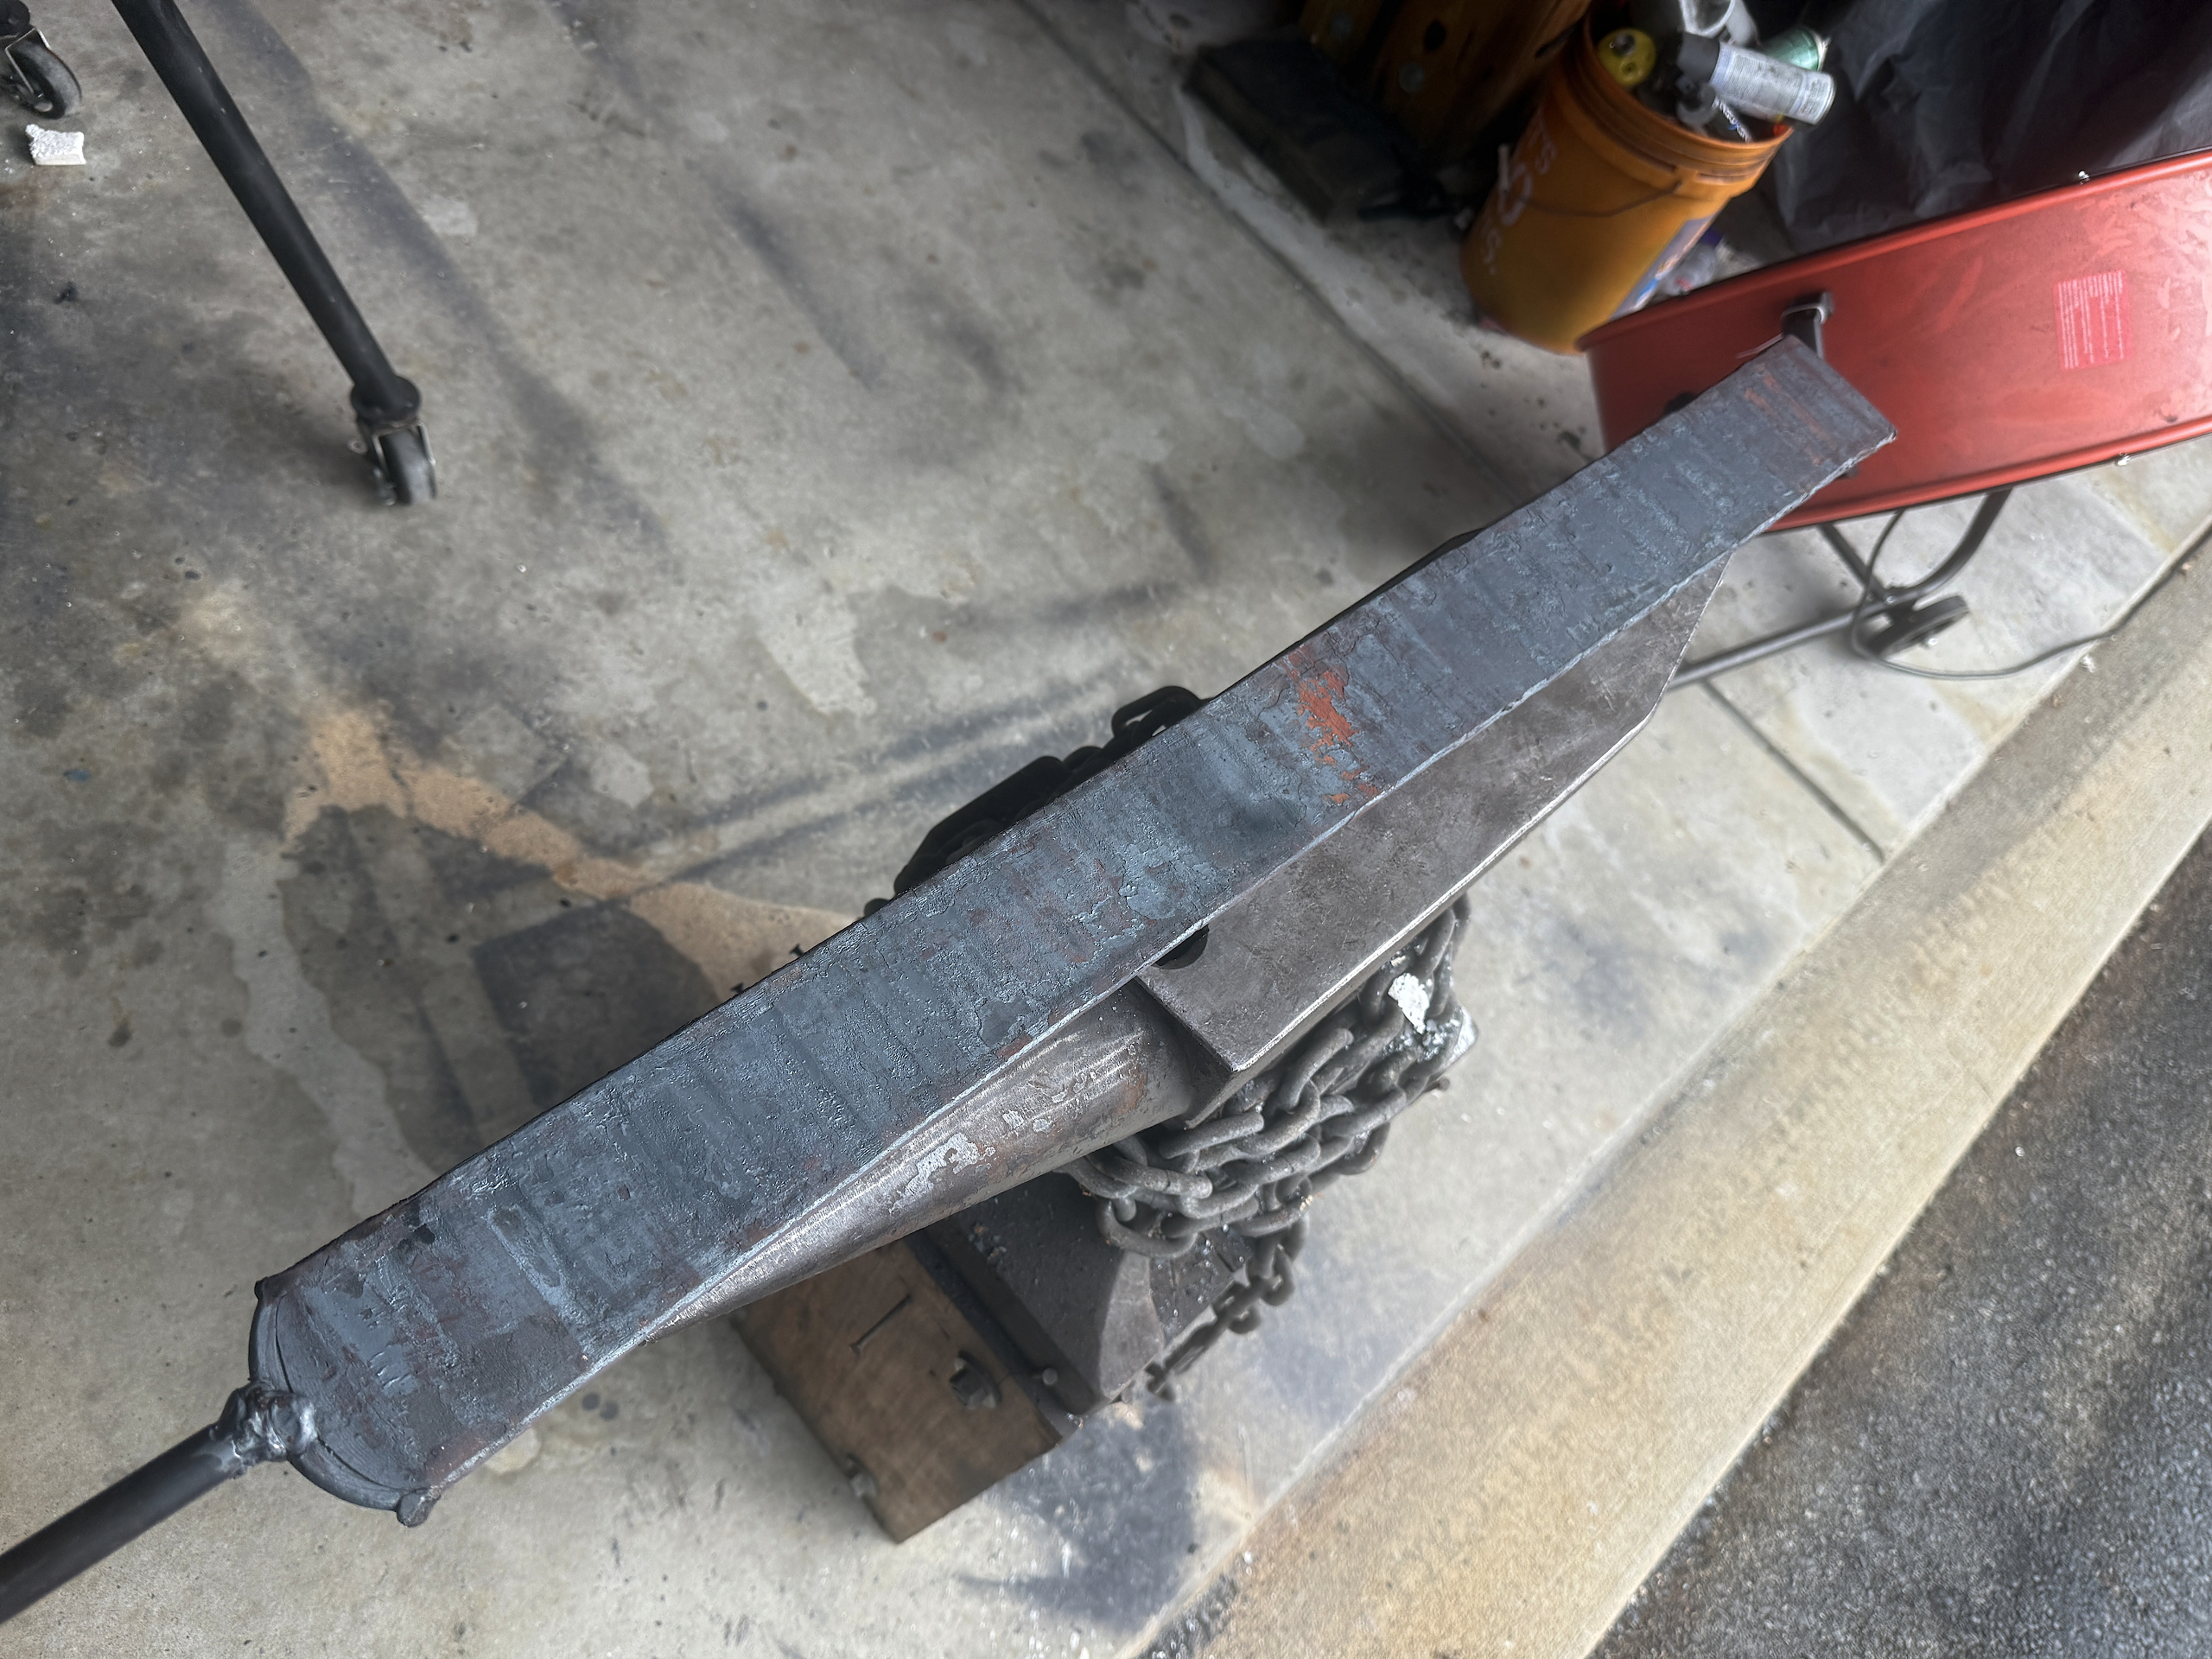
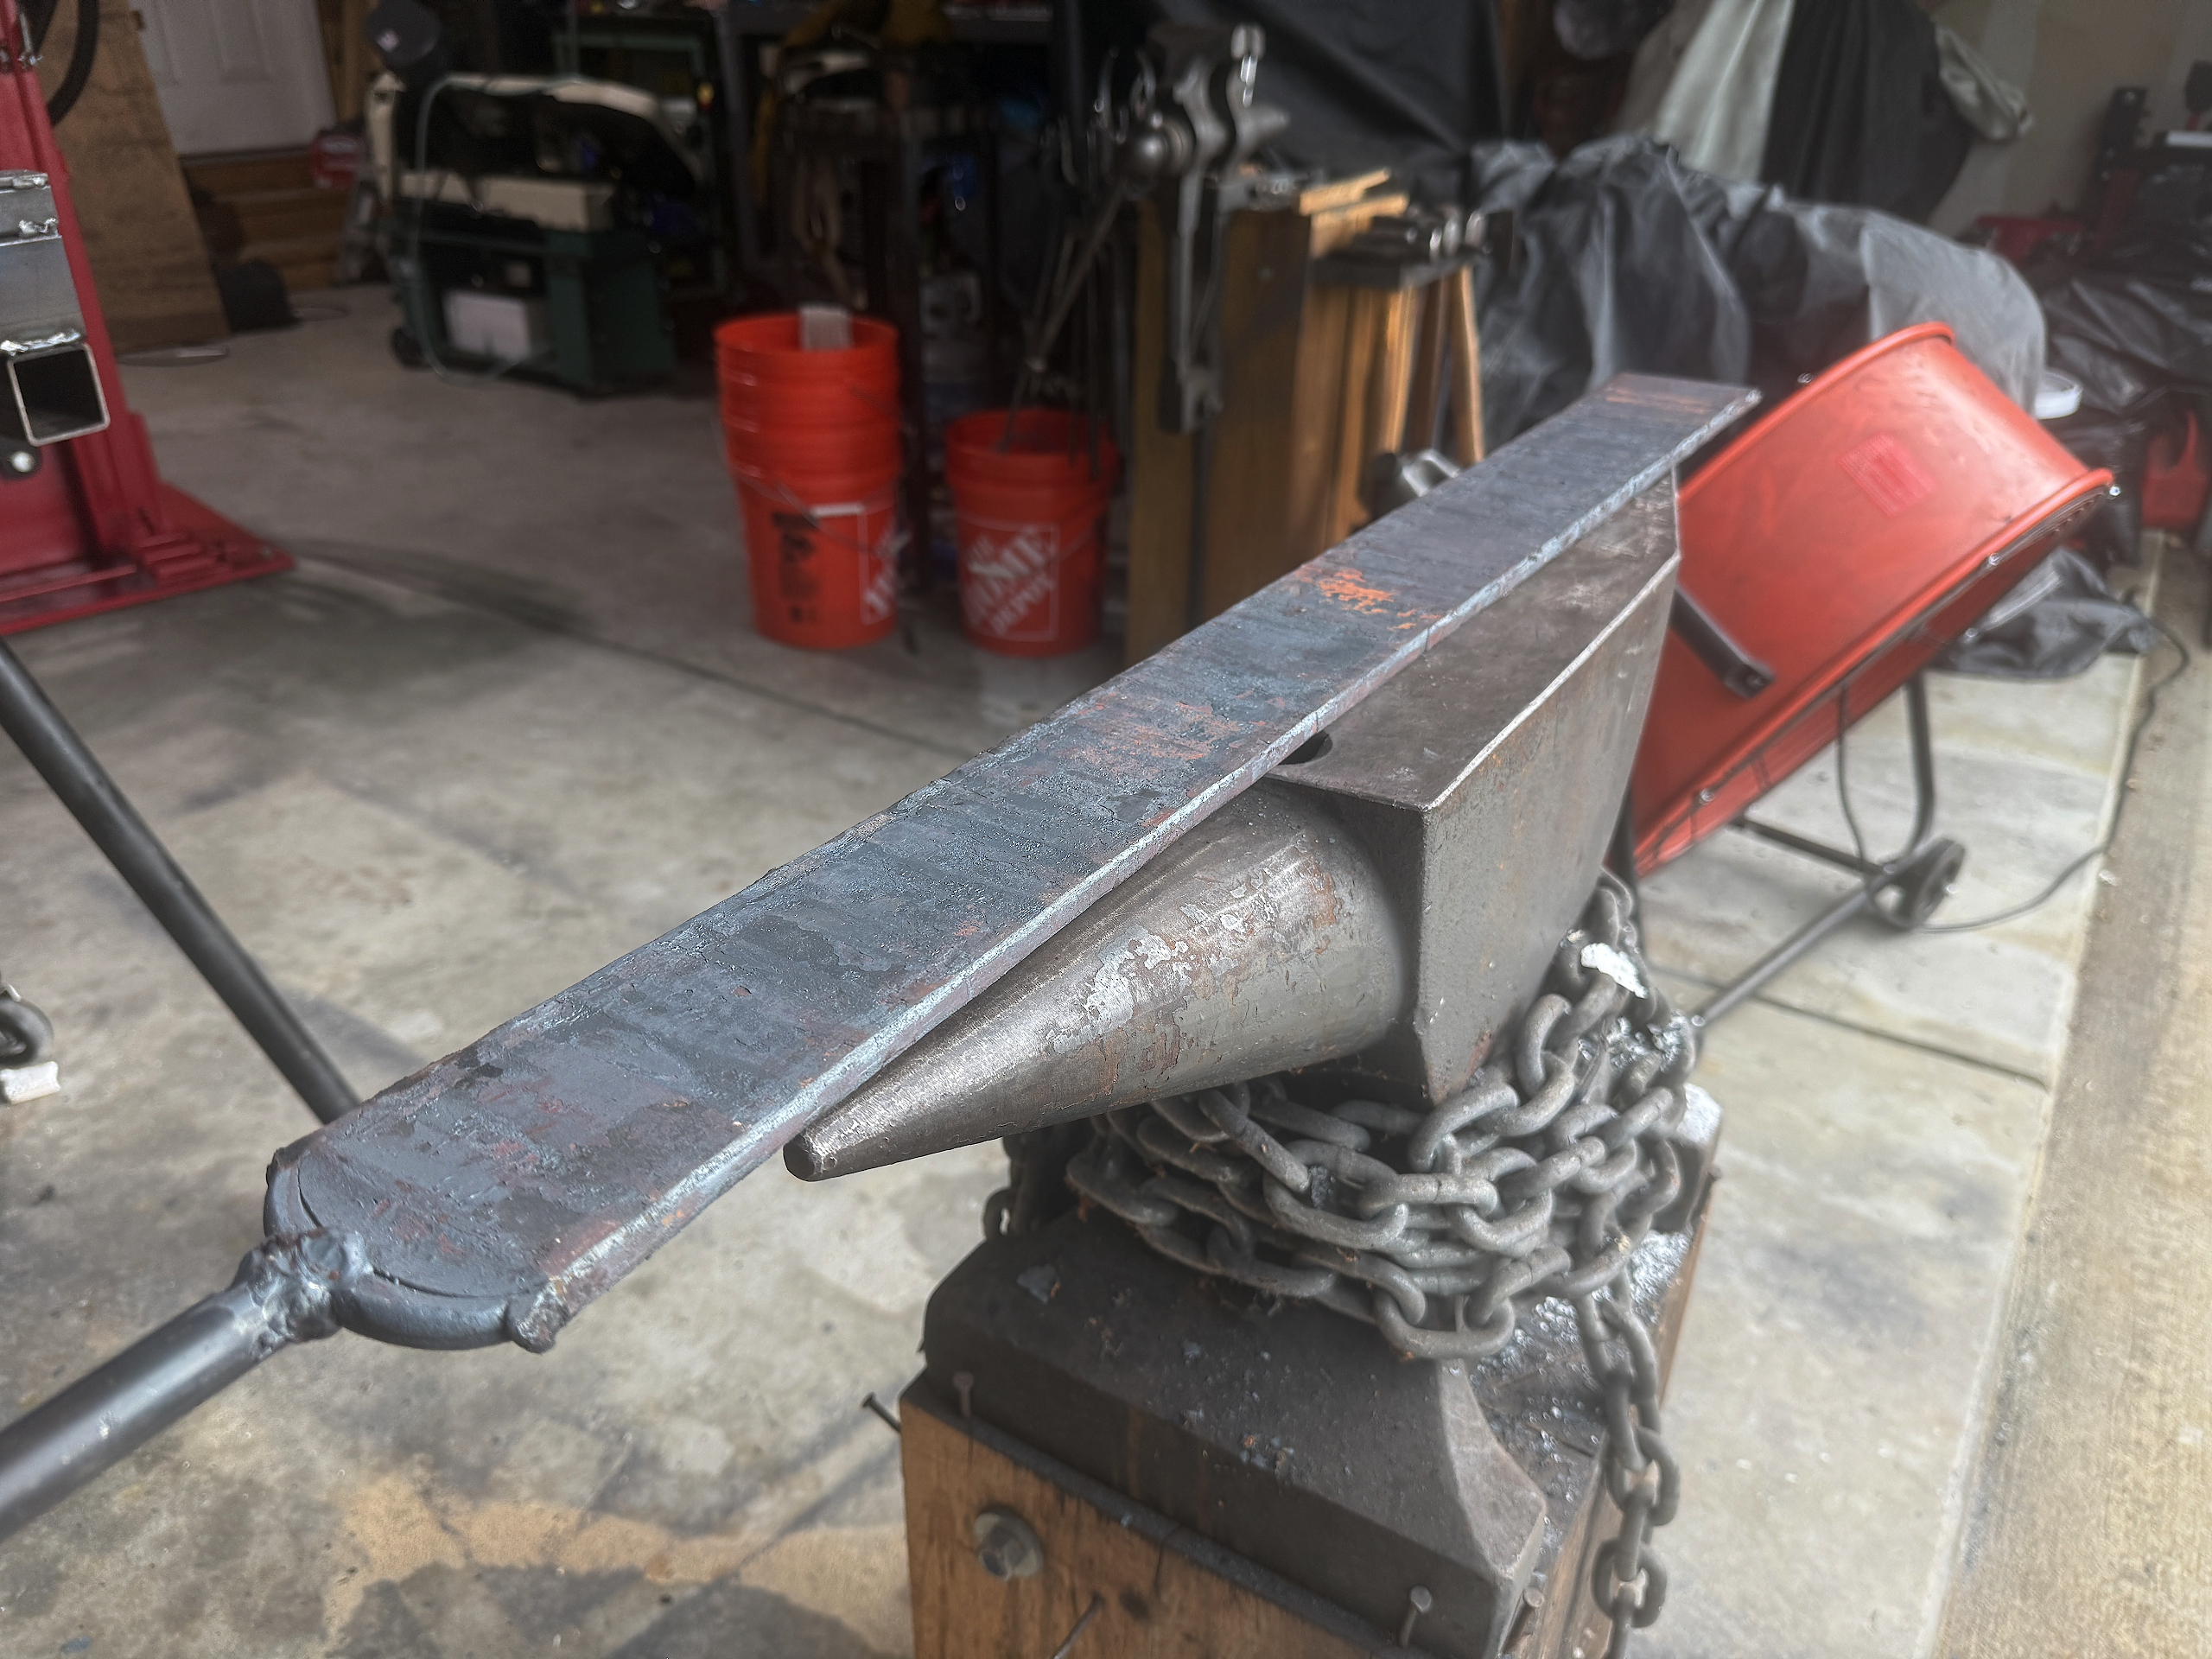
After forging the black above down from 0.375″ to a final thickness of 0.30″ I’ve gained a good bit more length. More than I’ll need for the blade I want. This is about 48″ long and 0.30″ thick. This puts its in the range of a longsword, which is not what I’d planned for, and also too long for me to heat treat in my kiln. If it was a mono-steel blade of W2 or 1084 with no layers I might go ahead and give it a shot heat treating with my forge, but with 3 different steels, and the core being 1095 which is extremely picky about temperatures I’d risk ruining the whole thing, so I’m going to cut it down to match my design and heat treatment plan.
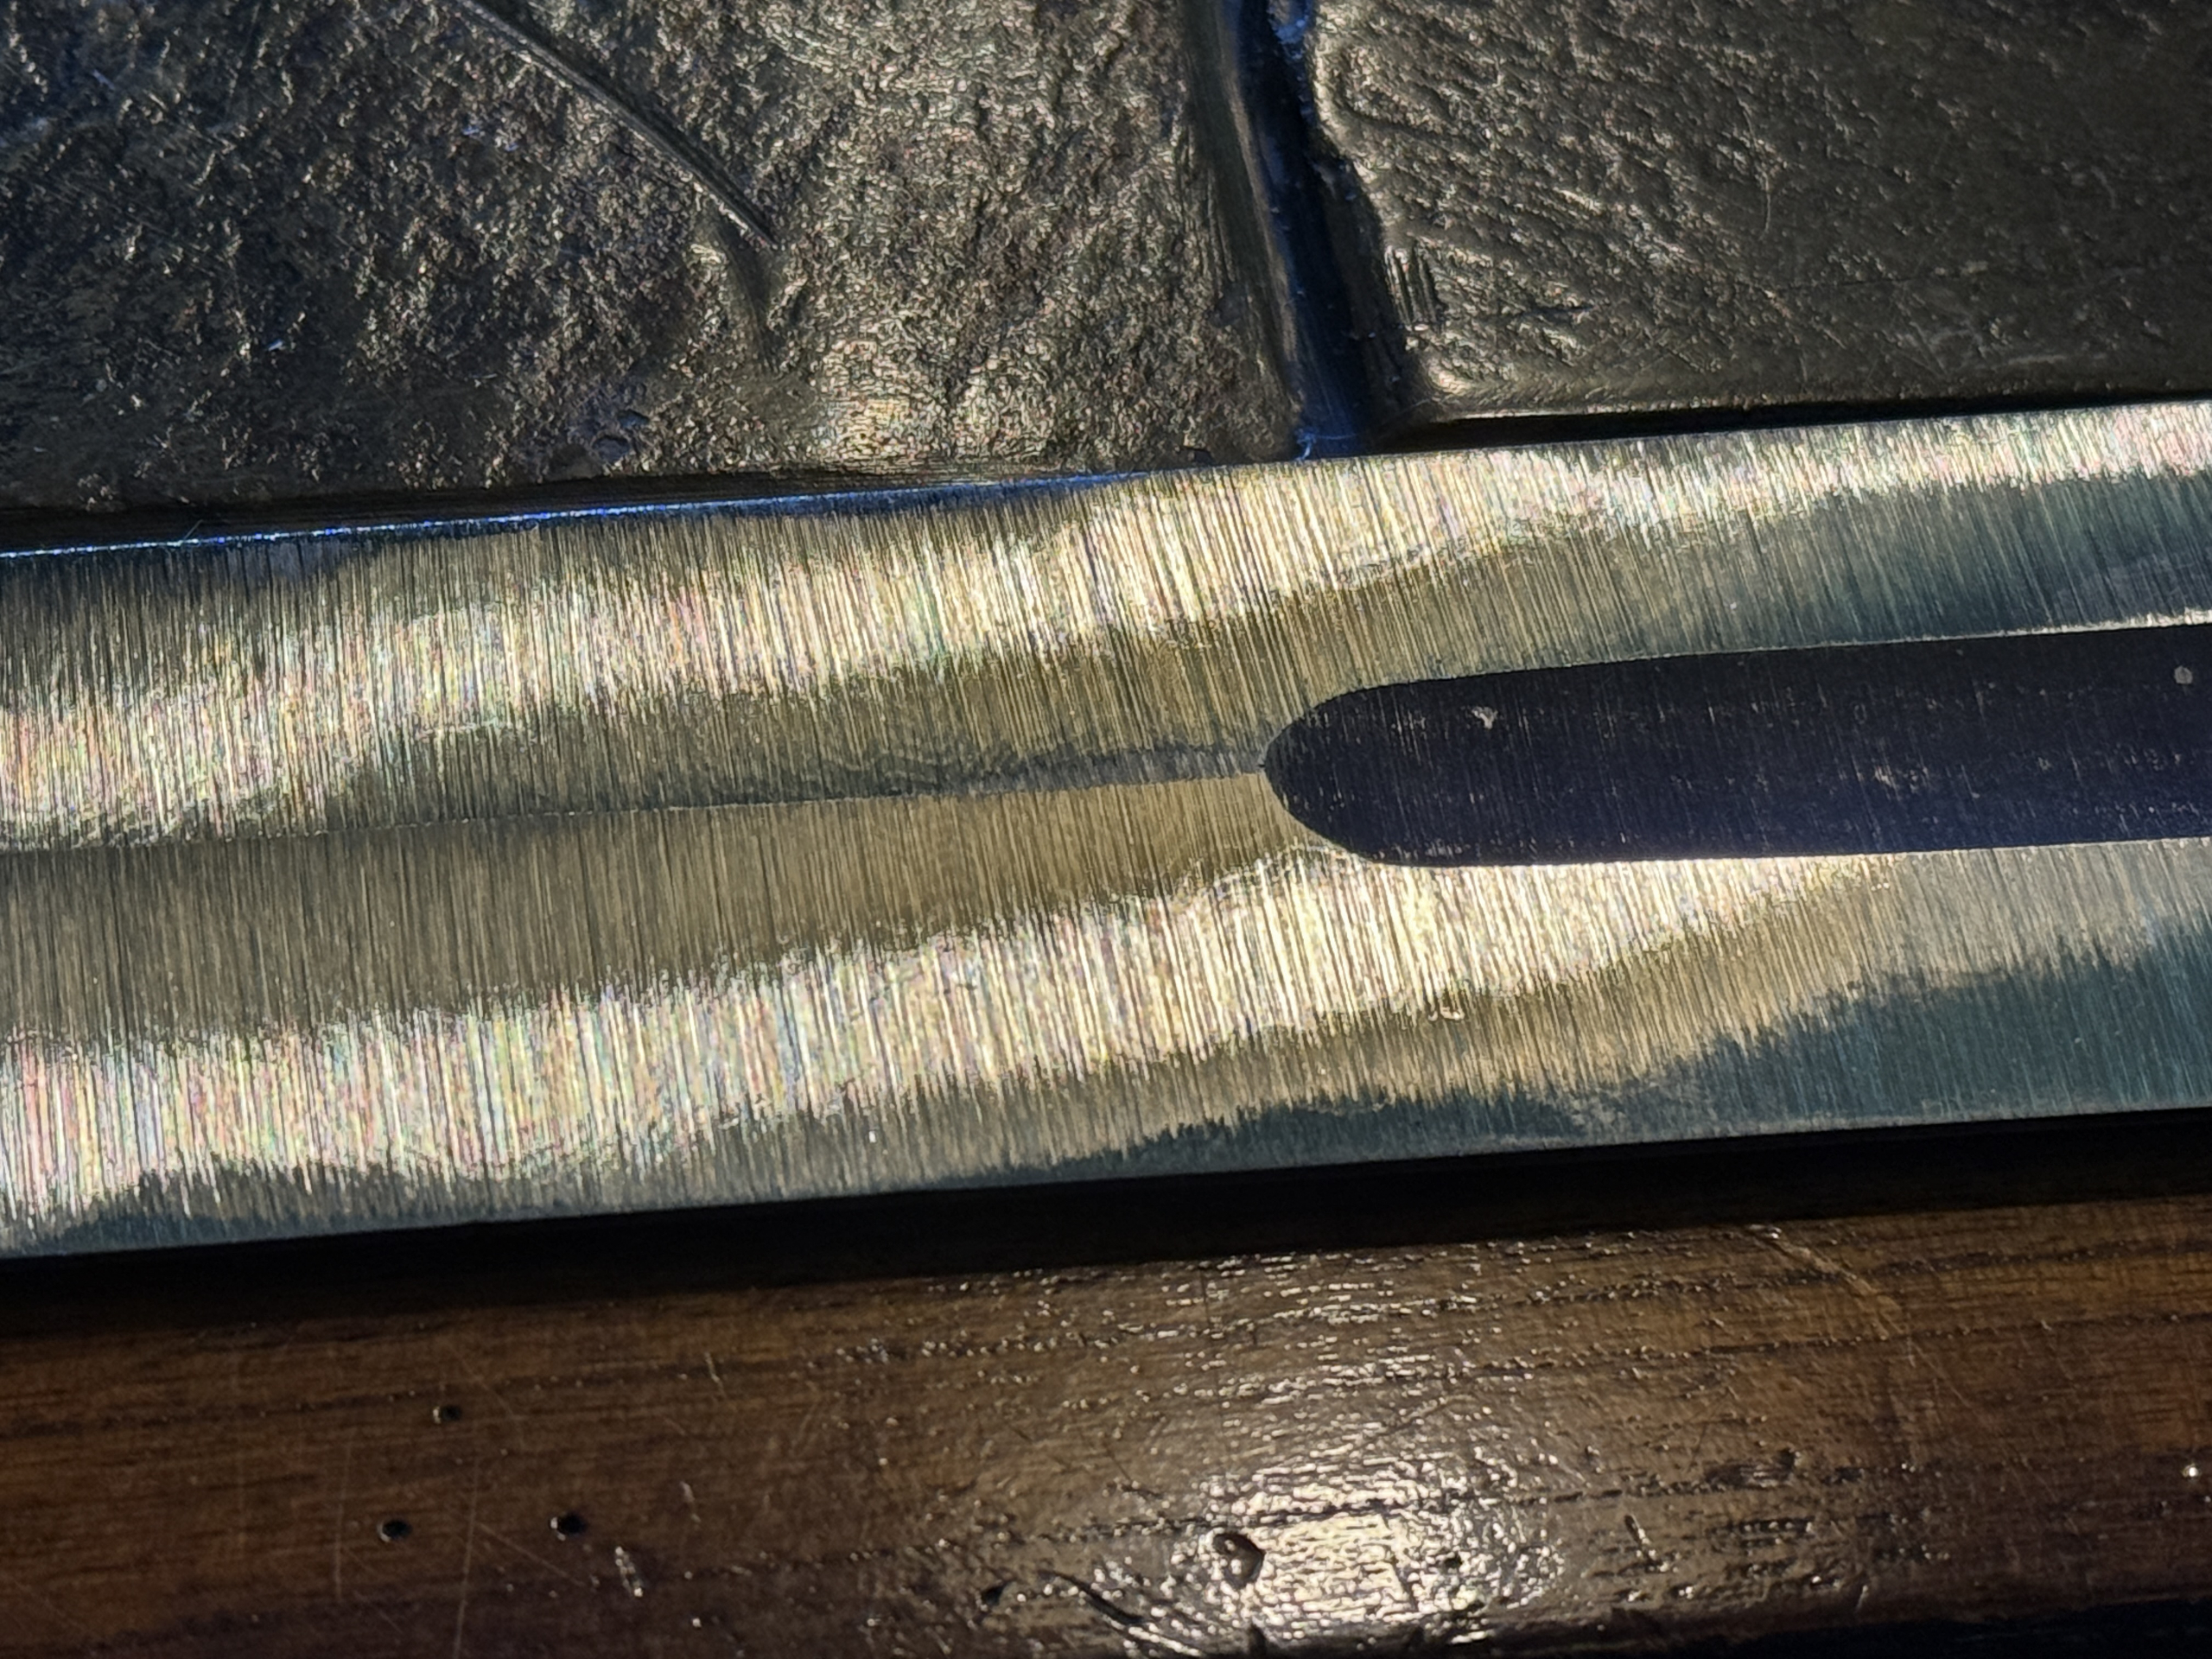
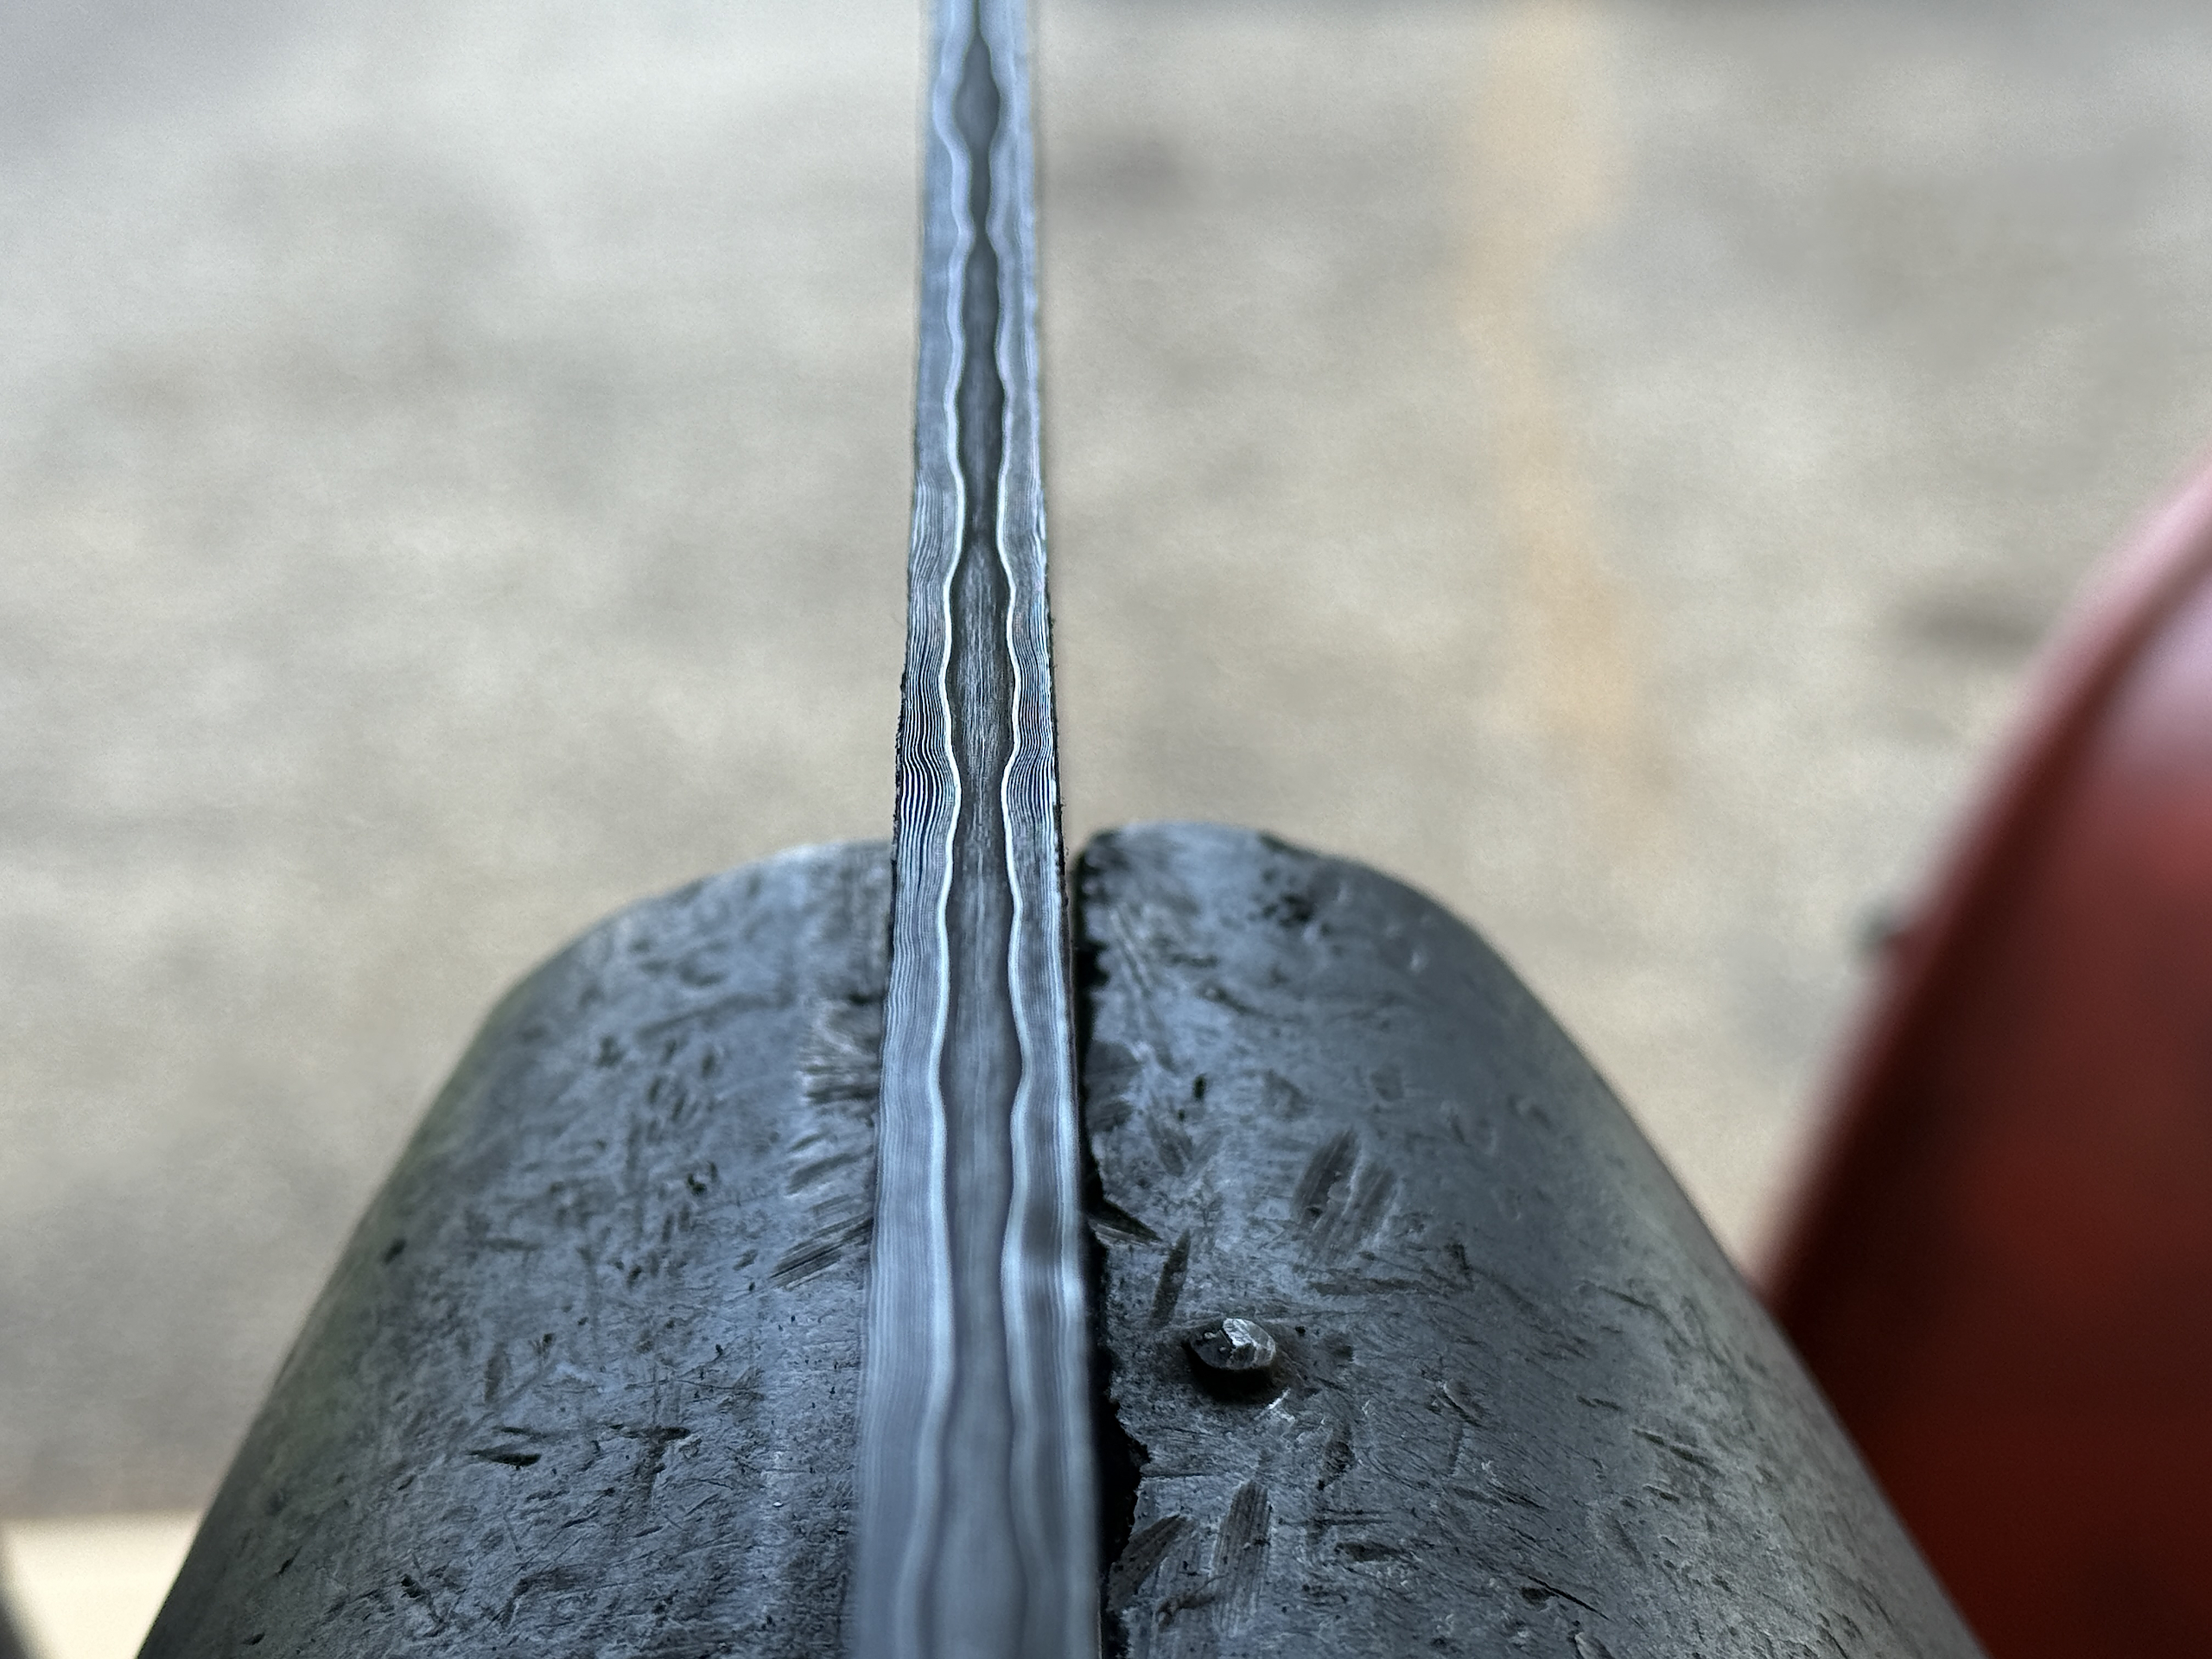
To see how the layers are looking I ground one edge flat and did a slight etch to reveal the layering. This looks great at this stage.
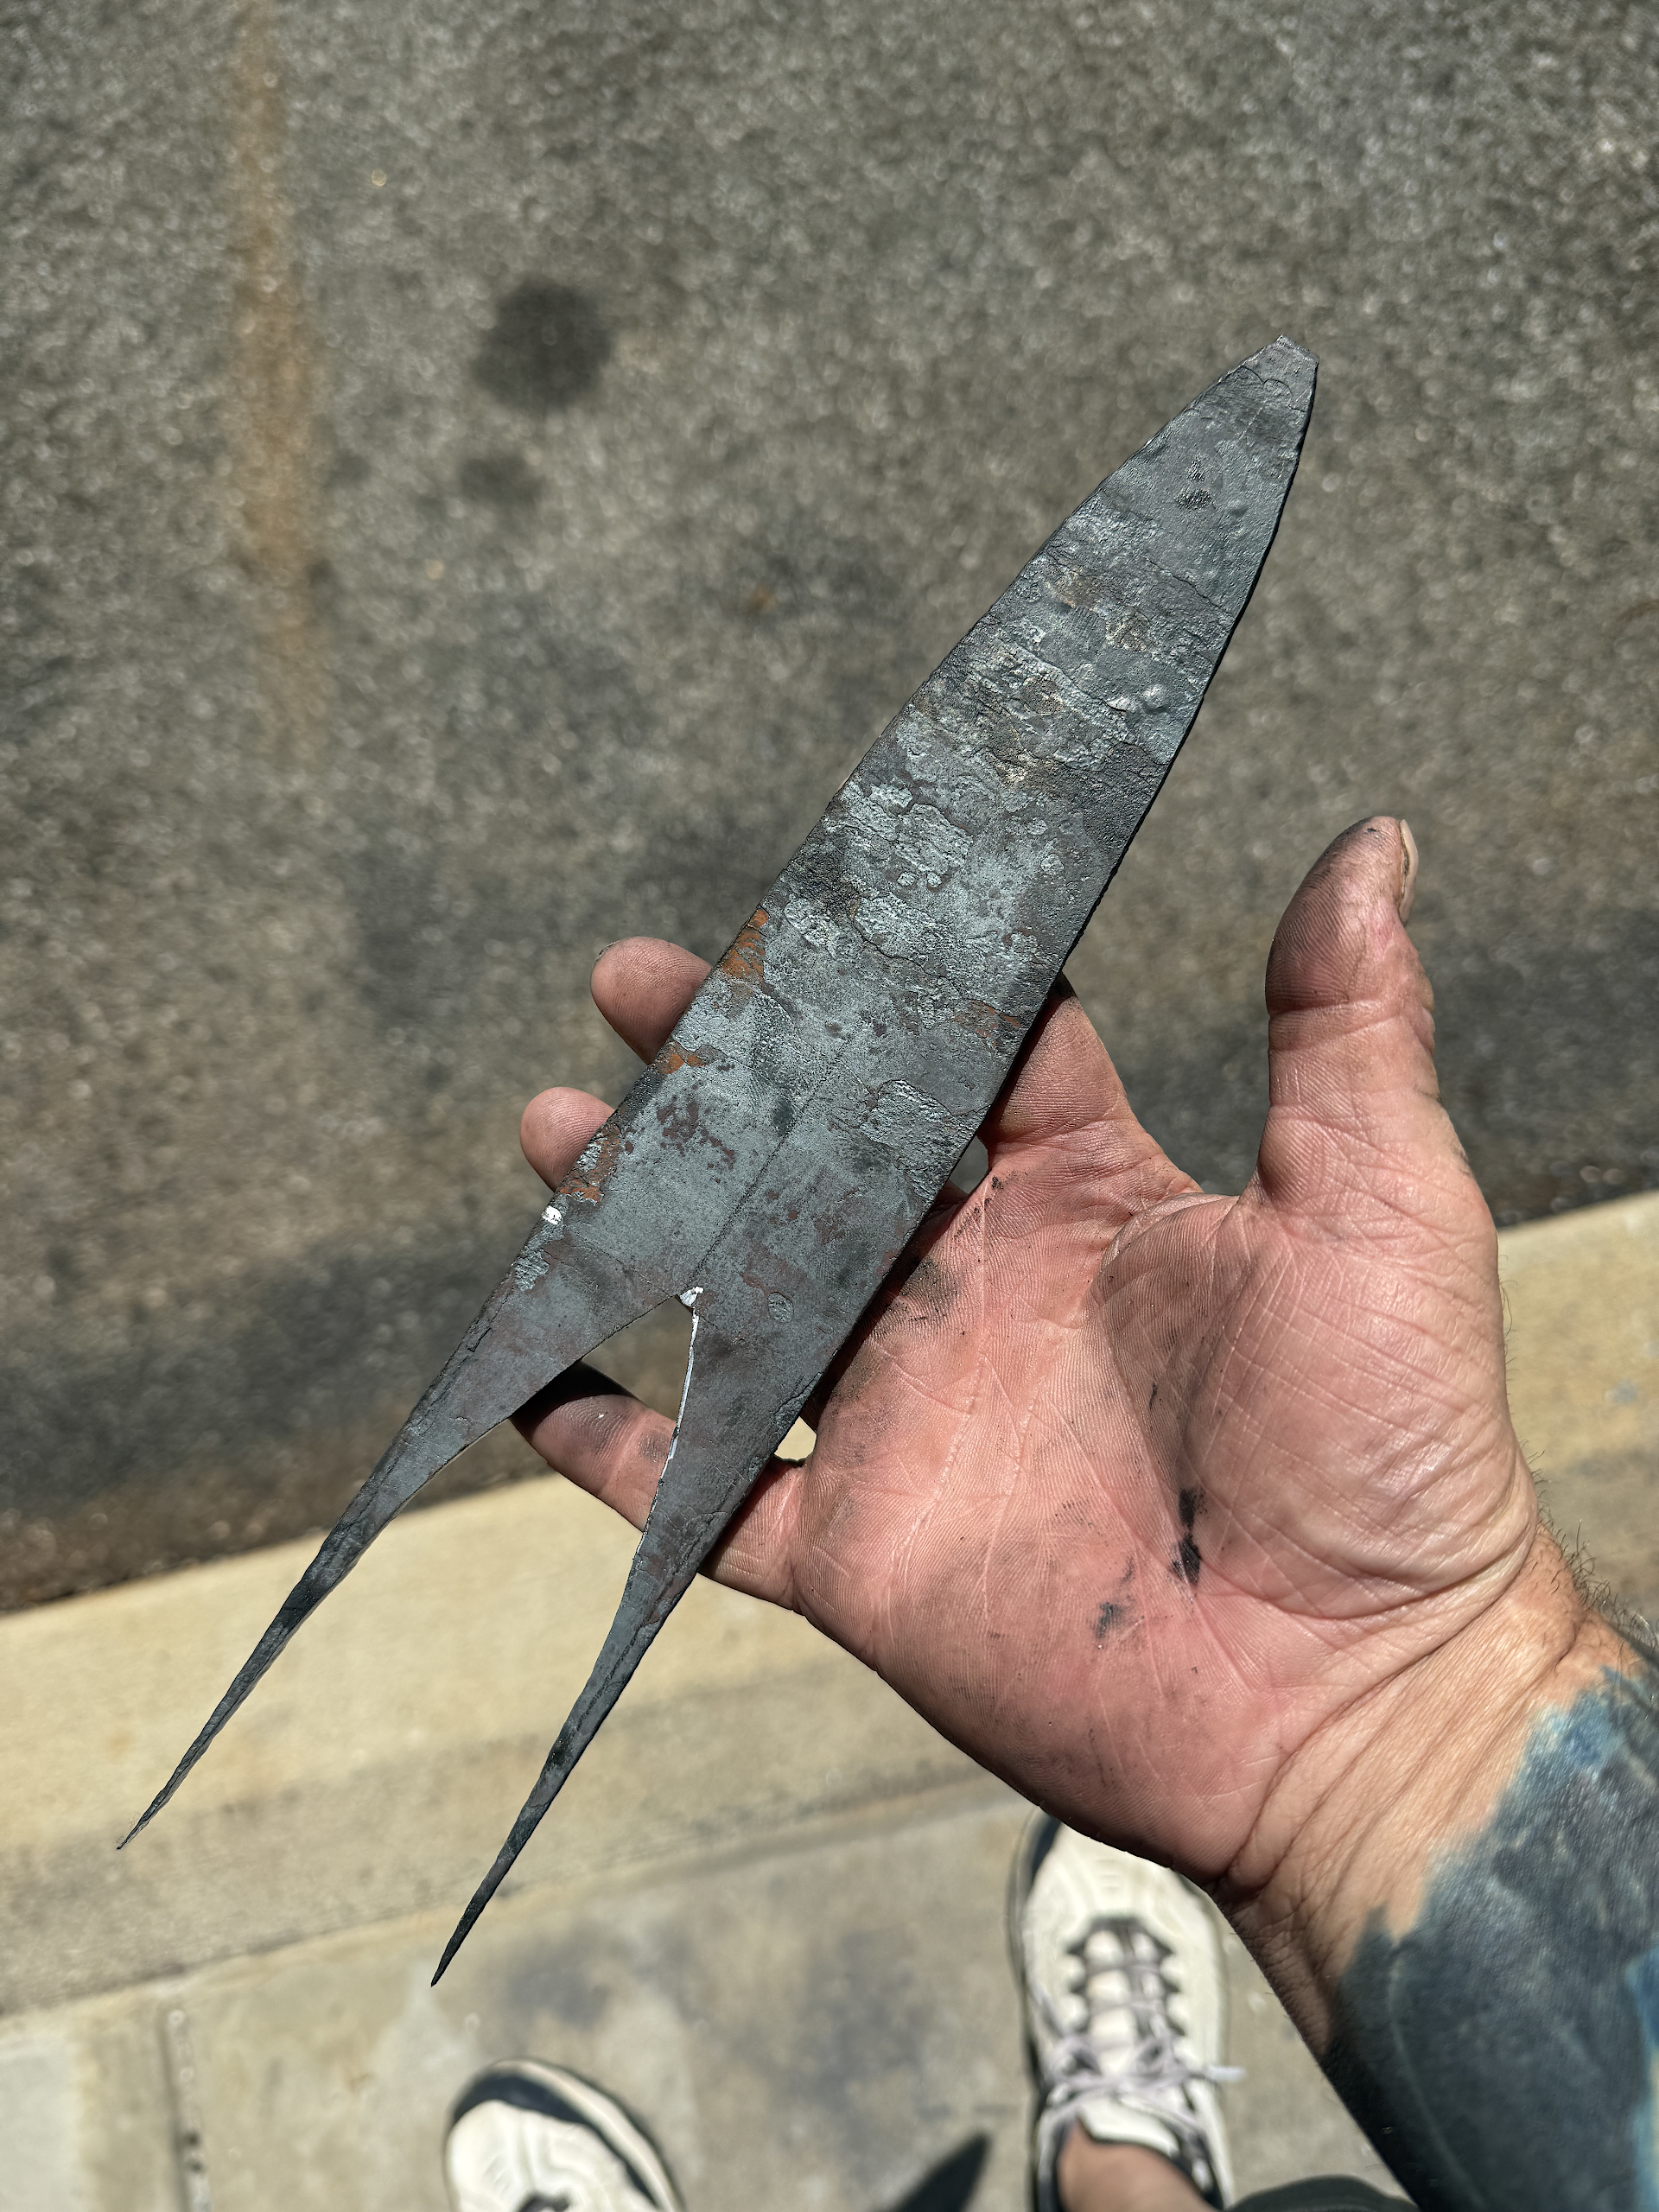
To address the additional length I cut the blade down to the right length, which actually leaves me with a piece thats more than large enough to forge out into a nice bowie knife. Its more than it appears here. This piece is 0.3″ thick, so once I forge this down to 3/16″ thick it will be a good bit longer and wider. Future project 🙂
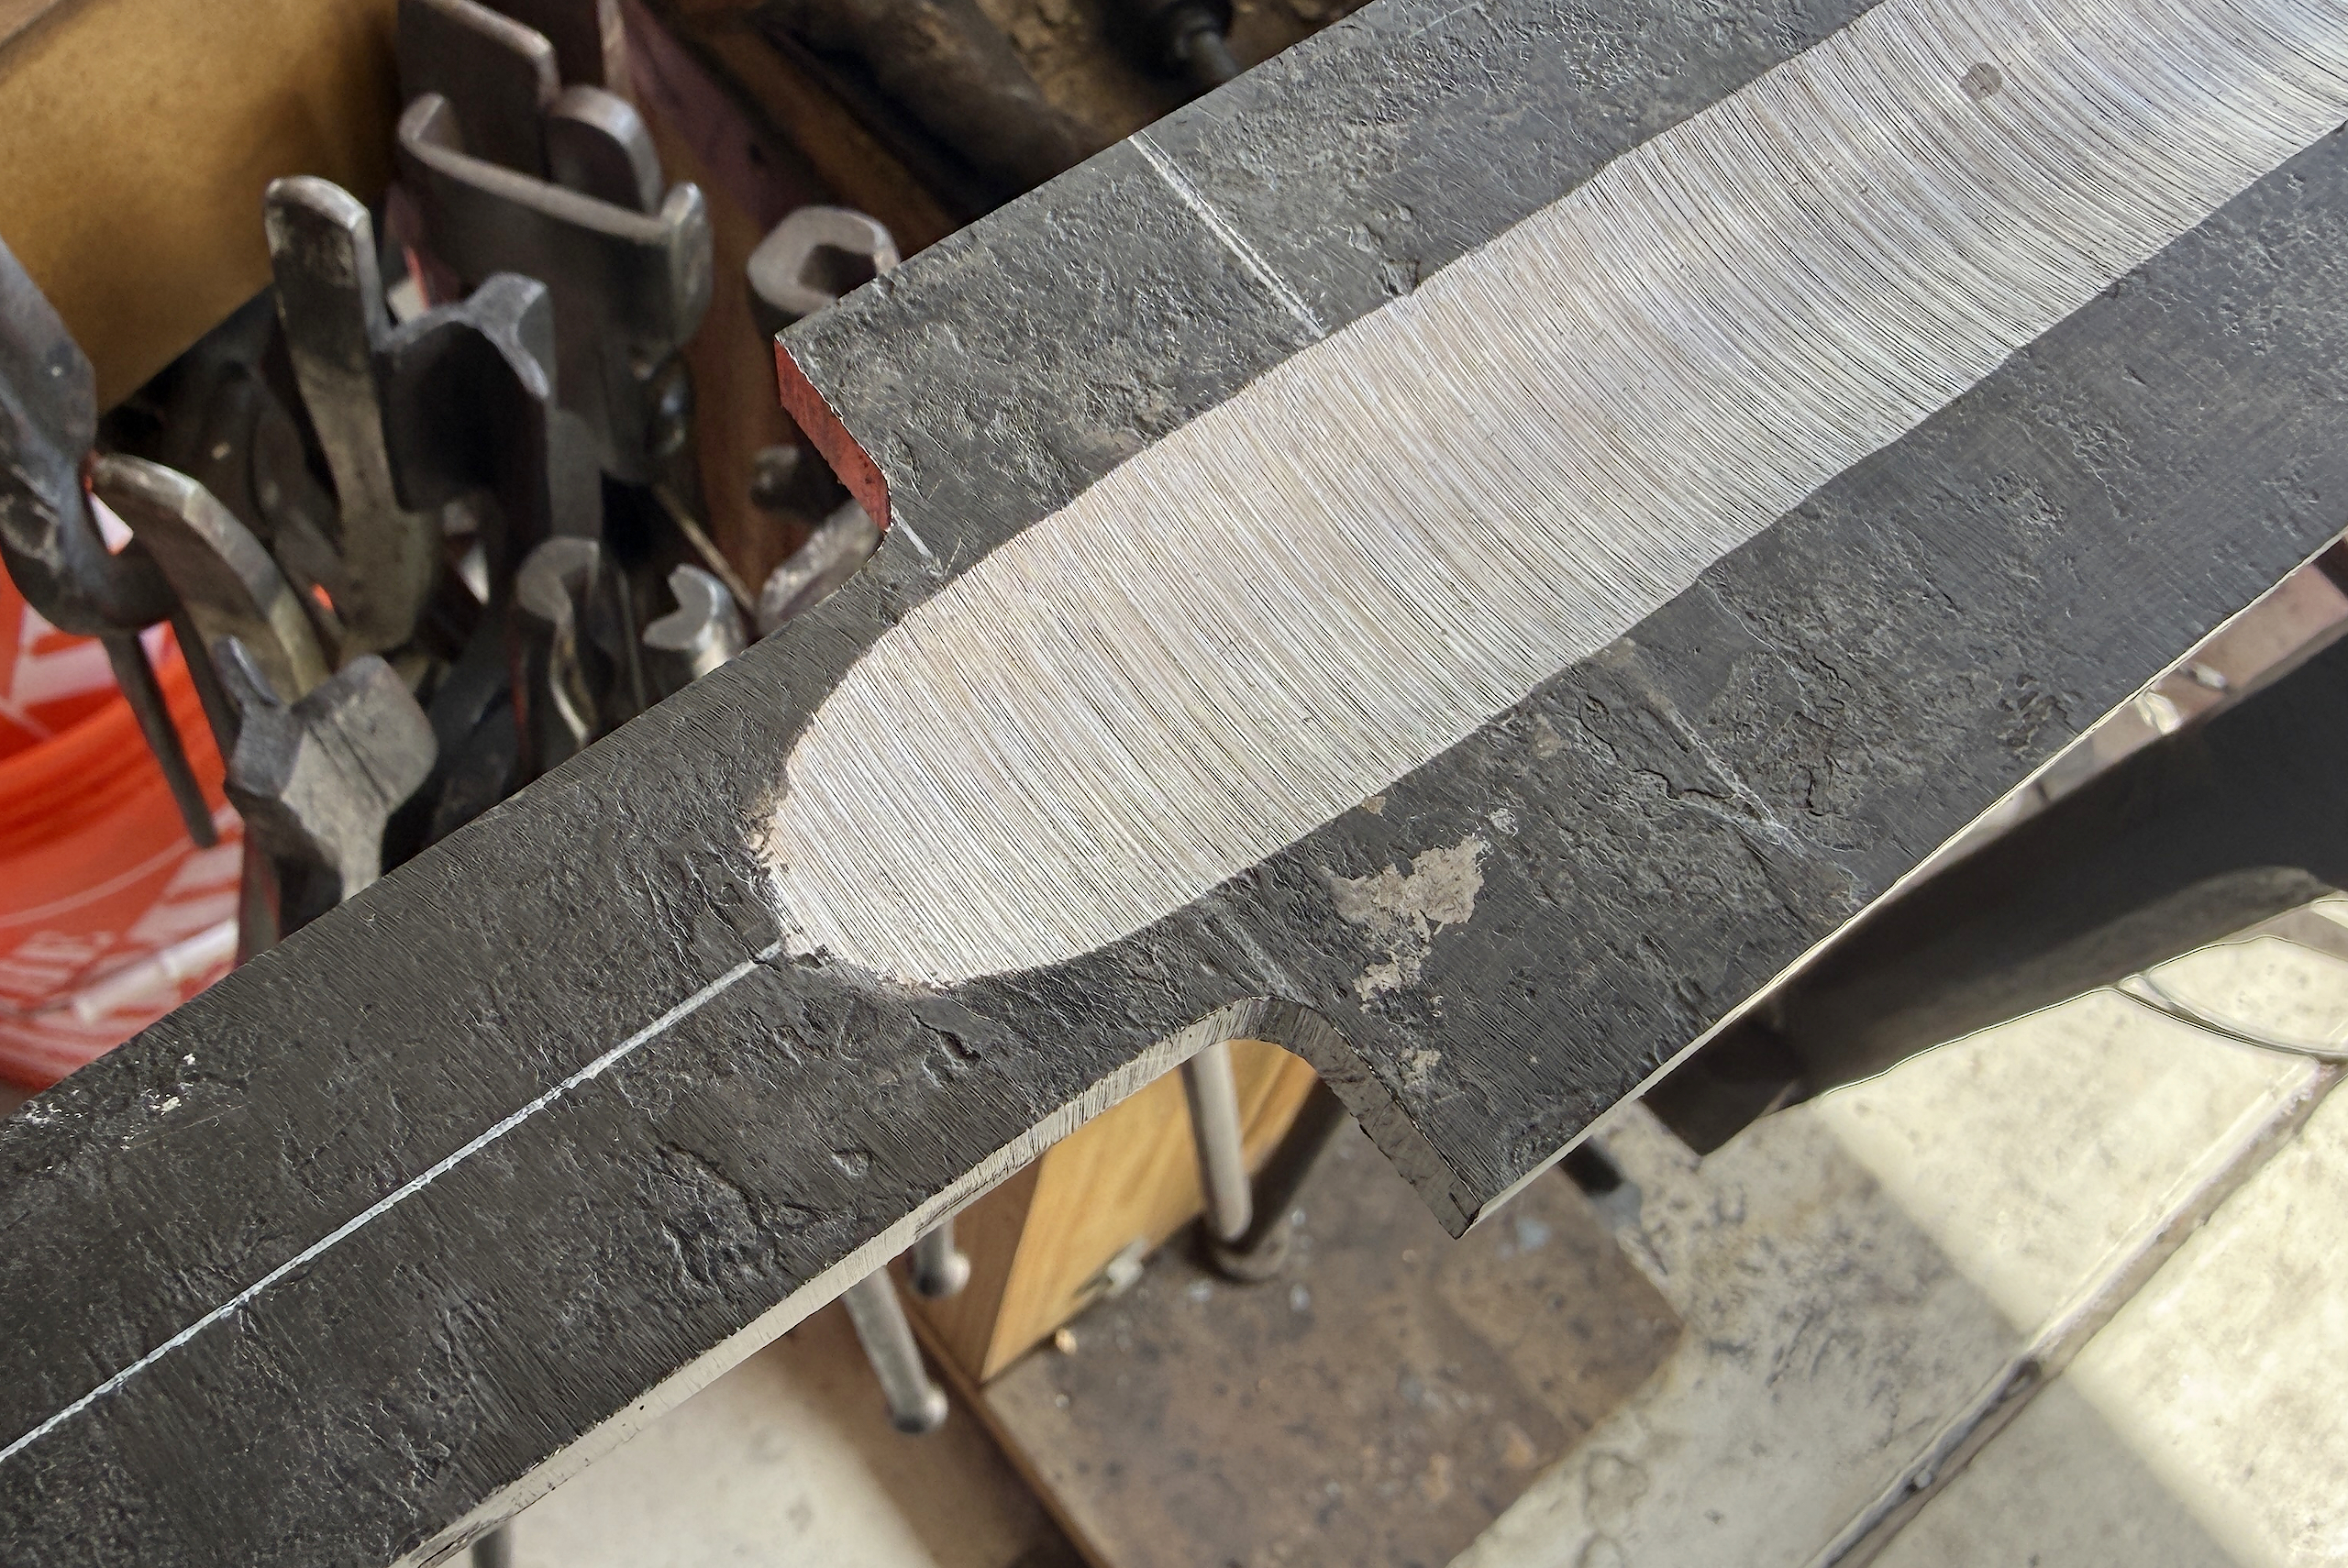
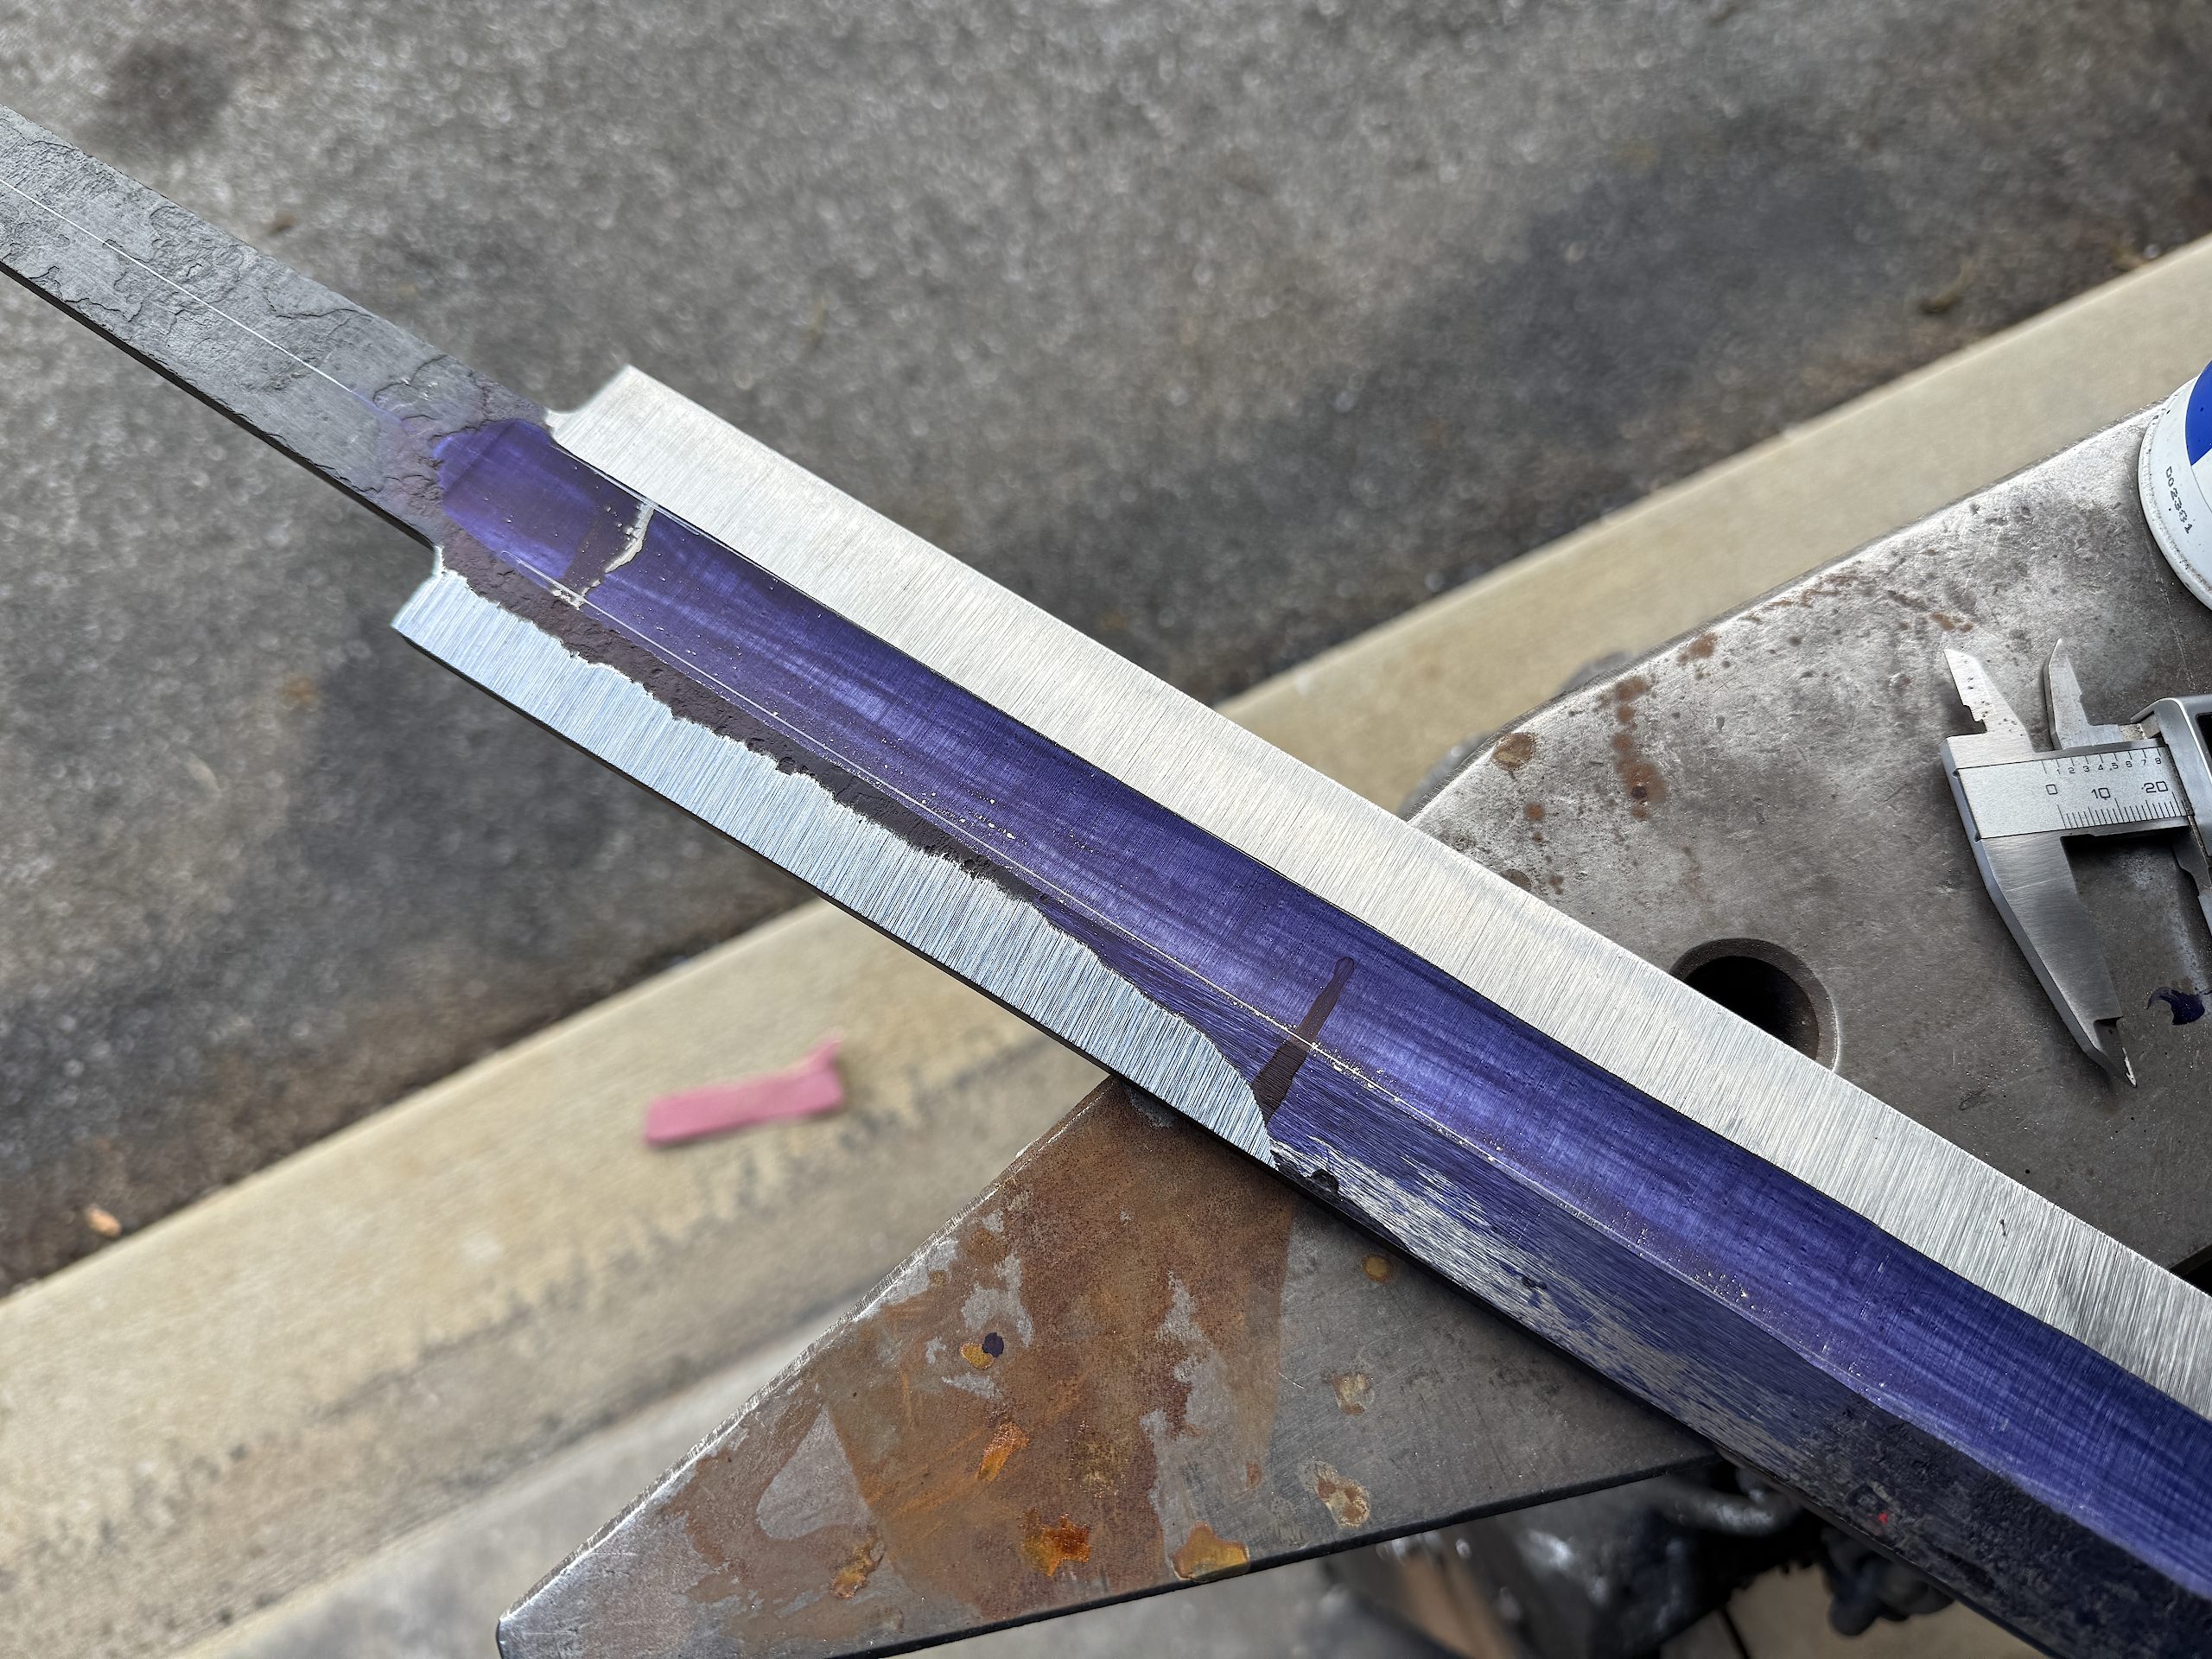
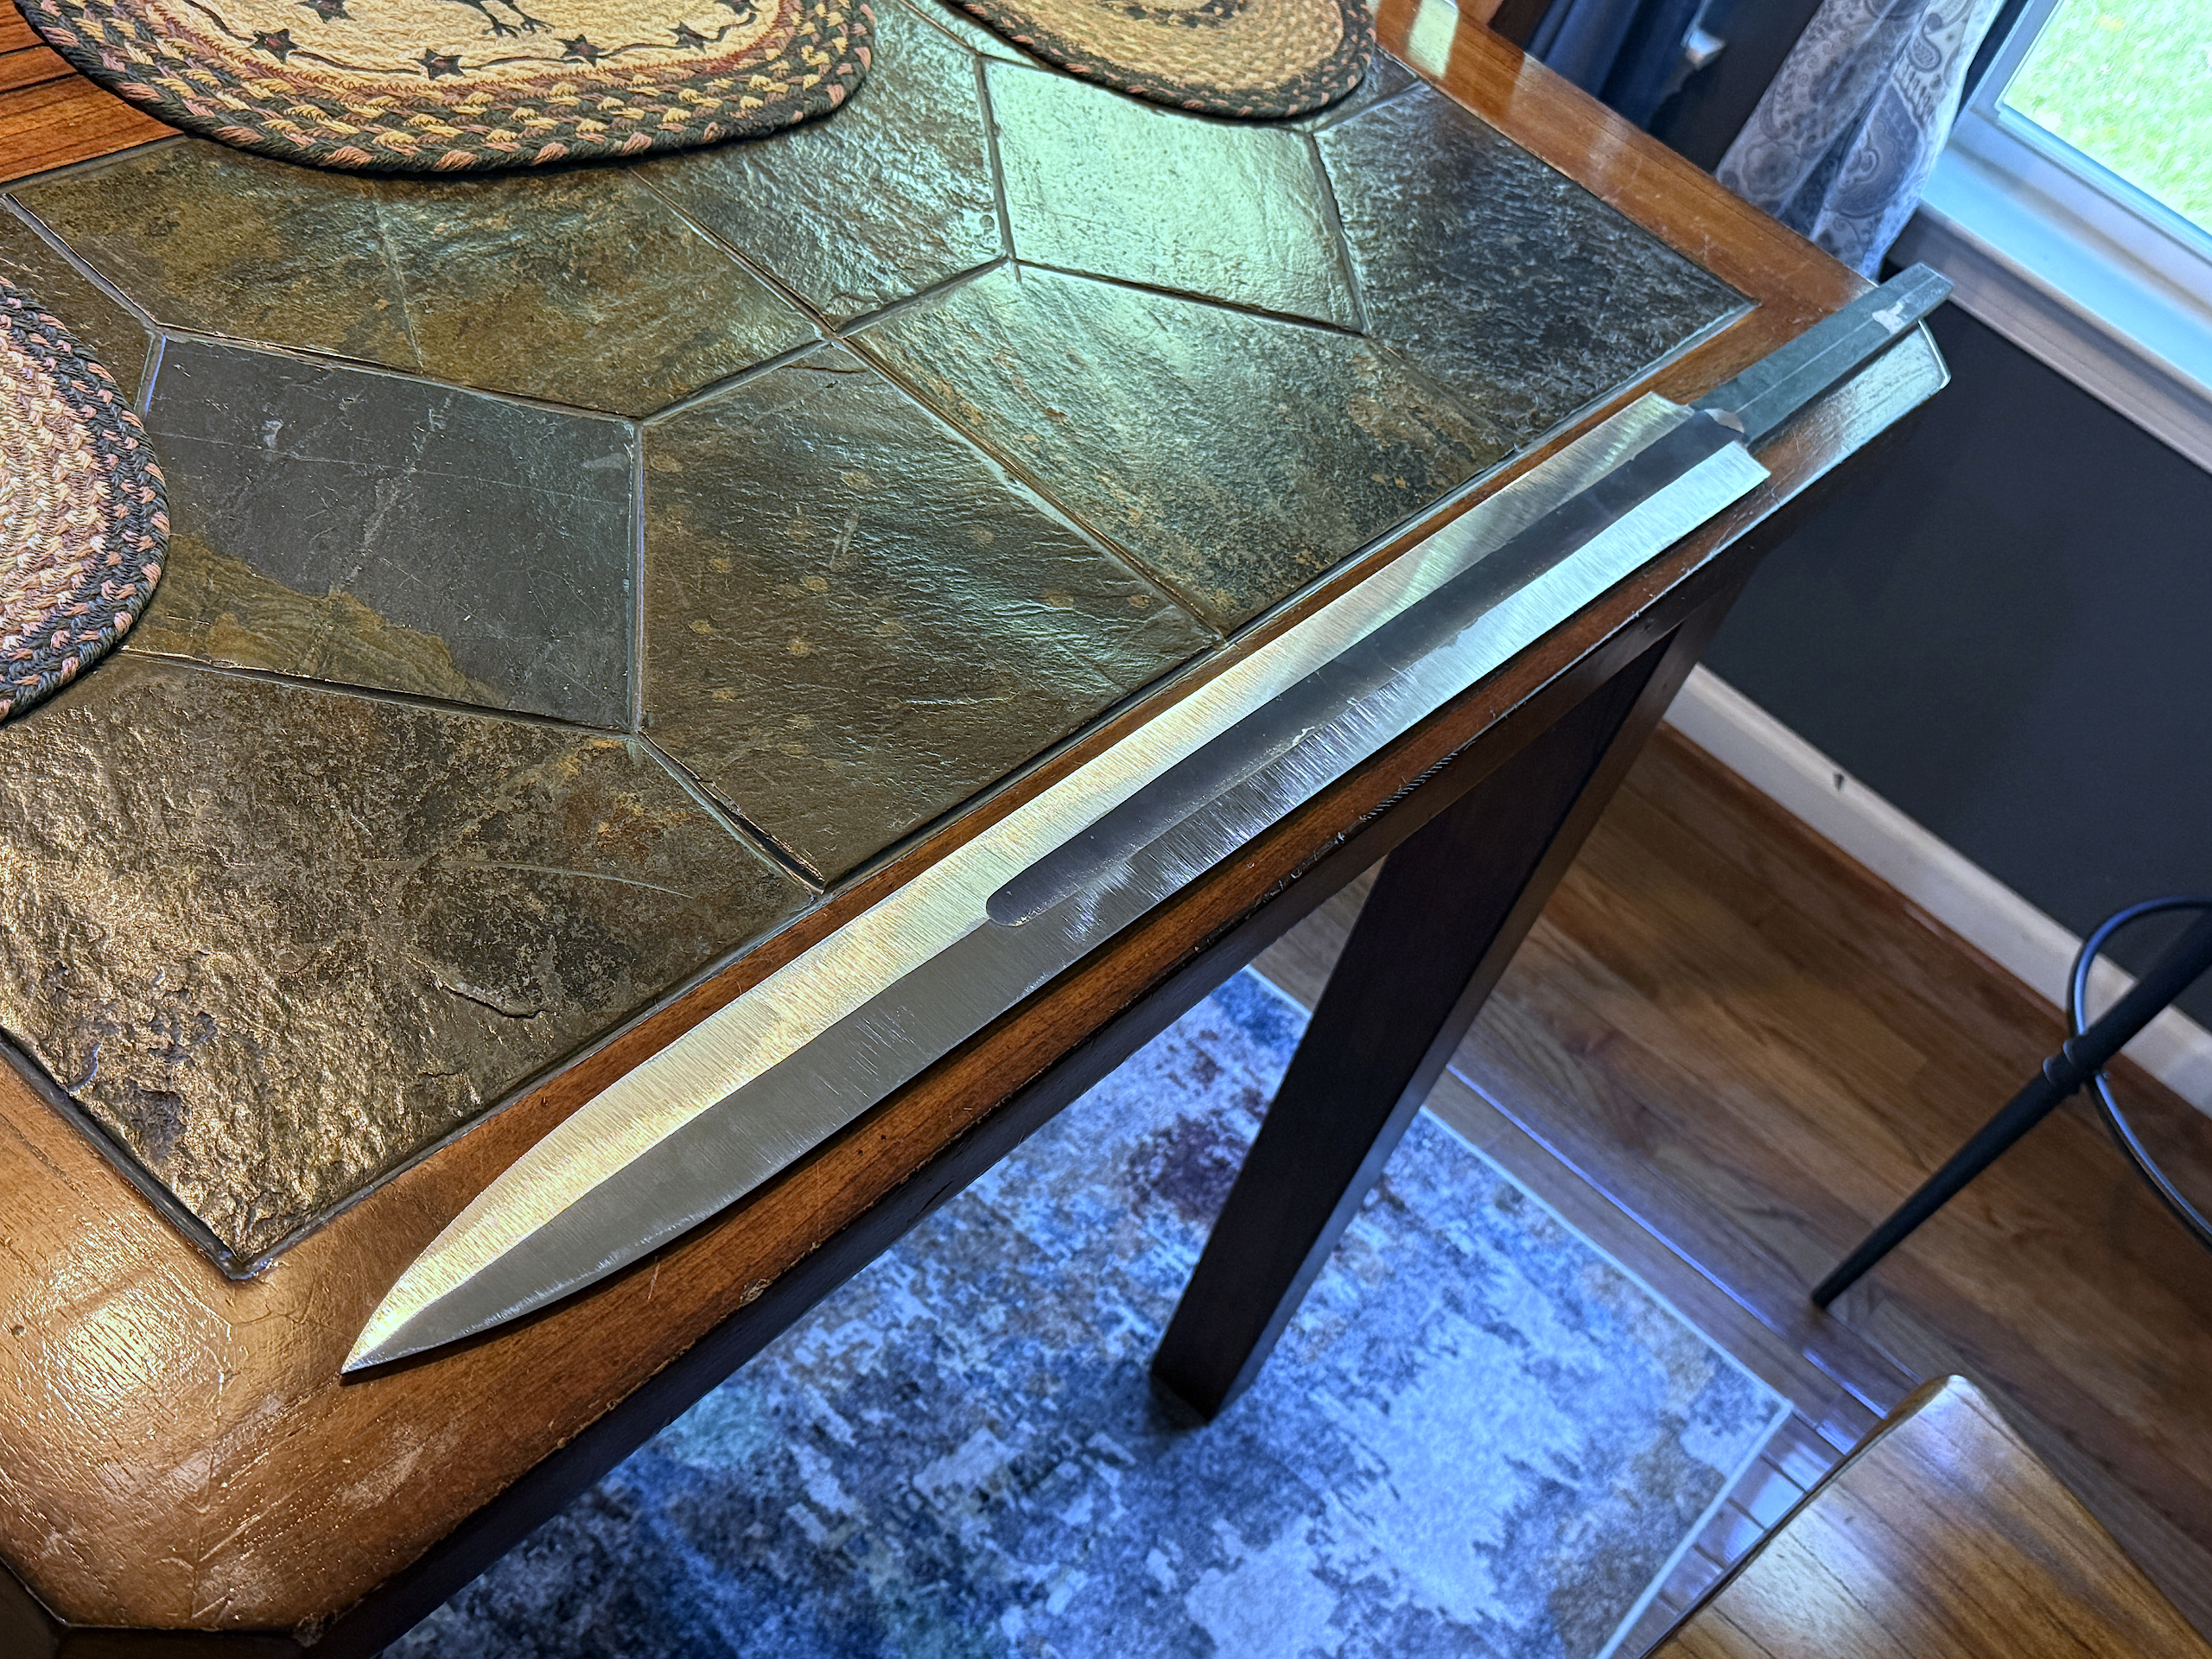
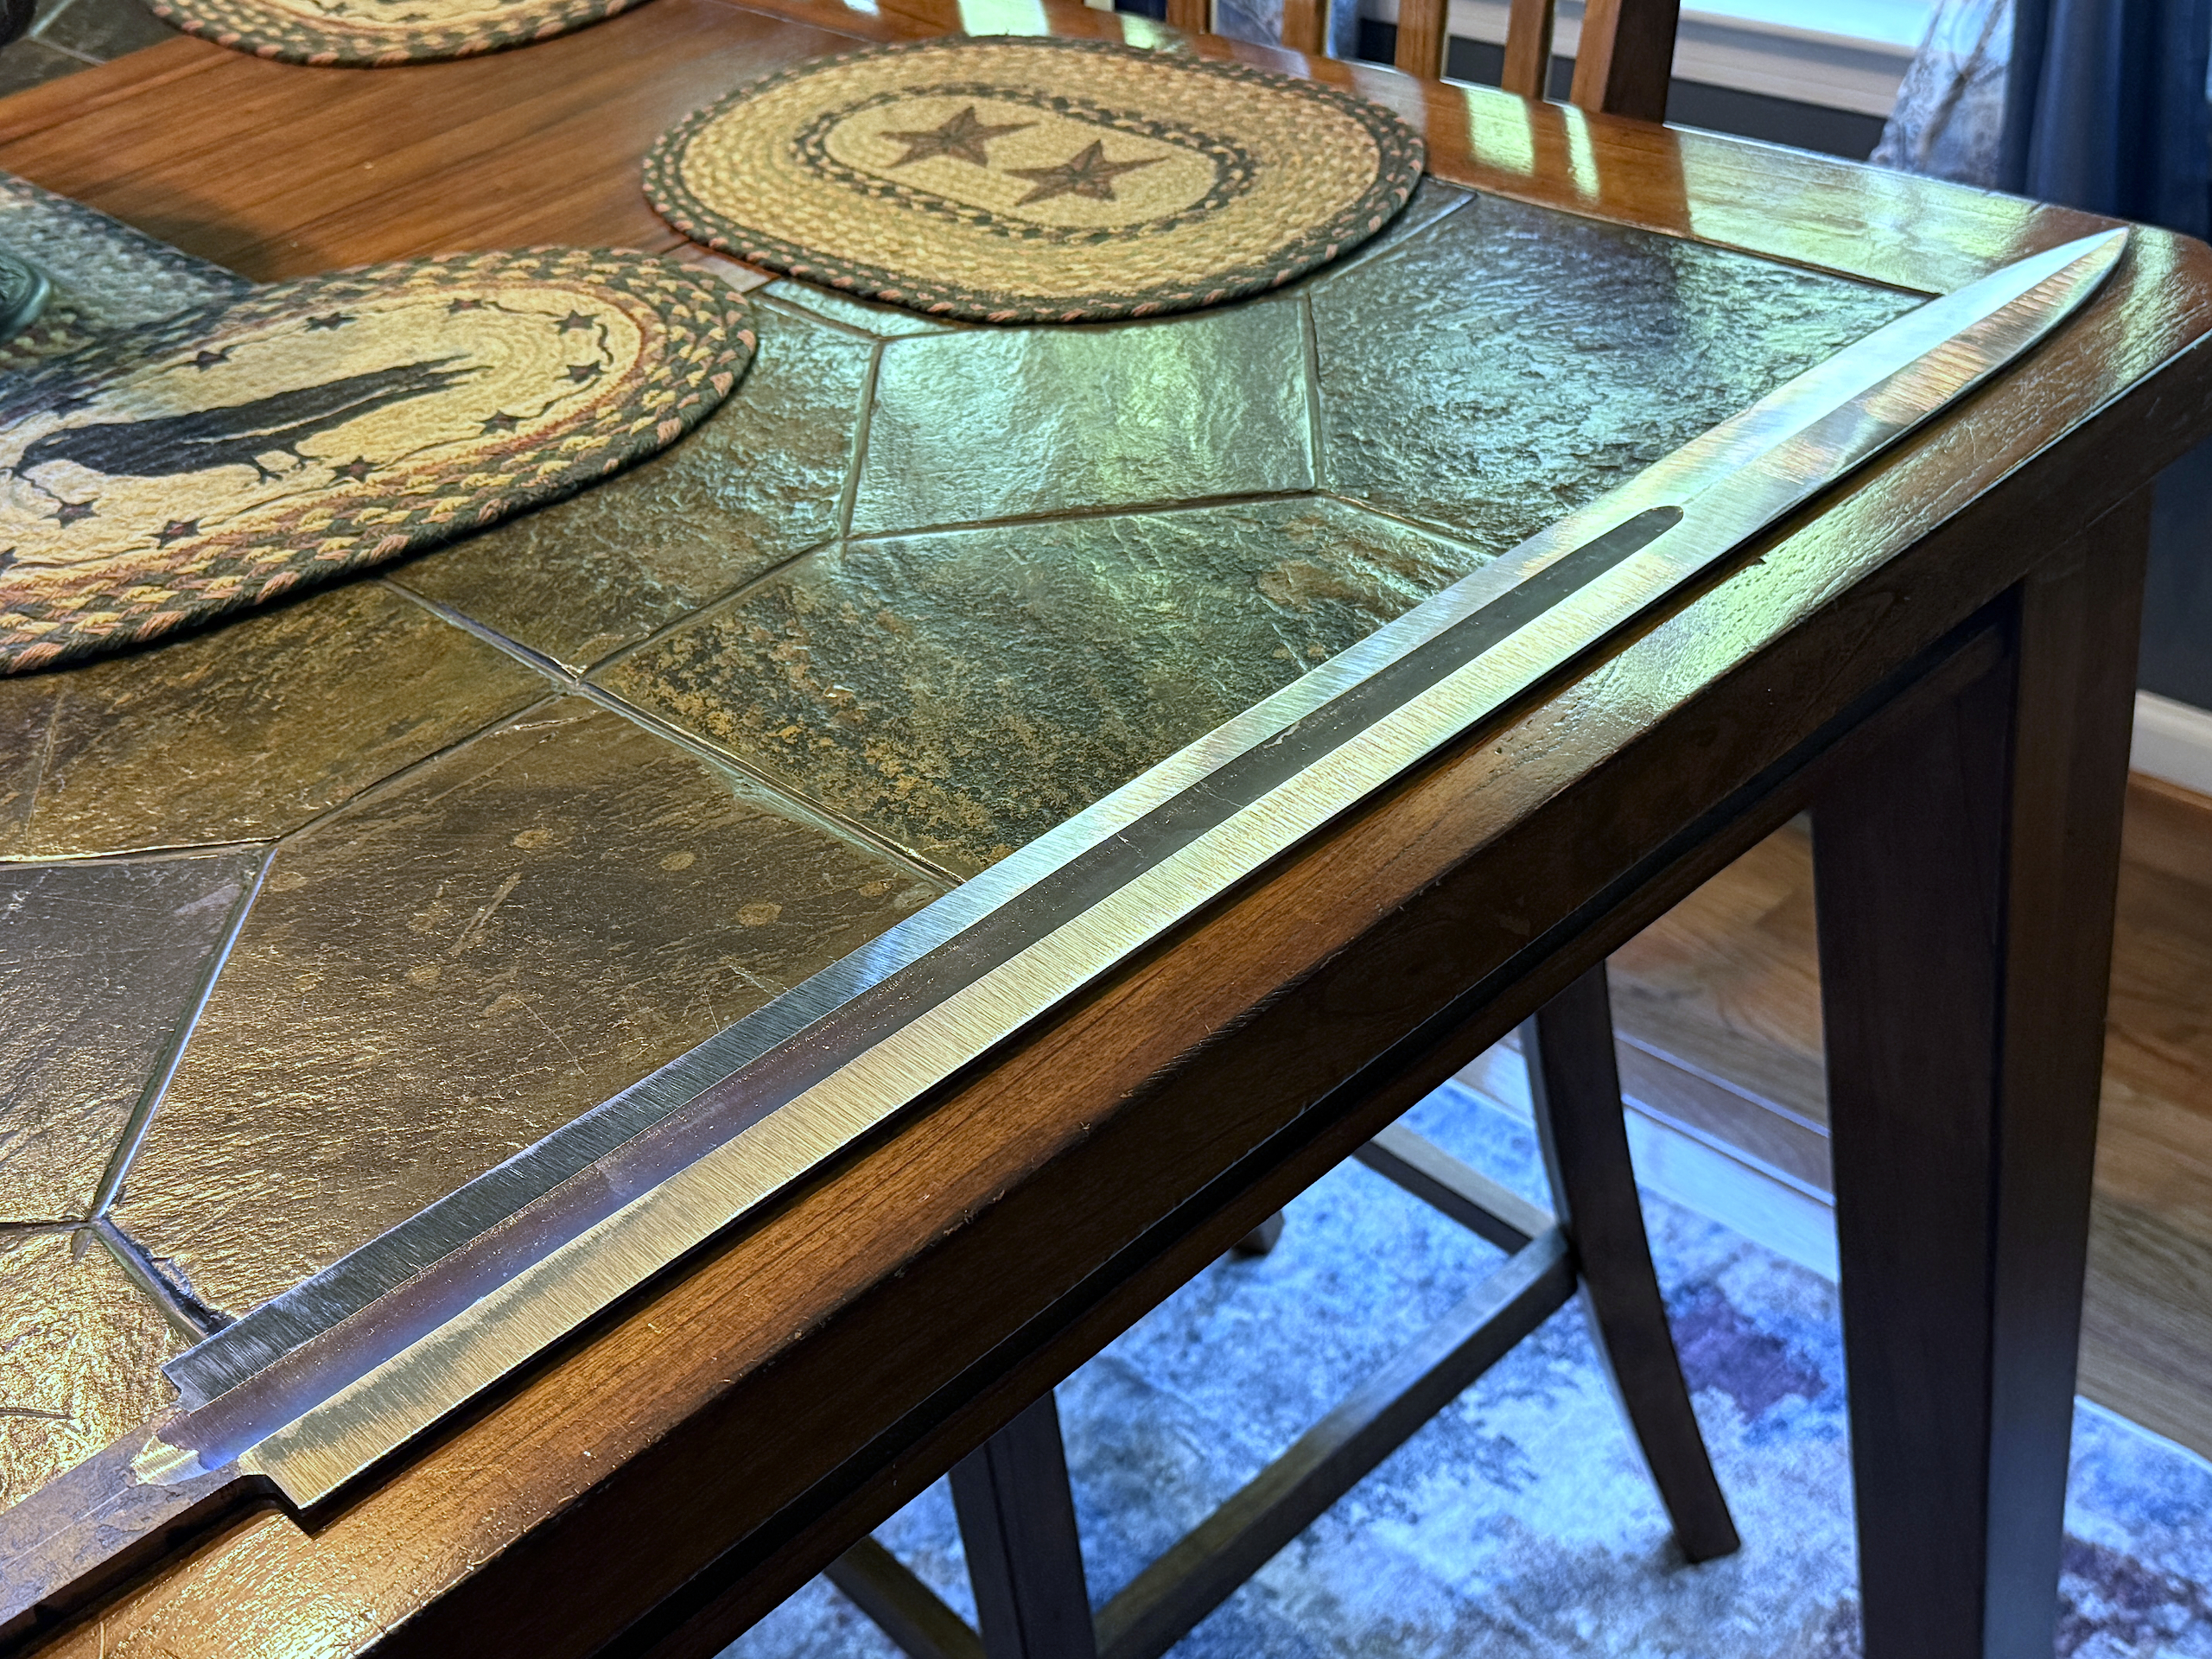
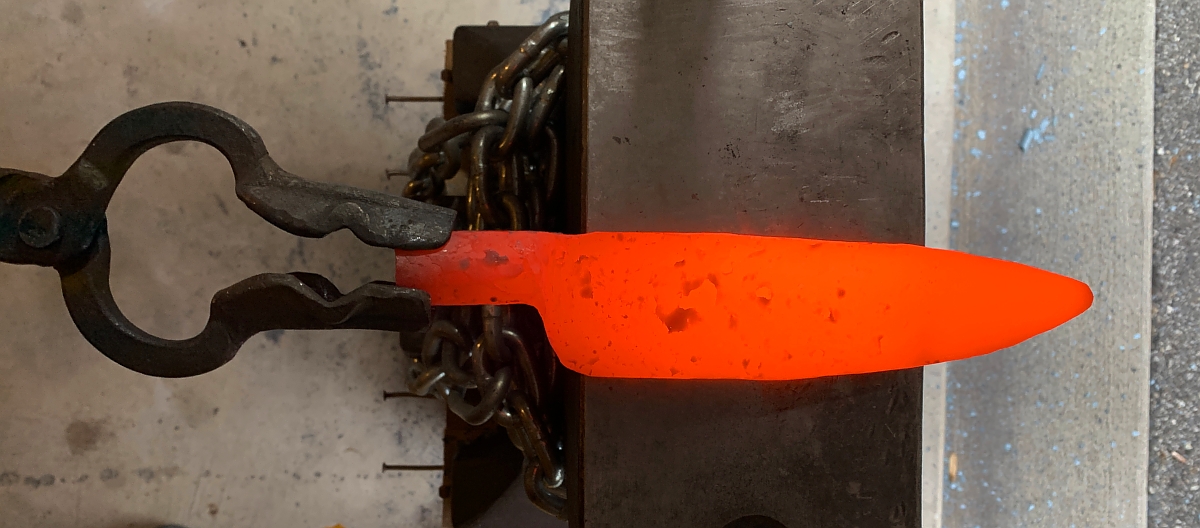
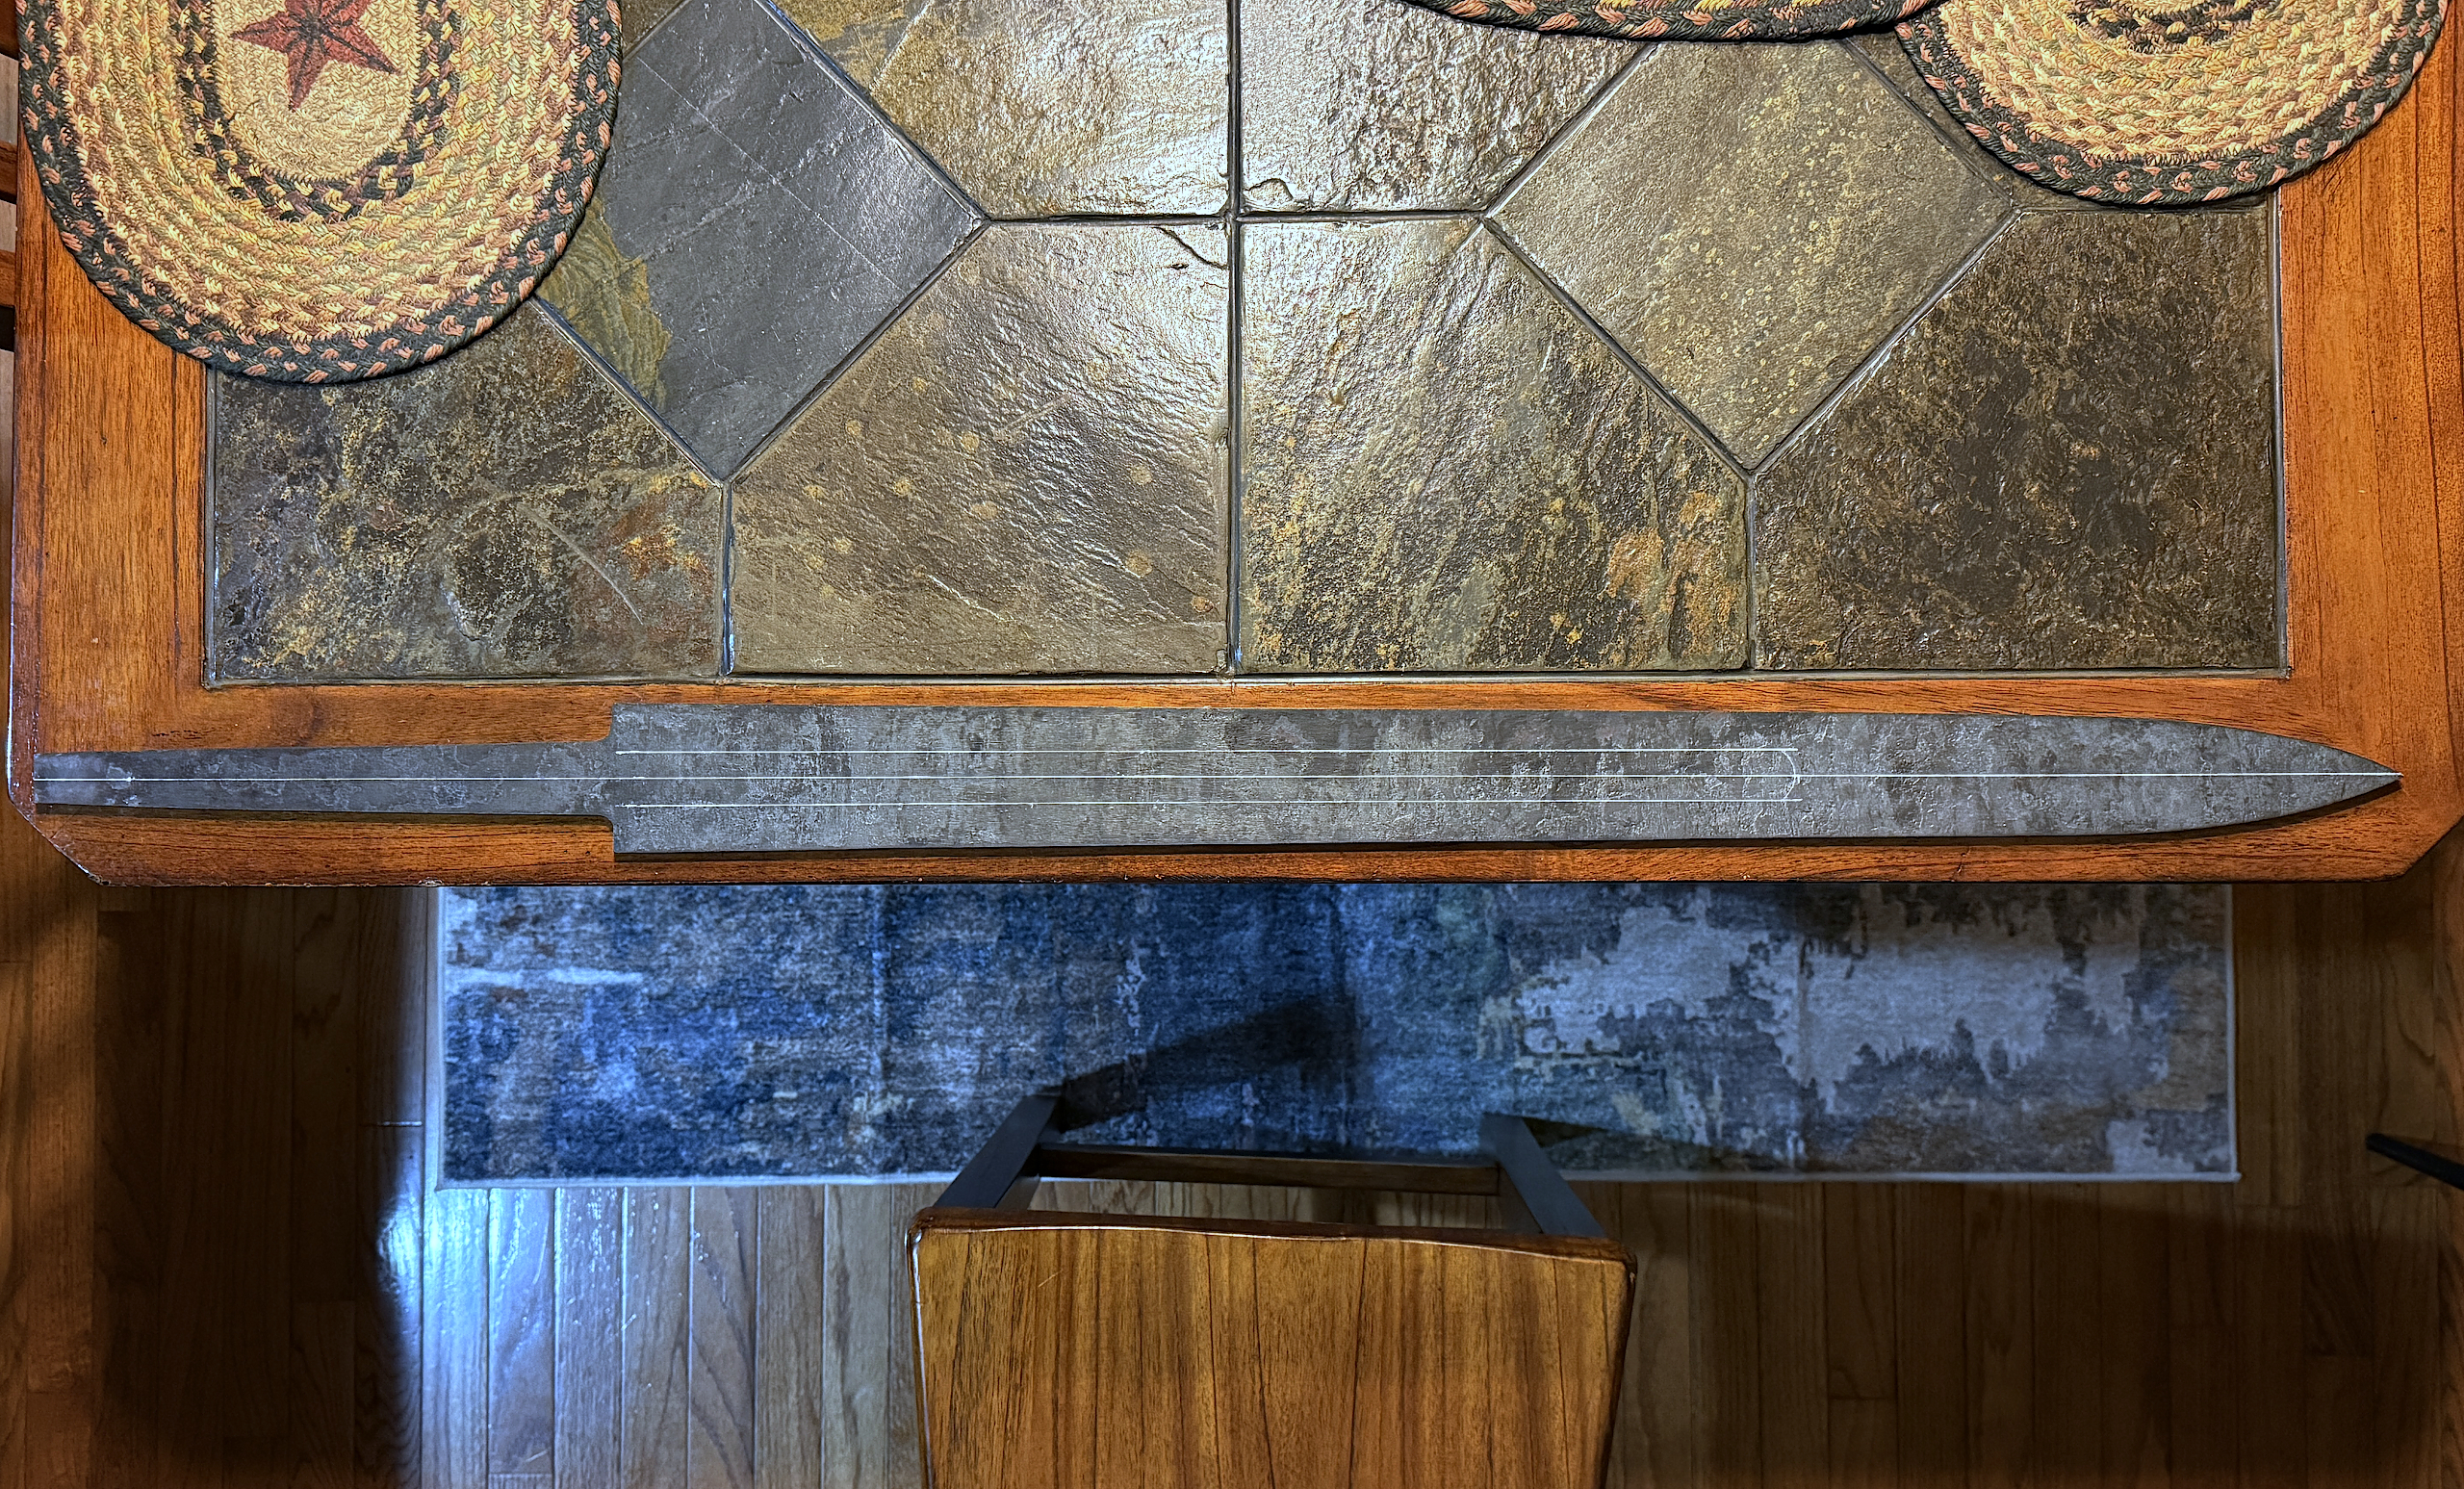
Here is my final blade “blank”. the length, profile, and tang all ground to their final shape, and I’ve drawn lines using a fine point paint pen to use as a guide when grinding the fullers.
I use 3″ contact wheel on my grinder to create the fuller on both sides of the blade.
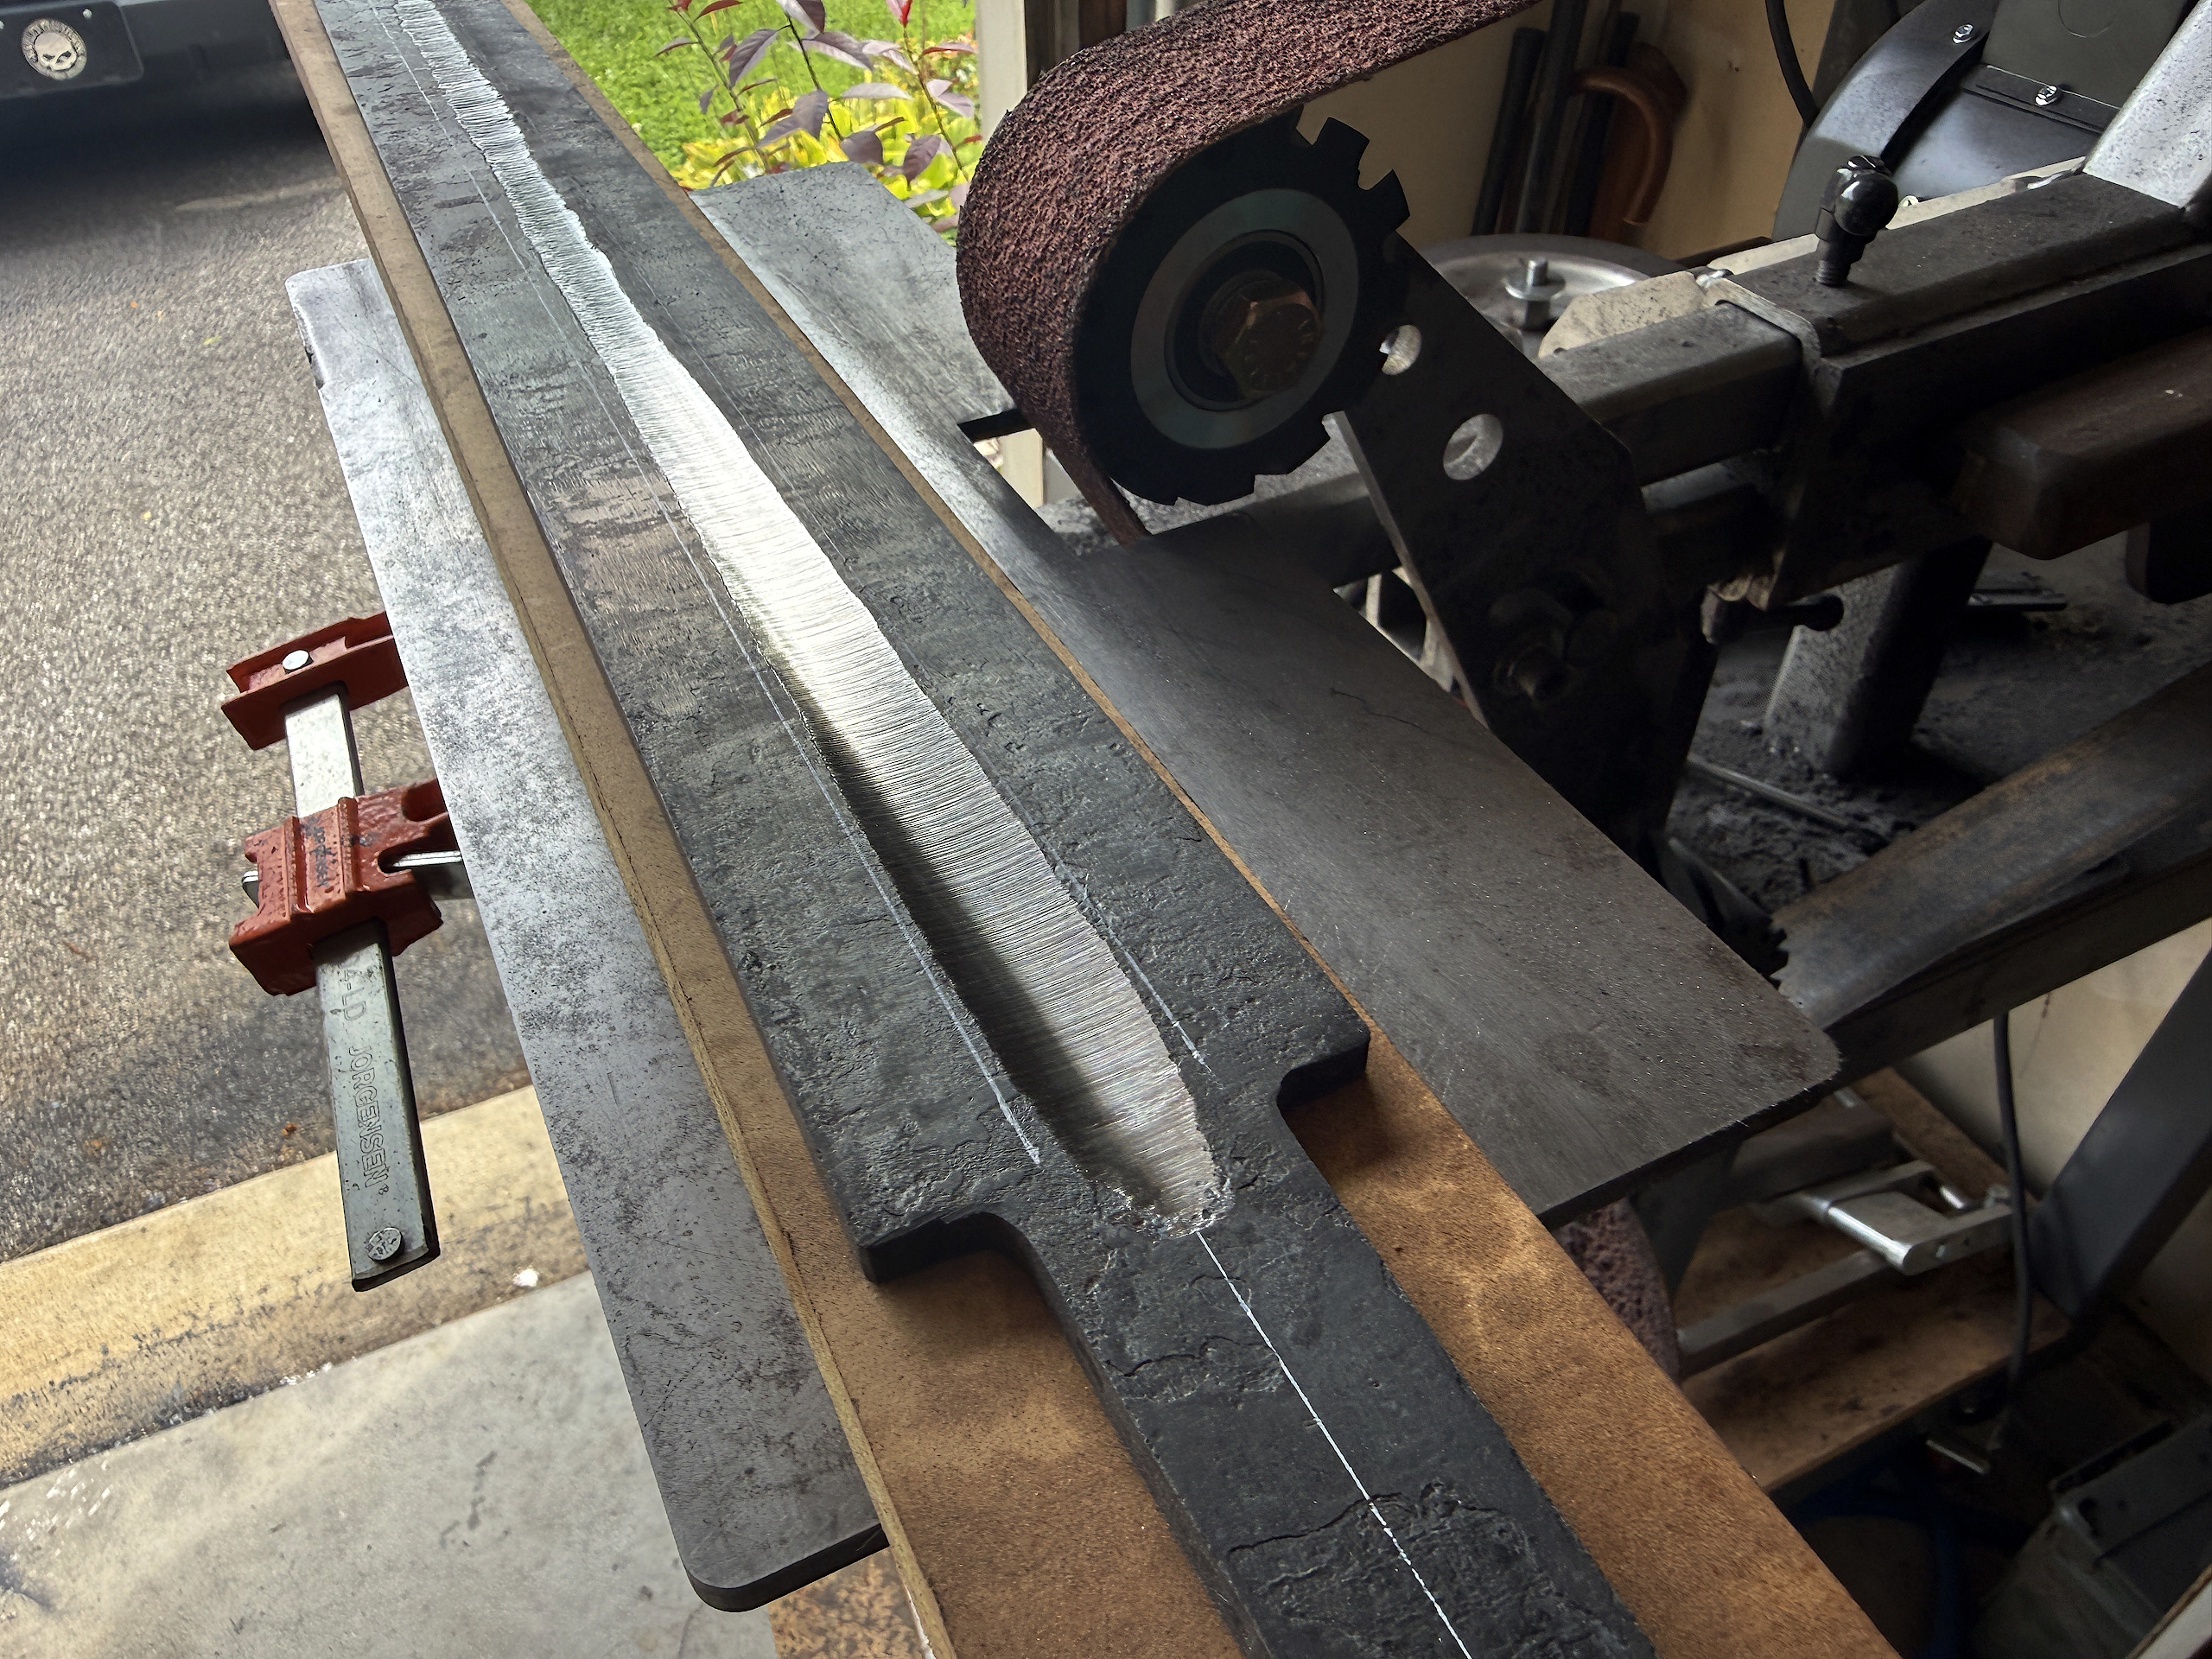
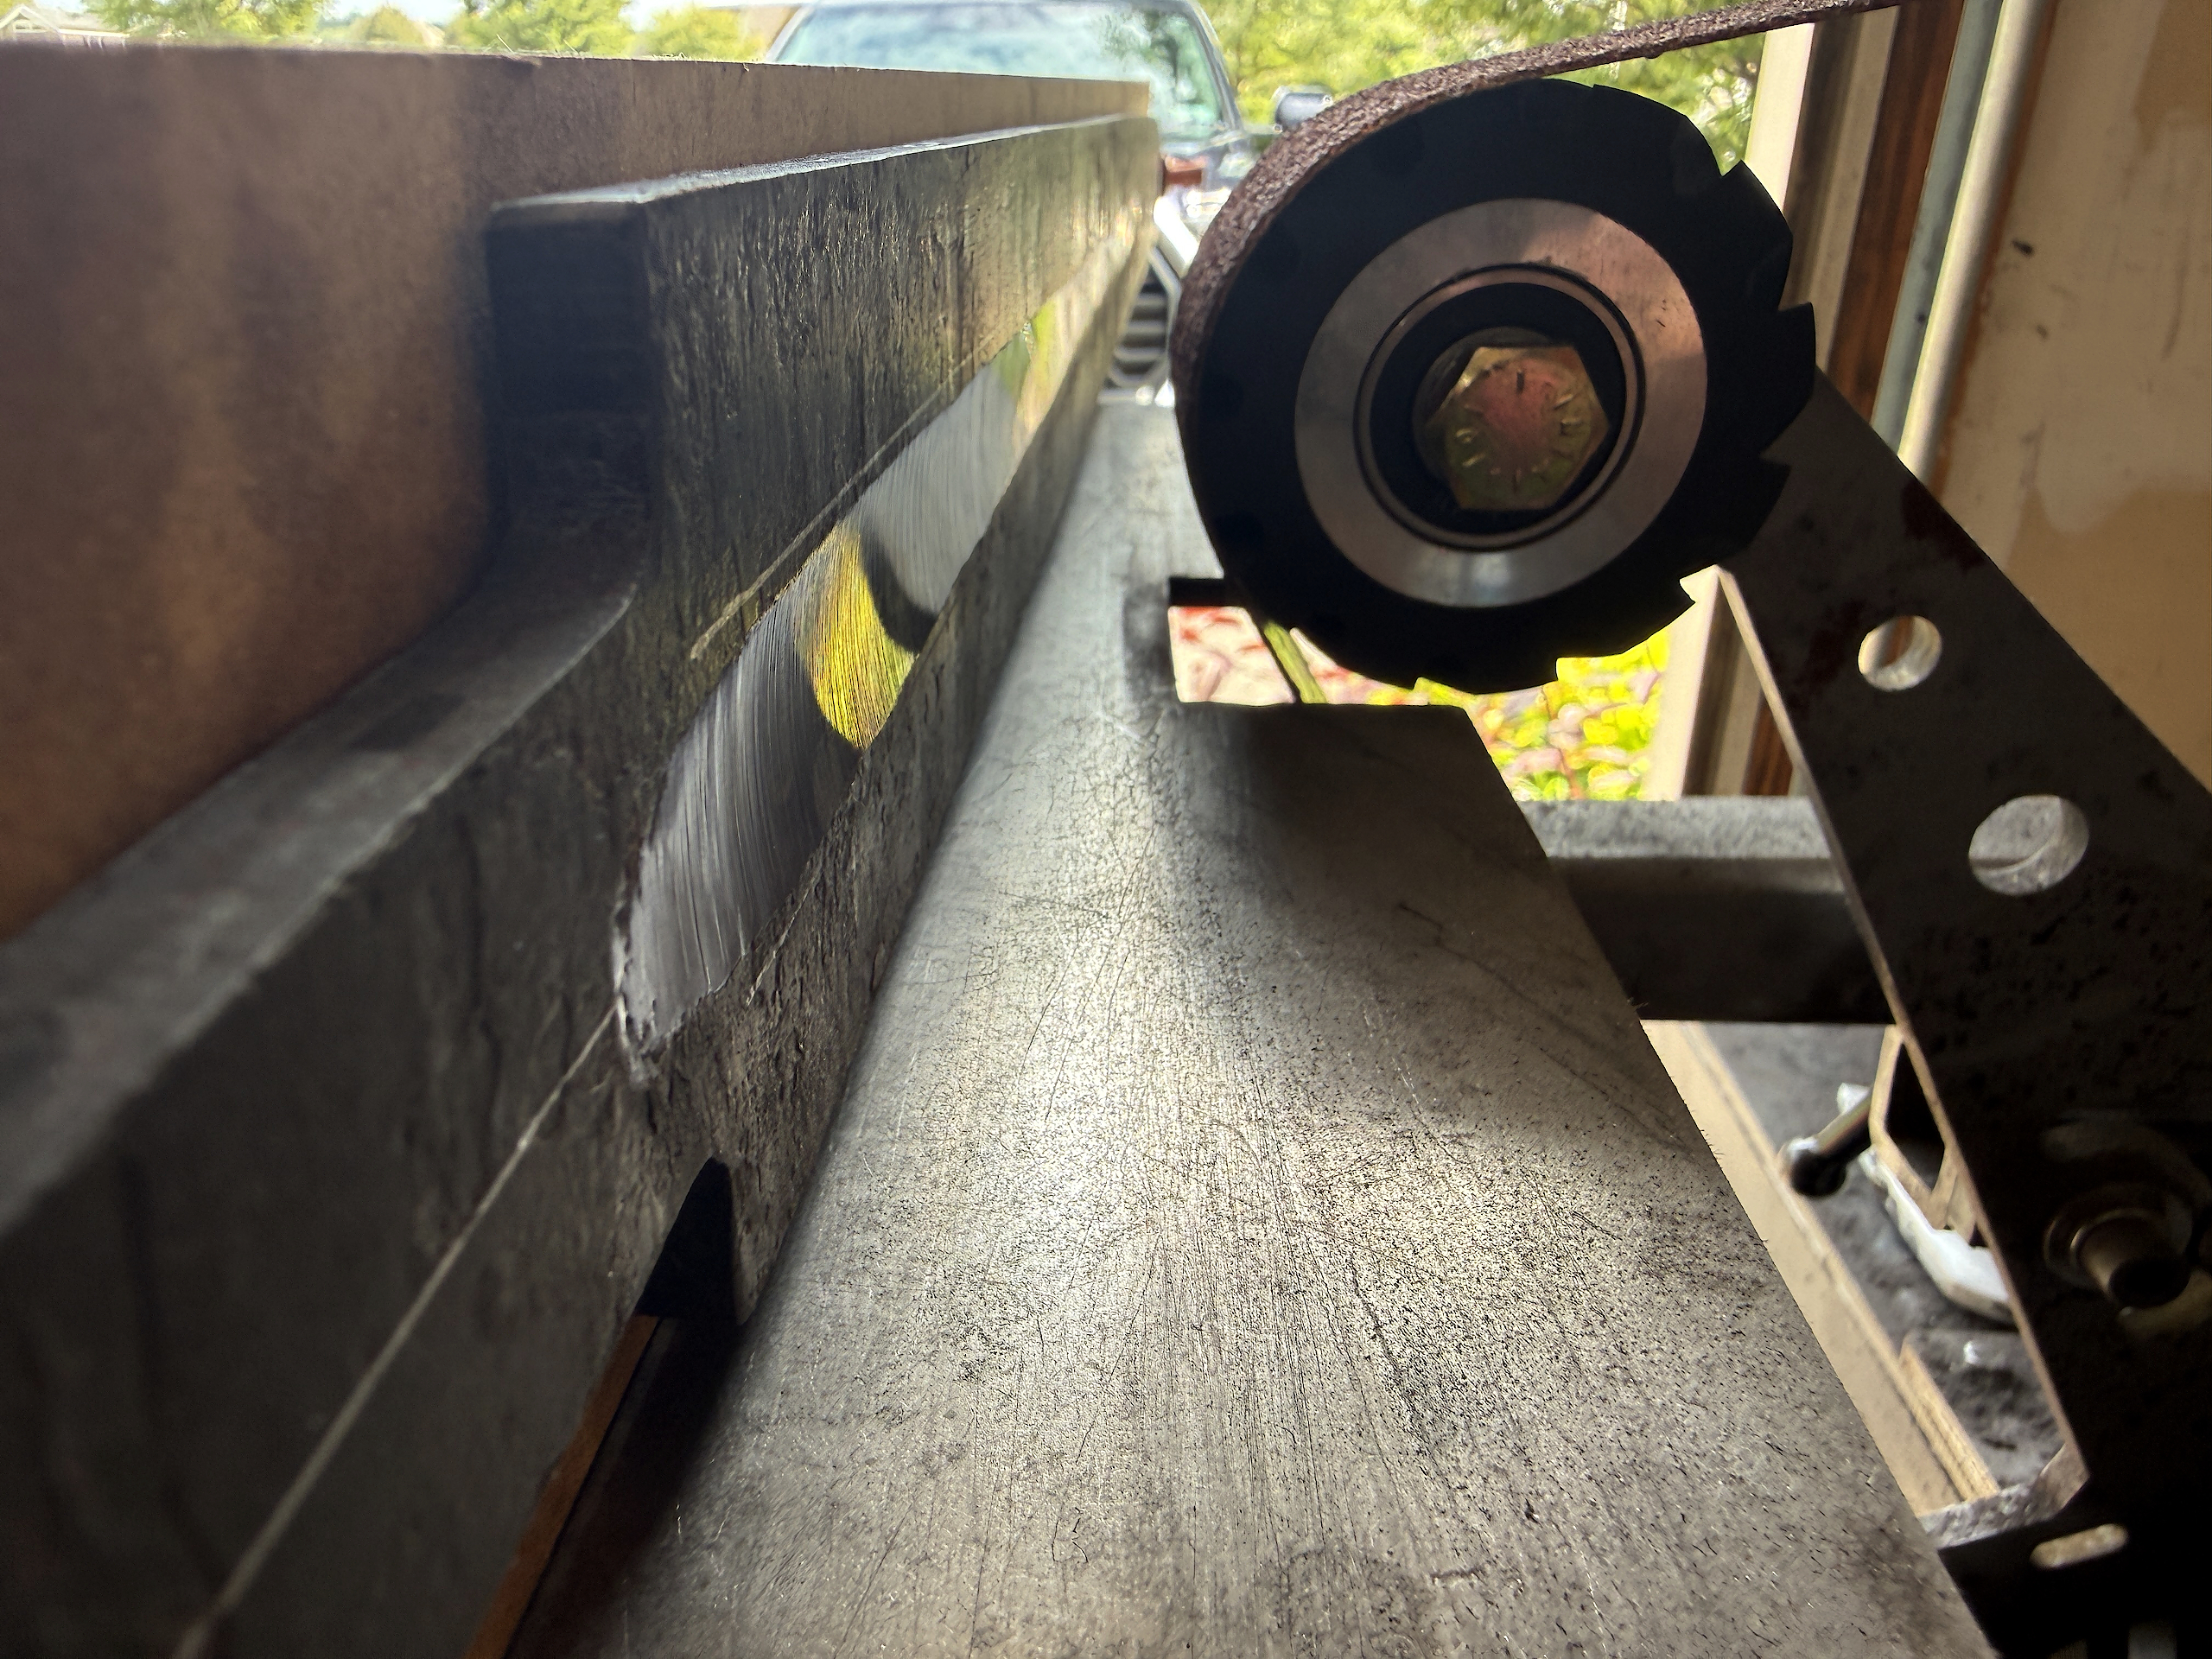
Recall the outside layers on this billet are 32 layer damascus, and this fuller is grinding down through the layers. You cant see them now but they are there 🙂
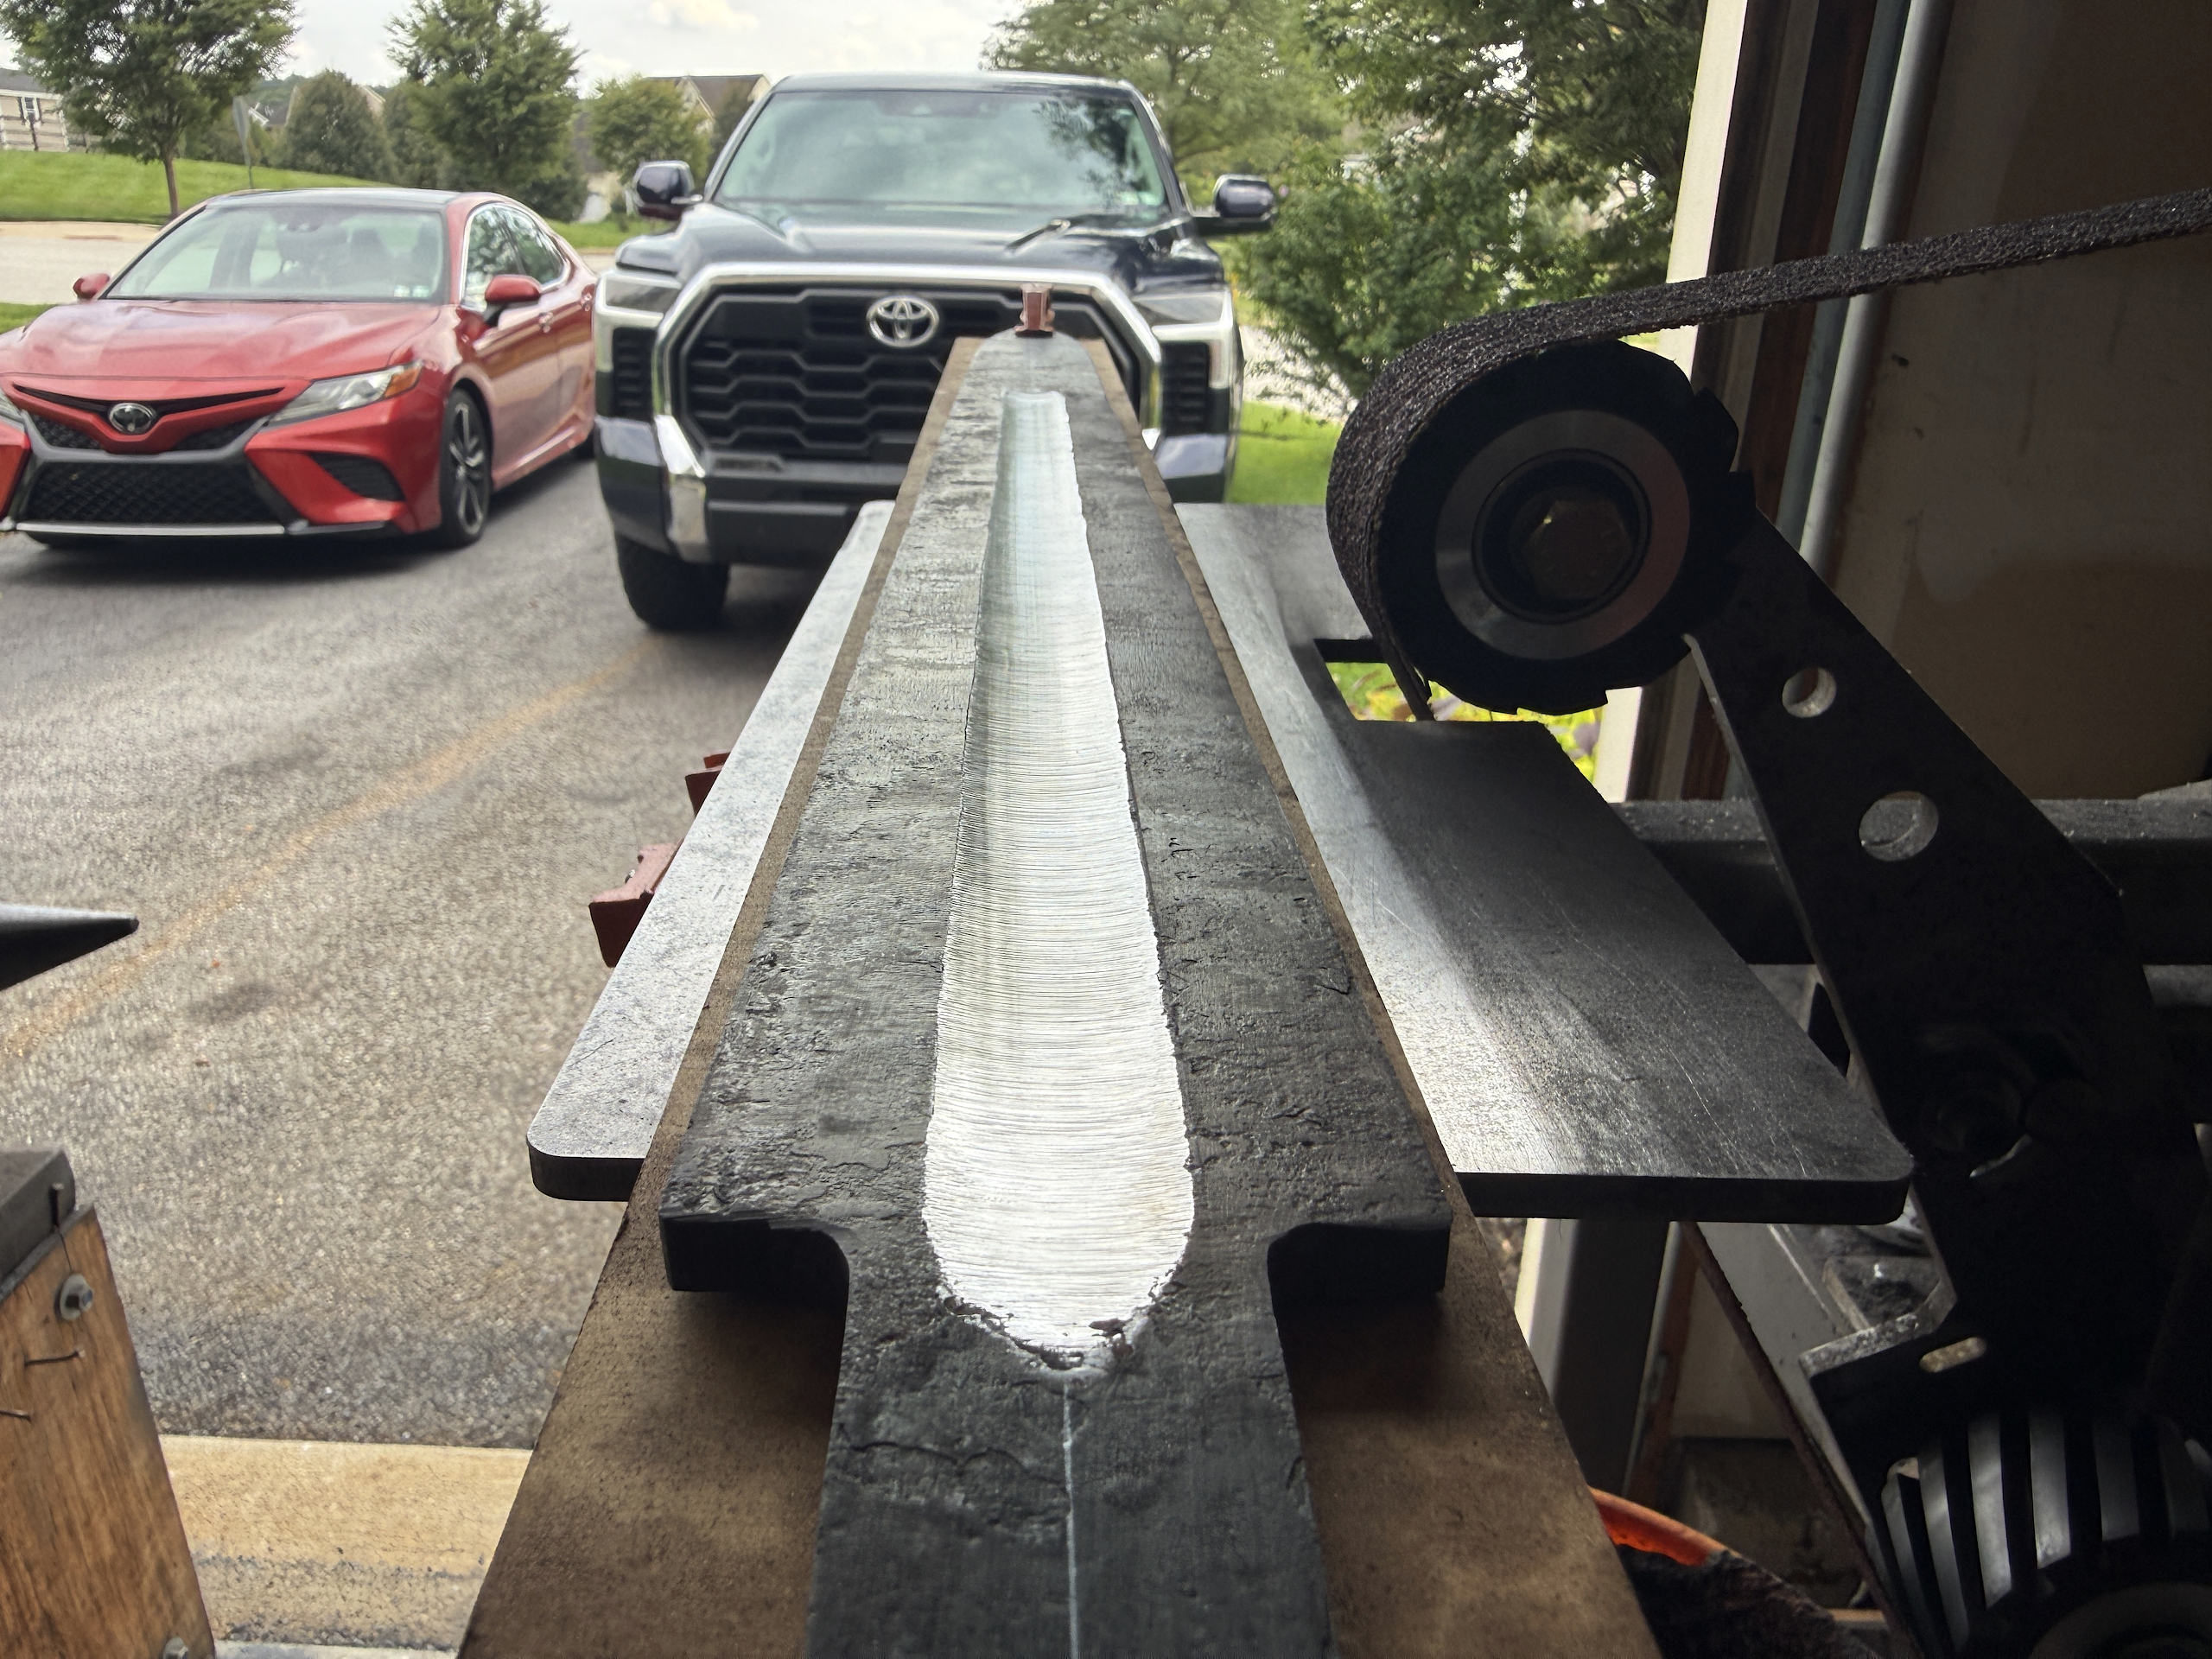
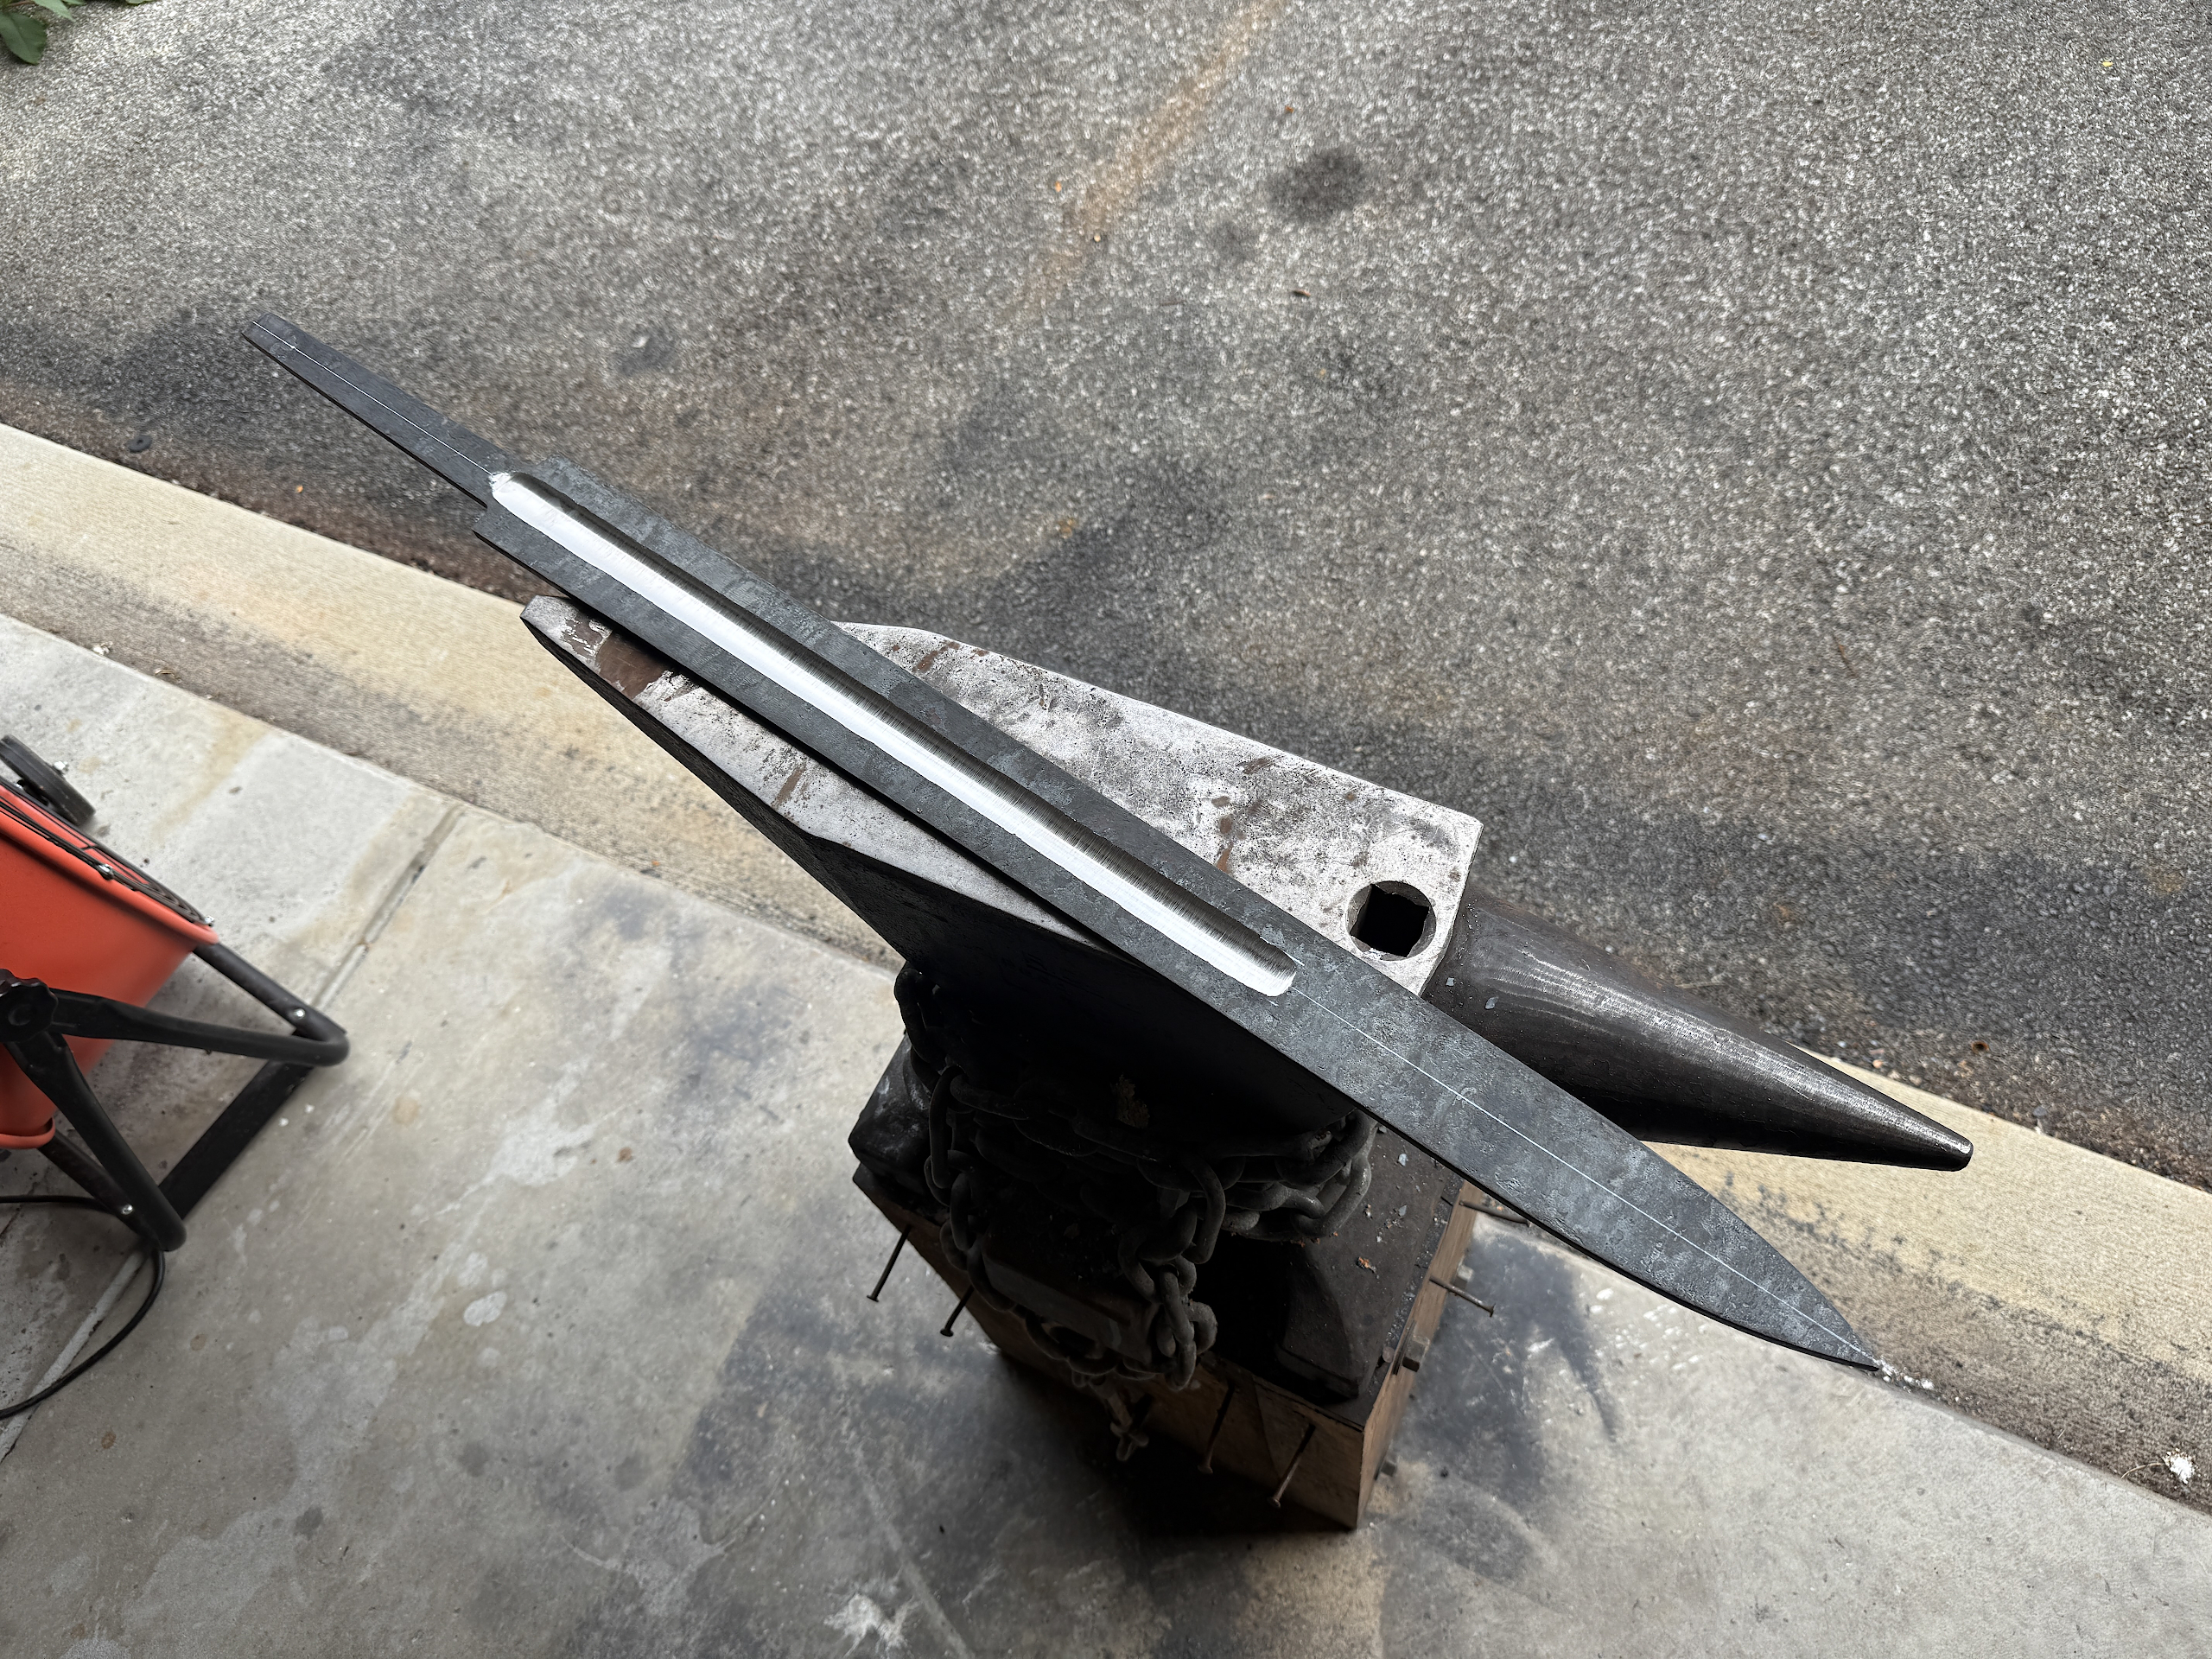
Here I’m using a carbide file guide, and a couple hand files, to square off the shoulders where the tang meets the blade so they are aligned with each other and 90 degrees to the center line of the blade so that when the guard is fit up it will sit right.
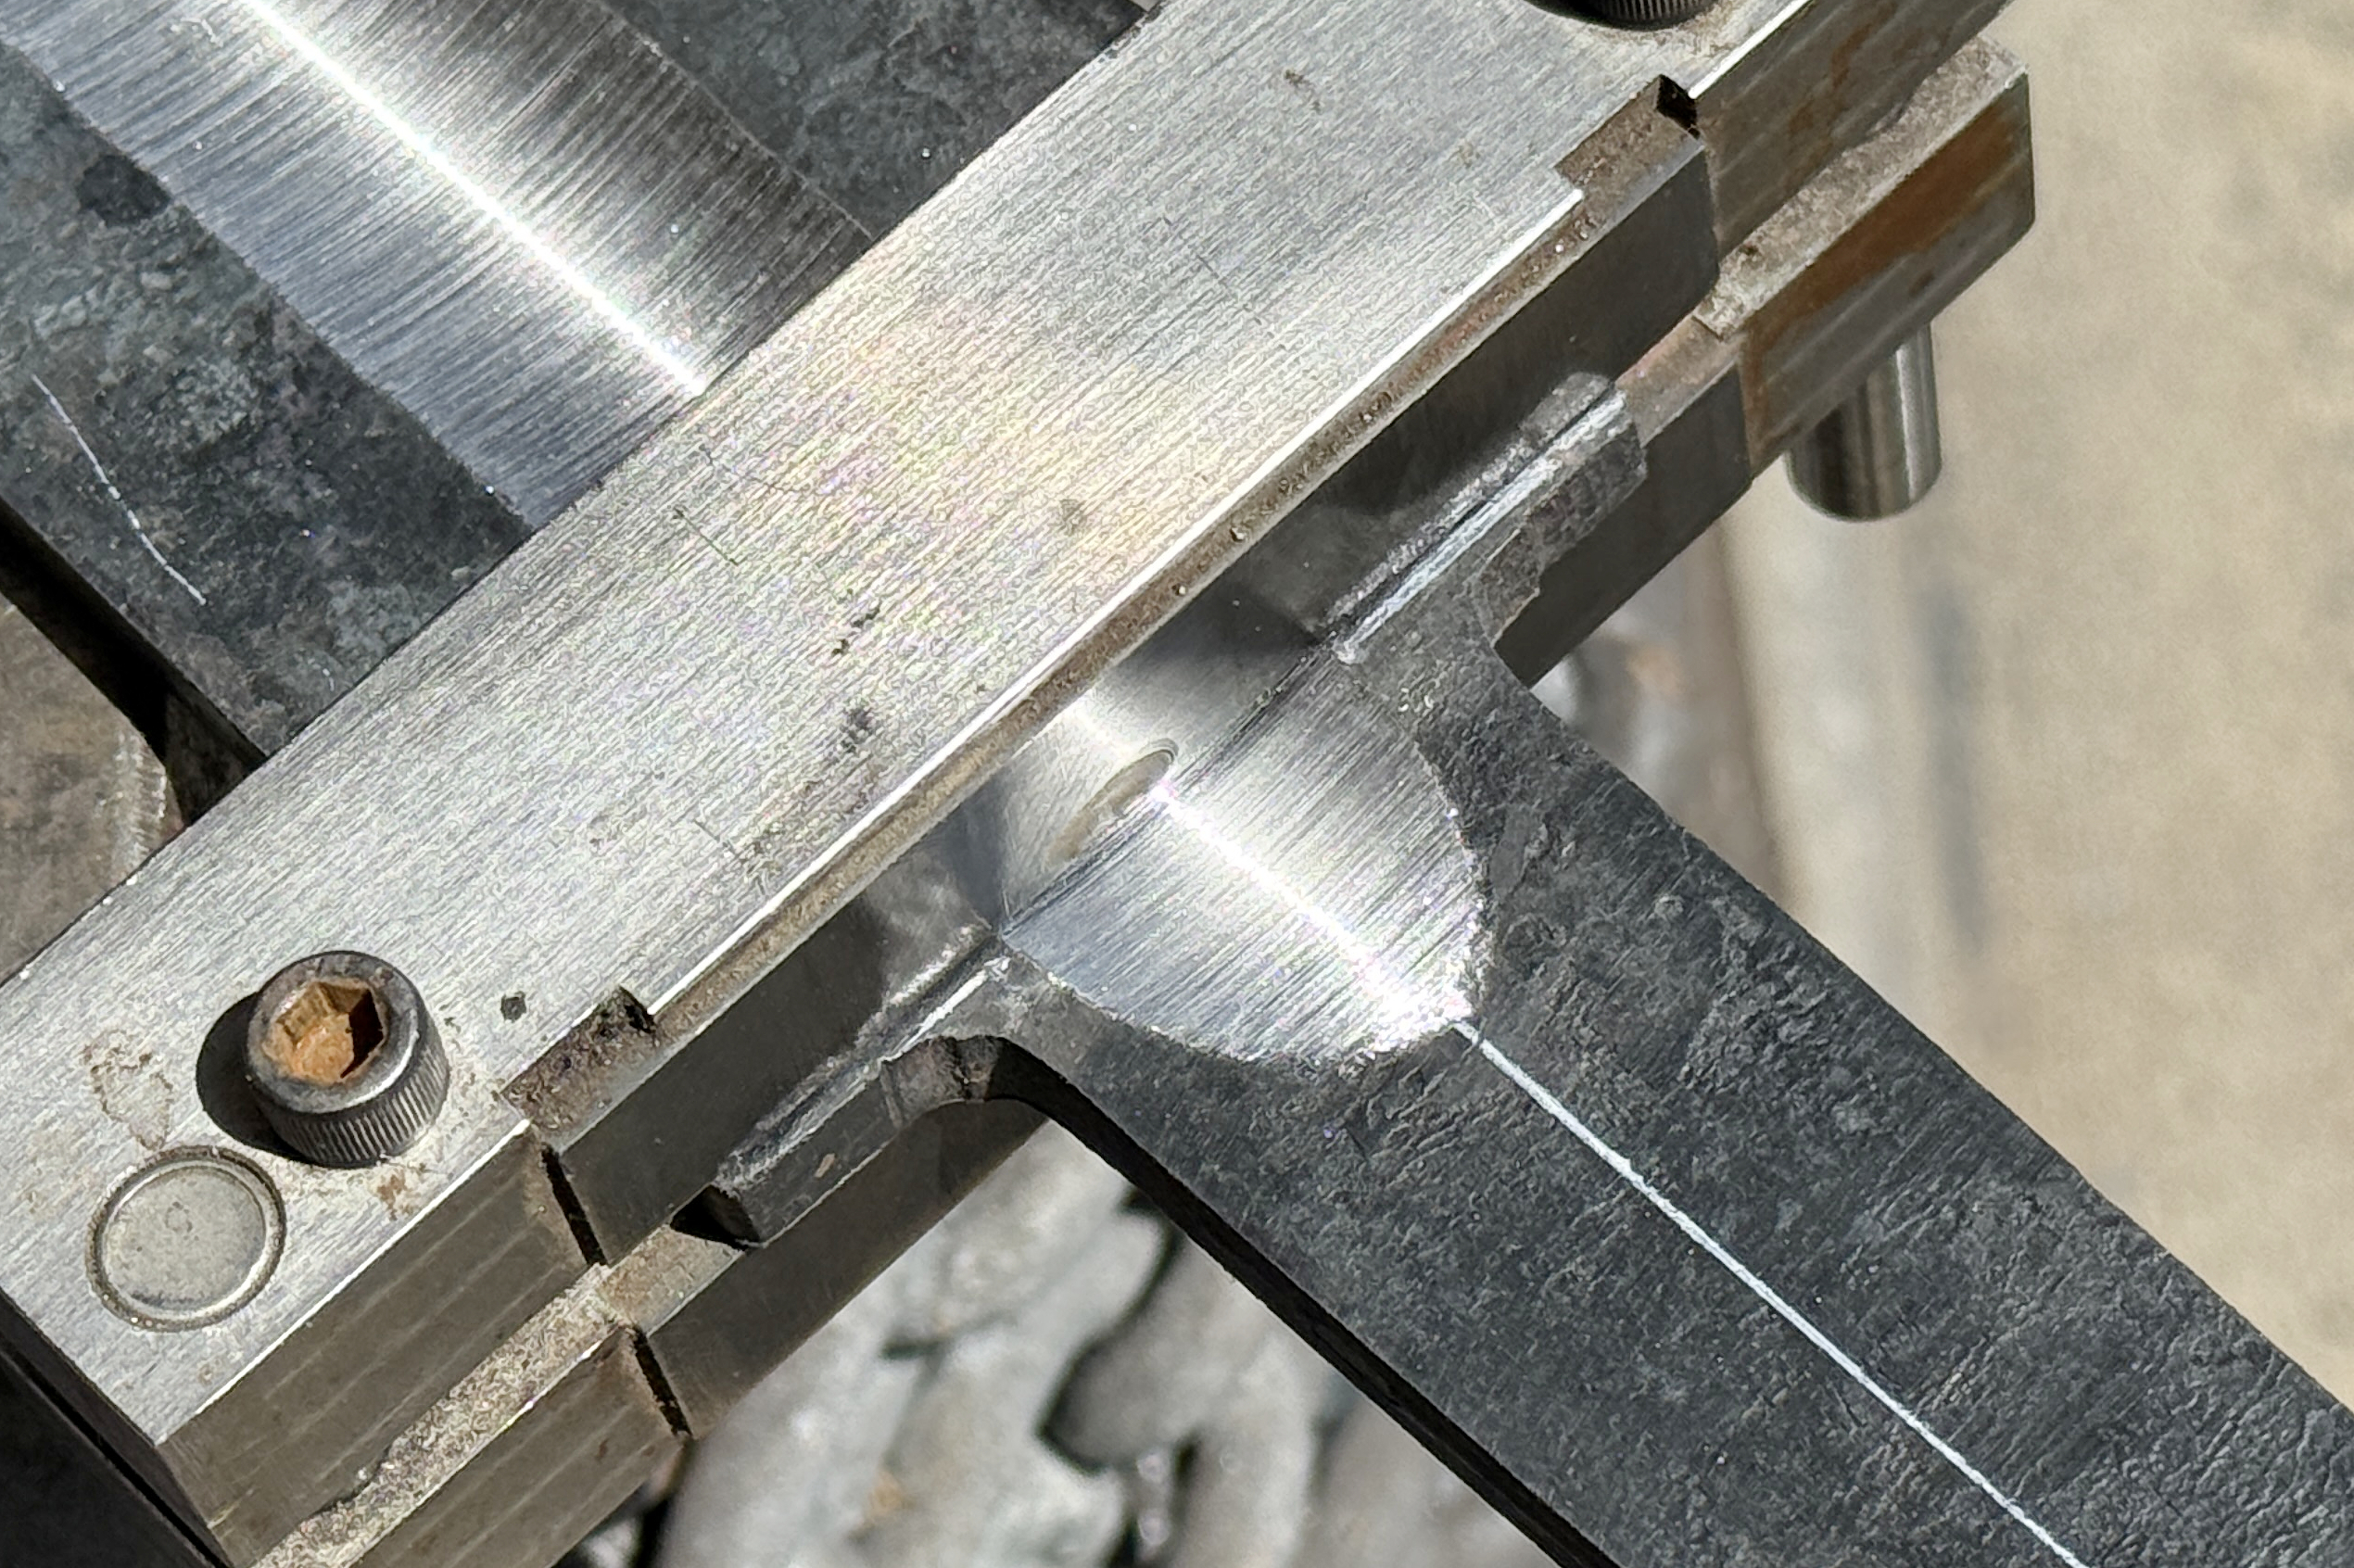
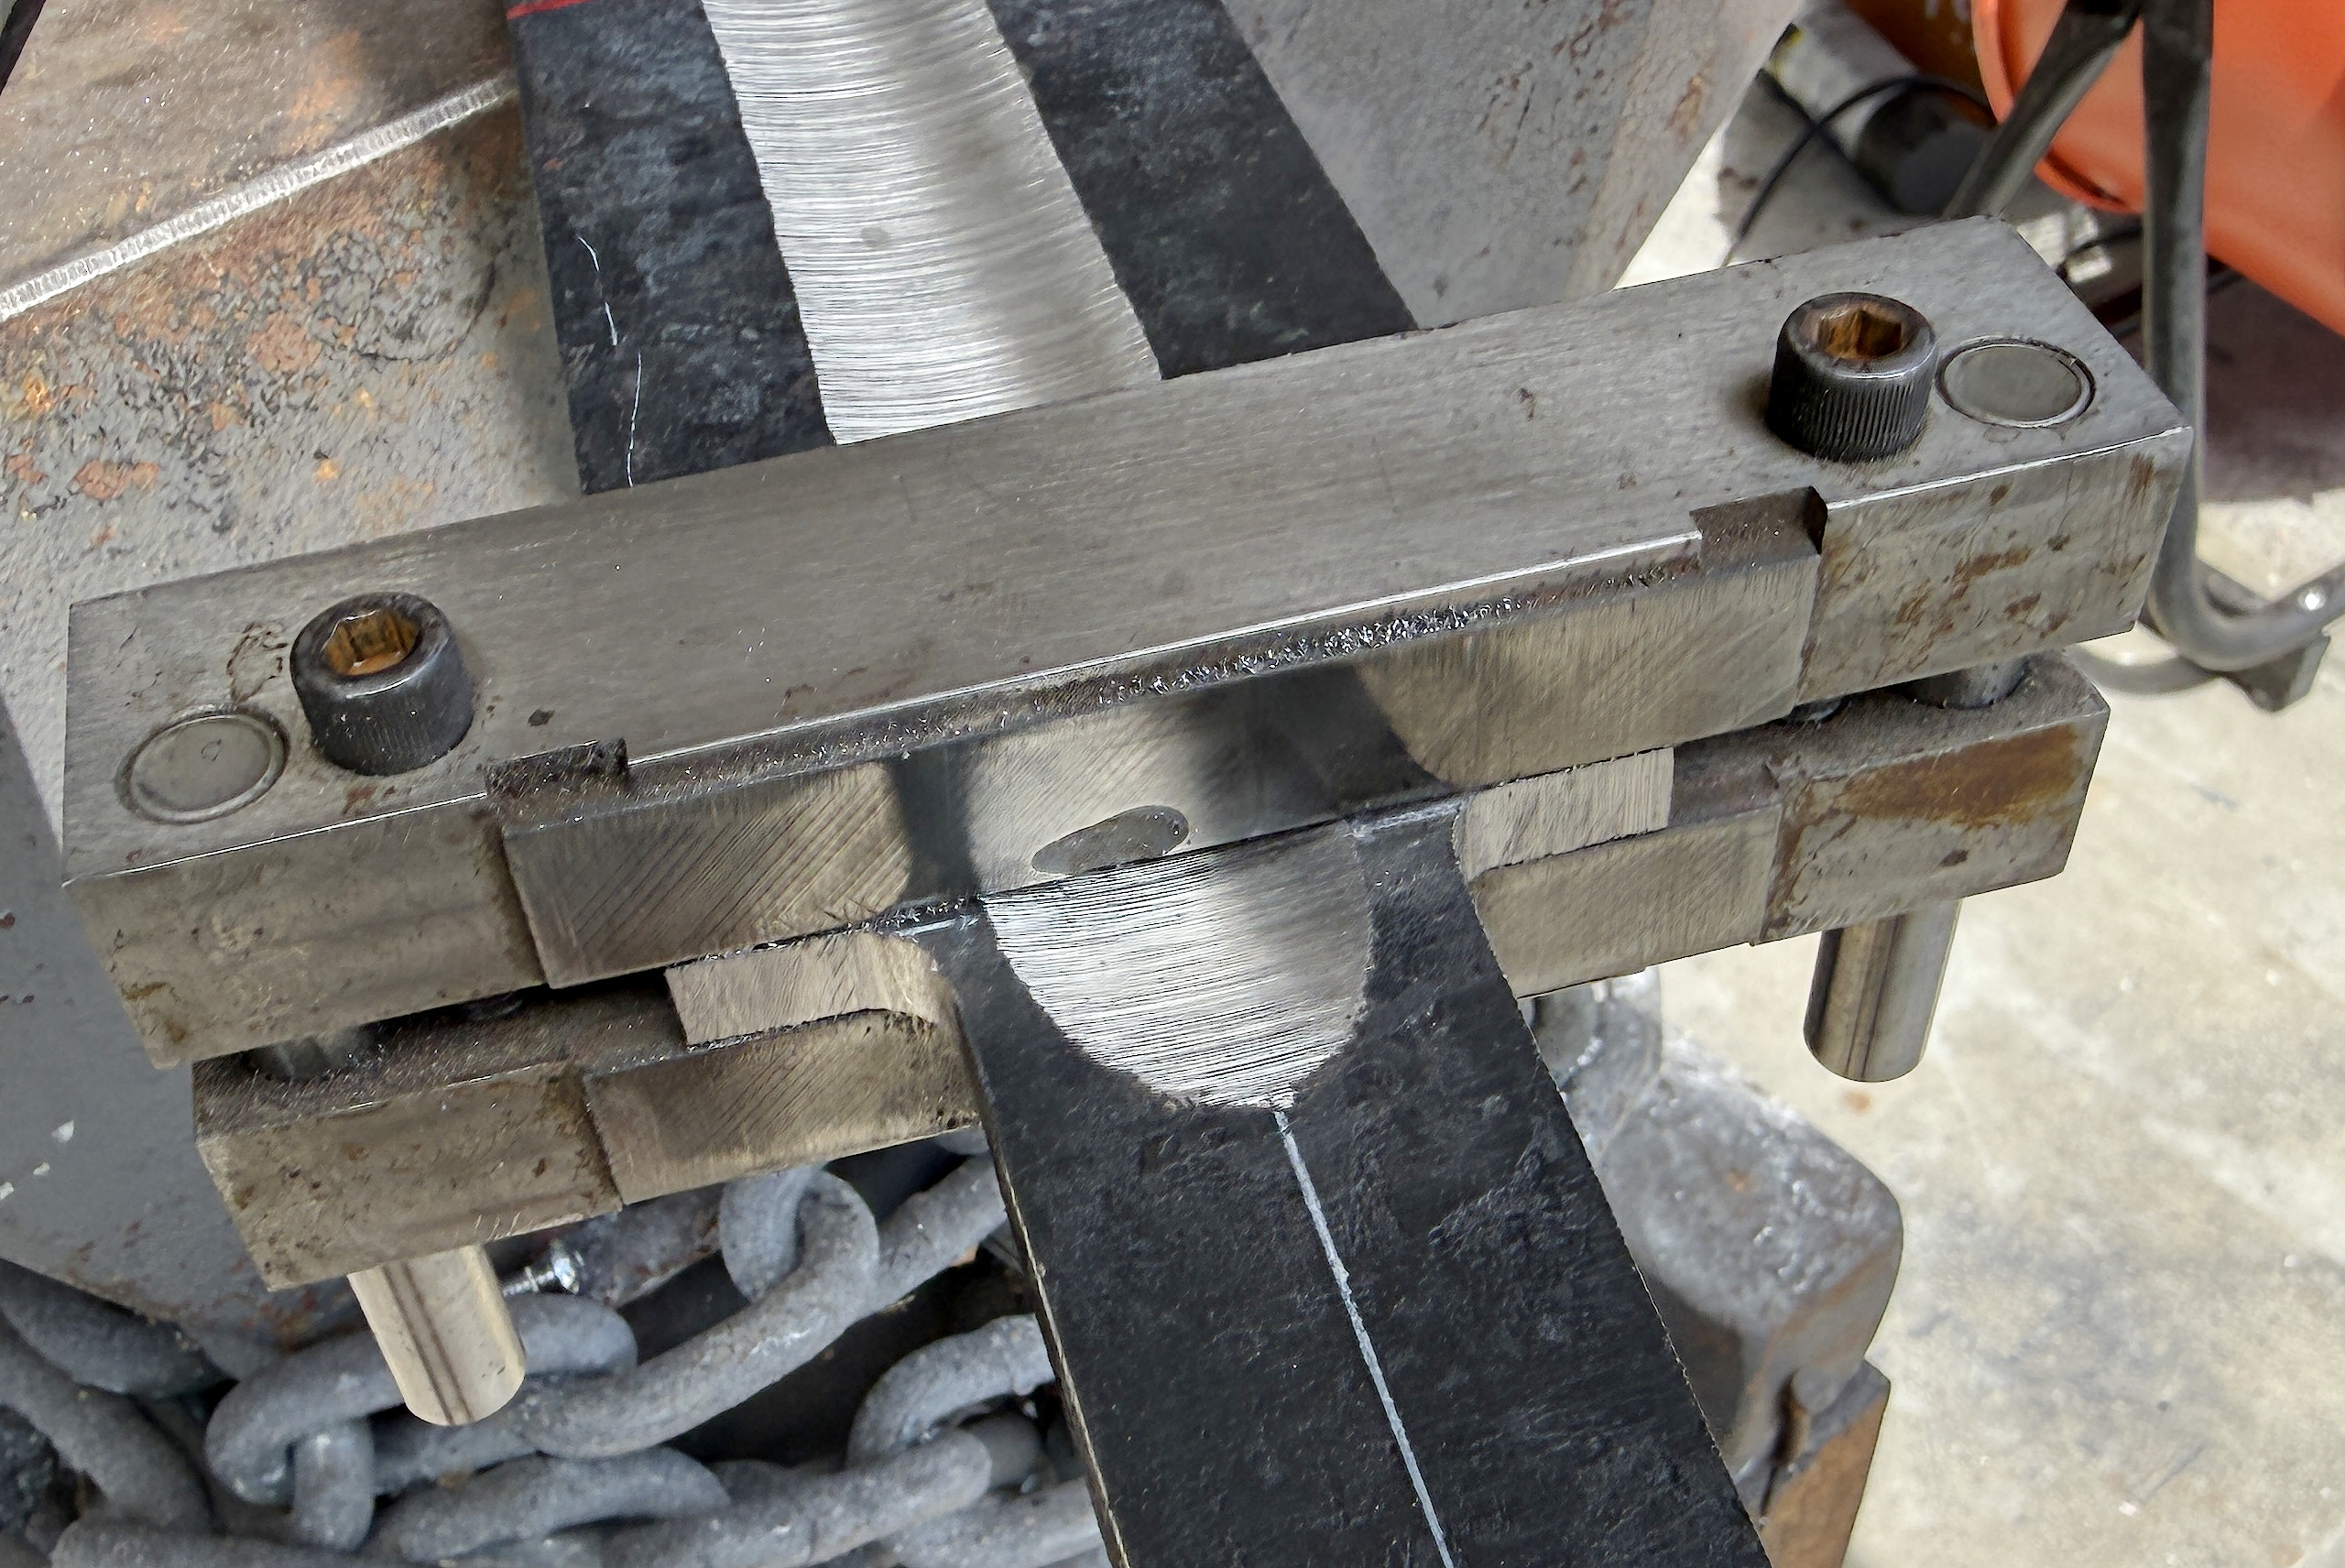
Note also that the transition from blade to tang is a radiused curve rather than a square, sharp transition. This prevents what are called “stress risers” which are points of added stress that can cause the blade to fail or crack with a sharp impact.